Hey there, Lightner! So, you’ve decided to dive into the mysterious, hilarious, and sometimes downright bizarre world of Deltarune. Awesome choice! But maybe you’re the type of player who doesn’t want to miss a single thing. You want every item, every secret, every piece of weird dialogue. You want the perfect save file.
If that sounds like you, then you’ve come to the right place. This is your complete Deltarune guide, a full 100% walkthrough for Chapters 1 and 2. We’ll cover the true pacifist route, break down the toughest secret bosses, and show you how to find every little secret Toby Fox tucked away. Let’s get started!
What’s in Our Deltarune Complete Guide?
Before You Enter the Dark World: Tips for a Perfect Save
Your quest for perfection begins before you even take your first steps. The goal here is to create a “perfect save,” meaning you’ve done and collected everything possible. This guide will walk you through it step by step. We’re focusing on the True Pacifist route, which means we’re making friends, not dust. A key rule for this run, especially once Susie joins you, is to always WARN enemies before attempting to spare them. This shows them you mean no harm, even if your purple friend is eager for a fight.
Chapter 1: A Perfect Pacifist Walkthrough
Your adventure starts in Chapter 1 when you and the class delinquent, Susie, fall into the mysterious Dark World. After a quick intro, you’ll meet the fluffy prince from the dark, Ralsei. He’ll be your guide and moral compass.
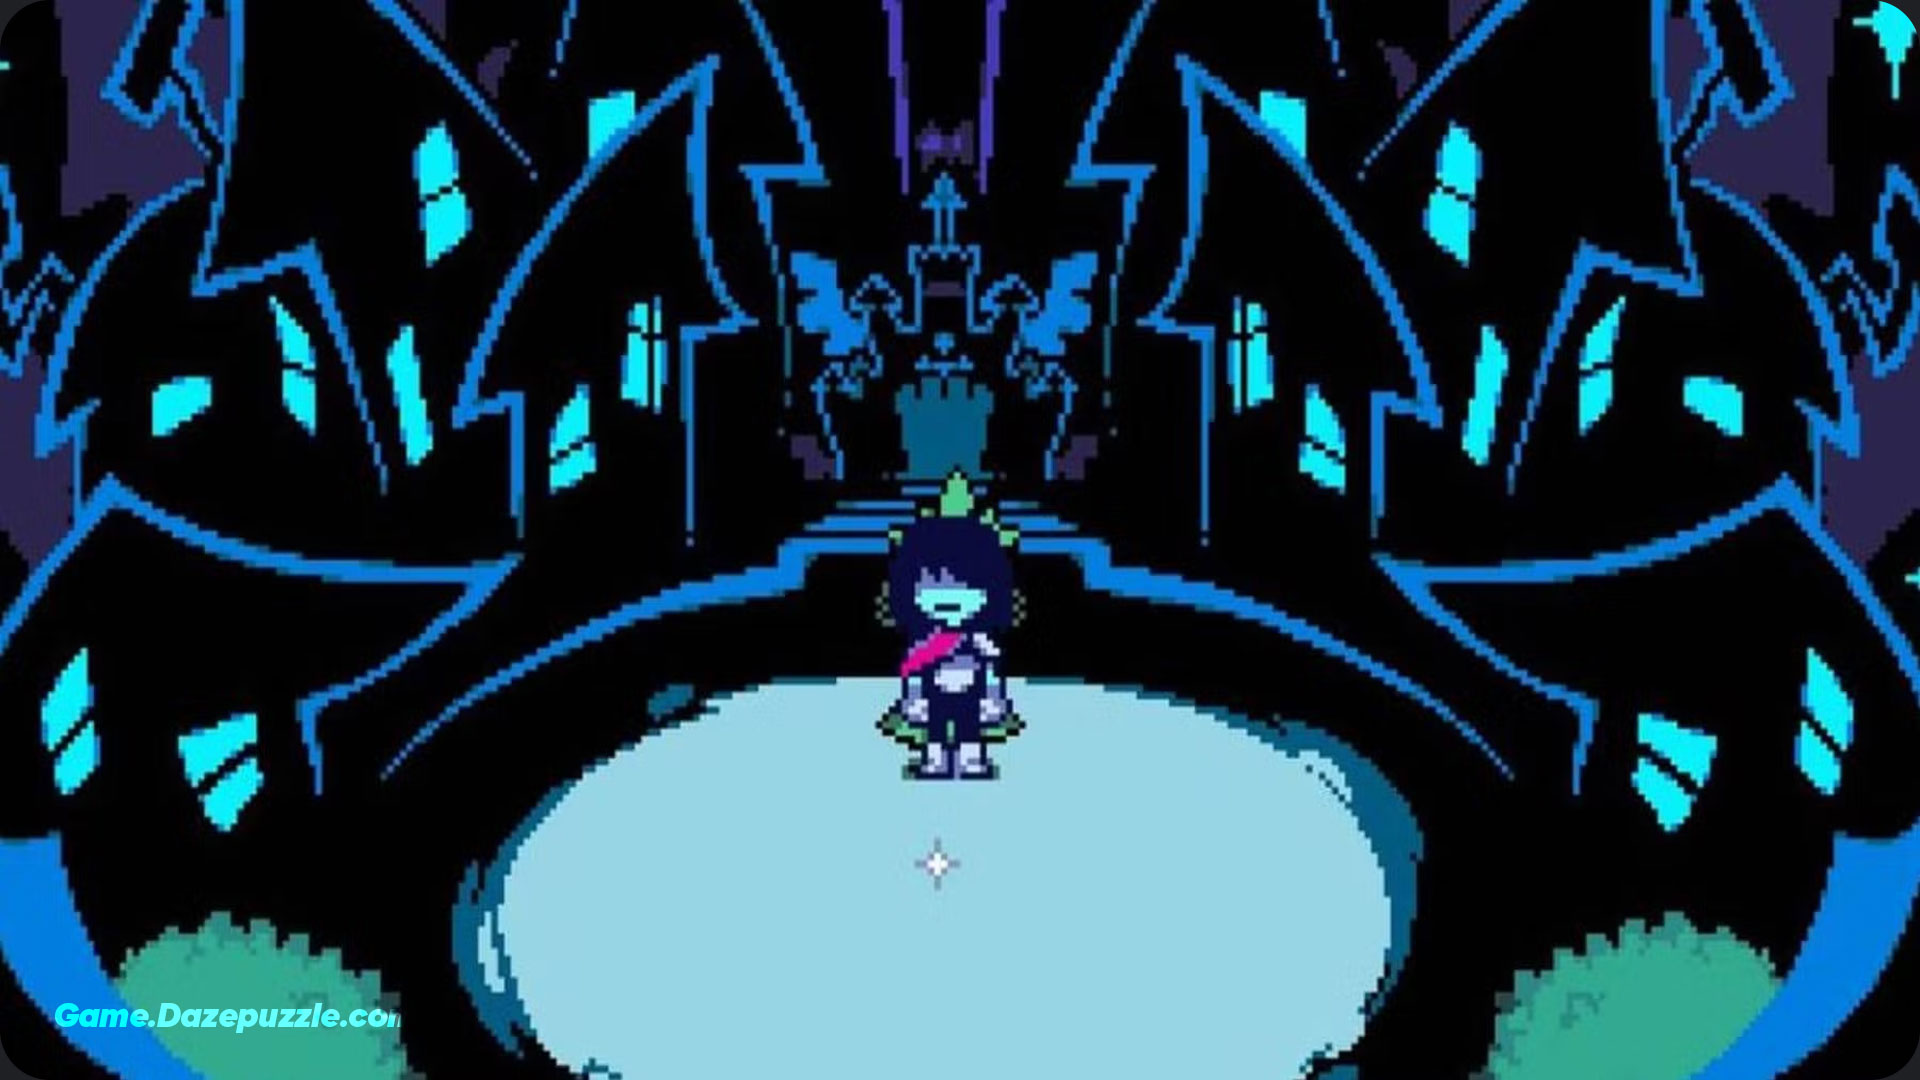
The Field of Hopes and Dreams: First Steps and Secrets
This is your first major area, and it’s packed with goodies. As you explore, make sure to fight every unique enemy type at least once to fill out your journal. Remember to be nice!
A few key things to grab here:
- Glow Shard: Right at the first crossing, head down to find this useful item.
- Broken Key Pieces: You’ll start finding broken key parts. Grab Broken Key B from a chest early on. These are super important for later.
- White Ribbon: Find this armor piece and give it to Ralsei. It not only boosts his defense but also unlocks some extra dialogue.
As you progress, you’ll reach a bake sale. This is a crucial spot. You can buy some healing items, but more importantly, you can fix a Broken Cake you found earlier to get the Top Cake. Hold onto this! It’s for a secret interaction later.
Unlocking the Ultimate Secret: How to Find and Beat Jevil
This is it, the big secret of Chapter 1. Jevil is a hidden super boss who will test your skills like nothing else. Defeating him (peacefully, of course) is essential for a 100% run.

Jevil’s Puzzle Keys & Prep
To even reach Jevil, you need to repair a key. You should have found two broken pieces (B and C) during your travels through the Field and Forest. The final piece, Broken Key A, is held by Seam, the shopkeeper. Once you reach the castle, take the elevator down to the ?????? floor to talk to Jevil behind his cell door. After that, go back to Seam and ask about the “strange prisoner.” He’ll give you the final key piece.
Take the three parts to the smith, Malius, in the forest, and he’ll forge the Jail Key. Now, you just need to prep. Equip your best defensive gear. The Dice Brace and Iron Shackle are great choices. For items, stock up on Darkburgers. If you gave the Top Cake to the Top Chef, you’ll have the Spin Cake, which is a fantastic full party heal.
The Jevil Pacifist Fight Strategy
This fight is chaos! Jevil’s attacks are fast and unpredictable. The key to winning peacefully is to use Ralsei’s Hypnosis action (costing 50 TP) ten times.
Your battle rhythm should be:
- Have Kris and Susie defend to raise TP.
- Use Ralsei to heal with Heal Prayer or use items when needed.
- Whenever you have 50 TP and your health is stable, use Hypnosis.
Keep defending, grazing attacks to build TP faster, and healing. After the tenth Hypnosis, Jevil will get tired. The next turn, you can use Ralsei’s Pacify command to win the fight. You’ll be rewarded with the Jevil’s Tail, an amazing piece of armor that boosts all stats.
The King’s Castle: The Final Showdown
After dealing with Jevil, it’s time to face the King. The good news is, since you’ve been a true pacifist and haven’t hurt anyone, your friends will come to your aid. The fight itself is straightforward. Use Kris to talk for a defense boost, have Susie use Red Buster for damage, and keep Ralsei on healing duty. Before you know it, the fight will be over, and you’ll have saved the day!
You might also like this: Top 10 Open World Games with the Best World Design
Back in Hometown: Essential End-of-Chapter 1 Tasks
Your adventure in the Dark World might be over for now, but your work in Hometown isn’t! Before you head home to rest, you should explore the town thoroughly, as many of your actions here carry over into Chapter 2. Make some time to talk to everyone you see, from Undyne and Alphys to Sans, just to hear all their unique dialogue.
Two tasks are absolutely crucial for a perfect save file. After visiting Rudy in the hospital, find Noelle outside and be sure to tell her that Susie eats chalk. This will net you a free Light Candy in the next chapter. Then, visit Asgore’s flower shop and give him that strange Mystery Egg you found; he’ll store it in his fridge for later.
Finally, for a bit of extra mystery, take a trip south of the graveyard to find a locked bunker. Once you’ve chatted with everyone and taken care of your egg, you can finally go home and end the chapter.
Chapter 2: Your Complete Cyber World Guide
You and Susie are back for a school project, but it’s not long before another Dark Fountain pulls you into a new world. The Cyber World, ruled by the nefarious Queen.

Welcome to the Cyber Field: New Foes and Funky Puzzles
This new world is full of digital enemies like Werewires and Tasques. The same pacifist rules apply. You’ll soon meet up with Ralsei and Noelle Holiday, who gets pulled into the adventure.
There are a ton of puzzles here involving stopping traffic, solving keyboard puzzles, and riding teacups. Always explore every path. You’ll find great gear like the Mecha Saber for Kris and the Auto Axe for Susie. One of the biggest side quests here involves finding three blue checkmarks for a hacker. Completing this will get him to show up in your Castle Town later.
The Ultimate Side Quest: Finding and Beating Spamton NEO
If Jevil was the secret of Chapter 1, Spamton NEO is his Chapter 2 counterpart. This quest is a wild ride from start to finish.
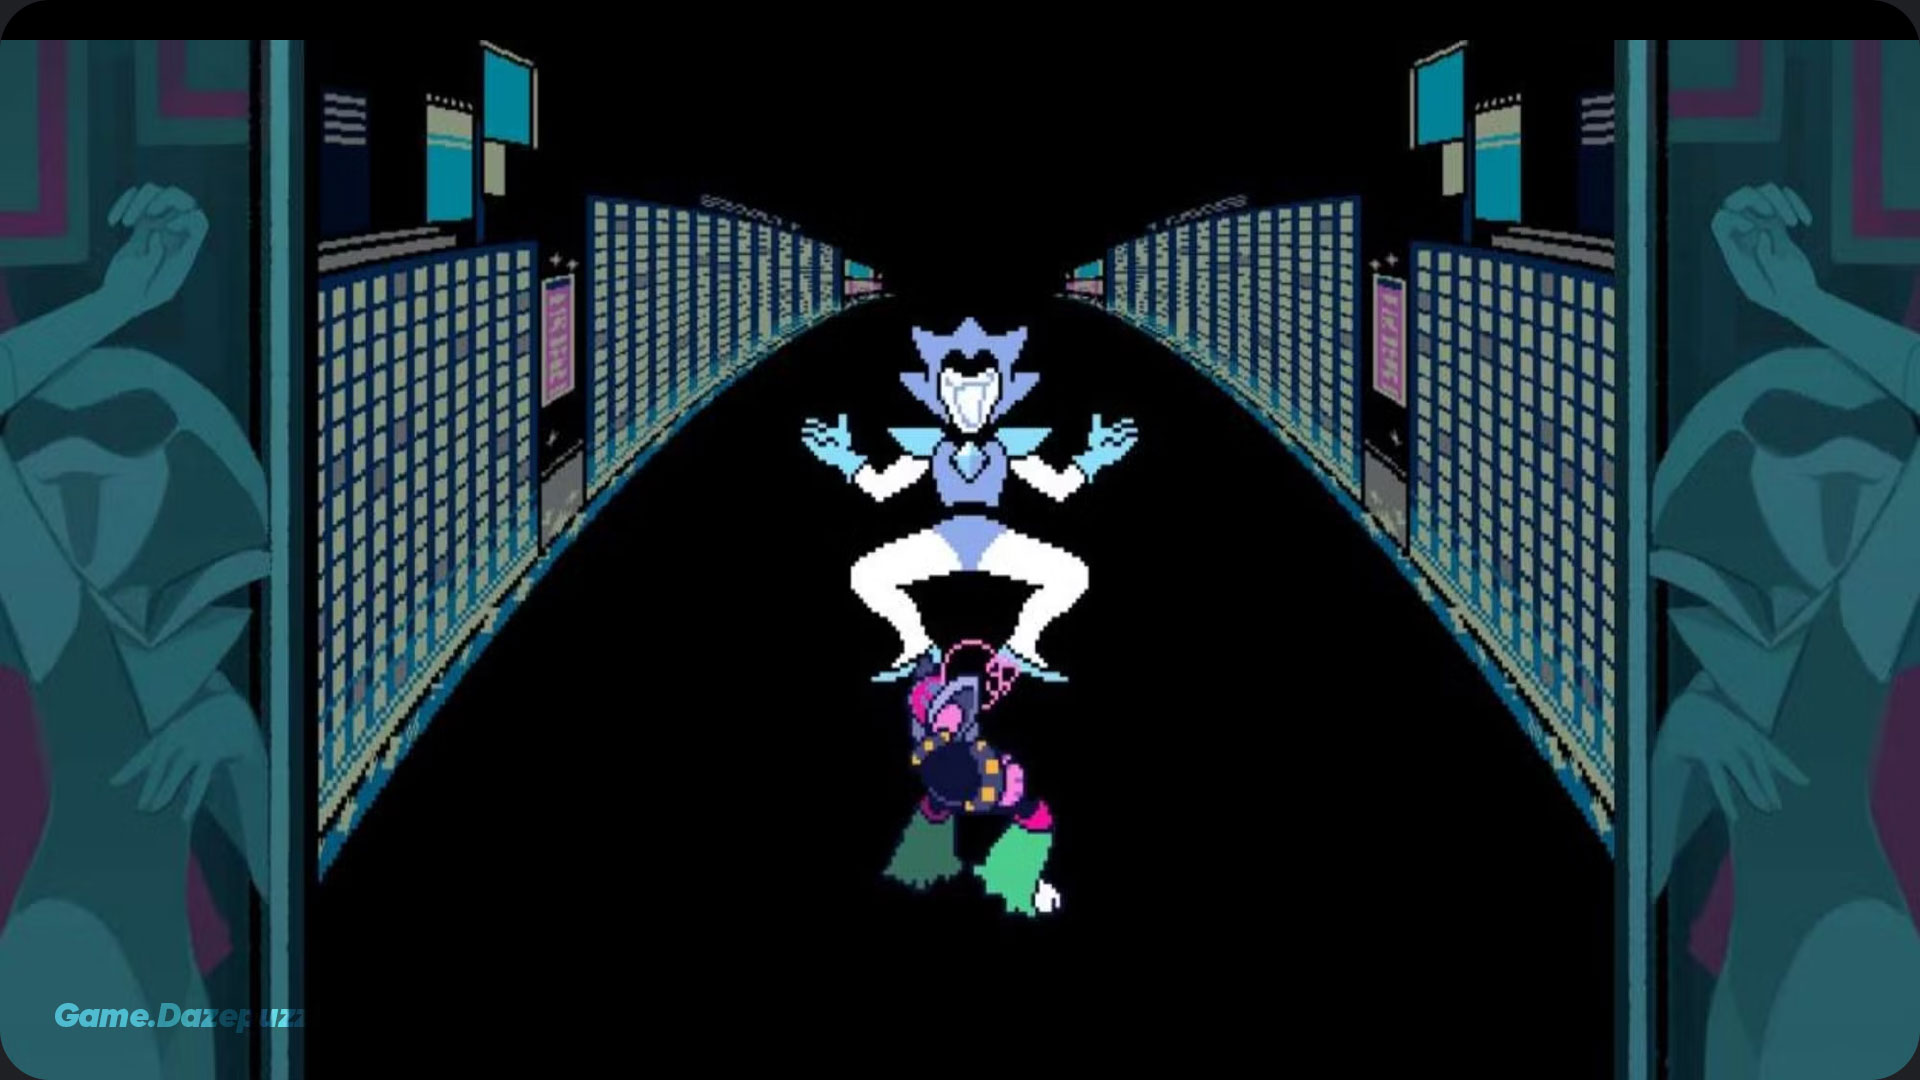
The Path to Spamton NEO
You’ll first meet Spamton in an alleyway, a creepy puppet who offers you a “DEAL.” To start his quest, you need to spare him in his initial fight. Later, you’ll find his shop in the Trash Zone. He’ll ask you to get an Empty Disc from deep within the Queen’s Mansion basement.
The basement is a dark, spooky area full of old tracks and discarded machine parts. You’ll have to survive a terrifying minecart ride in the dark. At the end of the path, you’ll find the Empty Disc. Take it back to Spamton, who will turn it into a Loaded Disc. Now, return to the basement, load the disc into the big machine, and get ready for a fight!
Spamton NEO Pacifist Fight Strategy
This battle is intense but a bit more manageable than Jevil. Spamton NEO is all about cutting his strings.
Your go to move is Kris’s Snap action under the Act menu. You can also have Susie use Supercharge on Kris to make his Snaps more effective. Spamton will throw everything at you, including his face, but just keep snapping those strings. If you’re playing on PC, you can press F1 for a little bit of healing if you get into a tight spot!
Once you snap all the strings, the fight is over. For your pacifist efforts, you’ll receive the Dealmaker, an awesome piece of armor that increases the money you earn.
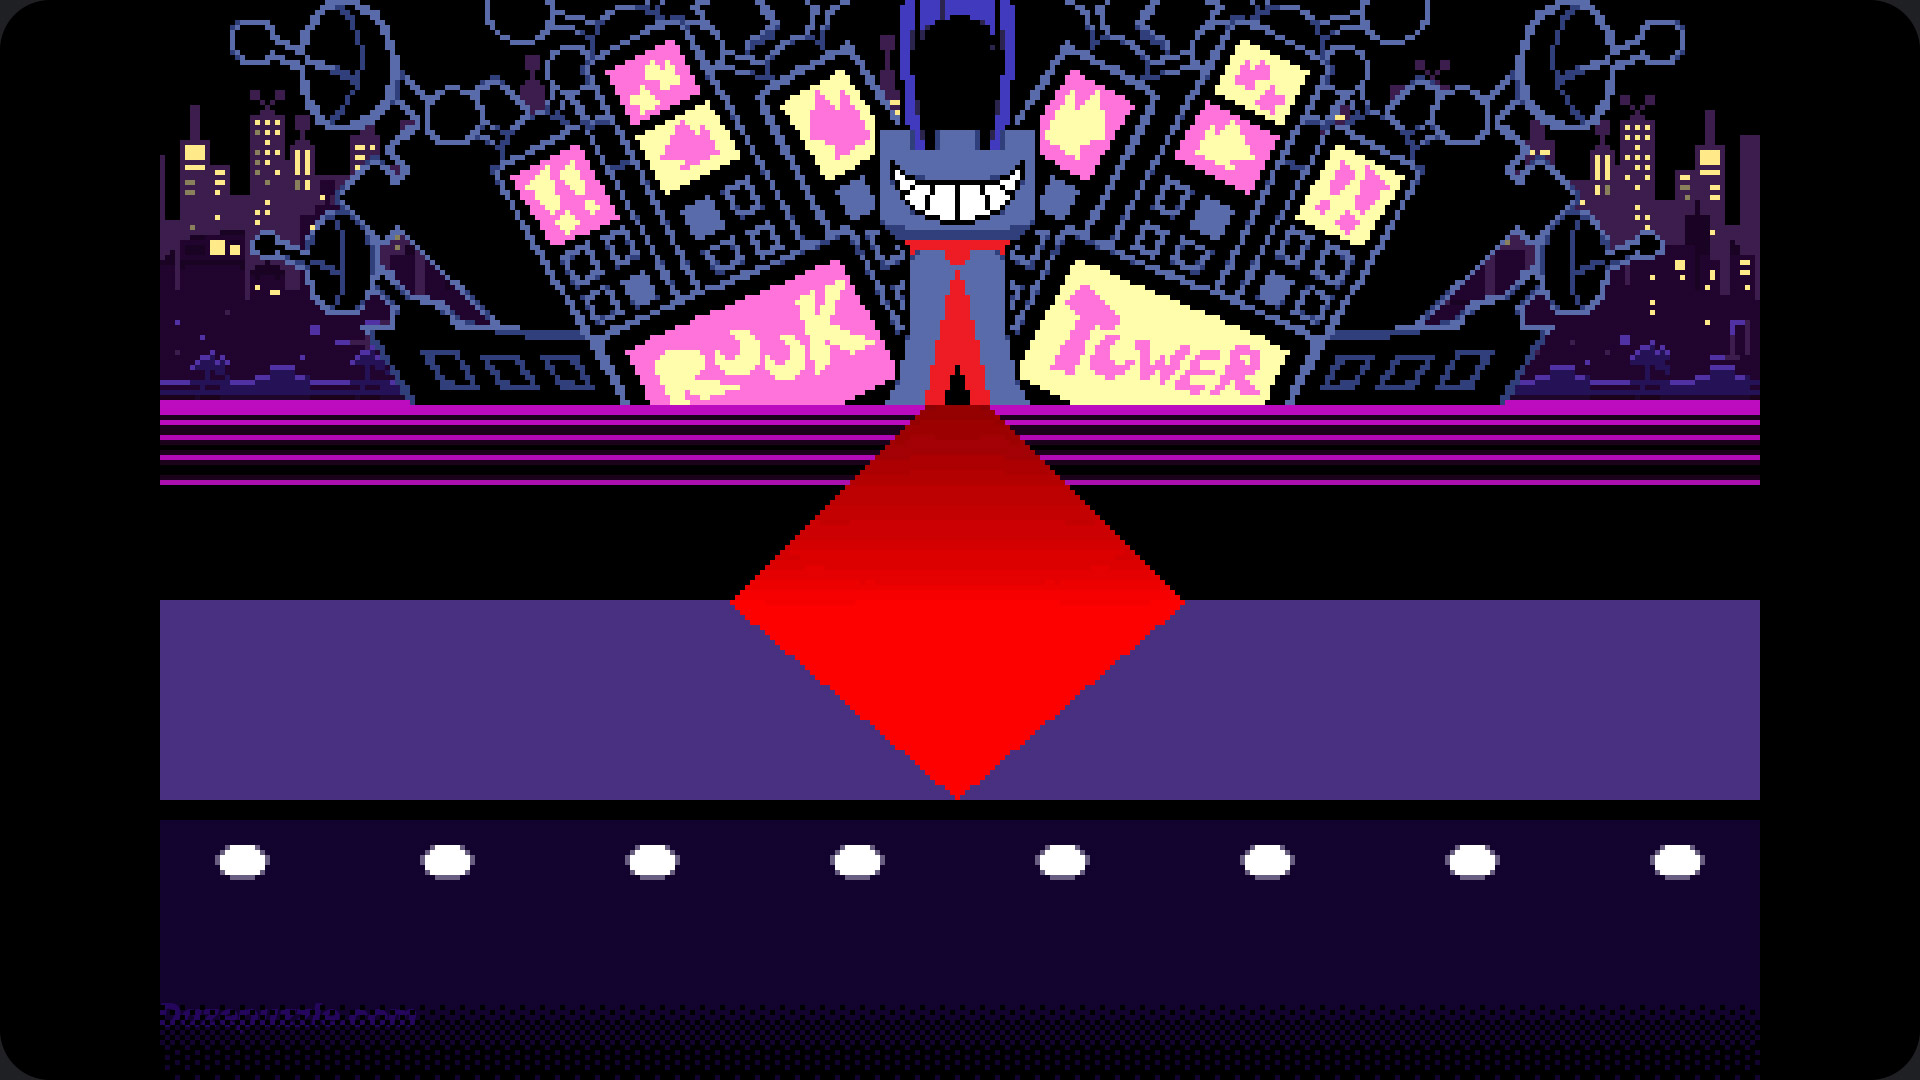
Queen’s Mansion & The Giga Queen Finale
The final area of Chapter 2 is Queen’s palace. It’s full of paintings, pottery, and puzzles. After reuniting with your party, you’ll face off against your rival, Berdly, one last time. Be nice to him! Hurting him here has some serious consequences in the Light World.
The final boss is the Giga Queen, where you pilot a giant robot. If you chose the “Flame” head for your Thrash Machine back in Chapter 1, you’ll have an advantage here! Use your special attacks and the “Super Charge” ability you learned from Susie. The fight is more of a spectacle than a major challenge. Win, and you’ll have brought peace to the Cyber World.
Hometown Hangouts: Wrapping Up Chapter 2
Just like last time, there’s more to do after the adventure. Visit Castle Town first to see all the new residents you’ve recruited. You can fuse items here, so try combining things like the Pink Ribbon and White Ribbon to create the powerful Twin Ribbon.
In Hometown, new events have unlocked. You can see a funny scene with Sans, Toriel, and Asgore. Visit the police station for a nice scene with Undyne. Talk to everyone again, and don’t forget to put the second Egg you found in the Cyber World alley into Asgore’s fridge.
For the Bold: A Quick Look at the “Weird Route” (Snowgrave)
You may have heard whispers of a darker path through Chapter 2. This is known as the “Weird Route” or “Snowgrave Route.” This is a completely different way to play that has massive, and tragic, consequences for the story and characters.
To trigger it, you must use Noelle’s IceShock magic to freeze every single enemy you encounter while she is in your party. You have to push her to use her powers in ways she’s not comfortable with, culminating in a final, terrible spell. This guide won’t cover it in detail because it’s something best discovered for yourself if you’re looking for a darker story, but be warned, it is permanent and will change your save file forever. It leads to a unique, incredibly difficult boss fight and a very chilling ending to the chapter.
Deltarune Chapter 3 Guide: The World in the Wires
Welcome to TV Land!
Get ready for things to get weird right in your own home! The new Dark Fountain you and Susie created has turned Kris’s living room into a bizarre new Dark World themed around television. The moment you enter, you’ll see that Toriel has been pulled in with you! She’s very confused but she’s also a powerful new party member. Her fire magic is a great asset. The first enemies you’ll face look like buzzing balls of TV static. This initial area is a good chance to learn Toriel’s abilities. You can have her “Scold” enemies, which is a peaceful way to end fights, or use her magic for a more direct approach. Don’t forget Ralsei can still pacify enemies to win battles without anyone getting hurt.
Navigating the Channels
As you leave the living room, you’ll find yourself moving through a world made of old TV show sets. The path will take you through a black and white sitcom stage, a flashy game show set, and even a chaotic cooking show. Each area has its own unique puzzles and enemies. For the game show, a host will ask you some silly trivia questions. Just pick the funniest or most obvious answers to proceed. In the cooking show area, you’ll need to help a frantic chef find some strange ingredients scattered around the room.
Follow the recipe on the TV monitor to create a weird looking cake that you’ll use to solve a puzzle and open the way forward. The main puzzle mechanic in this world involves finding TV remotes. When you use a remote, it can change the entire room, sometimes turning a solid wall into a door or even flipping gravity so you can walk on the ceiling to reach a new platform. If you ever feel stuck, look around for a remote control.
Mike’s Commercial Breaks
The ruler of this world is a slick, charming TV host named Mike. He’ll greet you with a smile, but you’ll soon learn he wants to keep you here forever to boost his ratings. Throughout the chapter, Mike will interrupt your progress with “commercial breaks.” These are surprise enemy encounters or tricky mini-puzzles that you have to solve to continue. You’ll also run into a familiar face, Undyne! She got pulled into this world too, and is trying to find a way out on her own. She’ll challenge you to a few friendly competitions, like a race through an obstacle course. Just keep dashing and jumping over the hurdles to beat her.
Climbing the Broadcast Tower
After navigating the TV studios, you will finally reach Mike’s personal headquarters: the Broadcast Tower. This is the last major area of the chapter and it’s a long climb to the top. The enemies here are Mike’s personal security and are tougher than anything you’ve faced before. Teamwork is essential. Use Susie’s Rude Buster attack on single, high health enemies, and have Toriel use her area of effect fire magic to handle groups. Ralsei should focus on keeping everyone’s health up, as the fights can be long and challenging. Keep pushing your way up the tower, floor by floor, until you reach the studio at the very top where Mike is waiting for you.
Final Showdown with Mike
The final battle against Mike takes place on a massive stage with a live studio audience. He uses a variety of television themed attacks against you. He might send giant waves of static across the screen that you have to dodge, or trap your party members inside their own personal “TV shows.” When a friend is trapped, you’ll need to survive a special sequence of attacks to break them free. The key to winning this fight is to use the “Act” command. You can “Change the Channel” to alter Mike’s attacks, making them weaker, or “Appeal to the Audience” to build your TP faster. Once you’ve successfully defended against his attacks and acted enough times, he’ll become exhausted. This is your chance to use Ralsei’s ultimate pacifying spell to end the broadcast and the battle peacefully.
Sealing the Fountain
With Mike defeated and shown that there’s more to life than ratings, the path to the Dark Fountain will be clear. You, Susie, Ralsei, and Toriel can work together to seal it. You’ll wake up back in Kris’s living room. It’s an absolute mess, but everyone is safe. Toriel is still processing the wild adventure she just had. The chapter closes on a quiet, funny note as you all work together to clean up the room, strengthening your bonds after sharing another incredible journey.
Deltarune Chapter 4 Guide: The Kingdom of Faith and Doubt
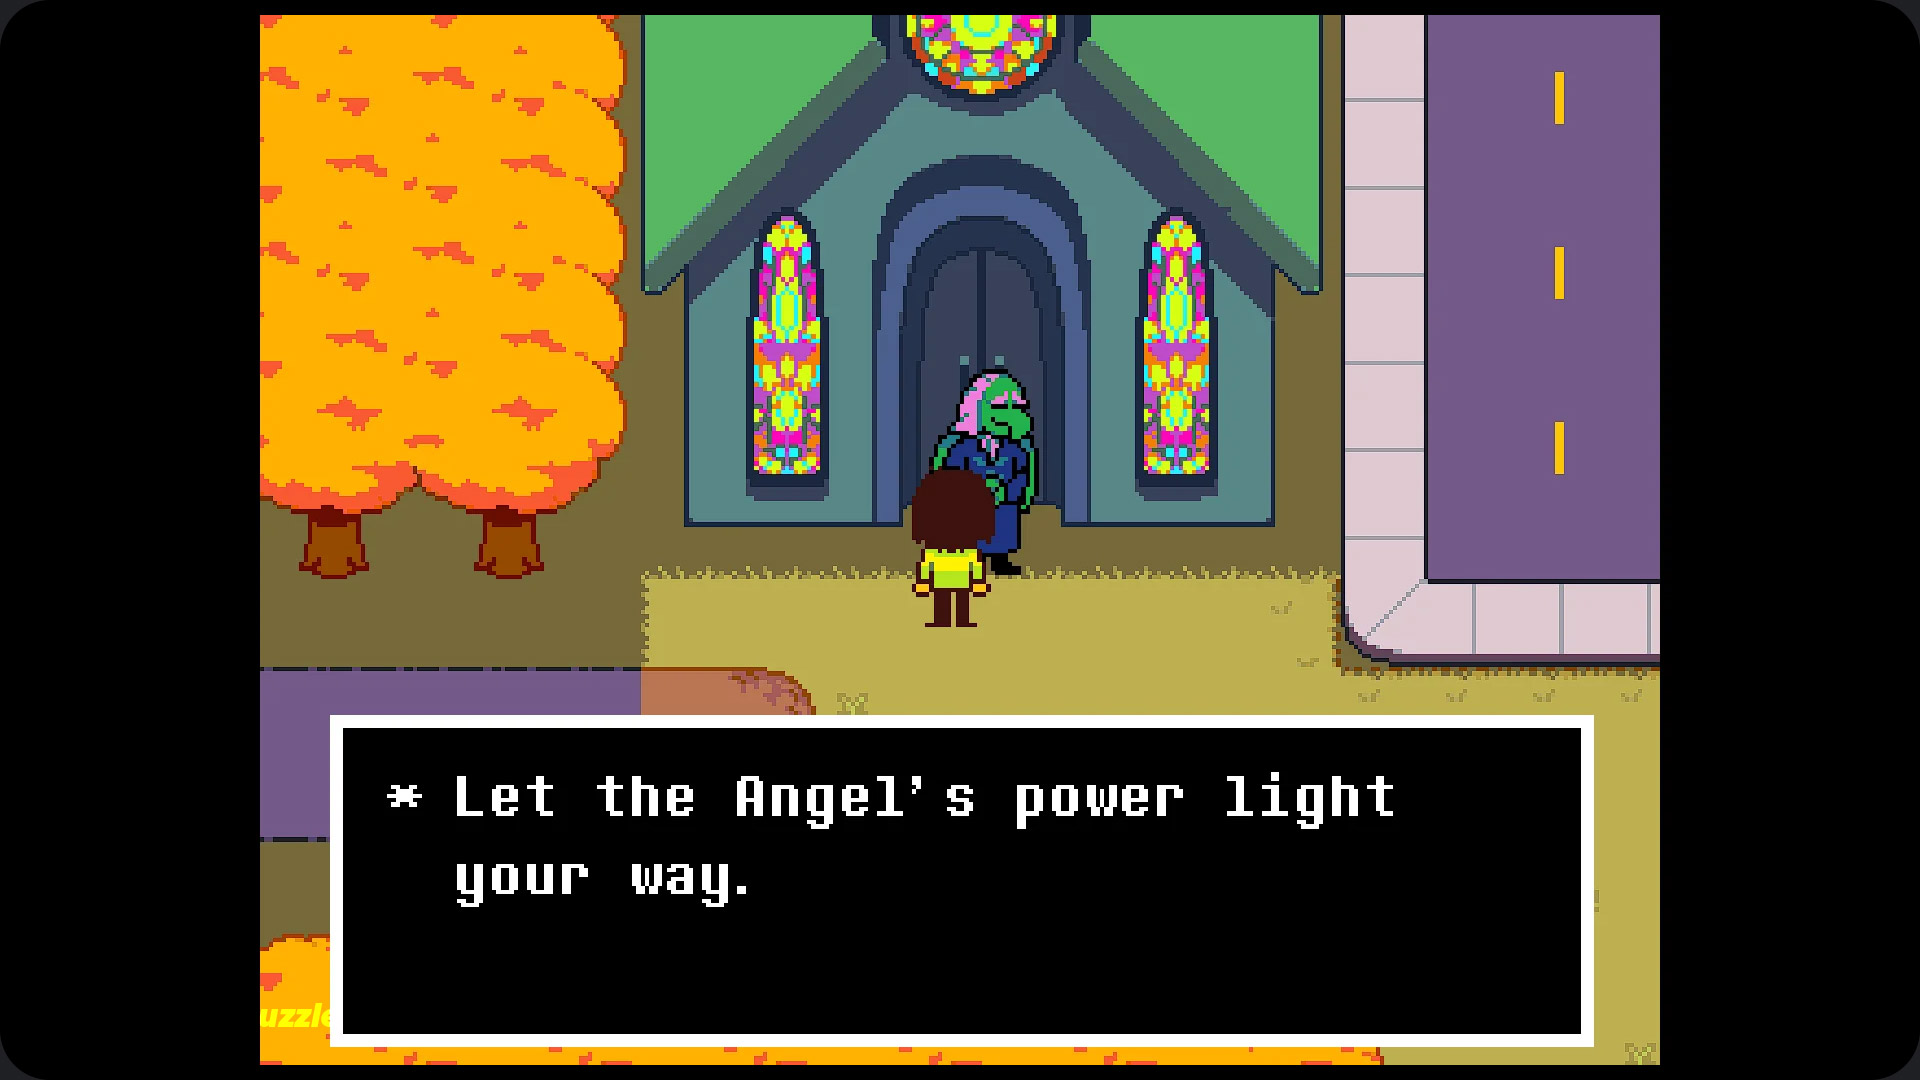
A Solemn New World
The adventure picks right back up the next day. A new Dark Fountain has emerged in the old, abandoned church at the edge of town. When you, Susie, and Noelle head inside to see what’s going on, you’re all pulled into a new, ancient-feeling Dark World. This world is a forgotten kingdom made of shattered pews, dusty hymn books, and broken stained glass. It’s a quiet, spooky place. Noelle is at the center of this chapter’s story, and her light based abilities will be essential to your survival. She starts out very afraid, and your job will be to help her find her inner strength.
The Power of Prayer
Chapter 4 introduces a brand new battle mechanic called “Prayers.” As you use “Act” commands and spare enemies peacefully, a special gauge will fill up. When it’s full, you can have Ralsei or Noelle perform a powerful Prayer. Ralsei’s “Prayer of Calm” can make every enemy on screen too tired to fight, letting you spare them all at once. Noelle’s “Prayer of Hope” heals the entire party and also lowers the attack power of your enemies. Mastering the use of these prayers is the key to navigating this world without resorting to violence and achieving the best outcome for the story.
Bells and Stained Glass
The main puzzles in this crumbling kingdom involve its two most prominent features: giant bells and beautiful stained glass windows. You will often find massive, sealed doors blocking your path. To open them, you must find and ring several large church bells in a specific sequence. The correct sequence is usually hidden as a clue in the environment, perhaps written in a dusty book or carved into a wall. You will also encounter light based puzzles. These require you to position mirrors or crystals to direct beams of light through stained glass windows, projecting a colored pattern onto a switch on the floor. Noelle’s light magic is often needed to activate these puzzles in the first place.
Lost in the Catacombs
About halfway through the chapter, the floor will crumble, separating Kris and Noelle from Susie and Ralsei. You’ll have to navigate the dark and spooky catacombs beneath the church with just Noelle by your side. This section is very story driven. Noelle will be scared, and you’ll have many dialogue options to respond to her. To help her grow more confident, always choose the kind, encouraging, and brave options. Reassure her that you’ll protect her and that she is stronger than she thinks. These choices matter and will directly impact her power in the final battle.
Confronting The Father
After you reunite with your friends, you’ll make your way to the main cathedral to confront the ruler of this world, a grim figure known simply as “The Father.” He isn’t a typical boss who just throws attacks at you. Instead, his power is one of persuasion and doubt. The final battle is a fight to keep your team’s spirits up. The Father will target Susie and Ralsei individually, filling their heads with negative thoughts and making them question your quest. You cannot win this fight by attacking him. You must use Kris’s “Act” ability on your own friends. Choose to “Remind” Susie of your friendship or “Encourage” Ralsei to remember his purpose. Each successful act will strengthen their resolve and weaken The Father’s influence.
A Prayer for Salvation
As you continue to support your friends, you will build up the prayer meter to its absolute maximum. This unlocks Noelle’s ultimate ability: the “Prayer of Salvation.” When you activate this, Noelle will unleash a wave of pure, gentle light that fills the entire cathedral. This prayer doesn’t harm The Father; instead, it shows him and all his followers that belief doesn’t have to be so rigid and that it’s okay to have doubts and fears. He sees the error of his ways and the battle ends peacefully. The kingdom is filled with a new sense of hope.
A New Dawn
With The Father’s heart changed, the Dark Fountain is yours to seal. You, Susie, and Noelle all wake up in the dusty, quiet church in your own world. The adventure is over, but Noelle is visibly changed. She stands taller and speaks with a new confidence, having faced her fears head on. The chapter, and your amazing new journey, concludes as your group of friends walks home together, stronger and more united than ever.
Final Tips for Your Perfect Deltarune Adventure
And that’s it! You’ve done it. You’ve completed Chapters 1, 2, 3 and 4 beaten the secret bosses, found the hidden items, and created a perfect save file ready for whatever comes next. Remember to talk to everyone, interact with everything, and most importantly, have fun on your journey through the weird and wonderful world of Deltarune!
Thanks for keeping up with Game.Dazepuzzle.com
(This Game Guide will be updated as new chapters release)