
Think of Act 1 in The Alters as the tutorial level. The game kindly held your hand, showed you which buttons to press, and gave you the relatively simple job of just… not dying immediately. You built a few things, created your first Alter, and probably thought, “Okay, I get it. I can do this.”
Act 2 is the game looking you dead in the eye, taking the controller, and throwing it back at you with a smirk that says, “Good luck.”
The difficulty spike is real, the pressure is immense, and things are about to get incredibly complicated. If you’re feeling that “what do I even do first?!” paralysis, don’t worry. You’re not alone. This Act 2 Complete Guide is your co-op partner for the whole wild ride. We’ll get you through this Act 2 Complete Walkthrough with your base, and your sanity, mostly intact.
What’ in our The Alters: Act 2 Complete Guide?
The Rude Awakening: What to Do First
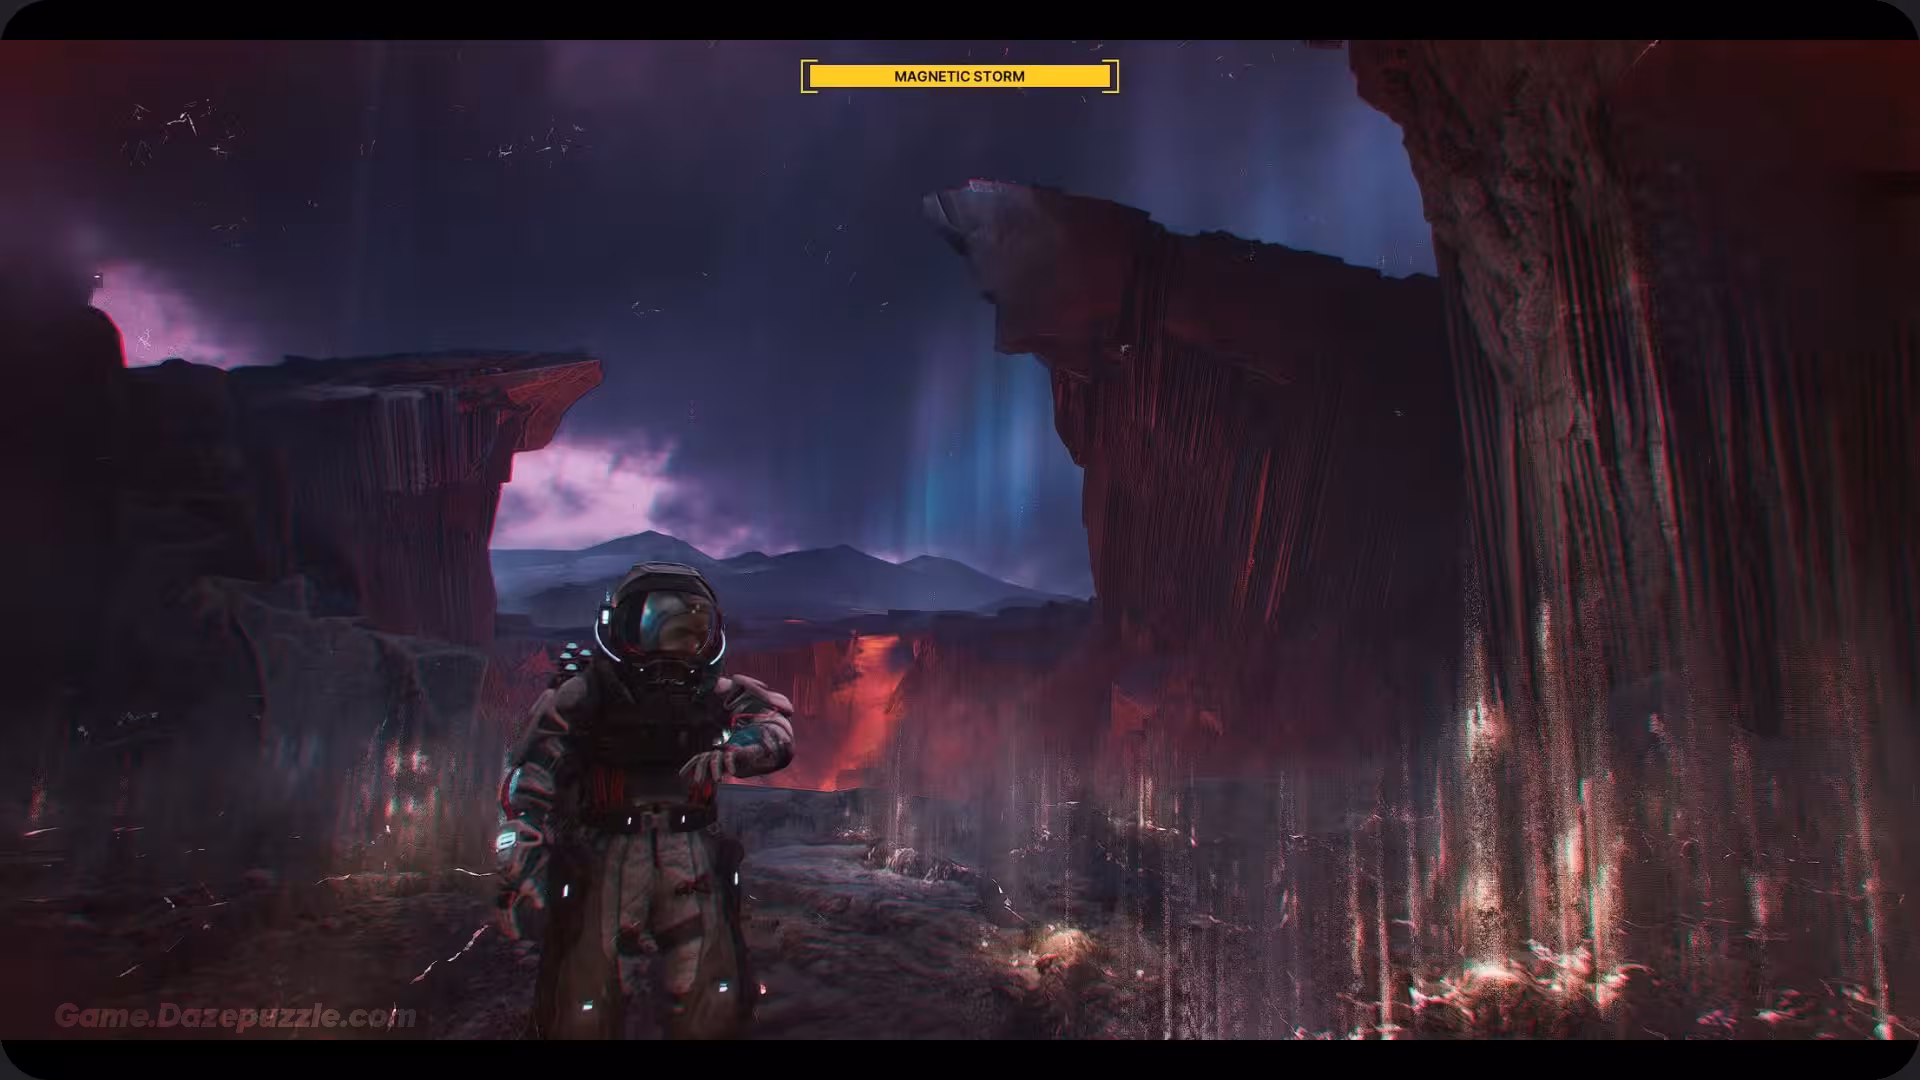
The moment Act 2 begins, the game throws a massive wrench in your plans. You thought your next step was simply creating another Alter? Cute. Instead, you’re hit with the terrifying news that a lethal solar storm is barreling across the planet, and your base is parked directly in its path. Suddenly, you have a deadline. A very, very firm one. This becomes the central crisis of Act 2, and your first few The Alters Act 2 days aren’t about leisurely expansion; they’re a frantic scramble for survival.
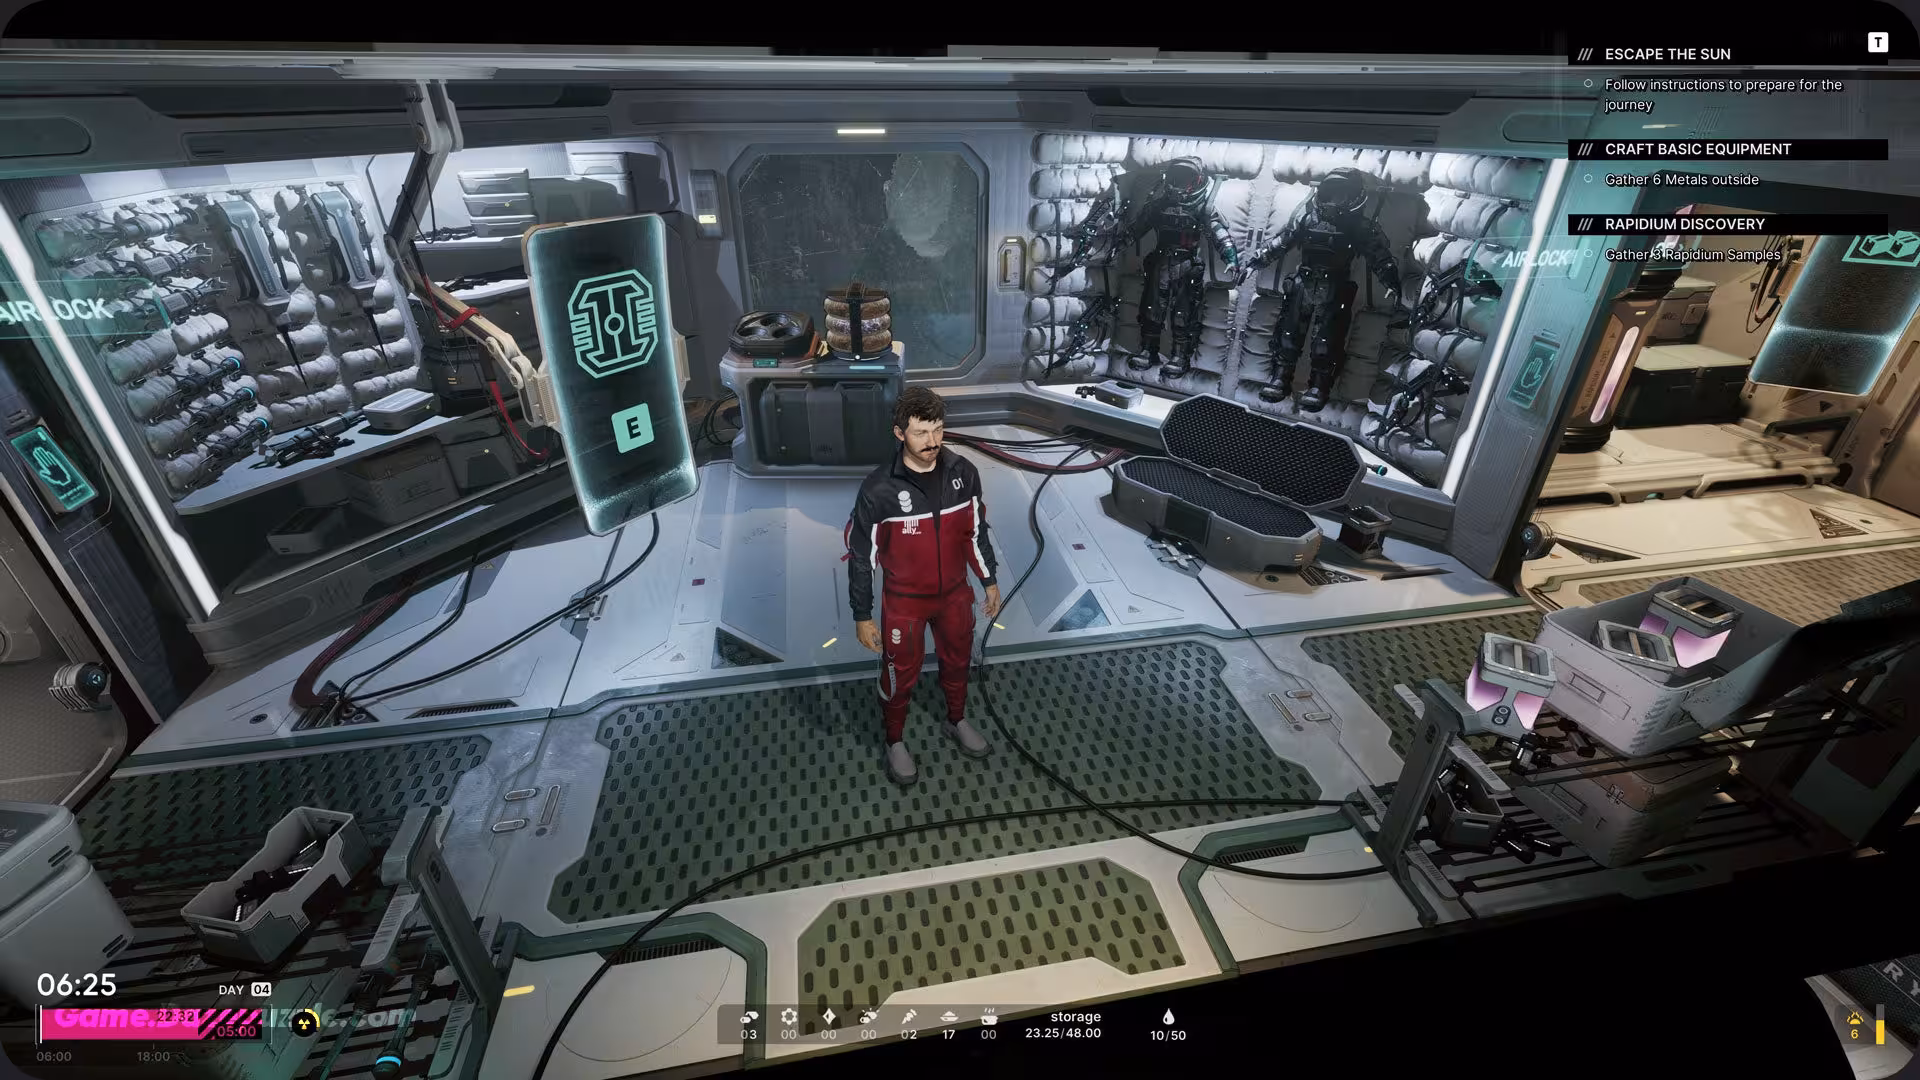
Forget everything else for a moment. Your first two priorities are your Smelter and your Workshop. If you somehow finished Act 1 without them, build them immediately. If you do have them, your next goal is to build a second Workshop. I cannot stress this enough.
It might feel like a waste of precious Metal and Carbon when you’re already stretched thin, but the ability to craft two different components at once is a total game changer. For example, you can have one Workshop churning out the Metal Plates needed for construction while the second assembles the Basic Tools required for scavenging runs. This simple change prevents production bottlenecks that can cripple you later.
You’re Gonna Need a Bigger Brain: The Scientist
Now that your basic production line is sorted, you can address the “create a new Alter” objective. The game heavily nudges you towards creating the Scientist, and for once, you should absolutely listen. He is the only key to surviving this Act.
Head over to the Tree of Life and initiate the process. When the Scientist materializes, his demeanor is a stark contrast to the Technician’s. He’s analytical, incredibly direct, and immediately grasps the existential threat, barely taking a moment to acclimate. His first lines of dialogue will outline the gravity of the situation, confirming that your base’s standard hull won’t do a thing against the coming radiation. Your only hope is to build a massive, energy-sucking protective field. To do that, he needs a proper Laboratory and some seriously advanced gear. And so, your grand scavenger hunt begins.
The Great Expedition: Mastering The Alters Act 2 Map
The Scientist has given you a shopping list, starting with a Laboratory and an Advanced Refiner. These require resources you’ve probably never even seen before, namely Polymer and Carbon. It’s time to become intimately familiar with your backyard. So, pull up The Alters Act 2 map, it’s about to become your most-used screen.
- Hunting for Polymer: To find this crucial material, exit your base through the main airlock and head east, making your way towards the large canyon. In the distance, you’ll spot the glint of a massive, crashed ship section. That is your primary landmark. Scour the area immediately surrounding the wreck for strange, shimmering, almost plastic looking piles on the ground. That’s the Polymer. You’ll need a lot of it, so plan to make several trips.
- Spotting Carbon: This one is a bit trickier to find. As you explore, keep your eyes peeled for dark, jagged crystalline formations jutting out of the ground. They don’t shimmer like Polymer, so they’re easier to miss. They often appear in clusters.
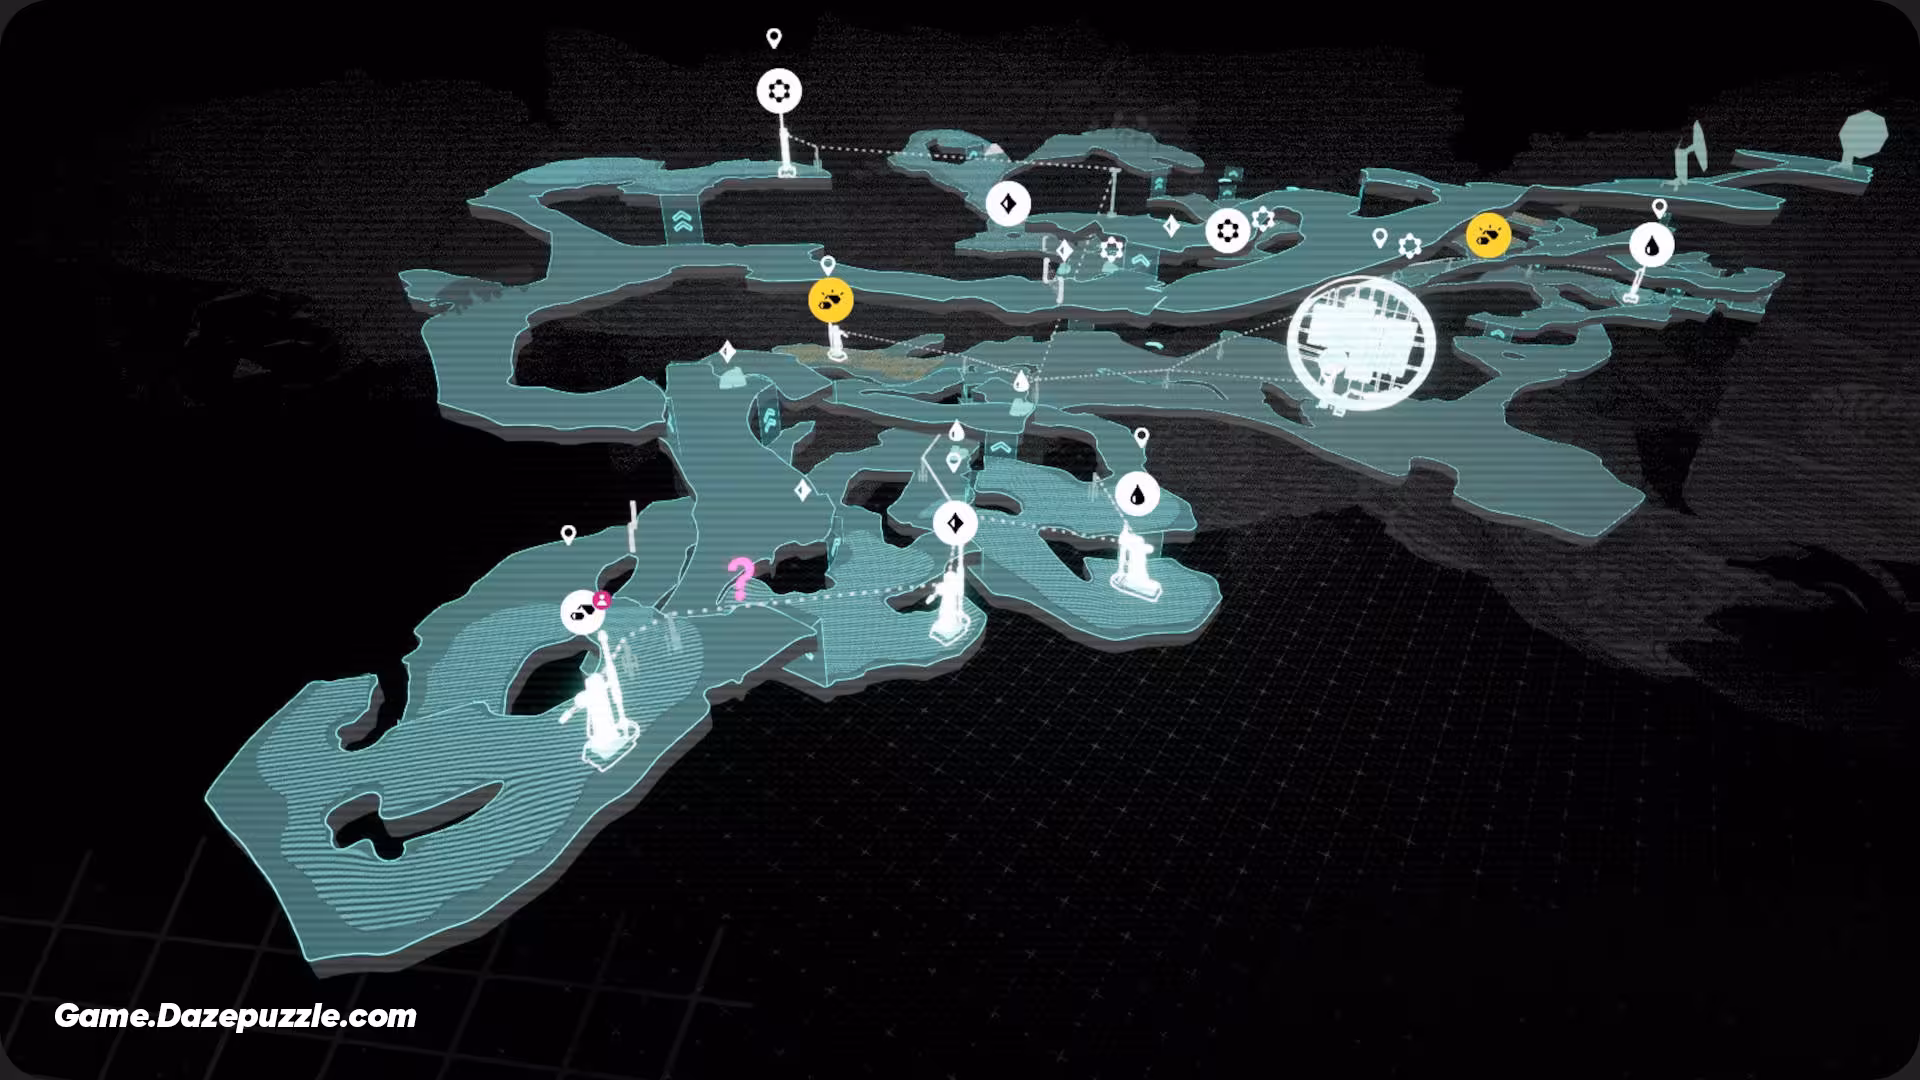
A critical word of advice: this planet is a confusing mess of nearly identical canyons and craters. It is shockingly easy to get turned around and waste an entire day. Get into the habit of opening your The Alters Act 2 map the moment you find a new resource patch. Use the custom marker feature (a true lifesaver) to tag the exact location. This turns future scavenging runs from a blind search into a quick, efficient commute.
The Mad Dash: A Race Against the Sun
Got the resources? Fantastic. Now the real chaos begins. This phase is a pure balancing act of building, researching, and refining, all while the solar storm clock ticks relentlessly down.
Step 1: The Laboratory and the Big Idea
Your first construction project is the Laboratory. Find a free spot in your base and get it built. The moment it’s finished, assign your Scientist to it. He needs to start researching the “Radiation Proofing” technology immediately. This is a background task that takes a significant amount of time, so the sooner he starts, the better. You can check his progress by interacting with the Lab.
Step 2: Building the Beastly Refiner
While the Scientist is busy thinking, your next job is to build the Advanced Refiner. This hulking machine is necessary to process your raw Polymer and Carbon into the usable components for the final device. Your Technician is the best Jan for this job. He’ll make a few sarcastic remarks about its design, but his expertise means he’ll operate it faster and more efficiently than anyone else.
Step 3: Managing Your Stressed Out Selves
This is where your management skills are truly put to the test. With multiple projects running, your Jans will get tired, hungry, and stressed. The Technician will burn out from long shifts at the Refiner, and the Scientist might neglect his own needs while absorbed in his research. Keep a constant eye on their status bars in the crew menu. A well-rested, well fed Jan is a productive Jan. Ignoring their needs will lead to work refusals, arguments, and lowered efficiency right when you can least afford it. Make sure the Canteen is stocked and you’re scheduling downtime.
Step 4: The Final Blueprint and the Crafting Frenzy
Eventually, the Scientist will have his eureka moment. He’ll announce he’s completed the research and give you the final blueprint: the Field Emitter. But it’s not a single item. It requires three distinct, complex components that must be crafted in your Workshops:
- The Emitter Core: The heart of the device. This is the most complex part.
- The Power Converter: Needed to handle the massive energy draw.
- The Focusing Array: Shapes the protective bubble.
Check the blueprints for each in your Workshop menu. They will require a mix of Metal Plates, Basic Tools, and the new materials from your Advanced Refiner. This is why having two Workshops is so vital. You can queue up the components in parallel, turning a long, sequential crafting nightmare into a manageable, simultaneous effort. Funnel all your resources into this. Stop all other non-essential production. This is all that matters.
Once you have all three parts, you can craft the final Field Emitter. Place it on one of the designated exterior slots on your base. The game will treat you to a nail-biting cutscene where the device sputters to life just as the sky turns a terrifying, apocalyptic orange. A shimmering blue bubble expands, enveloping your base just as the solar wave hits. You’re safe. You did it.
Beyond the Storm: Your Complete Journey
Beating the solar storm is a massive accomplishment and the climax of Act 2. You’ve successfully navigated the first major crisis the game has thrown at you. This guide got you through the 100% Act 2 Complete Walkthrough, but Jan’s story is only just getting started. The problems get bigger, the stakes get higher, and the crew of Jans gets even harder to manage.
If you’re in this for the long haul and want a guide for the entire game from the crash landing to the final, impossible choice, make sure you bookmark our master guide.
If You want to Learn Everything about the Game, You can read out The Alters Complete Walkthrough
You Made It. Now What?
Take a breath. Repair your gear. Maybe let your Jans have an extra nutrient paste packet to celebrate. You’ve earned it. Act 2 was a trial by fire, testing your ability to manage time, resources, and people under extreme pressure. You’ve proven you can do it.
But out there, on that red, dusty horizon, Act 3 is waiting. And it has a whole new set of challenges you can’t even imagine yet. See you there.
Thanks for keeping up with Game.Dazepuzzle.com