The world of Death Stranding 2: On the Beach has evolved. The familiar dangers of Timefall and BTs are now just the beginning. The very ground beneath your feet is unstable, with new, dynamic threats like sudden river floods, reality bending Gate Quakes, and blinding sandstorms constantly redrawing the map you thought you knew. In this relentlessly changing landscape, the humble shelter is no longer a luxury; it’s the anchor of your entire operation.
When your command ship, the DHV Magellan, gets stranded in a sea of tar, or a quake wipes out your path forward, you’ll need more than a simple timefall shelter. You need a home base. You need a command center. You need Safe Houses in Death Stranding 2.
These structures are your personal fortresses in the wild, the backbone of any serious Porter’s logistical strategy. They are the only places where you can fully recover, fabricate top tier gear, and plan your next move when the world itself is trying to pull you apart. This guide is your definitive blueprint for mastering this critical piece of infrastructure.
We’ll walk you through every step, from unlocking the initial plan and gathering the expensive resources to deep diving into the strategic art of placement and the rich customization options that let you turn a simple shelter into a testament to your journey. This is everything you need to know to build, optimize, and truly own your corner of this shattered world.
What’s in our How to Unlock and Build Safe Houses in Death Stranding 2 Guide?
The Blueprint: How to Unlock Your First Safe House
First things first, you can’t build a Safe House right from the start of the game. Unlike more basic structures, the ability to construct a full fledged Safe House is a major reward for making significant progress in the main story. It’s a milestone in Sam Porter Bridges’ journey, signaling a new level of engagement with the world. The process involves hitting a specific story beat and then getting your hands on the right piece of construction equipment.
The Main Order You Can’t Miss
Your journey to unlock these essential structures is tied directly to the main story. You’ll need to push the narrative forward until you reach the new continent of Australia and begin taking on the missions there. The golden ticket is Main Order 23. This critical mission will lead you to Heartman’s Lab. Once you successfully complete this delivery and connect the lab to the Chiral Network, the game will reward you with the coveted blueprint to build Safe Houses. The importance of this moment is underscored by the other gear you unlock alongside it, such as the Jump Ramp and the first level of the Extra Battery, marking it as a major gateway to more advanced gameplay.
Getting the Right Tool for the Job: The PCC Lv. 2
Having the blueprint is only half the battle; you need the right tool to bring it to life. That tool is the Portable Chiral Constructor Level 2 (PCC Lv. 2). Trying to build a Safe House with a standard, level 1 PCC is a waste of time; the option simply won’t appear in its construction menu. You’ll unlock the technology for the PCC Lv. 2 as you progress through the story, after which you can fabricate one at any delivery terminal that’s connected to the Chiral Network. Before you ever head out with the intention of building a Safe House, double check your inventory and make absolutely sure you have a PCC Lv. 2 packed and ready to go.
Paying the Price: All Resources Needed for a Safe House
Constructing a Safe House is a serious investment, demanding a significant amount of resources. This high cost is a deliberate design choice, pushing you to engage more deeply with the game’s new resource economy and infrastructure systems. Once you pay this one time cost, however, the structure is fully operational.
The Exact Material Cost
To build one of the Safe Houses in Death Stranding 2, you will need to have the following materials ready for the PCC Lv. 2 to use:
| Resource | Required Amount |
| Chiral Crystals | 300 |
| Resins | 960 |
| Special Alloys | 960 |
The high demand for Resins and especially Special Alloys is your main motivator to explore the world and find efficient ways to gather materials. Luckily, Death Stranding 2 provides powerful new methods for farming these resources.
The Industrial Approach: How to Use Mines for Resources
The most efficient way to get the massive quantities of materials you’ll need is by using the new Mines system. These are specific locations on the map that, once discovered, can be rebuilt with an initial investment of resources. After they are restored, these mines will act as automated generators, regularly producing large amounts of their specialized material for you to collect. To fund your Safe House construction, you should prioritize finding and restoring these key mines:
- For Special Alloys: Focus on the “Mine North of F1” and the “Savanna Mine”. The first one, in particular, is a location you’ll encounter through the main story.
- For Resins: Seek out the “Mine near F3 Crater” and the “Mine North of F6” to keep a steady supply flowing.
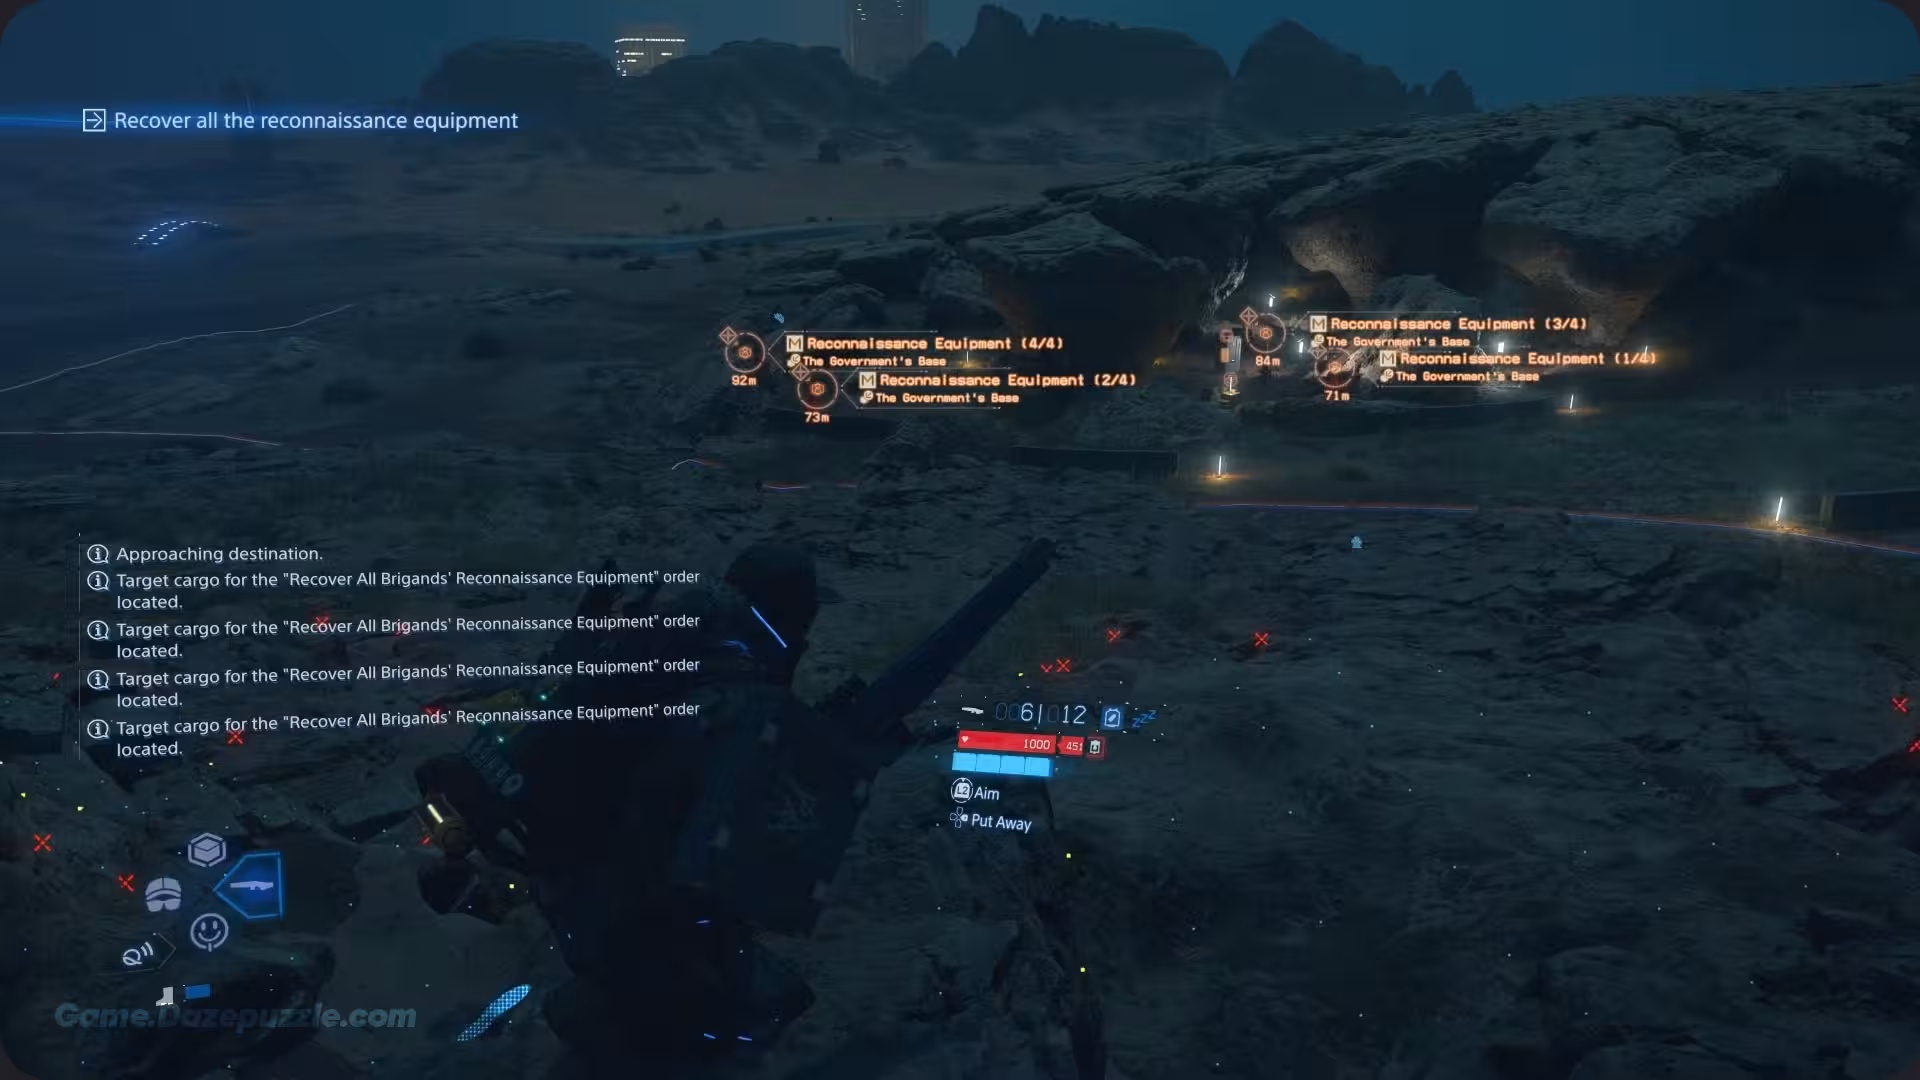
High Risk, High Reward: Raiding Brigand Camps
If you prefer a more hands on approach, enemy encampments are treasure troves of resources. Brigand Camps are often filled with XL containers of materials and have even more stashed away in their Postboxes. Use your Odradek scanner to pinpoint material containers from a distance and deploy a Watchtower to get a full layout of the camp before you move in. A pro tip for sustainable farming is to use non-lethal methods like the Bola Gun or your Strand to incapacitate enemies. This ensures the camp will eventually repopulate with fresh supplies for future raids.
The Social Strand System in Action: Collaborative Building
One of the most beautiful mechanics in Death Stranding returns to make your life easier. If you don’t have all 960 Special Alloys on hand, don’t worry. You can go to your desired location, use your PCC Lv. 2, and erect the initial foundation of the Safe House. You can then contribute whatever materials you currently have. This half built structure will now appear in the worlds of other online players. They can then see your project and donate their own resources to help you finish it.
This system not only lightens the heavy resource burden on any single player but also perfectly reinforces the game’s core theme of connection and rebuilding together. Helping others and receiving help generates Likes, which boosts your Porter Grade and strengthens the entire social system.
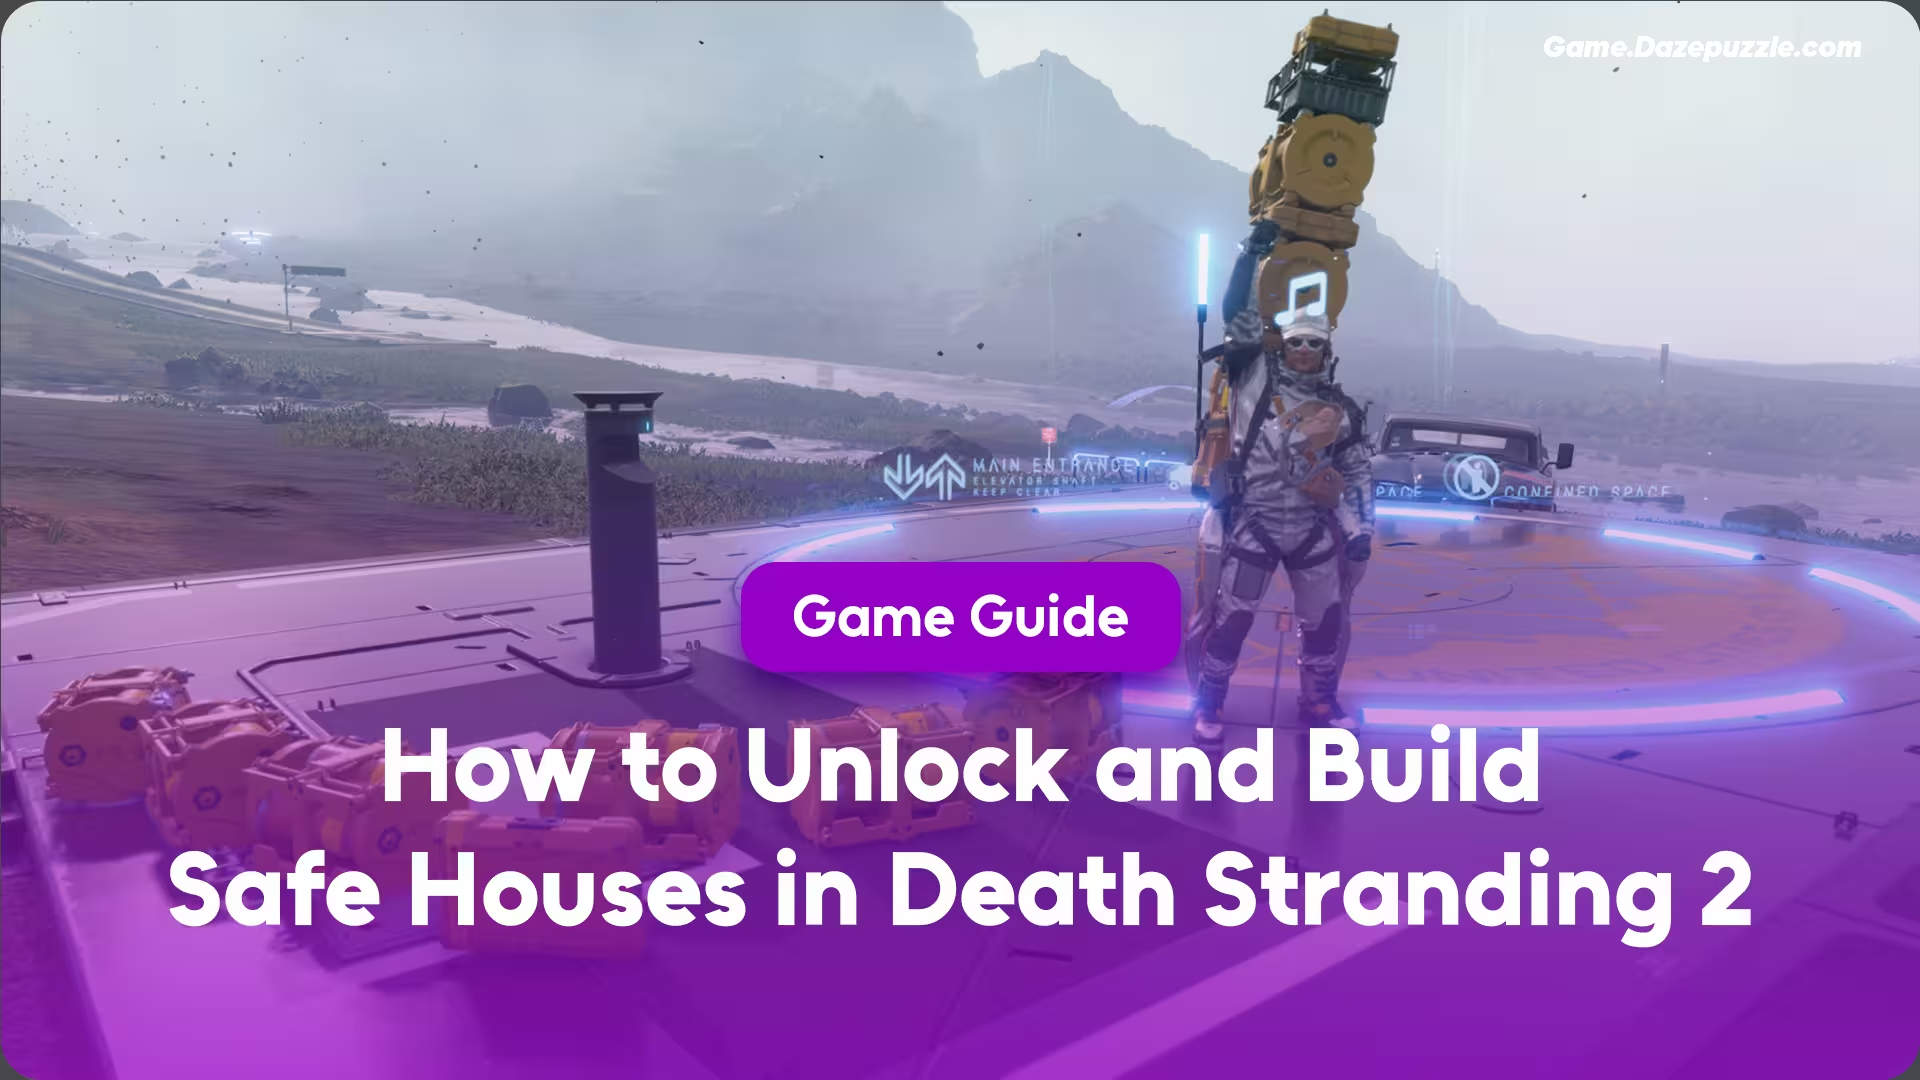
Inside Your Sanctuary: A Full Tour of Safe House Facilities
Once built, your Safe House is far more than just a roof over your head. It becomes a fully featured operational hub, offering all the amenities of a major Distribution Center in a location of your choosing. This is what elevates it from a simple Timefall Shelter into a true strategic asset.
More Than a Bunk Bed: The Evolved Private Room
Entering a Safe House transports you to the familiar Private Room, but this version is more evolved and essential than ever. This is your one stop shop for recovery and management:
- Full Recovery: Simply resting in the room will completely restore Sam’s health and stamina bars.
- Sustenance: You can drink and eat to replenish your stats and refill your canteen for the journey ahead.
- Hygiene and Environmental Cures: Using the shower and toilet still produces those useful EX Grenades, but they now serve a more critical function in dealing with new environmental hazards. Specifically, taking a shower is the only effective way to cure frostbite, a dangerous new status effect you’ll encounter in the cold regions of Australia.
- Customization Hub: The Private Room is where you’ll personalize Sam’s appearance, tweak his backpack setup, and even decorate the room itself.
- Terminal Access: You have full access to a delivery terminal right from inside the room, allowing you to check emails, read data, and fabricate gear without leaving.
The Porter’s Garage
Every Safe House comes equipped with a subterranean garage, a massive logistical advantage. When you drive any vehicle, like your trike or one of the new Off-Roader trucks, onto the circular elevator platform, it will automatically be repaired to 100% and have its battery fully recharged. In the harsh environments of DS2, where equipment wears down fast, this feature is absolutely essential for vehicle maintenance. The garage also functions as a private parking lot, letting you store multiple vehicles safely away from the corrosive Timefall, allowing you to pick the perfect ride for any given delivery.
Your Personal Armory and Workshop
The terminal inside the Safe House gives you the full power of a major Knot City workshop, right in the middle of nowhere. You can fabricate any piece of equipment you’ve unlocked, from boots and ladders to high powered weapons and exoskeletons. You also have full access to your Private Locker for personal storage and the Shared Locker to exchange items and gear with other players across the Chiral Network. Furthermore, the Recycle function allows you to break down unwanted equipment and cargo into their raw materials, which are then added to that facility’s storage for future fabrication projects.
This complete suite of features transforms the Safe House from a mere pit stop into your own personal distribution center, empowering you to create entirely new logistical networks far from established cities.
The Art of Placement: Strategic Guide to Choosing the Perfect Spot
Deciding where to build a Safe House is one of the most important strategic decisions you will make in Death Stranding 2. A well placed shelter can dramatically improve your efficiency, while a poor choice can be a colossal waste of precious resources. Optimal placement is no longer just about shortening a route; it’s a complex equation that requires you to think like a logistician and a civil engineer, adapting to a world in flux.
The Golden Rules of Safe House Location
These fundamental principles, carried over from the first game, still form the core of your decision making process:
- Fill the Gaps: The most basic rule is to build your Safe House far away from existing Knot Cities and Distribution Centers. The goal is to avoid redundancy and place your shelter in the “logistical gaps” on the map, creating a new point of light in the darkness.
- Serve Multiple Routes: A truly great Safe House is built at a strategic crossroads. It should be a location from which you can launch deliveries to several different destinations, maximizing its utility.
- Embrace the Danger: Building near a high threat area like a large BT territory, a major Brigand camp, or a zone prone to environmental hazards is a fantastic strategy. It gives you a safe point to rest, repair gear, and re-arm right before you plunge into danger.
New World, New Rules: Advanced Strategy for DS2
The sequel adds several new variables to the equation, making the placement process deeper and more rewarding:
- Counter the Dynamic Environment: The ever changing world is a brand new factor. Ideal locations now include areas prone to river floods or Gate Quakes. A Safe House there can be a literal lifesaver during these unpredictable events. In cold zones where frostbite is a constant threat, a Safe House with its hot shower is invaluable. You should also consider building in areas near the coast or tar belts where the DHV Magellan is likely to get stuck, ensuring you always have a fully featured ground base when your main ship is out of commission.
- Synergize with the Resource Economy: A Safe House becomes exponentially more valuable when it works in concert with the new resource system. Placing a shelter in close proximity to a valuable Mine, especially one for Special Alloys or Resins, creates a hyper efficient loop of harvesting, storing, and fabricating advanced equipment on-site.
- Integrate with New Transit Networks: A single Safe House is strong, but one that’s part of a larger infrastructure network is a game changer. Think about building them as key stations along a Monorail line to facilitate bulk transport. Use them as starting points or destinations for the new Transponder fast travel system. And in treacherous mountain regions, build them as the central hubs for complex Zipline networks that let you bypass the terrain entirely.

Ideal Location Blueprints (Examples)
To make these principles clearer, here are a few scenarios for perfect Safe House placement:
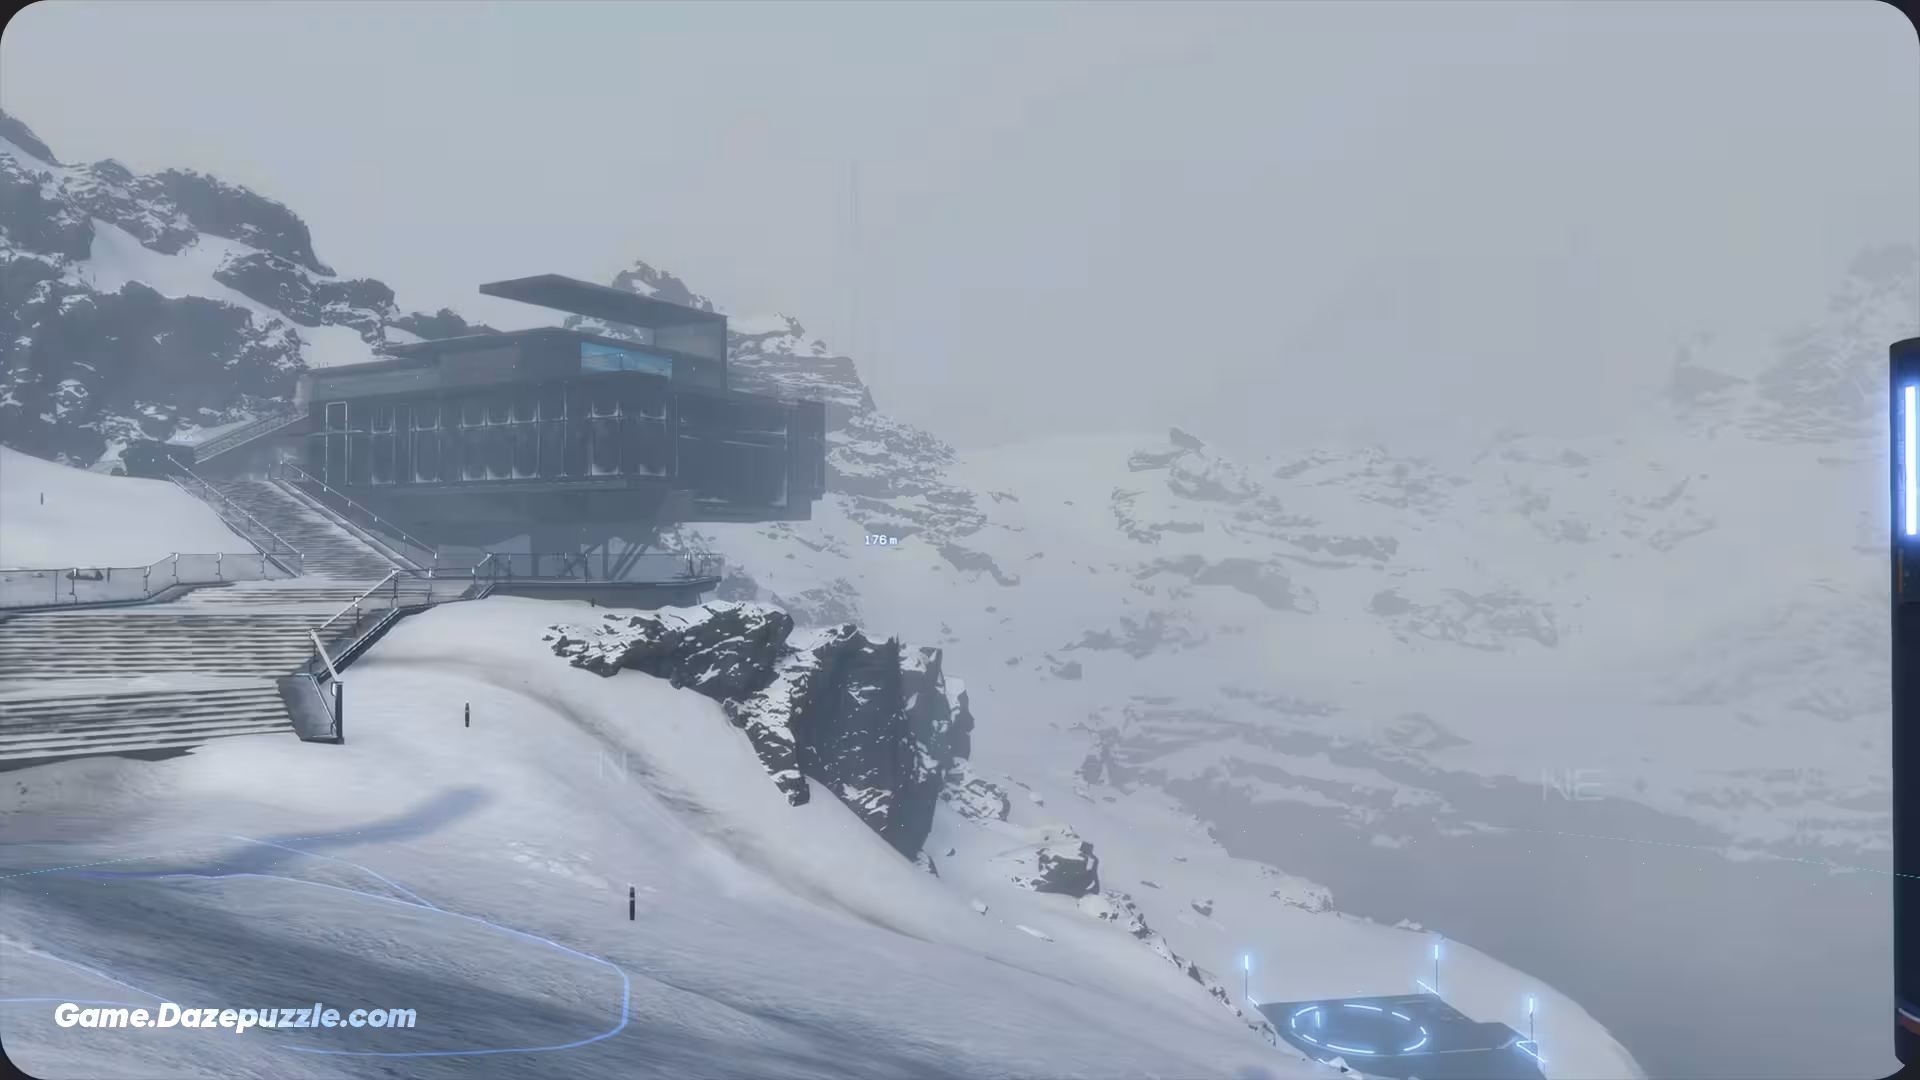
- The Mountain Pass Hub: Place one midway through a treacherous mountain range, far from any other facility. This can serve as the heart of a Zipline network and a refuge from mountain BTs and heavy Timefall.
- The Coastal Supply Point: Build along a long stretch of coastline that is difficult to traverse with vehicles. This can bridge the gap between two distant distribution centers, opening up entirely new delivery routes.
- The Mining Operations HQ: Construct a Safe House right next to a freshly restored Special Alloy Mine. This allows for rapid resource gathering, secure storage, and immediate fabrication of the best gear.
- The Anti-Magellan Anchor: Find a region known for heavy tar flows that frequently ground the DHV Magellan. Placing a Safe House here guarantees you’ll never be cut off from your essential facilities.
Ultimately, the “best” spot is a smart compromise between all these factors. You’re no longer just a delivery man; you’re a post apocalyptic city planner, and the Safe House is your most powerful tool.
Making It Your Own: Customization and Progression
In Death Stranding 2, the idea of “upgrading” your Safe House has undergone a major paradigm shift. While aesthetic customization is deeper than ever, the mechanical progression has been detached from the structure itself and tied more directly to your personal progress as a Porter.
The New “Upgrade” Paradigm (And Why It’s Not About Materials)
This is a crucial point to understand: unlike the first game,
Safe Houses in Death Stranding 2 do not have multi-level material based upgrades. The initial construction brings the structure to its full and final functional state. You no longer need to dump thousands of extra Special Alloys and Chiral Crystals to get it from Level 1 to Level 3. This is a key design change that shifts the focus from investing repeatedly in a single spot to expanding your network and improving Sam’s personal equipment. The “real” upgrade to your Safe House’s capabilities happens indirectly. As you unlock better gear (like higher level batteries from Heartman) and new abilities, your Safe House becomes more effective because you can fabricate and manage these more advanced tools within it.
Apocalypse Interior Design: How to Decorate Your Room
Personalizing your Safe House is a direct reward for engaging with the Social Strand System and forging connections with the world’s inhabitants. Each decorative option tells a story of your efforts to reconnect humanity.
- Wall Colors: The ability to paint the interior walls of your private room returns. To unlock new colors, you’ll need to increase your Connection Level with a character known as The Artist. Each new level of connection with them will grant you new color data. A nicely painted Safe House is also more likely to receive Likes from other players who visit it.
- Personal Touches: You can decorate a large digital wall in your room with screenshots you’ve taken using the in-game Photo Mode, turning your favorite memories into a permanent part of your sanctuary. Special decorative items also become available as you play. One of the most notable is the Chiral Sculpture, which is awarded for reaching the maximum Connection Level with the mysterious character Mr. Impossible.
Setting the Mood: Music and Holograms
You have control over the atmosphere of your private room. You can select music to play from a list of tracks you’ve unlocked, many of which are earned through story progression or by increasing your Connection Level with specific Preppers. You can also display custom holograms, which are another common reward for maxing out your connection with the various facilities and Preppers you bring into the Chiral Network. This system makes your ability to customize your Safe House a direct visual representation of the bonds you’ve forged, turning a highly decorated room into a trophy case for a dedicated Porter.
Keep on Keeping On, From a Safer Place
The Safe House in Death Stranding 2: On the Beach is more than just a structure; it’s a microcosm of the entire game experience. It’s born from “connection” (requiring story progress), built with resources gathered from a dangerous and dynamic world, completed through “collaboration” with other players, and finally, made beautiful through the “relationships” you build with the world’s inhabitants.
This guide has shown that unlocking and building your first Safe House is a multi step process that rewards your dedication to the story and your engagement with the world’s resource systems. We’ve seen that its placement is a deep strategic challenge, requiring you to account for new environmental threats, emerging transit networks, and a complex resource economy. And finally, its customization is not just cosmetic flair but a meaningful reward for your efforts to forge bonds in a broken world.
Armed with this knowledge, you are now ready to do more than just build shelters for yourself. You are ready to strategically reshape the world of Death Stranding 2. Every Safe House you build is a testament to the power of connection, and every journey you take from its door will be a safer and more efficient one.
Thanks for keeping up with Game.Dazepuzzle.com