The scorching desert sands of Stronghold Crusader hold a certain magic, don’t they? It’s the satisfying thwack of an archer’s bow, the frantic shouts of peasants fleeing a raid, and that triumphant roar when your knights finally breach the enemy’s keep. For over two decades, this game has been more than just a strategy title; it has been a digital kingdom for millions. It’s a timeless blend of intricate castle building simulation and fast paced tactical warfare that has yet to be replicated. Now, with the release of the Definitive Edition, Firefly Studios has dusted off the old blueprints, not just to restore a classic, but to expand upon it in every meaningful way.
This isn’t just a fresh coat of paint. It’s a love letter to a golden era of gaming, packed with new content, massive technical improvements, and the same addictive core that captured our hearts all those years ago. Whether you’re a veteran lord returning to the Holy Land or a new commander taking your first steps, this Stronghold Crusader Complete Guide will serve as your most trusted advisor, from your first woodcutter’s hut to your final, decisive victory.
Table of Contents
Chapter 1: The Cornerstone of an Empire – Economy and Castle Management
In the unforgiving world of Stronghold Crusader, an army’s strength isn’t measured by the number of swords it carries, but by the weight of grain in its granary and the clang of hammers in its armories. A thriving, stable economy is the absolute bedrock of your empire. Mastering it is the first and most critical step toward victory. This chapter will dissect the game’s entire economic engine, from production chains to managing your populace.
Production Chains and Resource Management
Your success is tied to the intelligent management of four primary resources: wood, stone, iron, and pitch. Wood is the lifeblood of your early game, required for most initial buildings, production facilities, and the creation of bows and spears. Stone is essential for building sturdy walls, towers, and your central keep. Iron is vital for crafting the advanced weapons and armor for units like swordsmen and pikemen. Finally, pitch, harvested from swamps, is used to create fiery moats, one of the most powerful defensive tools at your disposal.
A defining feature of Stronghold Crusader’s economy is the scarcity of fertile land, known as oases. Unlike in many other strategy games, you cannot simply build farms wherever you please. These precious green patches are strategic hotspots, and the competition to control them often leads to bloody military conflicts, forming a core part of the gameplay loop.
The Food Chain: Keeping Your People Fed
Keeping your population fed is the key to maintaining popularity and attracting new peasants to your workforce. The game offers four food types, each with its own production chain and efficiency.
Bread: The Pillar of Your Economy Bread is, by far, the most efficient and high yield food source in the game, but it requires a larger initial investment to set up its production chain. A complete bread operation consists of three parts: Wheat Farms, a Mill to grind wheat into flour, and Bakeries to bake the bread.
Learn more about this game economy in our Stronghold Crusader Economy Guide
Through extensive analysis, a “golden ratio” has been established for an optimal production cycle that can feed a population of about 80 peasants: 3 Wheat Farms, 1 Mill, and 8 Bakeries. To maximize this efficiency, place your Mill close to your Stockpile so workers spend less time delivering wheat and storing flour. Your Bakeries should then be placed near both the Stockpile (to retrieve flour) and the Granary (to deliver the finished bread). Thinking about these ‘supply lines’ is crucial; every second a worker saves walking is another second they spend producing, which quickly adds up.
Apples, Cheese, and Meat Apple Orchards are the fastest and cheapest way to start producing food, making them ideal for the very early stages of a match. Dairy Farms produce cheese and also provide the essential raw material (cows) for Tanner’s Workshops. Hunter’s Posts produce meat, but their efficiency depends on the distribution of deer on the map, making them a less reliable food source.
The Armory Production Line
Your army is nothing more than a crowd of defenseless peasants without weapons. To equip your European troops, you must establish weapon production chains. Fletcher’s Workshops use wood to craft bows and crossbows. Poleturner’s Workshops also use wood to produce spears and pikes. Blacksmith’s Workshops use iron to forge swords and maces, while Armourer’s Workshops produce metal armor. To speed up production, it is absolutely crucial to build these workshops as close to your Armoury as possible, minimizing the time workers spend delivering their finished goods.
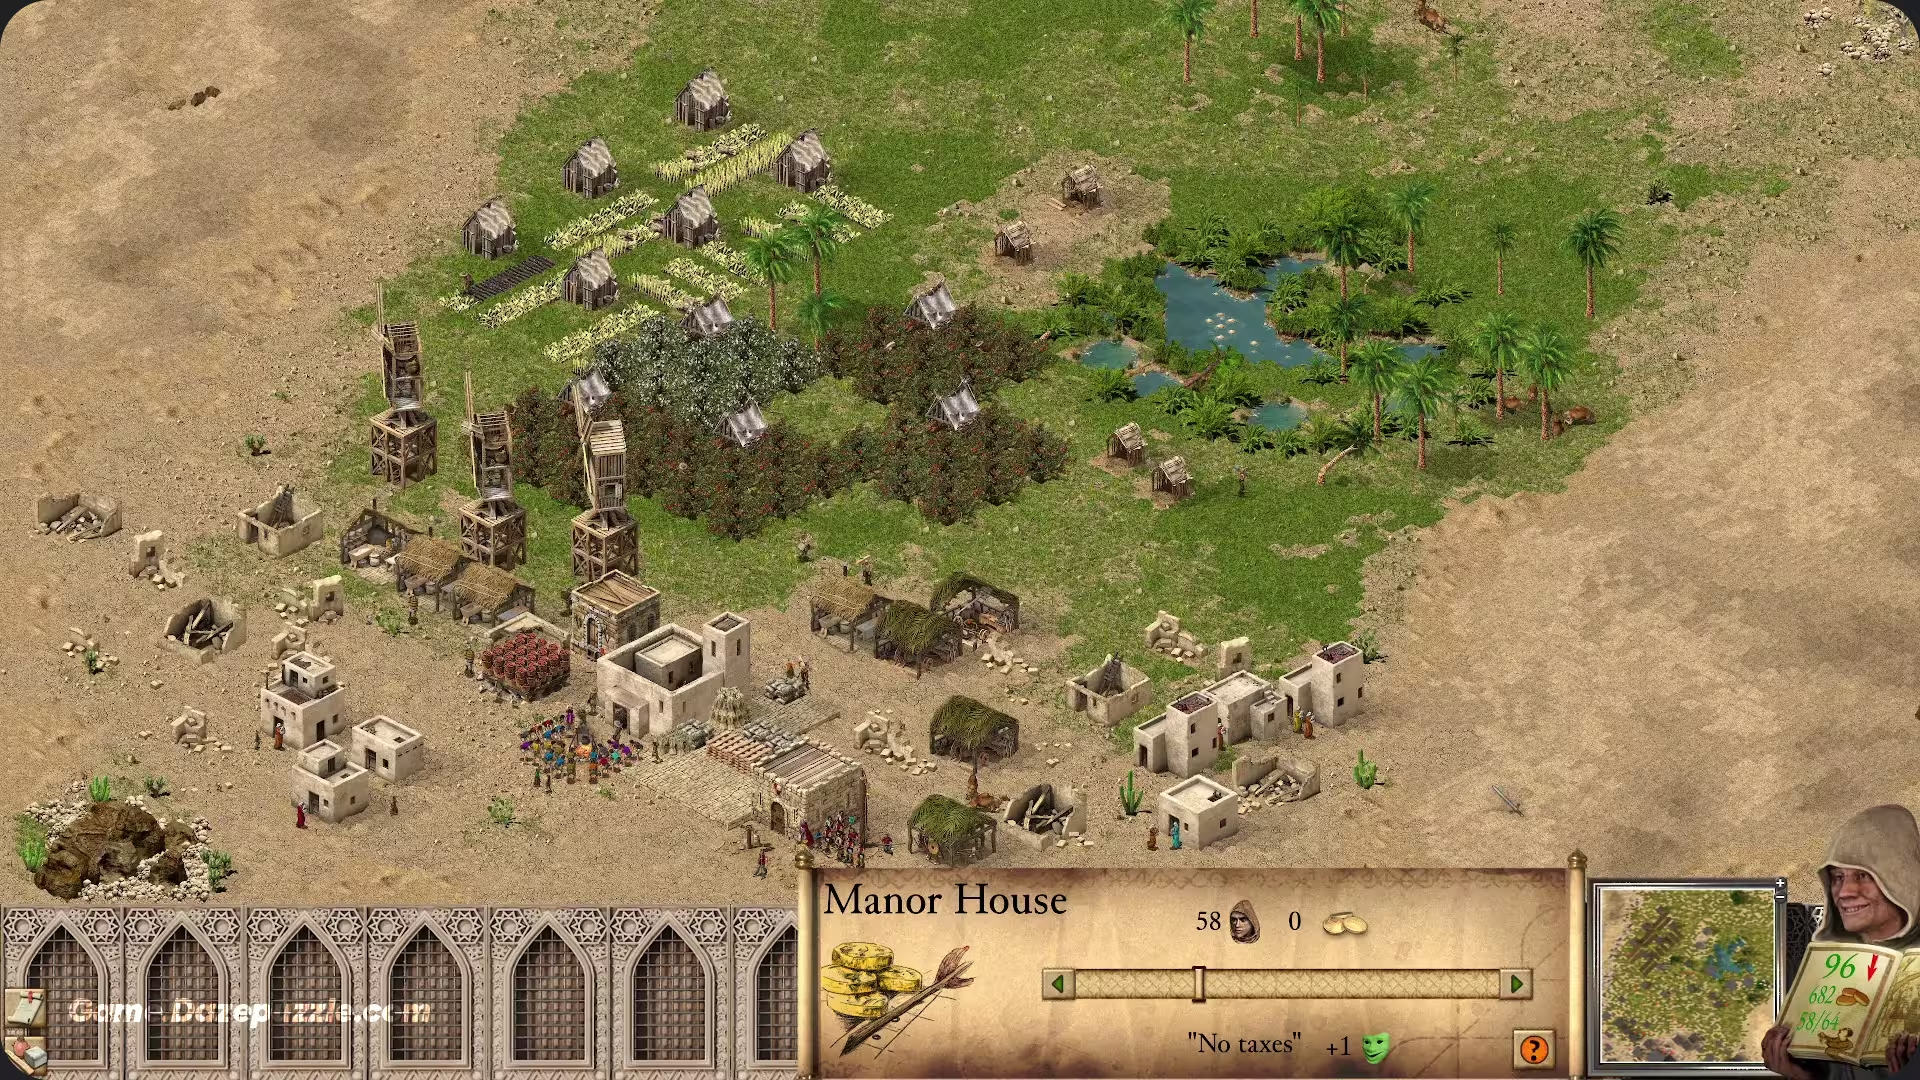
Chapter 2: The Art of Popularity and Taxation
Your Popularity rating, represented by the smiling or frowning face at the bottom of your screen, is a direct measure of your people’s happiness. If this number is above 50, new peasants will migrate to your castle, increasing your available workforce. If it drops below 50, people will begin to leave, and your economy will grind to a halt.
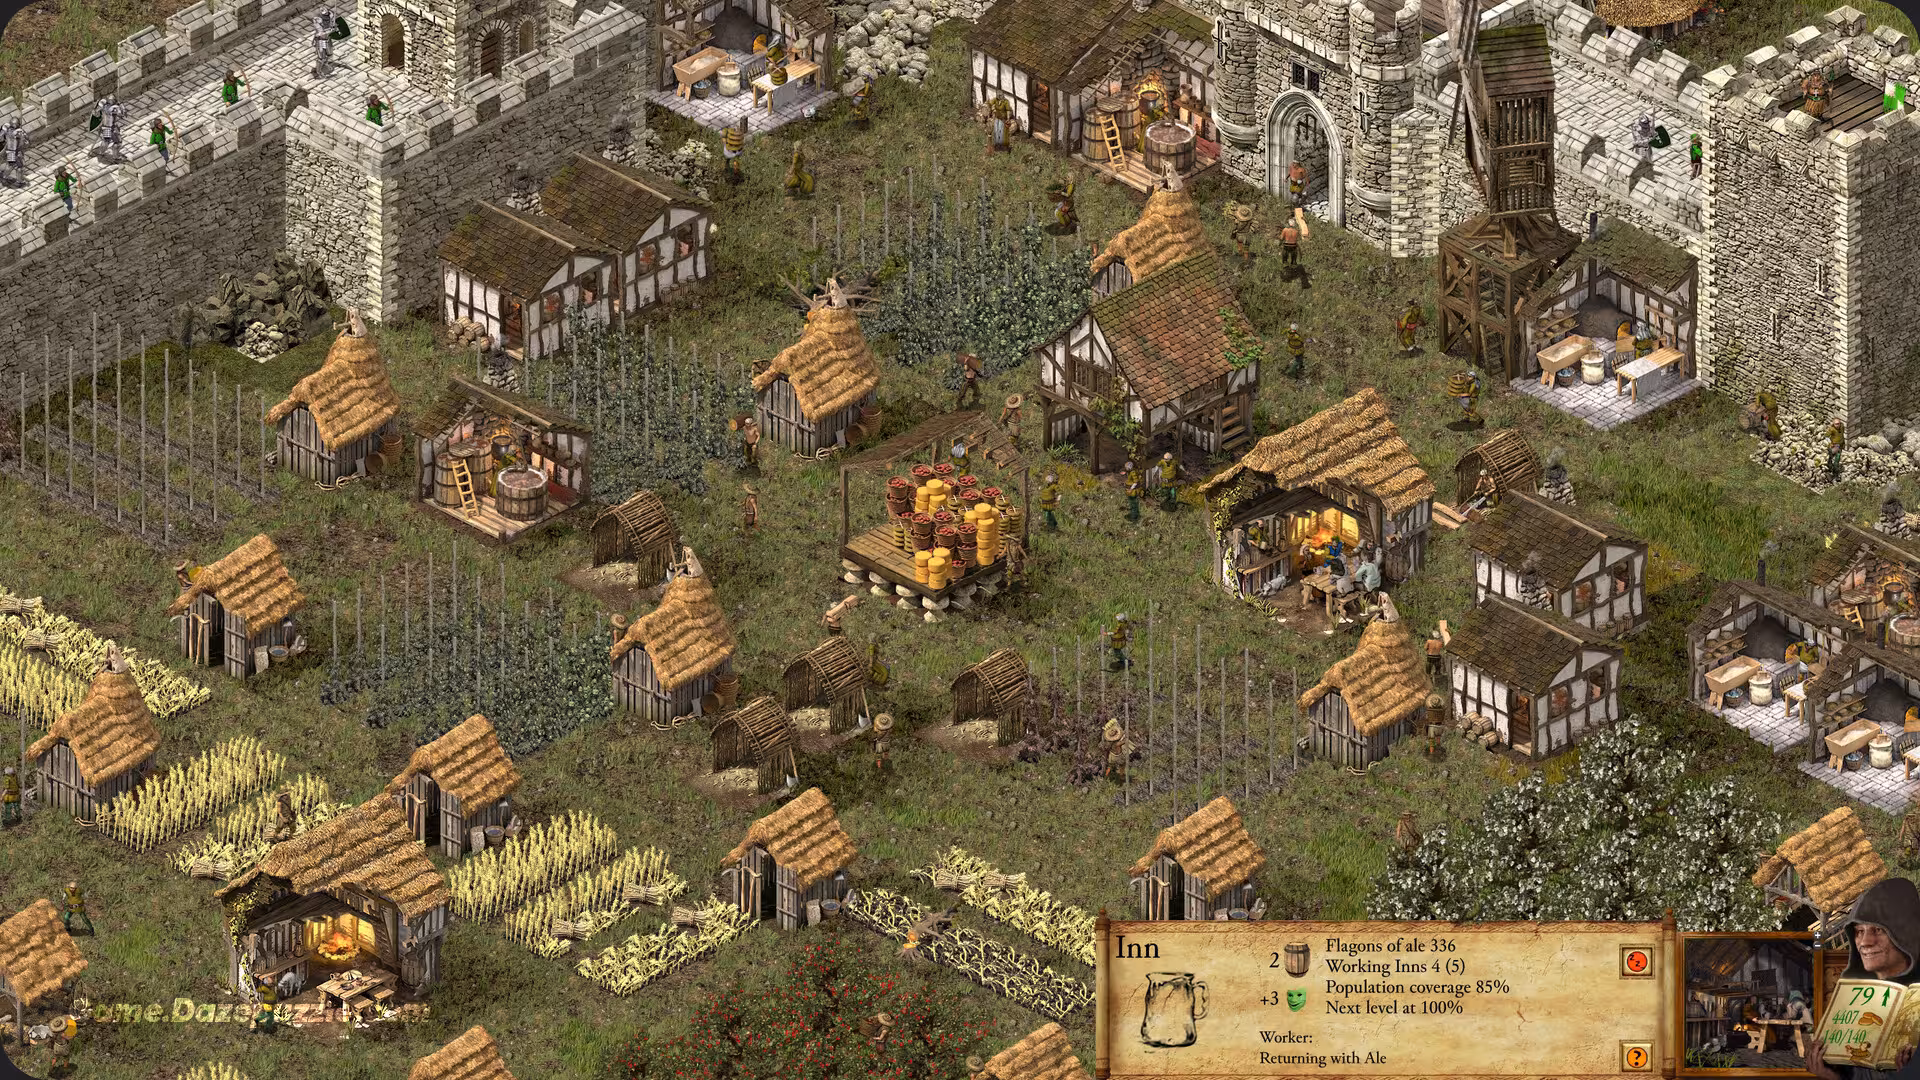
Factors Influencing Popularity
Several factors affect your popularity. Taxation is your primary tool for earning gold, but the higher you set the tax rate, the more your popularity will fall. You can also set food rations; generous rations boost popularity, while a lack of food or meager rations will cause it to plummet. Religion and ale also play a part. Building a Church adds +1 to popularity, and a Cathedral adds +2. By setting up a chain of Hops Farms, Breweries, and Inns, you can distribute ale and gain up to +8 popularity.
The Fear Factor: An Advanced Strategic Trade-Off
This is one of the most complex yet powerful mechanics in the game. You can influence your people’s morale by building “good” things like gardens and statues, or “bad” things like gallows and dungeons. This is known as your Fear Factor.
At first glance, building gardens and creating a pleasant environment seems like the obvious choice. Good buildings increase popularity and boost the attack power of your troops by up to 25%. However, there’s a major drawback: your workers become lazy, and your economic productivity drops.
Conversely, bad buildings decrease popularity and troop power but make your workers incredibly efficient, boosting their productivity by a staggering 225%. This presents a critical strategic choice. Since the primary bottleneck in the game is the production of resources and weapons, increasing worker efficiency has a far greater impact on your overall strength. A stronger economy allows you to build a much larger army, and this greater number of soldiers often compensates for the slight reduction in their individual attack power.
This leads to a highly effective advanced strategy: the “Fear Factor Swap.” In the early and mid game, maximize your economic output by placing bad buildings like gallows. You can easily offset the resulting popularity loss by distributing double rations and ale, which your powerful economy can easily afford. Use this economic might to build a massive army. Then, just before you launch your final assault on the enemy, delete all the bad buildings and quickly replace them with good ones, like gardens. This gives your enormous army a significant last minute attack boost, turning your massive horde into an elite killing force right before impact. It’s a devastating combination of overwhelming quantity and newfound quality.
The Market and Auto-Trading
The Market allows you to sell surplus resources for gold or buy what you’re lacking. Clever use of the market can be the difference between victory and defeat. In the Definitive Edition, a highly useful feature called Auto trade has been added. You can set a specific limit for each good and instruct the market to automatically sell any amount above that limit or buy any amount below it. This feature is especially useful in the late game when managing a complex economy, allowing you to focus your attention on commanding your army.
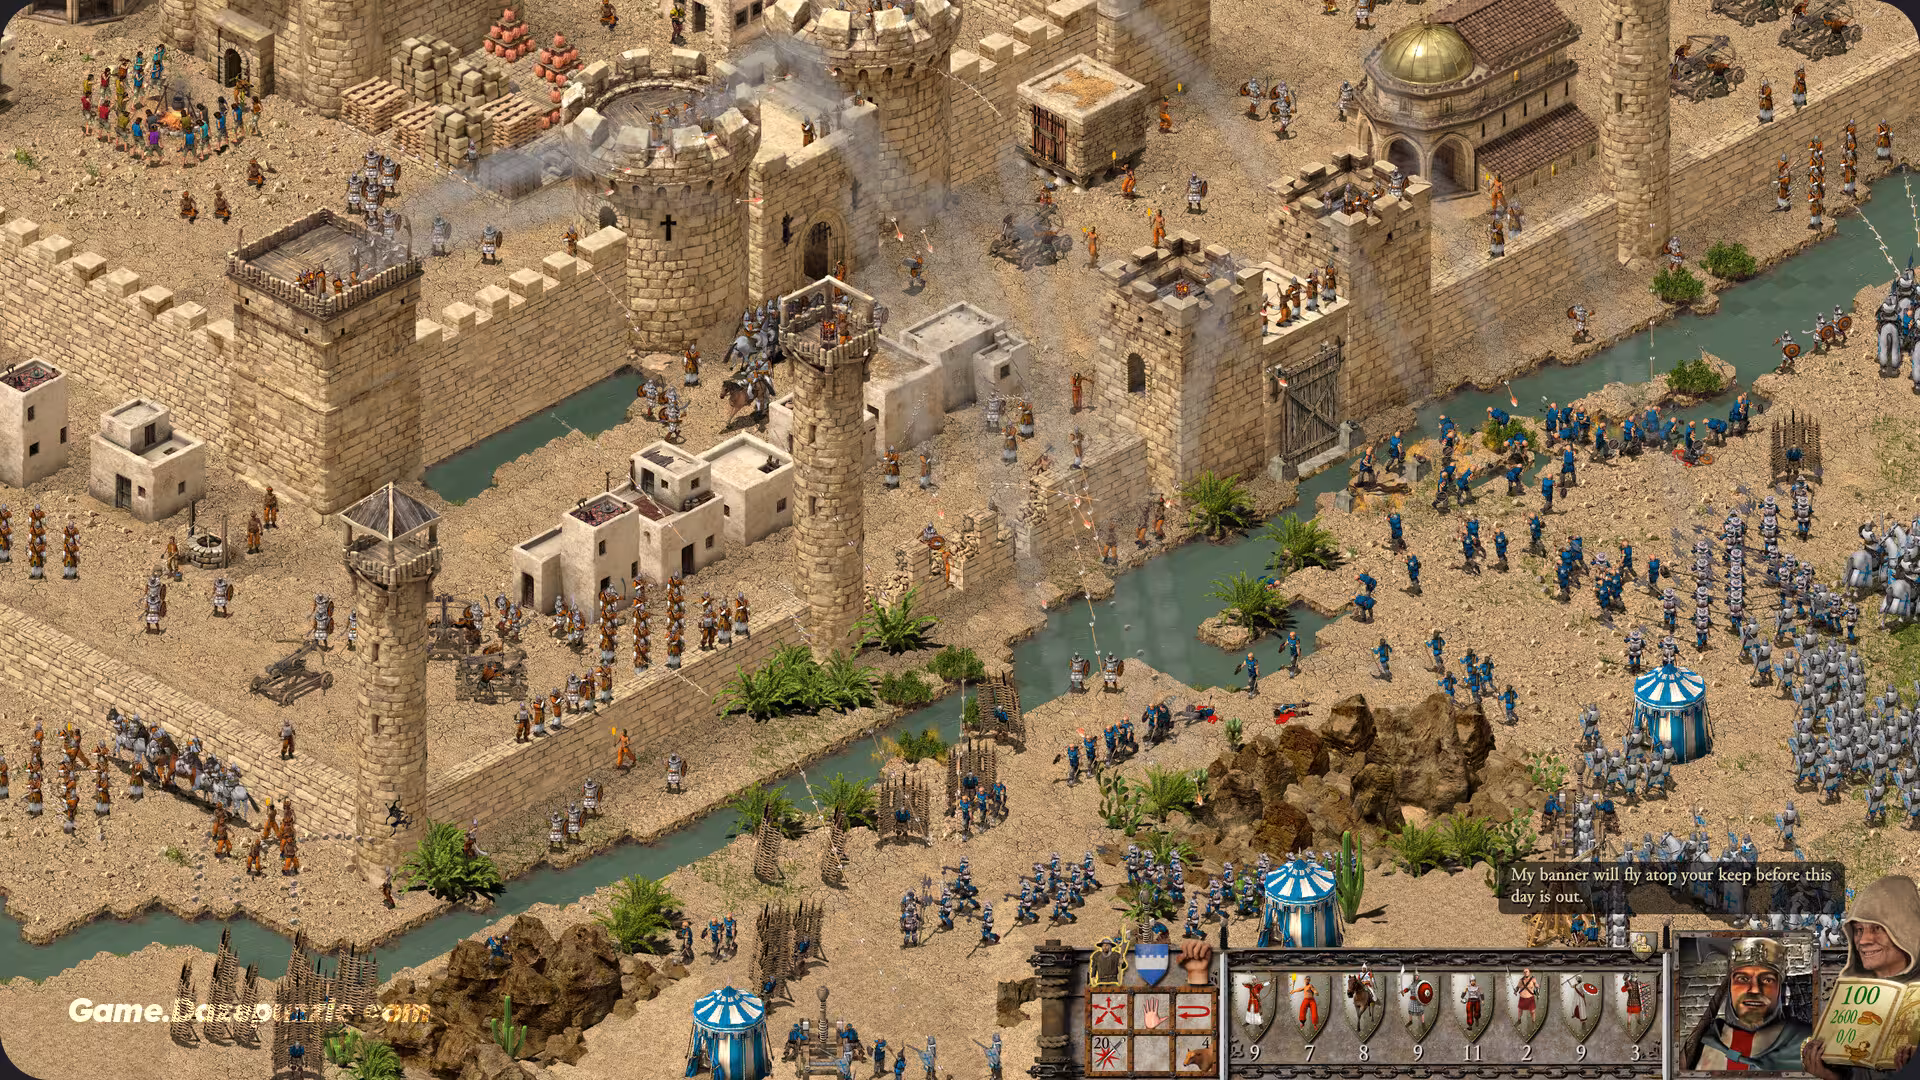
Chapter 3: The Architecture of War – Castle Design and Defense
Your castle is not just a residence; it is your war machine. Its design is a reflection of your strategy and the key to surviving relentless sieges. In this chapter, we delve into the principles of designing an impenetrable fortress and utilizing every defensive tool available.
Defensive Principles: Walls, Towers, and Moats
Strategic walling is your first and most fundamental line of defense. Building multi layered walls is essential, especially against heavy siege equipment like catapults. A single layer of wall will crumble quickly, but two or three layers can buy you the time needed to destroy the enemy’s siege engines. Given that the unit cap has been increased to 10,000 in the Definitive Edition, you must expect much larger assaults, and single layered walls will no longer suffice.
Towers provide ideal platforms for your archers, giving them a height advantage and thus greater range. Round Towers are more resistant to catapult fire, while Square Towers provide more space for stationing troops. A critical tip is that after building a tower, you must connect walls to it and be sure to build a set of Stairs so your troops can actually access the top of the walls and towers.
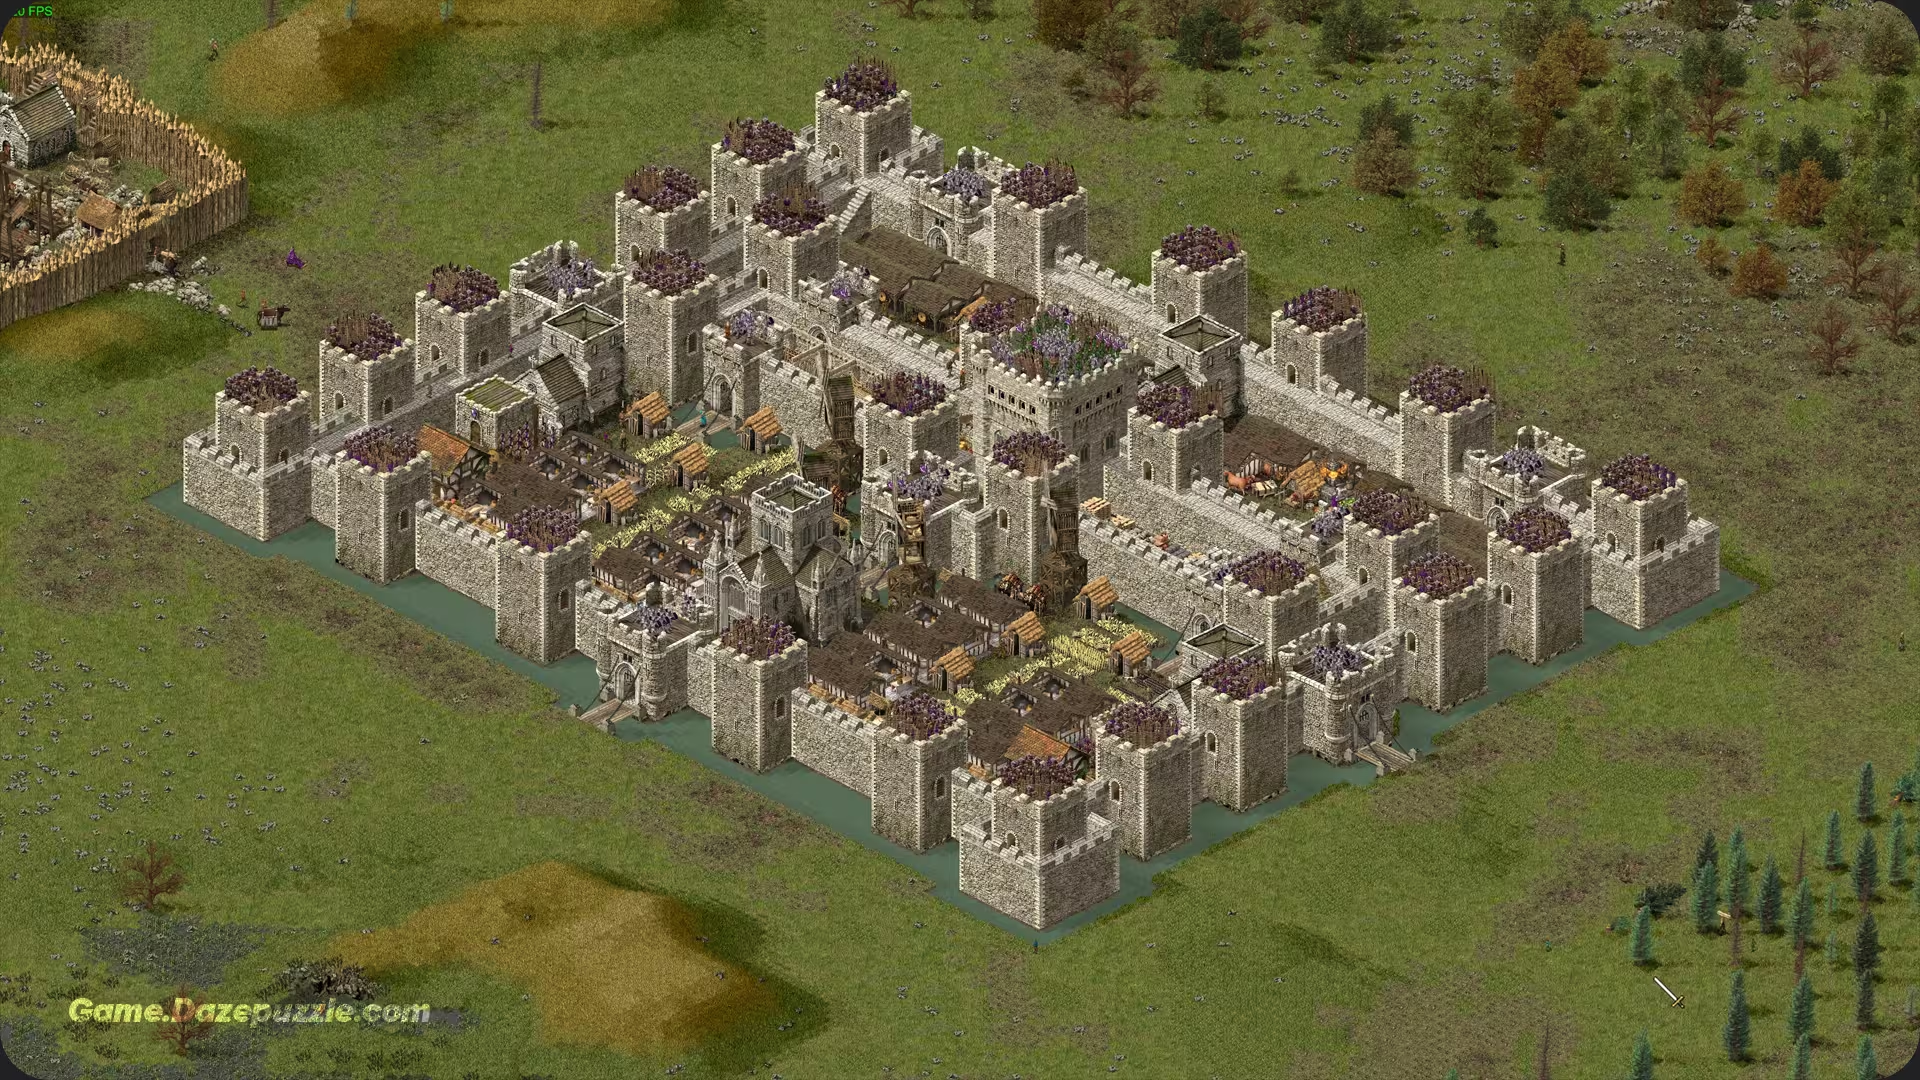
Digging a Moat is one of the cheapest and most effective defensive methods. Moats completely halt the advance of ground infantry and siege equipment like battering rams, giving your archers time to pick them off. Remember to use a Drawbridge to allow your own forces to cross.
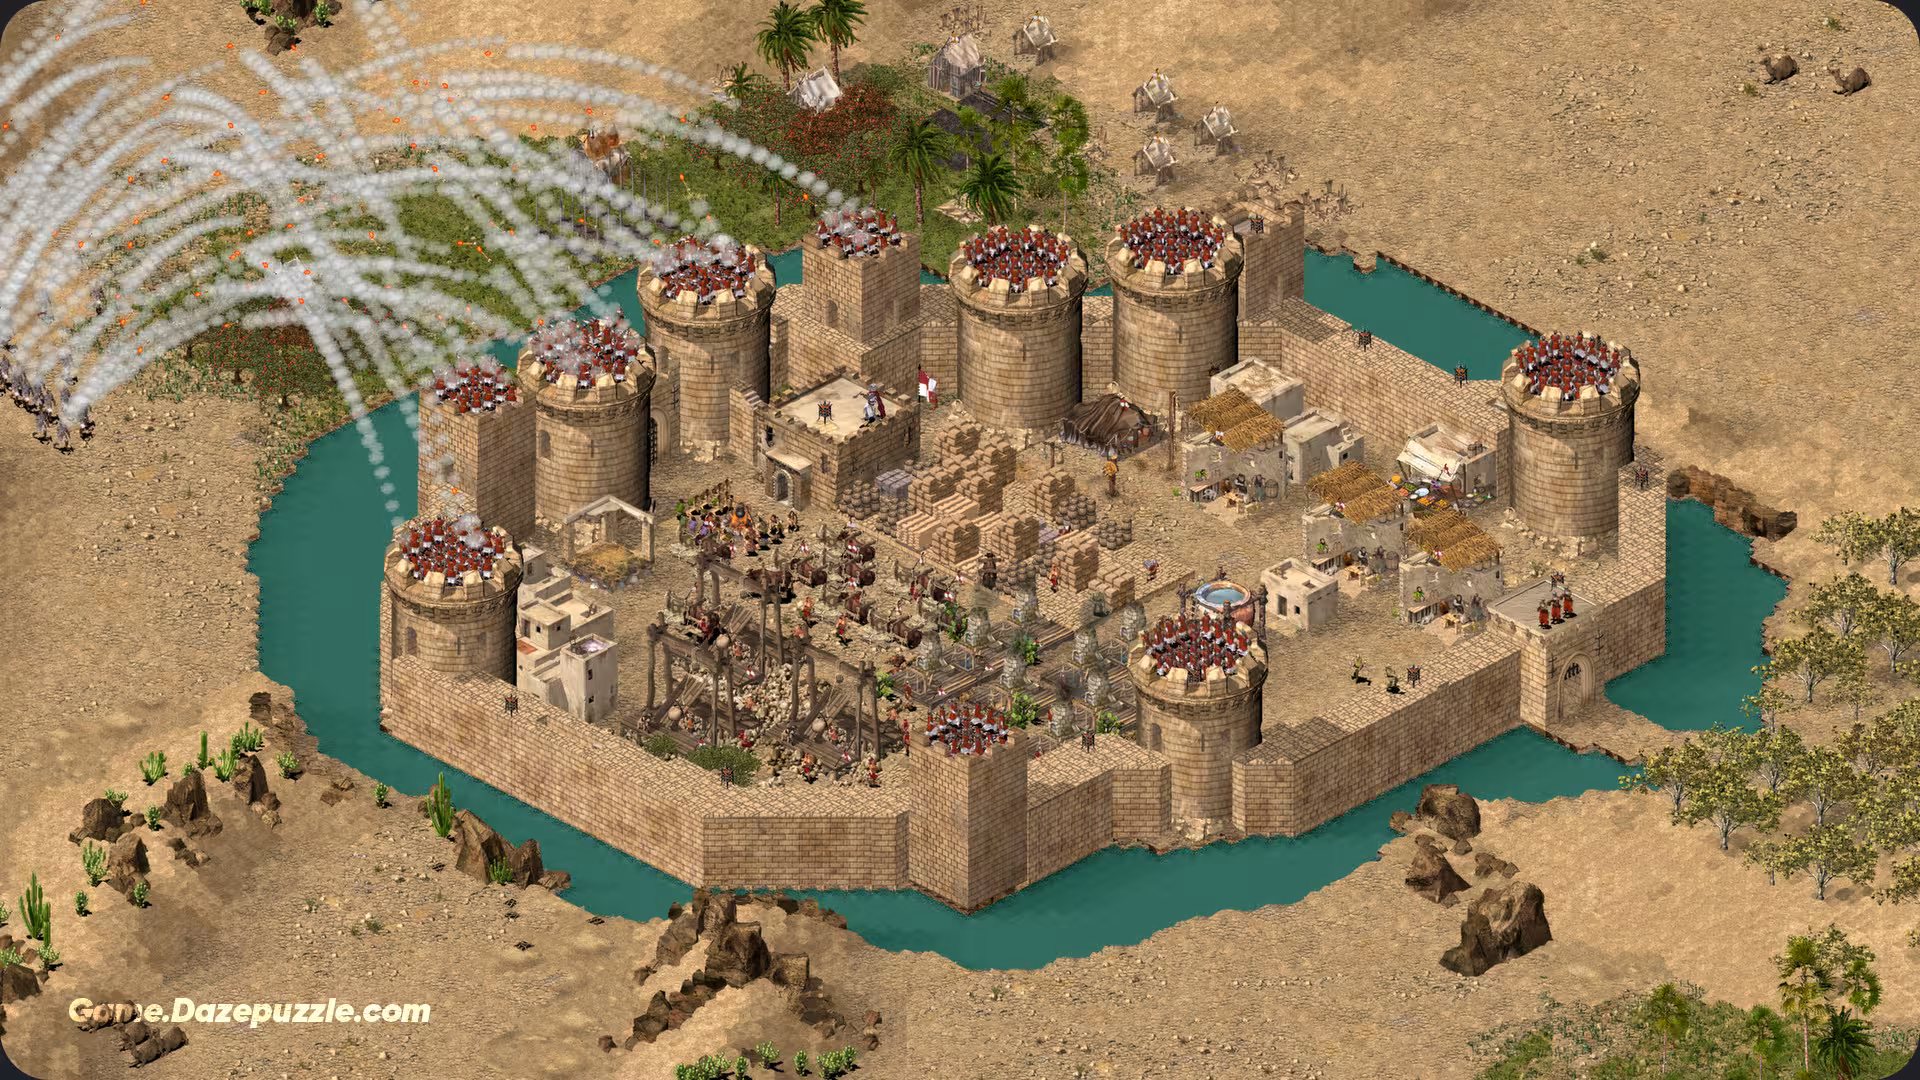
Traps and Active Defense
Killing Pits are cheap wooden traps perfect for placing in chokepoints and castle entrances. Any infantry unit that steps on them is killed instantly. Pitch Ditches, filled with tar, are your ultimate defensive weapon. By placing Braziers on your walls, your archers can fire flaming arrows to ignite these ditches, turning any approaching army to ash. An important trick to identify enemy traps is to select a building for construction and move its preview silhouette over the ground around the enemy’s castle; the locations of traps and pitch ditches will be revealed by a darker color.
Oil Smelters, manned by engineers, allow you to pour boiling oil from atop your gatehouses and walls onto enemies who have reached the base. This method is particularly effective against battering rams and ladder units.
Evolving Castle Design for the Definitive Edition
In classic versions of the game, many players favored building small, compact, and heavily fortified castles known as “Kill Boxes.” However, the new features of the Definitive Edition challenge this strategy. With maps up to four times larger and a 10,000 unit cap, a small castle will be easily overwhelmed by human waves of enemies. The firepower of a compact fortress, no matter how strong, cannot eliminate such a volume of troops before they reach the walls.
Furthermore, larger maps mean that vital resources like oases and mines are located farther from your starting point. A compact design cedes control of these resources to the enemy, weakening your long term economy. Therefore, castle design strategy in this edition must shift from pure impenetrability to defense in depth.
Effective new designs will include outer walls to enclose key resources like oases and mines, creating a first line of defense against enemy harassment. You should also compartmentalize your castle. The economic section (farms and workshops) can be in one defensive layer, while the military and residential sections are in an inner, more fortified layer. This ensures that even if the enemy breaches the first layer, they still have a long way to go to reach the heart of your castle.
Use the terrain to your advantage by placing towers on high ground and blocking natural choke points with walls and traps to force the enemy into your prepared kill zones. The new co-op mode also encourages these larger, more complex designs, as two players can more effectively manage and defend a large fortress by dividing tasks.
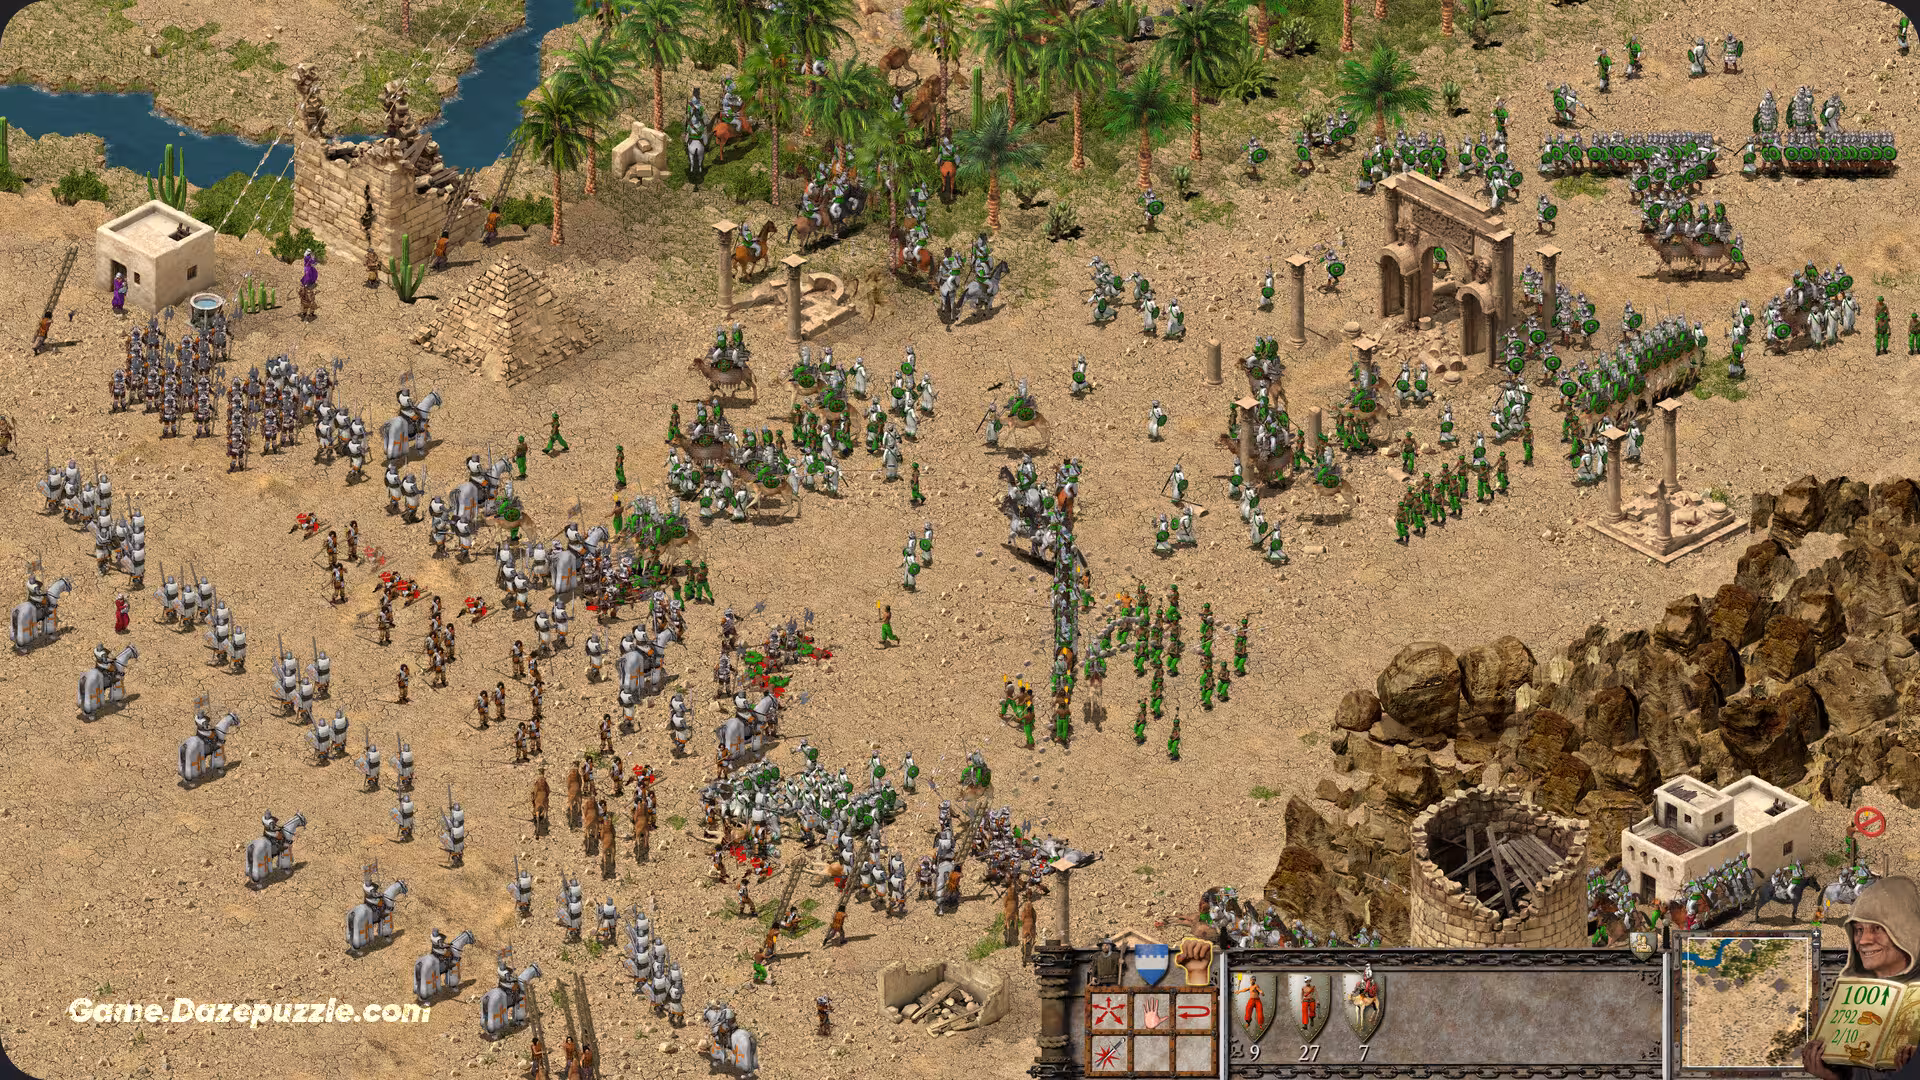
Chapter 4: Crusaders and Warriors of the Desert – The Complete Unit Encyclopedia
A great commander must know their army. Every military unit in Stronghold Crusader has unique strengths, weaknesses, and strategic applications. This chapter serves as a complete encyclopedia, detailing all available forces, from classic European and Arabian soldiers to the new Bedouin warriors.
European Units: The Backbone of the Crusades
These troops form the core of the Crusader armies. Their production requires you to craft weapons and armor in your workshops.
The Spearman is your cheapest military unit. While individually weak, they are fast and can be effective in large numbers, and they possess the ability to dig moats. Your primary defensive unit is the Archer, who has good range and a decent rate of fire, and can ignite pitch ditches with flaming arrows. They are, however, very weak against armor. The Maceman is a fast and powerful infantry unit with light armor, excellent for quick raids on enemy walls to eliminate archers. Crossbowmen are slower than regular archers but have extremely high armor penetration, making them the best counter to enemy knights and swordsmen.
The Pikeman is a superb defensive unit with heavy armor and long reach, ideal for defending gatehouses and countering cavalry. The most powerful infantry unit in the game is the Swordsman, boasting very high armor and attack power, but moving very slowly. They form the core of late game offensive armies. Finally, the Knight combines the power of a swordsman with the speed of a horse. They are the most expensive unit in the game but are unparalleled for lightning fast raids to cripple an enemy’s economy.
Arabian Units: The Power of Gold
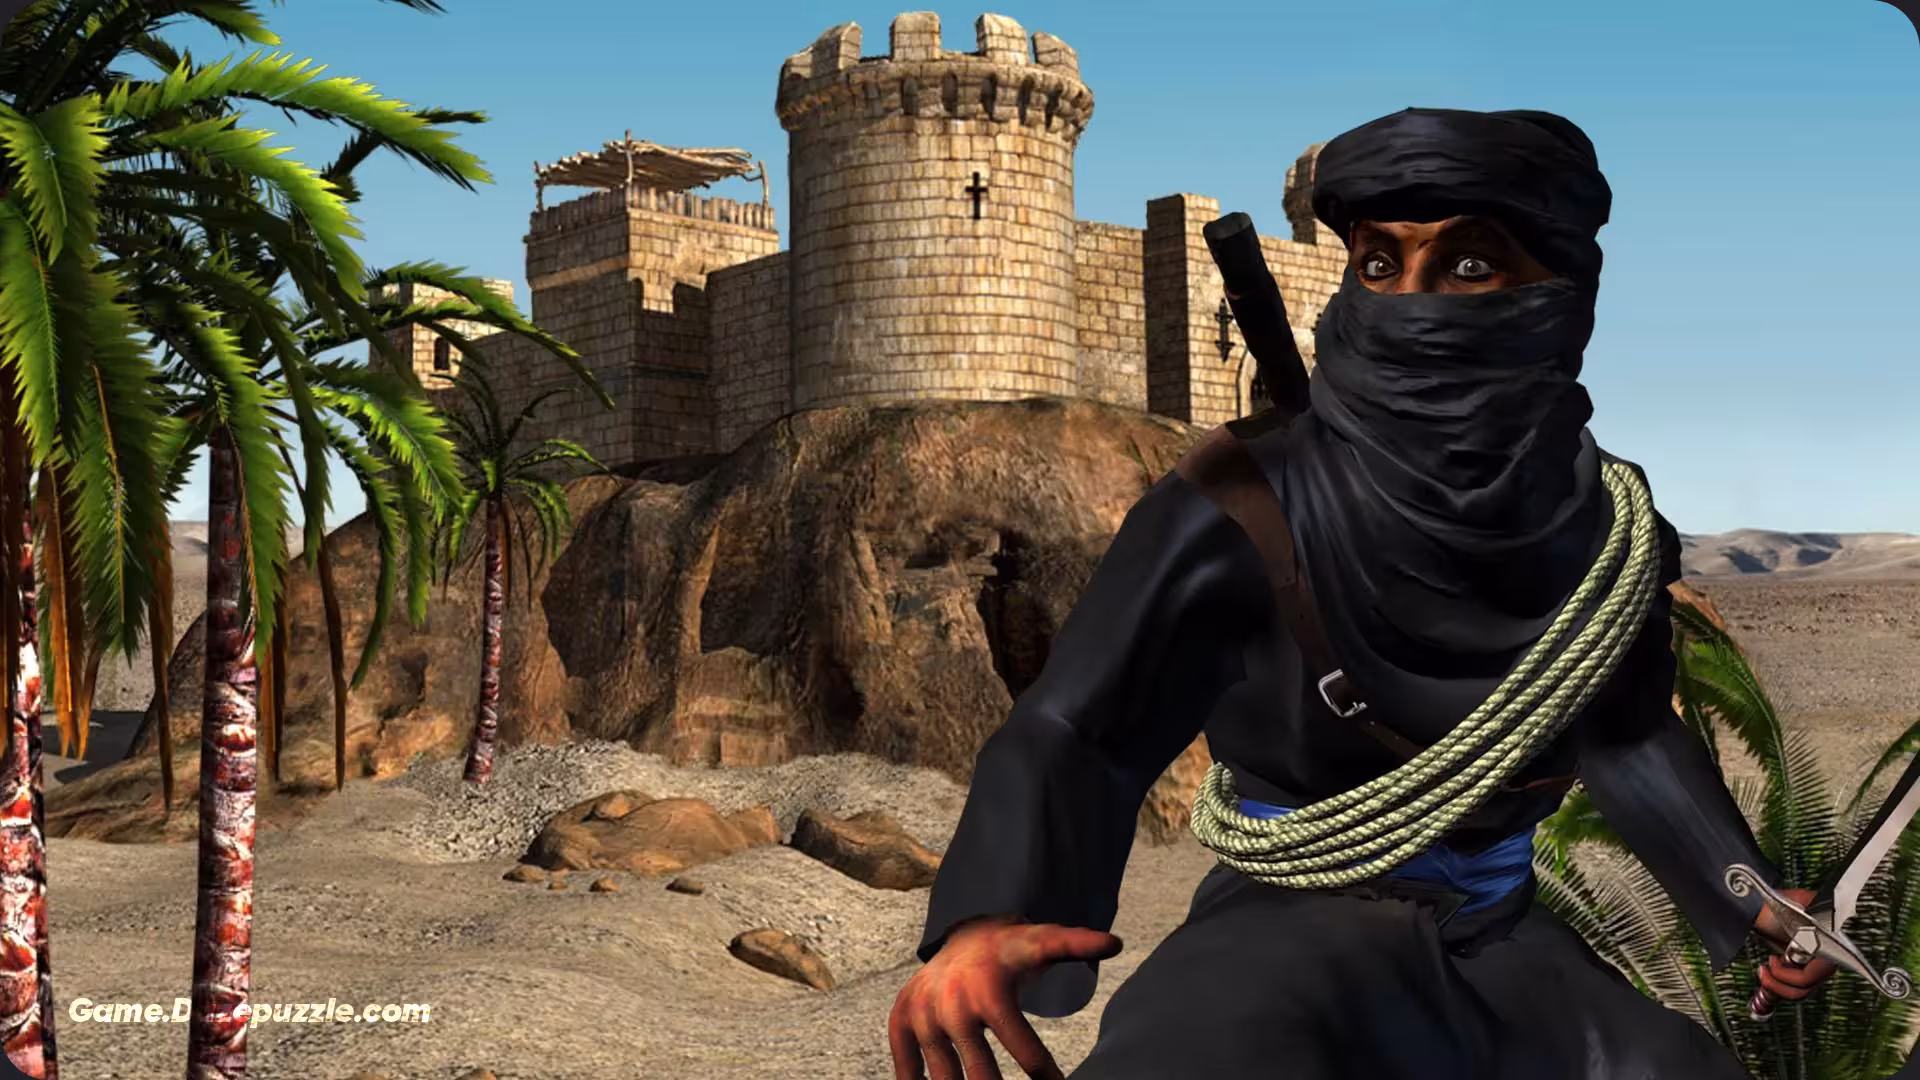
These units, known as mercenaries, do not require weapon production. They are hired directly with gold from the Mercenary Post. This makes them ideal for fast, surprise attack strategies.
The Slinger is a cheap ranged unit with a high rate of fire but short range and low damage. The Assassin is a unique unit that can scale walls and remains invisible until they get close to an enemy, making them perfect for sabotage and opening enemy gates. One of the most powerful units in the game is the Horse Archer, whose unique ability to fire while moving allows them to harass and destroy slow moving infantry without taking damage.
The Arabian Swordsman is a weaker, cheaper version of the European Swordsman that can be hired quickly. The Fire Thrower is a very short ranged unit that lobs fire grenades, highly effective for castle defense and starting widespread fires. The cheapest unit in the game is the Slave. They are extremely weak but can quickly set fire to enemy wooden buildings and can also be used to dig moats.
This duality in recruitment creates a fundamental strategic conflict in the game: Economy vs. Rush. A player can either invest in workshops to build a powerful but slow to assemble European army, or sell raw materials to focus on gold and quickly field an army of Arabian mercenaries. A successful player must either master a rush strategy themselves or have a solid defensive plan to counter one in the opening minutes of the game.
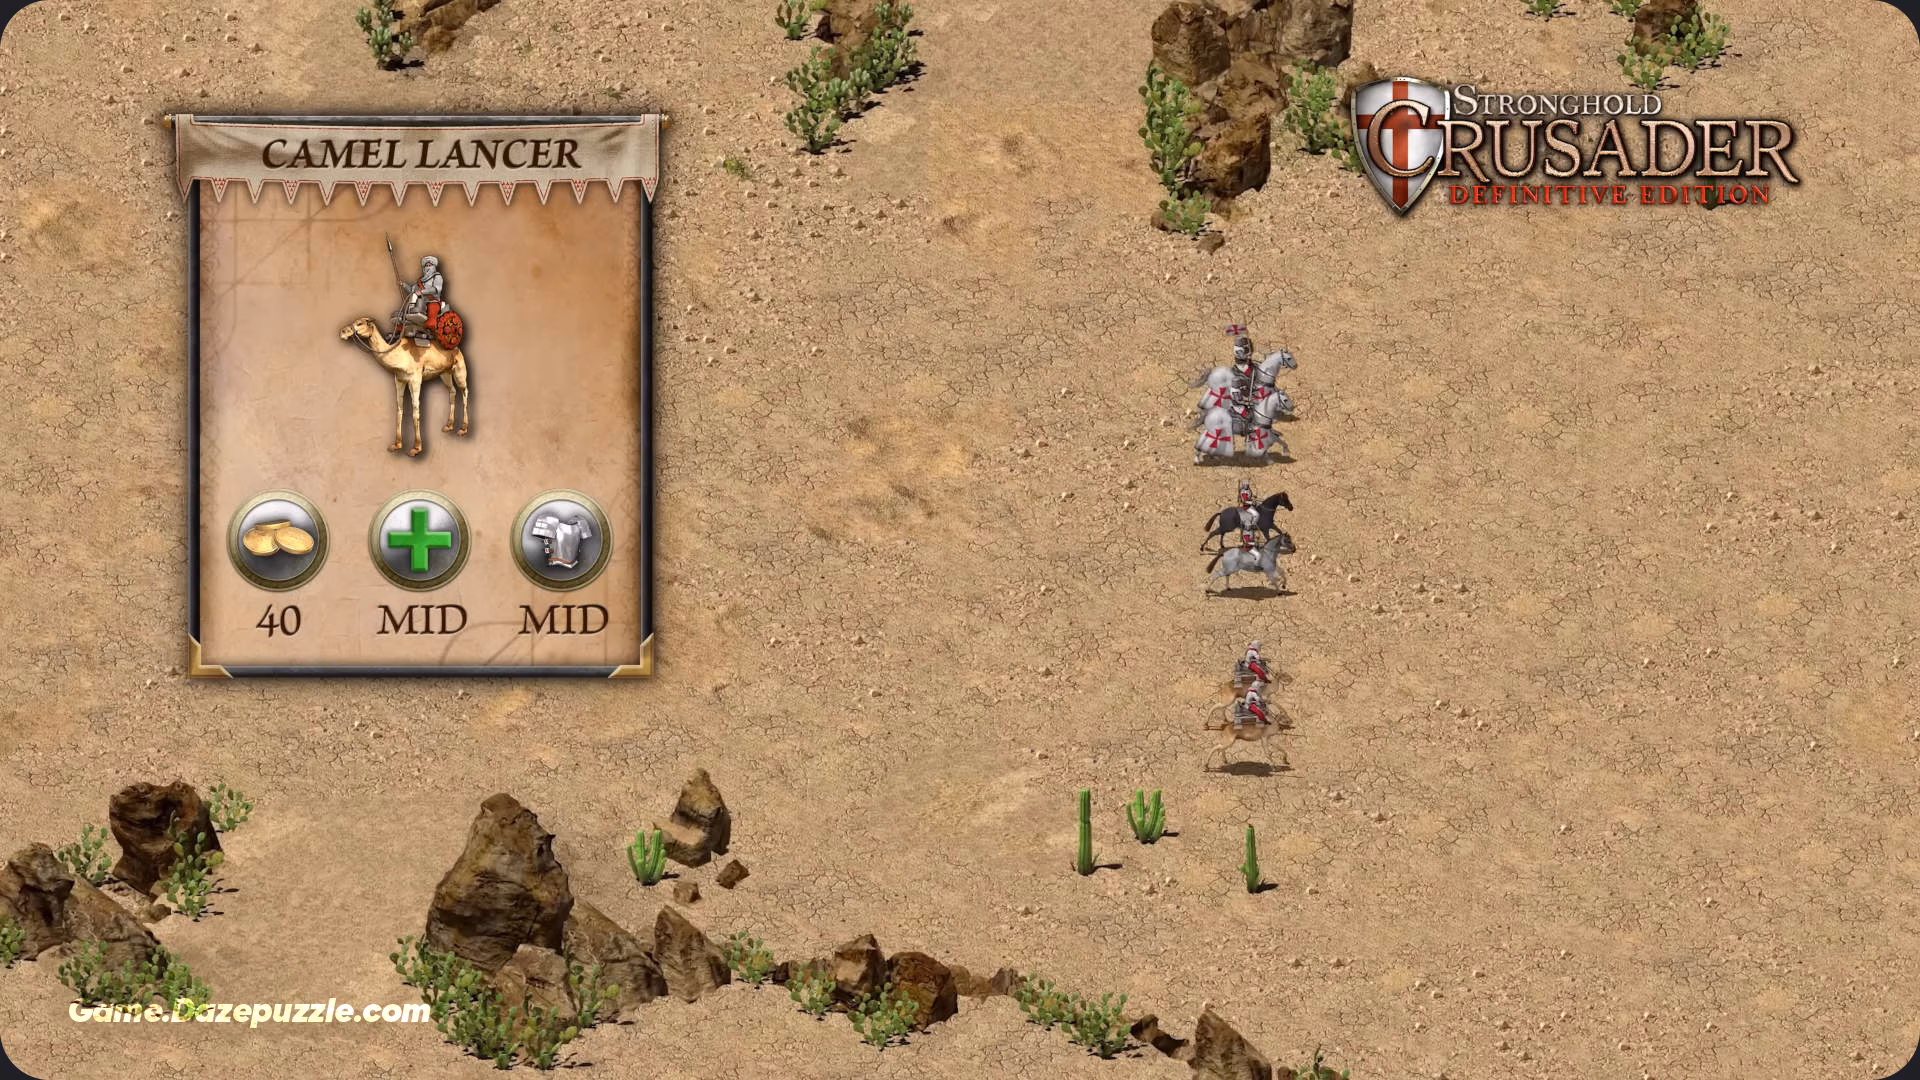
The New Bedouin Units: Warriors of the Sand
The Definitive Edition introduces eight entirely new units hired from the Bedouin Camp, adding fresh tactical depth. The Skirmisher is a thrown weapon unit specializing in destroying enemy siege equipment. The Camel Lancer is a light and very fast cavalry unit, perfect for harassing the enemy economy. The Heavy Camel is a tank-like unit with heavy armor that can also fire while stationary, making it a versatile frontline fighter and fire support unit.
The Demolisher is a heavy infantry unit carrying a large shield that makes him highly resistant to arrows; his special ability is to fill in pitch ditches. The Healer is a vital support unit who can heal wounded troops on the battlefield. The stealthy Ambusher throws fire pots and remains invisible until an enemy enters their close range, perfect for setting deadly ambushes. The Eunuch is a heavy infantry warrior who attacks with two swords, dealing area of effect damage to multiple enemies at once. Finally, the Sapper is a demolition expert who can destroy enemy walls and buildings with incredible speed.
Chapter 5: Know Your Enemy – A Strategic Analysis of the AI Lords
Knowing your enemy is half the battle. Each of the AI lords in Stronghold Crusader: Definitive Edition has a unique personality, playstyle, castle design, and army composition. This chapter will teach you how to defend against each of them and how to exploit their weaknesses for a decisive victory.
The Classic Lords
- The Rat: The weakest lord. He rushes with only spearmen. Defend with a few archers and attack with about 20 macemen.
- The Snake: Slightly stronger than the Rat, he uses cheap units and sometimes a catapult. Defend your outer buildings and have a ballista ready.
- The Pig: Attacks directly with macemen and crossbowmen. His castles are well defended by crossbowmen on towers. You’ll need your own crossbowmen to defend and pikemen to attack his keep.
- The Wolf: The most powerful classic lord. He builds a massive army of swordsmen and pikemen in an enormous, well defended castle. His weakness is his slow build speed. Rush him early. If you can’t, you’ll need masses of crossbowmen, pitch ditches, and ballistae to defend, and an army of horse archers or a long siege to win.
- The Sultan: A strong economic lord who builds a large army of Arabian swordsmen over time. His castles are weak; defend with crossbowmen and attack with your own swordsmen.
- The Caliph: One of the most annoying lords. He loves to harass with slaves and horse archers, and his castles are filled with pitch ditches. To defeat him, you must first eliminate his archers so they can’t light the pitch, then advance cautiously.
- Saladin: The most powerful Arabian lord. He fields a balanced army of all Arabian units and his castles are well defended. Defeating him requires a full, well planned army.
- Richard the Lionheart: Extremely aggressive, attacking with full force from the very beginning. He uses all siege equipment. Defending against him requires numerous ballistae and crossbowmen. His castles are relatively weak if you can find a window between his attacks to counter.
The New Conquerors
This edition adds four new rulers to the battlefield, increasing the strategic variety.
- The Kahin: A ruthless priestess from a desert sect. She uses a balanced playstyle based on the new Bedouin units, particularly Eunuchs and Heavy Camels. She is of medium difficulty.
- The Sentinel: An iron giant from a Templar order. He utilizes a deadly combination of crossbowmen, macemen, and the new Demolisher units. He is difficult to counter due to his powerful offensive and defensive mix.
- The Nomad: A Bedouin warrior who defends his homeland fiercely. He uses Camel Lancers and Skirmishers for fast, surprise attacks. He is a low difficulty opponent, perfect for players who enjoy fast paced battles.
- The Jewel: Information on this mysterious female lord is limited, but her name links to a key character in the Stronghold: Definitive Edition campaign. This suggests she is likely a European strategist with a focus on a strong economy and formidable defense.
Chapter 6: Chronicles of Battle – A Guide to Campaigns and Trails
Stronghold Crusader: Definitive Edition offers a massive collection of single player and multiplayer content that guarantees hours of engaging gameplay.
Historical Campaigns and Skirmish Trails
In addition to the classic campaigns covering the First and Third Crusades, two brand new historical campaigns have been added, each with five story driven missions designed to teach players how to use and counter the new Bedouin units. The game also includes all the classic Skirmish Trails (the 50 mission Crusader Trail and the 30 mission Warchest Trail) and adds four new “Sands of Time” trails with a total of 32 challenging missions designed to test even the most experienced players.
The Co-op Revolution
Perhaps the biggest and most exciting addition to this edition is the co-op mode. This includes a 10 mission skirmish trail designed specifically for two player gameplay. In this mode, two players share control of a single castle, managing resources and troops together to fight against AI enemies.
This co-op mode is more than a simple add-on; it’s a fundamental rethinking of the Stronghold formula. With larger maps and the 10,000 unit cap, managing a massive economy and army alone can be overwhelming. By dividing tasks between two players, for example, one focusing on the economy while the other commands the army, this challenge becomes an enjoyable cooperative experience. This mode also allows new players to learn the ropes alongside a more experienced friend.
The Definitive Crusader Experience
Stronghold Crusader: Definitive Edition is far more than a simple remaster; it is a meaningful evolution and an intelligent expansion of a beloved, classic formula. Firefly Studios has not only adorned it with modern visuals and sound but has also added new layers of strategic depth, creating a fresh and exciting experience for both old fans and a new generation of players. The increased scale of battles, the introduction of new units and lords, and the game changing co-op mode all combine to make this, without a doubt, the ultimate and most complete version of a true masterpiece. The desert calls once more, my lord. Go build your legacy.
Stronghold Crusader: The Definitive Edition
Thanks for keeping up with Game.Dazepuzzle.com