Welcome to Brookhollow, a dangerous world where you’re the size of an ant. In this miniature landscape, survival isn’t just about fighting giant bugs; it’s about building a safe haven, a strong fortress, and an efficient base of operations. This guide is your ultimate blueprint for mastering Grounded 2 base building. We’ll cover everything from the essential tools and the core gameplay loop to strategically choosing the best locations, cataloging every building material, and finally, equipping you with the most advanced defensive techniques and endgame projects.
Grounded 2 Base Building Quick Guide:
| Core Concept | Key Takeaway |
|---|---|
| Tools & Basics | The new Omni-Tool is your best friend. Master the Analyze, Unlock, Craft loop. |
| Location | Go high! Build on elevated spots. The Ceremony region rock is prime real estate. |
| Materials | Start with Grass and Stems, then upgrade to Mushroom and Ash for top-tier defense. |
| Defense | Use the “Bait Base” strategy. Lure raids away from your main base to control the fight. |
| Future-Proofing | Build near water. The development roadmap confirms upcoming Watery Bases. |
What’s in our Grounded 2 Base Building Guide?
The Architect’s Toolkit: Getting Started
Before you even think about laying your first foundation, you need to get familiar with the fundamental tools and mechanics that form the backbone of Grounded 2’s construction system. This section gets you geared up with the essential knowledge to start building.
Meet Your New Best Friend: The Omni-Tool
One of the biggest quality-of-life upgrades in Grounded 2 is the Omni-Tool. This amazing device combines the functions of an axe, hammer, shovel, and wrench into one efficient gadget. No more juggling multiple tools and clogging up your precious inventory space.
You can grab your first Omni-Tool from a shelf inside the initial Ranger Outpost, the Snackbar. Its full potential is unlocked through upgrades at a Ranger Station, which requires Raw Science and specific materials for each function. This system directly links exploration (finding materials) to your building capability (harvesting tougher resources).
The Core Loop: Analyze, Unlock, Craft
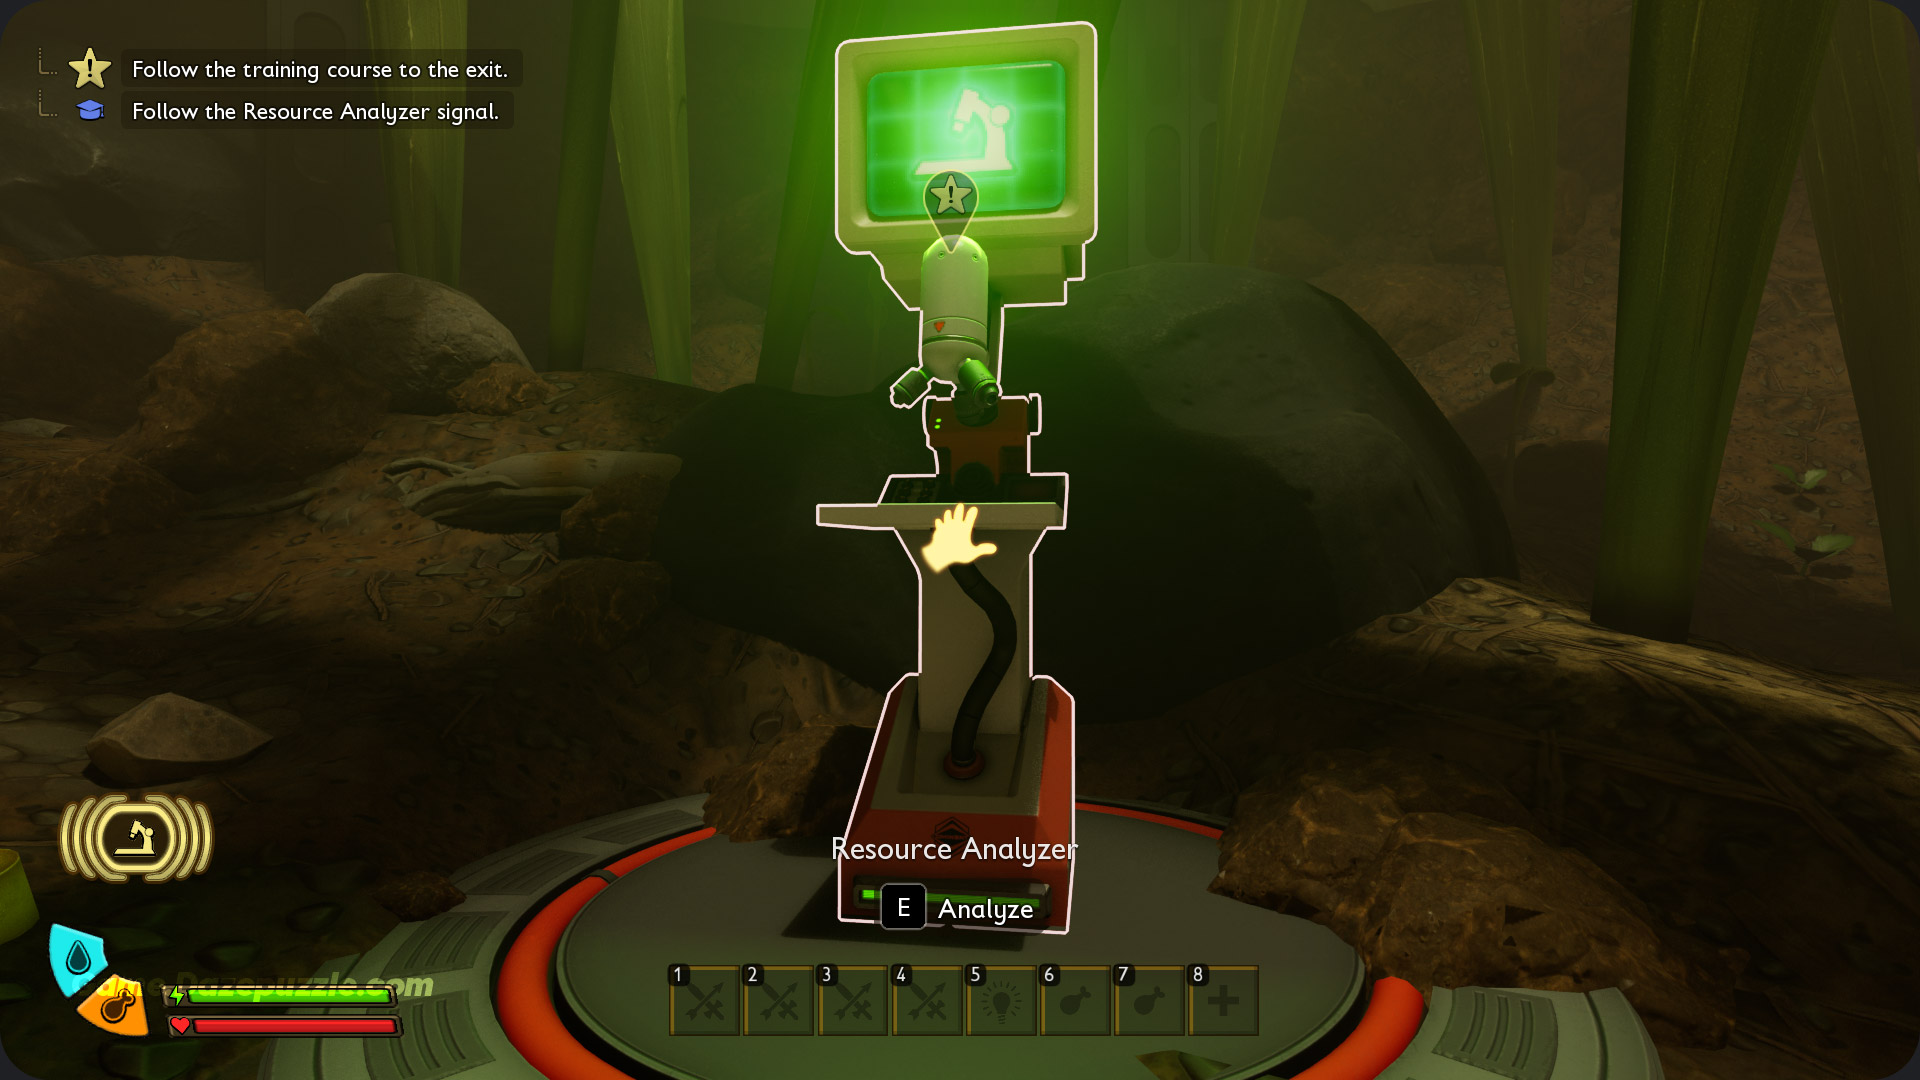
Progress in Grounded 2 revolves around a simple but vital cycle: find new resources, analyze them to learn new recipes, and then craft better gear.
The Resource Analyzer, found in all Ranger Outposts, is your gateway to new crafting recipes. The golden rule is: analyze everything new you find. From bug parts to plant fibers, every new analysis can unlock a powerful piece of armor, an efficient tool, or a decorative item for your base.
Setting Up Shop: Essential Crafting Stations
You can’t build everything by hand. To craft real equipment and sturdy bases, you need specialized workstations. Here are the essential stations you’ll need to survive and thrive.
| Station | How to Unlock | Crafting Recipe | Purpose |
|---|---|---|---|
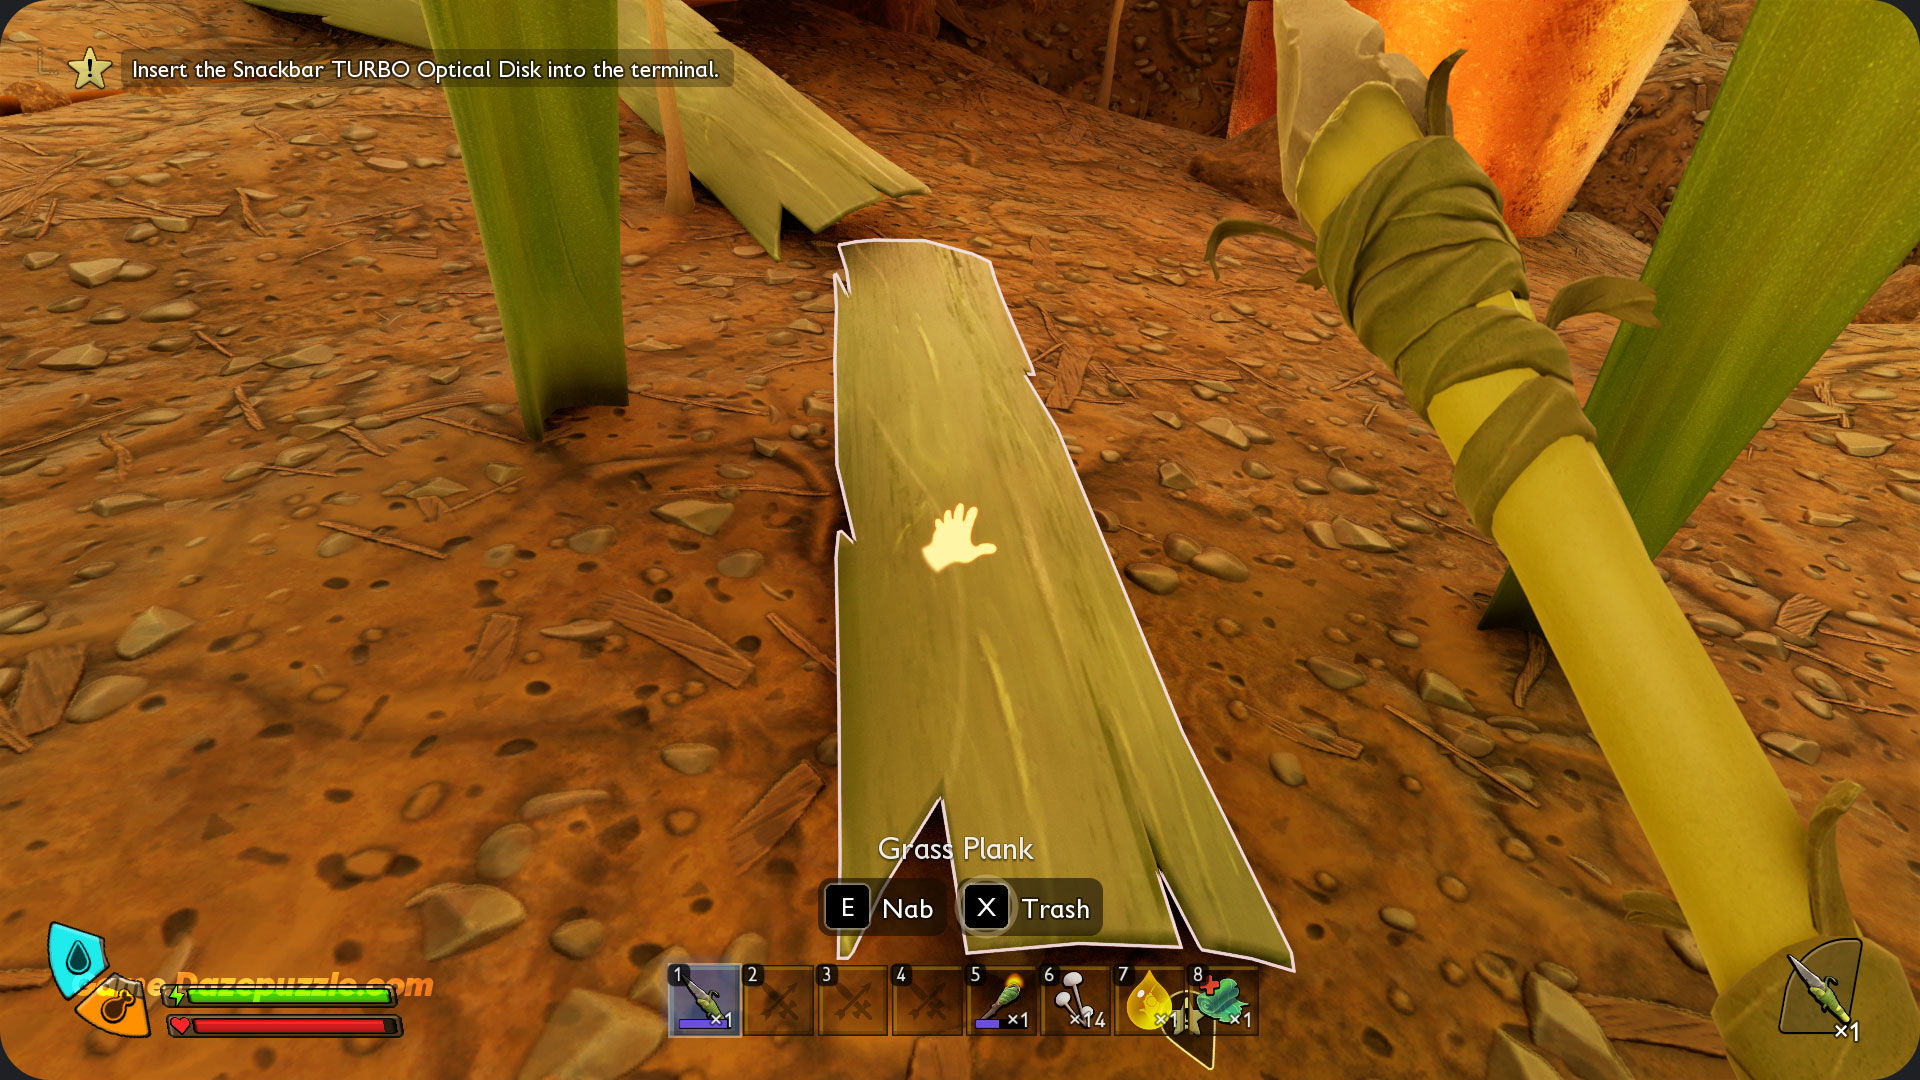
| Workbench | Analyze a Grass Plank | 3x Grass Plank, 4x Sprig, 2x Sap | The main hub for crafting most tools, weapons, and armor. |
| Roasting Spit | Unlocked from the start | 4x Sprig, 4x Pebblet | Cooks raw bug meat to satisfy hunger. |
| Lean-To | Unlocked from the start | 3x Clover Leaf, 2x Sprig | Your respawn point and a way to pass the dangerous nights. |
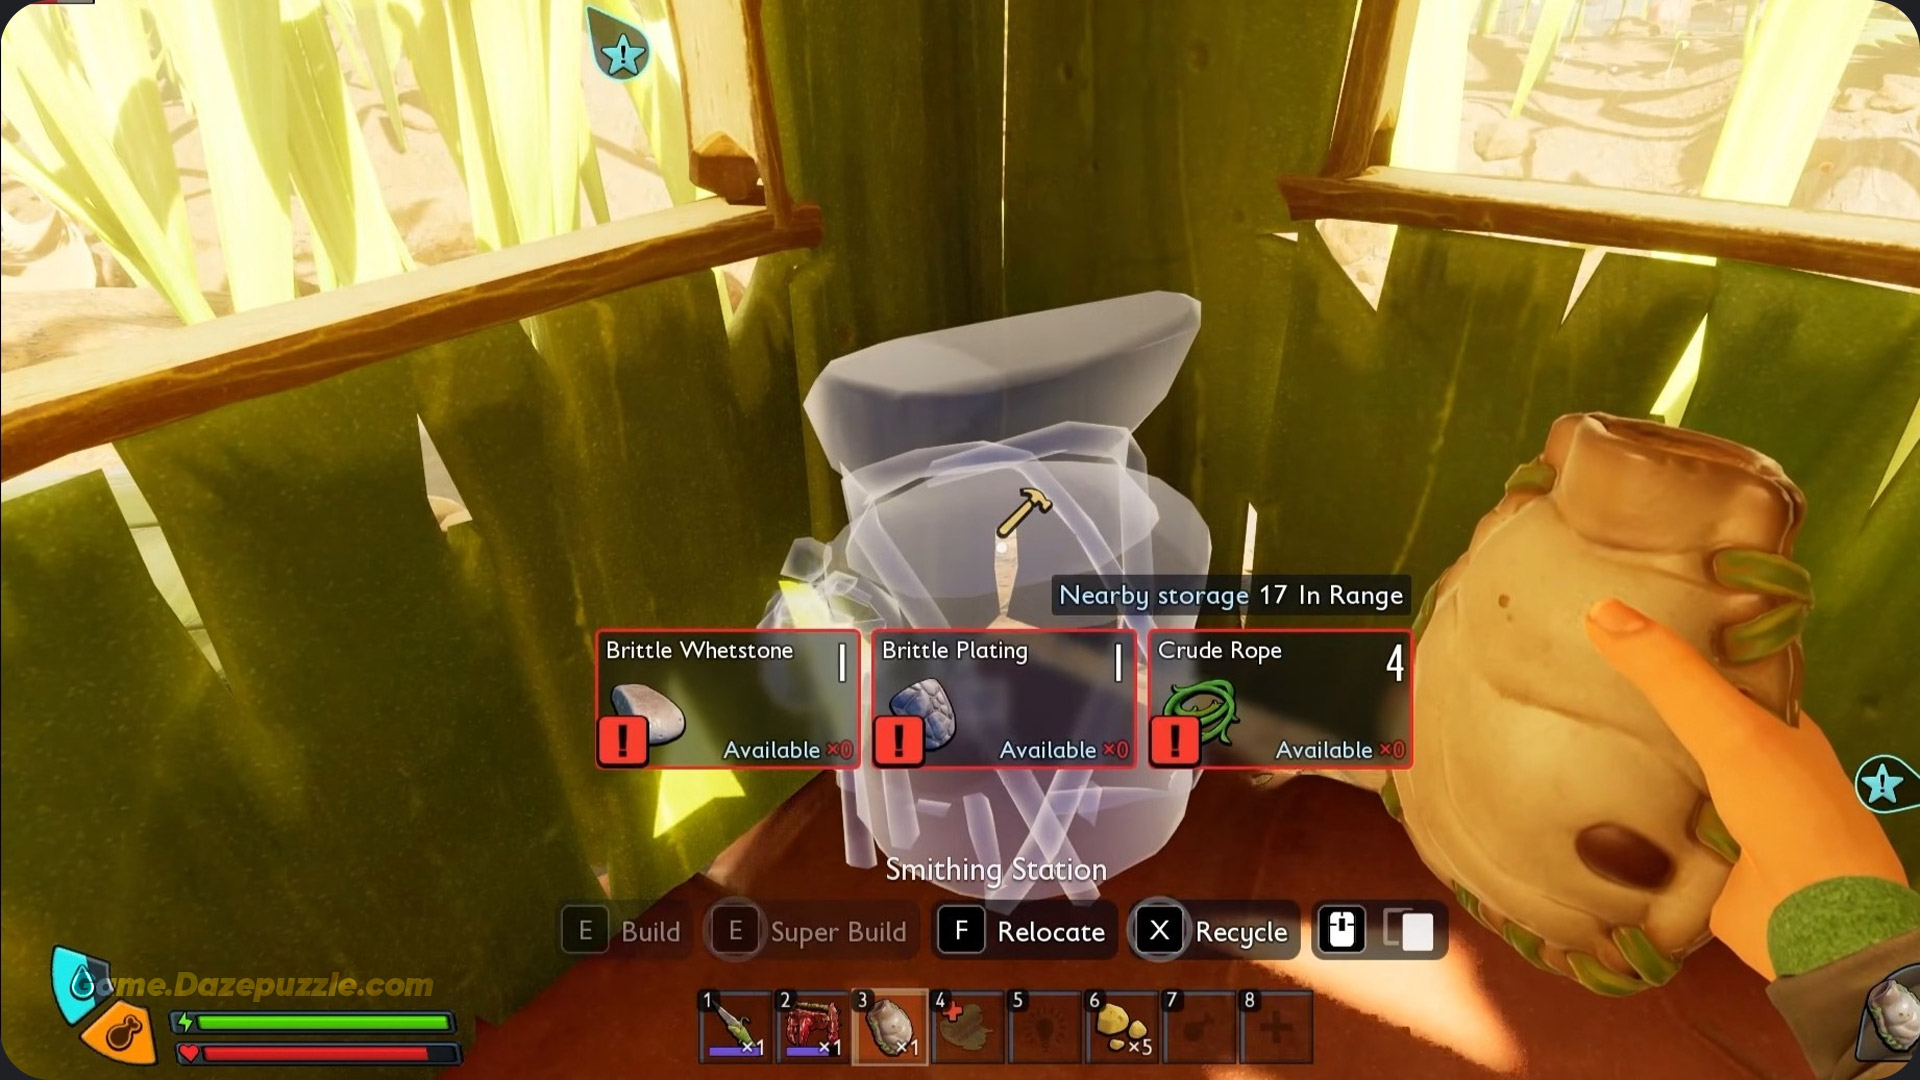
| Smithing Station | Complete “Art of War” quest | Varies | Upgrades weapons and armor to higher tiers. |
| Cookery | Purchase from Science Shop | Varies | Advanced station for meals that provide powerful buffs. |
| Grinder / Oven | Purchase/Find Schematics | Varies | Process raw materials into advanced building components like Mushroom Bricks and Ash Cement. |
If you are new to this game, our Grounded 2 Beginner’s Guide might help you to have a better start in the game.
Location is Everything: Where to Build Your Base
This is the strategic heart of the guide. After learning how to build, it’s time to figure out where to build. Your base location is the single most important decision you’ll make as a builder.
Golden Rules of Base Placement
To evaluate any potential spot, keep these key principles in mind:
- Height is Life: Get elevated. Most early game threats are ground-based. Building on high platforms like rocks, tables, or even a giant baseball provides free, natural defense.
- Resource Proximity: A good base minimizes travel time for essential materials. Your needs will change; an early base needs grass and pebblet, while an advanced base needs access to Tier 3 bug parts.
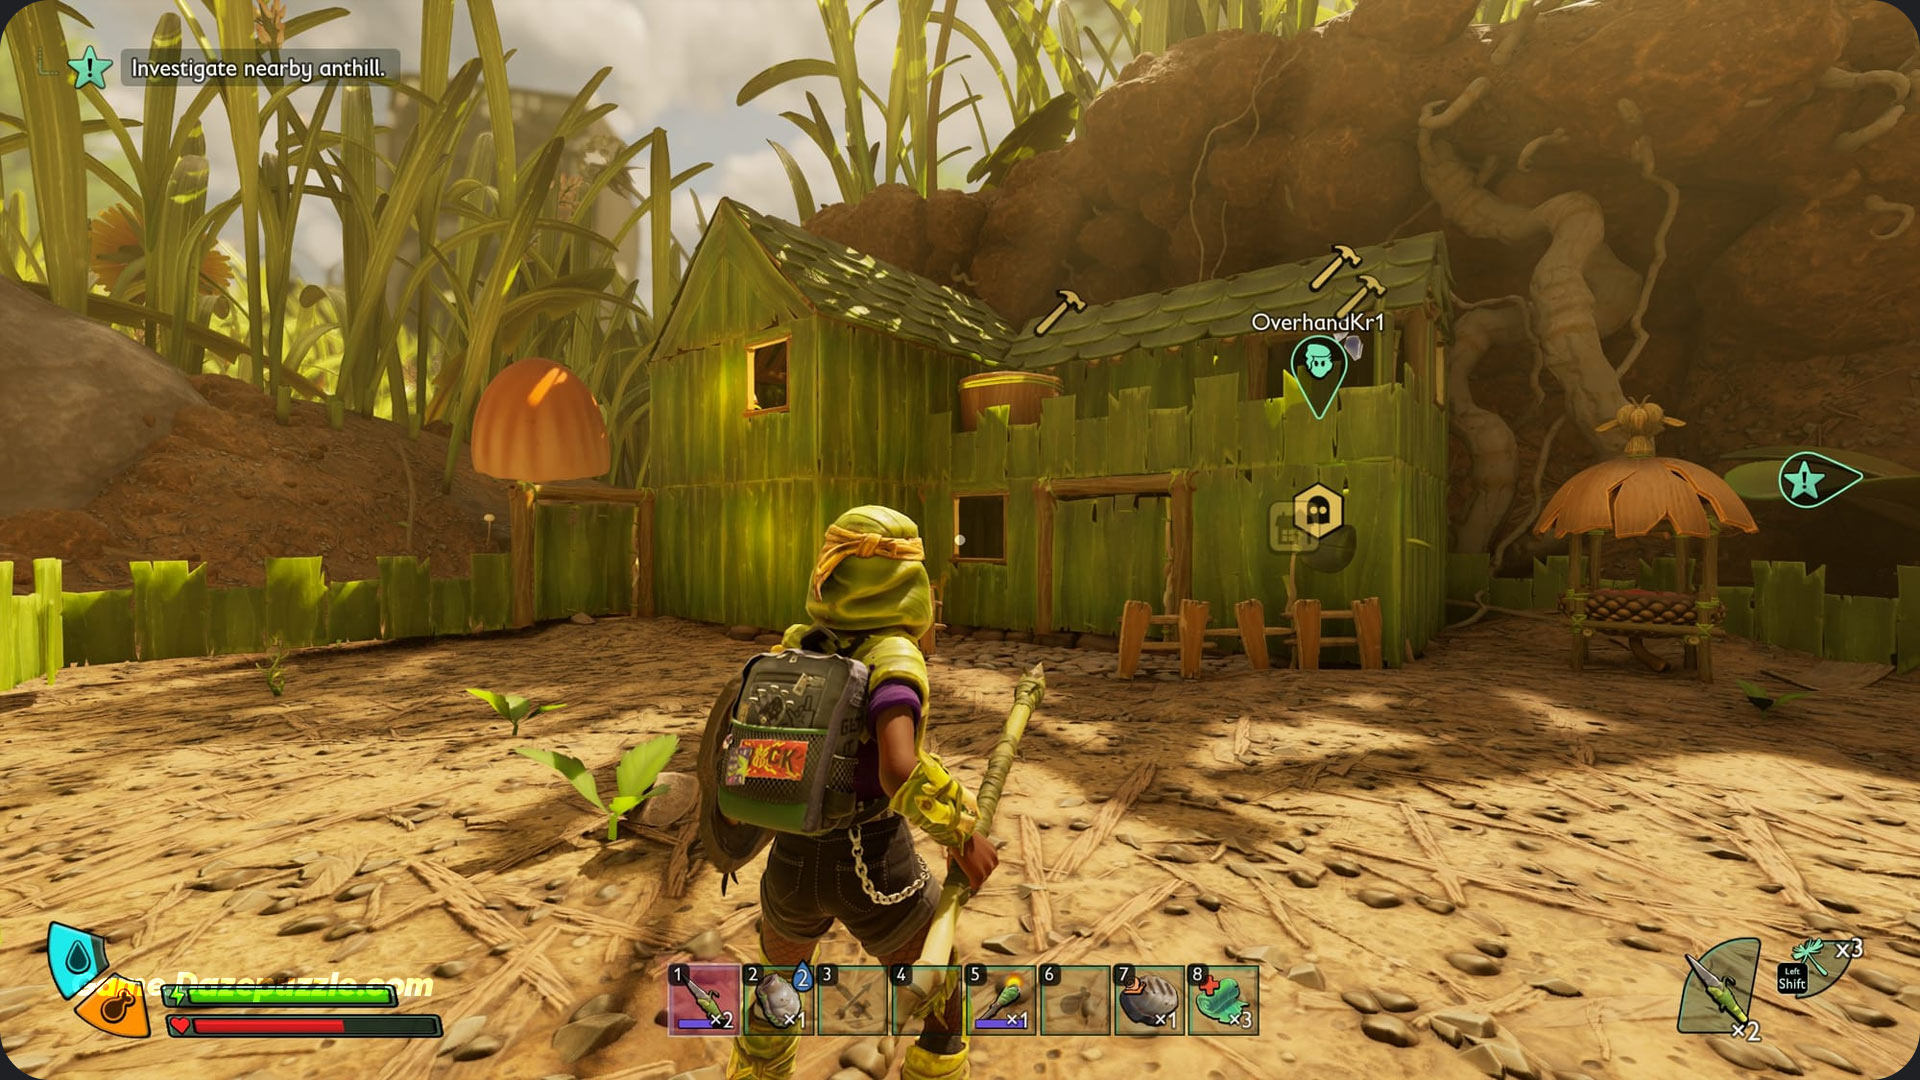
- Facility Access: Building near a Ranger Outpost is a powerful early-game strategy. They provide free access to a Resource Analyzer and often an unlimited water source.
- Know Your Neighbors: Scout the area for hostile bug nests. Building near a spider den or scorpion territory is a recipe for disaster.
Prime Real Estate: The Best Base Locations
Here’s a detailed breakdown of the best-identified spots for base building, with strategic analysis for different game stages.
| Location Name | Game Stage | Safety Score | Resource Access | Strategic Value & Notes |
|---|---|---|---|---|
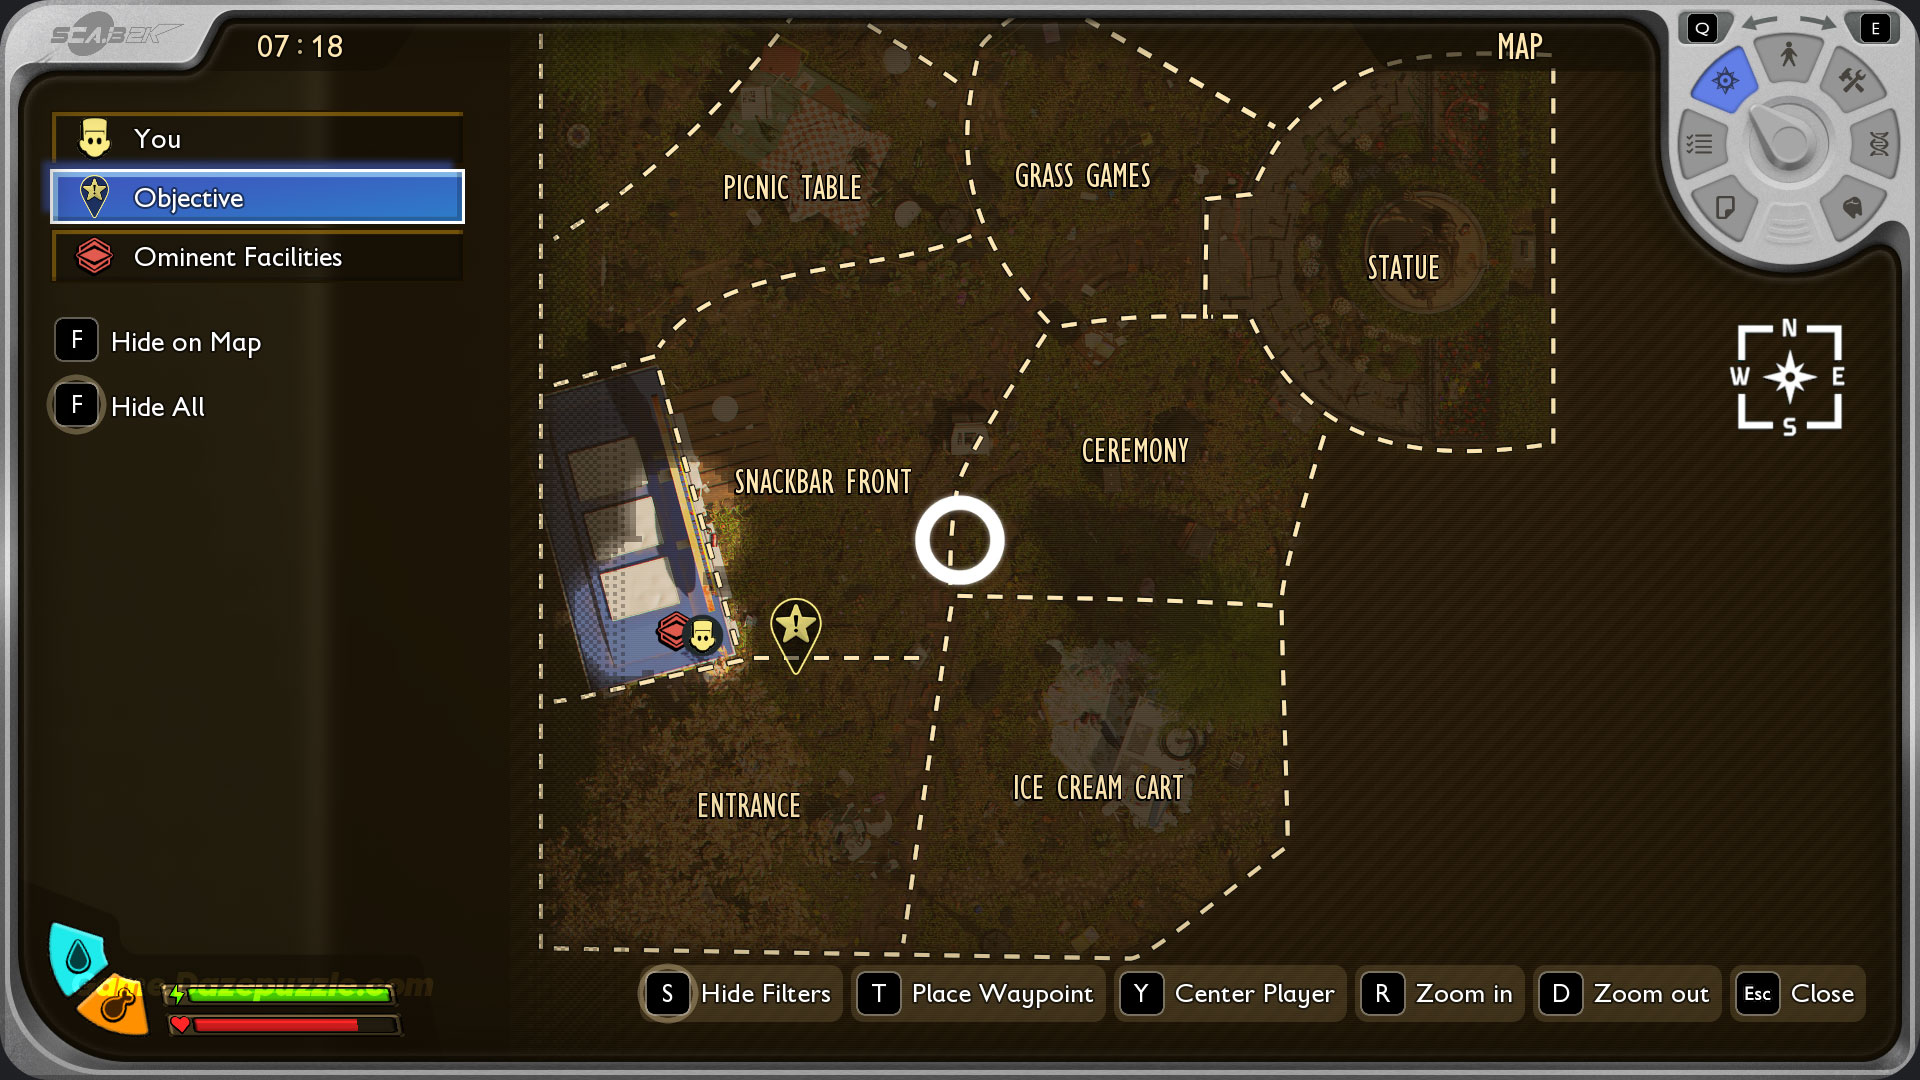
| Snackbar Platforms | Early Game | High | Grass, Sprig, Pebblet, Clay | Elevated and safe from ground threats. Instant access to the first Ranger Outpost, analyzer, and water. Best starting spot. |
| Ceremony Rock | Mid-Late, All-Purpose | High | Grass, Weed Stem, Berries, Pine Needles, T3 Bug Parts | Massive building space. Central for late-game quests. Near high-tier resource zones. The best long-term option. |
| Oak Tree / Hill | Early-Mid Game | Medium | Acorns, Grass, early resources | Very scenic. Good access to early materials but far from endgame content. |
| Deck Outside Billy Hog’s | Mid-Late Game | Medium | Most endgame resources | Great flat surface for building. Close to high-tier items. Requires caution due to a nearby bombardier beetle. |
The Hub-and-Spoke Model
Instead of building one giant, permanent base from the start, adopt a nomadic lifestyle early on. Use the network of Ranger Outposts as safe havens. As you progress, establish a permanent “hub” base (like on the Ceremony Rock) and then build smaller, specialized “spoke” outposts near key resource nodes. This creates an efficient logistical network across the park.
The Builder’s Catalog: Materials and Parts
This section acts as a comprehensive encyclopedia of building components, categorized by material tier and function.
Building Tiers: From Grass to Ash
Structural progression in Grounded 2 comes through different material tiers, each offering different durability and aesthetics.
- Tier 1 (Grass & Stem): The backbone of early bases. Includes Grass Walls, Stem Walls, and floors.
- Tier 2 (Advanced Natural): Acorn, Pebblet, and Clay building sets offer more durability and unique looks.
- Tier 3 (High-End): Mushroom, Bur, Pinecone, and Ash sets represent the strongest, most expensive building options.
A cool mechanic that gates building progression is “Coziness.” Some advanced recipes, like the Pinecone Roof, aren’t unlocked by analysis. Instead, they unlock by reaching a certain “Coziness” level in your base, which is increased by placing furniture, decorations, and high-tier building parts.
We also have a Grounded 2 Crafting Guide that might help you with your other craftings in the game.
Building Sets and Materials Guide
Here’s a breakdown of the known building sets and the materials you’ll need to craft them.
| Building Set | Tier | Key Materials | How to Unlock | Key Features / Notes |
|---|---|---|---|---|
| Grass | 1 | Grass Plank | Analyze Grass Plank | Basic, cheap, and plentiful. The backbone of early bases. |
| Stem | 1 | Weed Stem | Analyze Weed Stem | Slightly tougher than grass. For sturdier early structures. |
| Acorn | 2 | Acorn Shell | Analyze Acorn Shell | Good mid-game durability. A solid, woody look. |
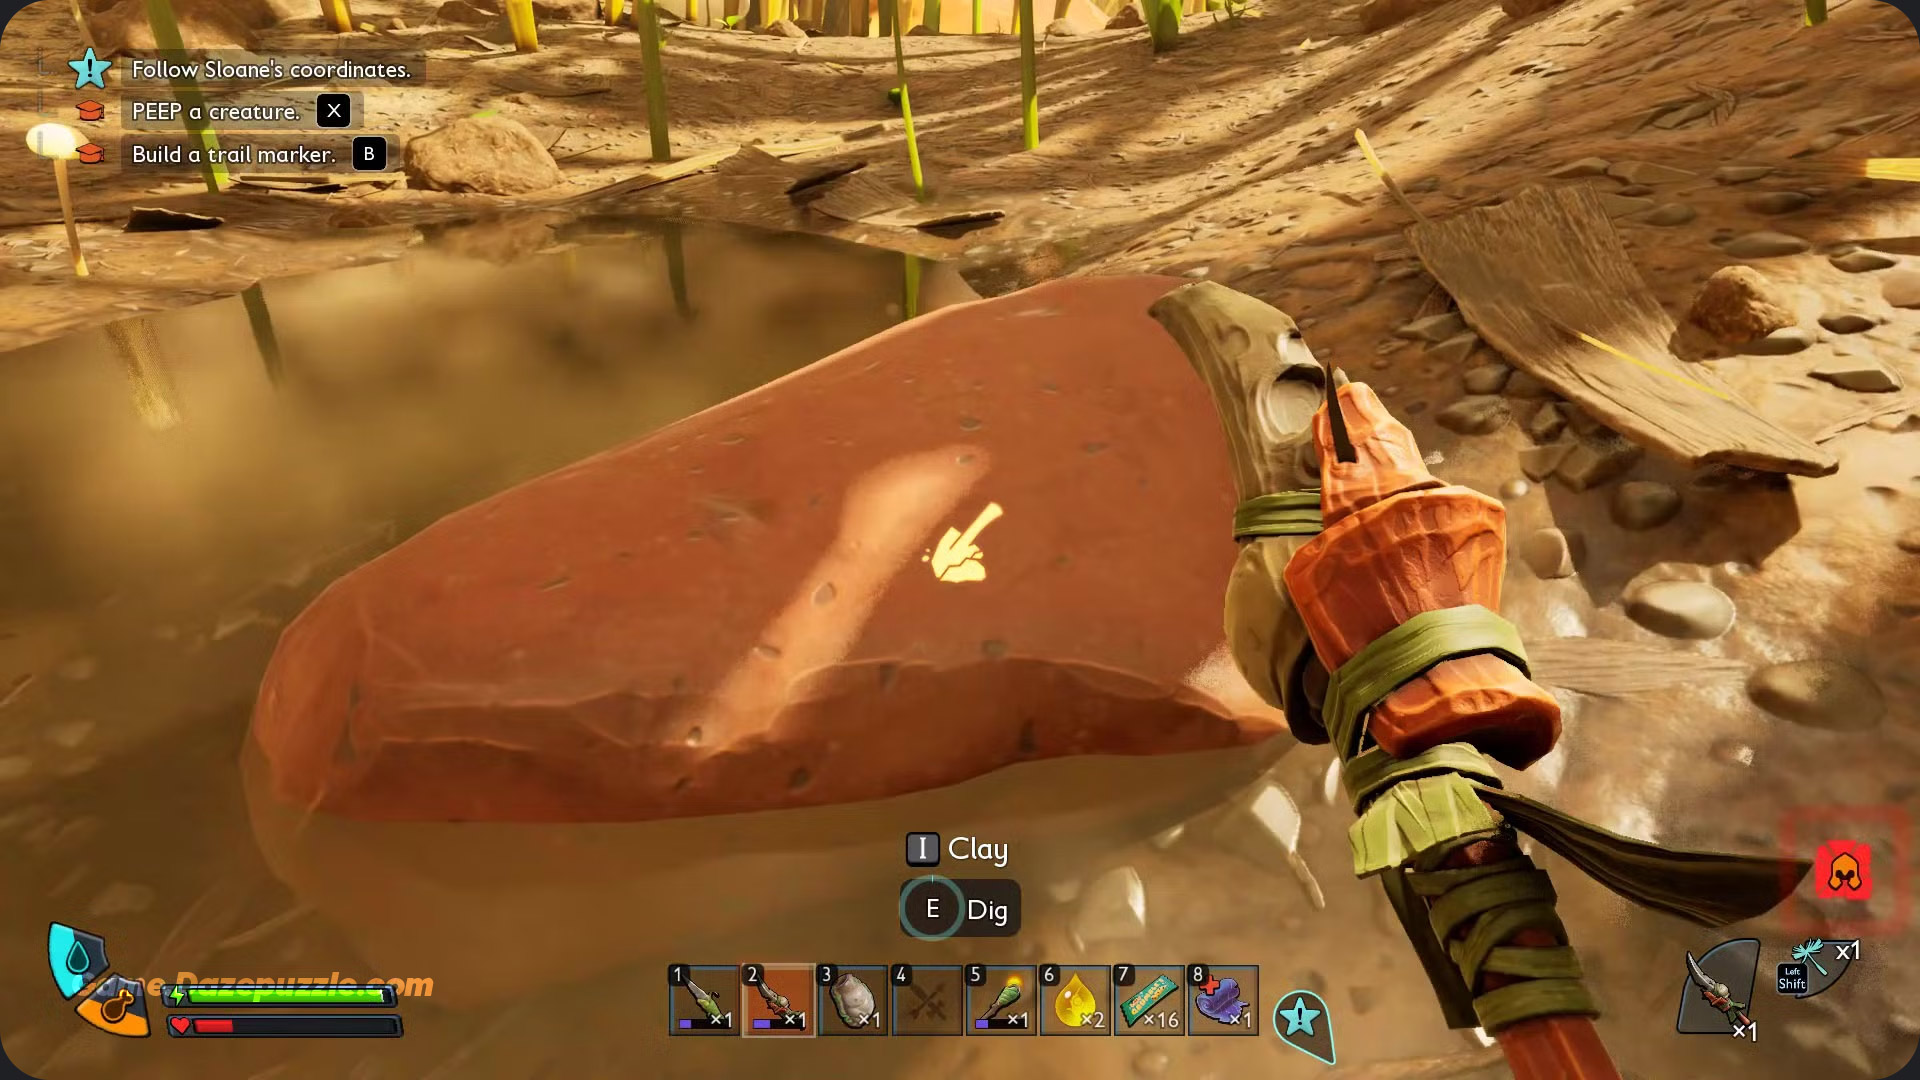
| Clay | 2 | Clay Foundation | Analyze Clay | For strong foundations. Requires a shovel. |
| Pebblet | 2 | Pebblet Foundation | Analyze Pebblet | High-durability stone foundations. |
| Mushroom | 3 | Mushroom Brick | Purchase from Science Shop | Very high durability. Requires processing Mushrooms in an Oven. |
| Pinecone | 3 | Pinecone Piece | Reach Coziness Level 4 | Beautiful aesthetic and high durability. Requires investing in decor. |
| Ash | 3 | Ash Cement | Find advanced BURG.L Chip | The highest known durability. Likely fire-resistant. |
Under Siege: A Masterclass in Base Defense
This section is a masterclass in survival, focusing entirely on the Faction Reactivity system (raids) and how to counter it with smart design and active defense.
Know Your Enemy: How Raids Work
Raids trigger when you reach the “Want You Gone” relationship status with a bug faction by killing too many of its members. The raid event itself has a random chance to occur when you’re near one of your bases. The bugs will attack the nearest player-built structure of value, not necessarily your main house.

Architectural Defense: Building a Fortress
Use design principles to create an inherently defensible base.
- High Ground: Bugs that can’t reach you can’t hurt you.
- Choke Points: Funnel attackers into a single, defensible kill zone.
- Layered Defense: Build multiple layers. An outer, disposable wall of spike traps can absorb the initial assault.
Active Defense: Turrets and Traps
Here’s how to use crafted defensive structures to your advantage.
| Defense Structure | How to Unlock / Recipe | Function | Strategic Use | Pro Tip / Advanced Tactic |
|---|---|---|---|---|
| Spike Trap | Basic materials (Stem, Rope, Thorns) | Ground damage | Perimeter defense for choke points | Use multiple layers for maximum damage. |
| Pebblet Turret | Advanced recipe | Ranged damage | Anti-air, MIX.R defense | Place on half-stairs for a better downward firing angle. |
| [Future] Auto Turret | Likely advanced recipe | Automated ranged damage | Automated point defense for solo players | A potential game-changer for base defense, likely coming in future updates. |
| Bomb (Bratburst) | Insect part recipes | AoE explosive damage | Clearing large groups of attackers | Highly effective for Overload and MIX.R event defense. |
The Bait Base: An Advanced Raid Strategy
This is the ultimate pro move. Build your well-defended “main base” and a small, disposable “bait base” somewhere remote. When you get the “Want You Gone” message, travel to the bait base to trigger the raid there. Let the bugs destroy the cheap outpost. The raid is now “spent,” and your valuable main base will be safe for several in-game days due to the post-raid cooldown. You control where and when you fight.
Endgame Engineering: Advanced & Future Proof Builds
This final section targets veteran players, focusing on endgame projects, creative expression, and preparing for the future of Grounded 2’s development.
Beyond Survival: Endgame Projects
- Zipline Networks: The hallmark of an advanced world. Design efficient zipline towers to create a park-wide transportation system.
- Buggy Integration: The new vehicle system is a logistics game-changer. Design “buggy garages” at your base. The roadmap hints at future buggy customization and upgrades.
- Creative Building: Go beyond pure function to create visually stunning bases. Build inside unique locations like soda cans, or create themed structures like underground bunkers and treehouses.
Building for Tomorrow: The Development Roadmap
Grounded 2 is an evolving game. The official roadmap reveals several huge upcoming features. The Summer 2026 update is massive, introducing “Watery Bases,” “Watery Buggies,” and improved swimming.
This makes building near a significant water source a brilliant strategic move right now. It positions you to immediately take advantage of the watery base update when it arrives.
Creative Mode Sandbox
Finally, don’t forget about Creative Mode. It offers unlimited building with or without bugs. It’s the perfect environment to practice advanced techniques, test designs, and plan out your survival mode fortress without risk or resource cost.
Thanks for Keeping up with Game.dazepuzzle.com