Alright, buckle up Gamers!, because we’re about to go deeper into the rabbit hole of the Oldest House. You’ve got the basics, now let’s turn you into a seasoned Bureau operative with some more meat on the bones for each of those crucial tips. Let’s learn 15 Things Contorl doesn’t tell you in this Control Tips and Tricks Guide. Stay with Game.Dazepuzzle.com to the end!
Table of Contents
1. Digging Through the Lore Like a Nosy Neighbor (Seriously, Do It!)
Think of the Oldest House as a living, breathing (and definitely not normal) entity. Every document, every recording, every weird little note you find is a piece of the puzzle that makes up its bizarre history and the even weirder stuff that’s going down. When you stumble upon a file labeled “Incident Report: Rubber Duck Anomaly,” don’t just skim it. Read it! These seemingly insignificant details often foreshadow later events, provide crucial backstories on characters you’ll meet, or even hint at hidden secrets and side quests.
The world-building in Control is top-notch, and the more you immerse yourself in the lore, the more rewarding the experience will be. It’s not just about finishing the game; it’s about understanding the unsettling beauty and the cosmic horror that permeates the Oldest House. Plus, you’ll be the cool kid who actually knows what a Threshold is without having it explained to you every five minutes.
2. Don’t Be a Hero, Do Your Side Quests (They’re Not Just Filler)
Seriously, treating side quests as optional fluff in Control is a big mistake. These aren’t your typical fetch quests. Often, they delve into the personal stories of the Bureau’s staff, explore specific paranormal phenomena, or introduce you to memorable characters like Ahti the janitor (trust me, you’ll remember him). More importantly, the rewards for these side missions can be game-changing.
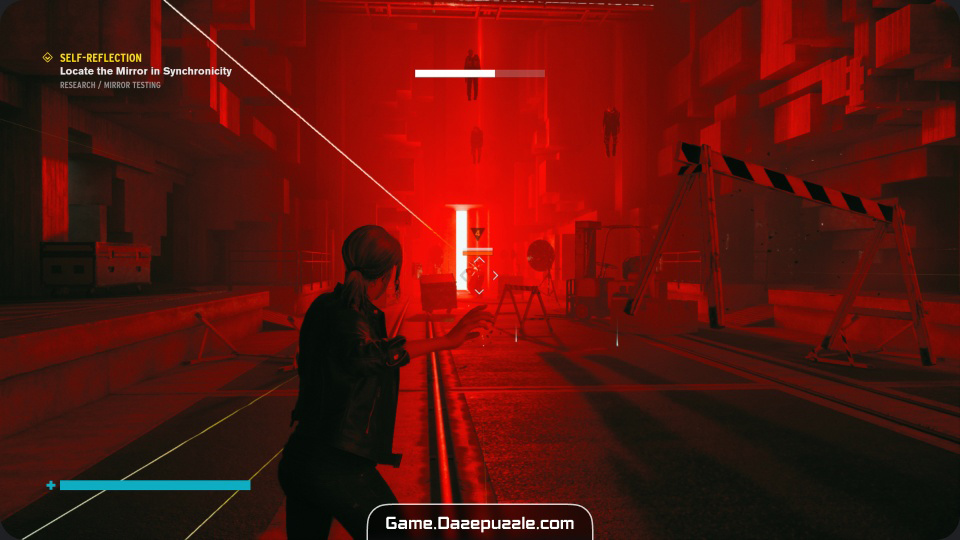
We’re talking about unlocking powerful new abilities that will make your life (and the Hiss’s lives) a whole lot easier. For instance, completing certain Object of Power quests will grant you abilities like Evade, which is essential for dodging attacks, or Shield, which can save your bacon in a tight spot. So, when someone asks you to investigate a haunted mirror or track down a missing mold, jump on it! Your future self will thank you.
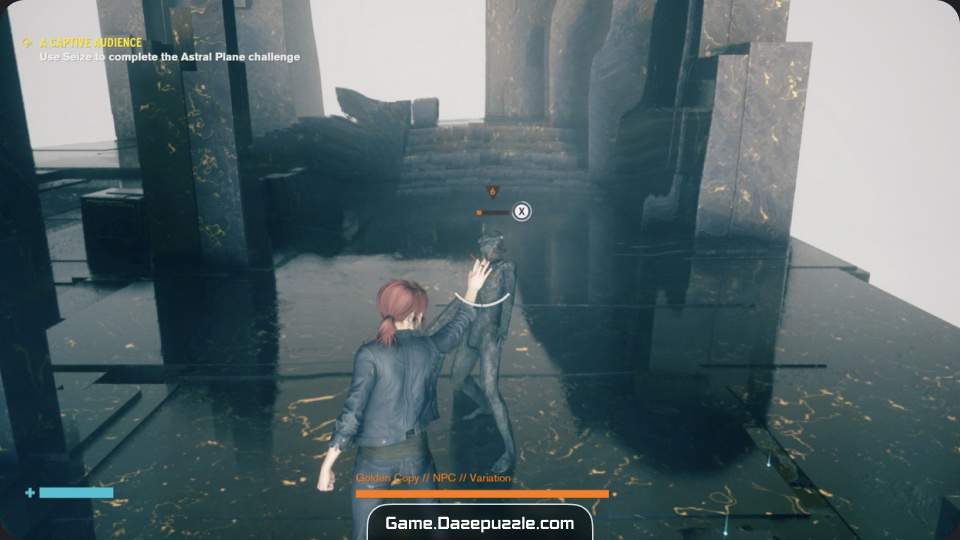
3. Brainwashing Bad Guys: The Art of Seizing (Timing and Target Selection are Key)
Seize isn’t just about turning any old enemy into a temporary meat shield. You need to be strategic about when and who you seize. In chaotic firefights, look for stronger enemies like the Hiss Elevated or the Hiss Demolitions Expert. Turning one of these heavy hitters against their own team can drastically shift the balance of power.
Also, be mindful of the cooldown time for Seize. You can’t just spam it. Wait for the right moment, make sure you have a clear line of sight (and some cover), and then unleash your inner puppeteer. Remember, a seized enemy will eventually turn on you, so make the most of their temporary allegiance. Use them to draw fire, deal heavy damage, or create an opening for you to flank the remaining enemies.
4. Free Loot? Yes, Please! Board Countermeasures (Your Daily Dose of Rewards)
Think of Board Countermeasures as your daily to-do list from the mysterious Board. These short objectives can range from defeating a certain number of enemies with a specific weapon form to exploring a particular area of the Oldest House. The rewards can include ability points, crafting materials, or even rare mods. Make it a habit to check the countermeasures at every Control Point you visit. Prioritize the ones that align with your current objectives or that seem easy to complete. It’s a simple way to passively earn valuable resources and accelerate your progression. Plus, it adds a little extra challenge and variety to your gameplay.
5. Your Swiss Army Gun: The Service Weapon (Unlock Everything Before You Go Upgrade Crazy)
Seriously, hold your horses on those weapon upgrades until you’ve unlocked all five forms of the Service Weapon: Grip (pistol), Shatter (shotgun), Pierce (sniper), Charge (grenade launcher), and Spin (automatic weapon). Each form excels in different combat scenarios. Upgrading early might leave you with a souped-up weapon that’s useless against certain enemy types.
Once you have all the forms, you can start to figure out which ones fit your playstyle and which ones you rely on the most. Then, you can strategically invest your precious weapon upgrade modules to maximize their effectiveness. For instance, if you love getting up close and personal, you might want to focus on upgrading Shatter first. If you prefer a more tactical approach from a distance, Pierce might be your go-to.

6. Finding Your Perfect Gun Combo (Adapt to the Situation)
While Grip and Shatter or Pierce are solid starting combos, don’t be afraid to experiment with all the weapon forms. Sometimes, Spin’s rapid fire is perfect for taking down hordes of weaker enemies, while Charge can be a lifesaver against heavily armored foes or bosses with multiple health bars. Learn to switch between weapon forms fluidly during combat. You can even set up quick weapon swaps in the menu to make this process seamless. Being adaptable and knowing which weapon form to use in different situations is a hallmark of a skilled Control player.
7. Tank Up Early: Invest in Health (You Can’t Deal Damage When You’re Dead)
You’re going to be taking a lot of hits in Control, especially in the early game when you’re still getting the hang of things. Pumping your first few ability points into your health stat will significantly increase your survivability. This will give you more breathing room in combat, allowing you to make mistakes without instantly getting taken down. It also lets you be a bit more aggressive and get closer to enemies without the constant fear of dying. While energy is crucial for using your abilities, having a solid health pool will ensure you can stay in the fight long enough to actually use those abilities effectively.
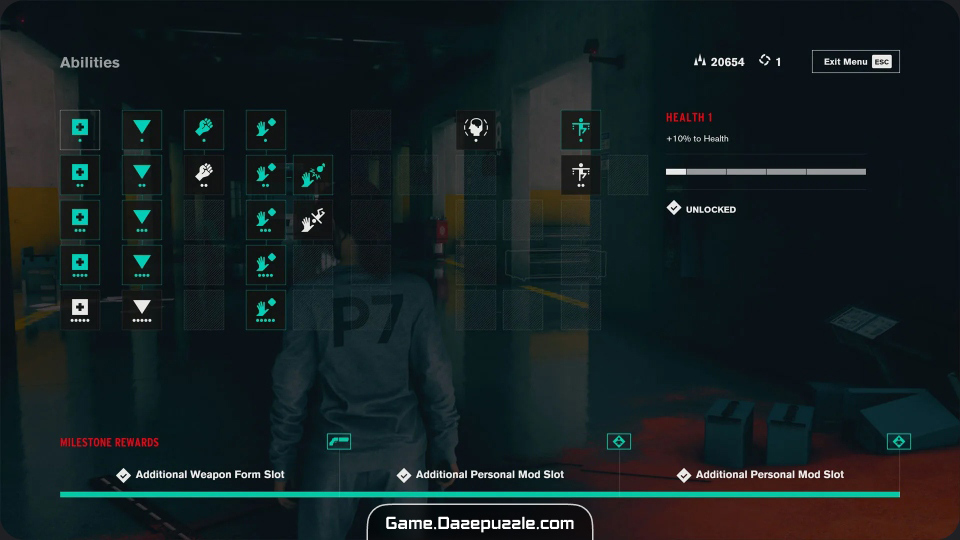
8. Slap on Some Health Mods (Every Little Bit Helps)
Think of health mods as extra layers of armor for Jesse. Even a mod that provides a small percentage increase to your health can make a difference in a tough fight. Don’t just equip the first mod you find; compare the stats and choose the ones that offer the biggest boost to your health. As you progress, you’ll find rarer and more powerful health mods, so keep an eye out for those. Stacking multiple health mods can turn Jesse into a surprisingly resilient tank, capable of weathering even the most intense Hiss onslaught.
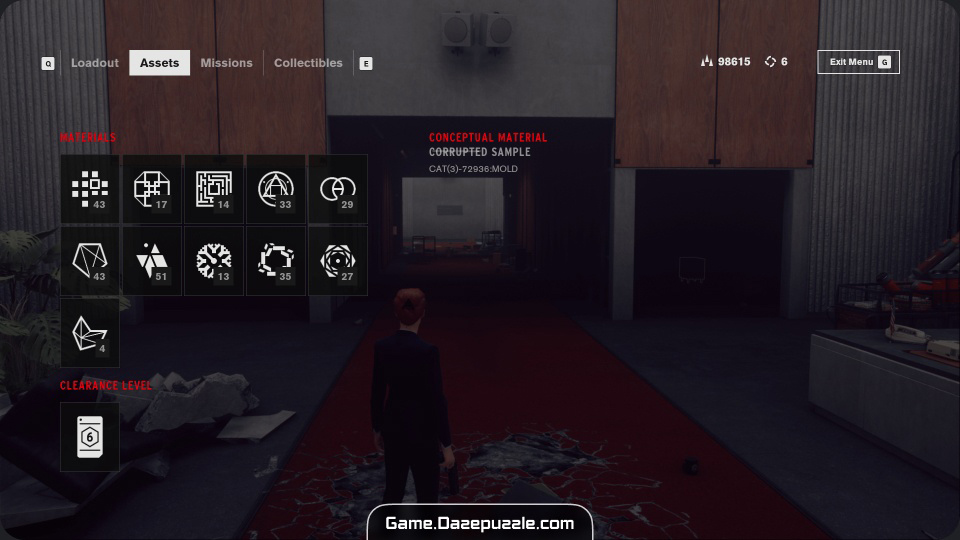
9. Don’t Be a Crafting Whiz (Yet) (Patience is a Virtue, Especially with Resources)
While crafting mods might seem tempting, especially if you’re looking for a specific bonus, it’s generally more efficient to rely on the mods you find in the environment and as rewards for completing missions and countermeasures. Crafting early on can drain your precious crafting materials, which are better spent on upgrading your weapon forms and abilities. You’ll find a steady stream of mods simply by playing the game, and often, you’ll stumble upon exactly what you need without having to spend your resources. Save your crafting for later in the game when you have a better understanding of the mod system and have a surplus of materials.
10. Declutter Your Mod Collection (Marie Kondo Your Inventory)
As you explore the Oldest House, you’ll amass a considerable collection of mods. Regularly go through your inventory and get rid of any mods that are duplicates or that offer significantly lower bonuses compared to what you currently have equipped. Not only will this free up valuable inventory space, but you’ll also get a small amount of resources for dismantling them. Think of it as a win-win situation. A clean inventory makes it easier to find the mods you actually want, and the extra resources can be put towards upgrading your gear.
11. Unleash Your Inner Brawler: Melee Matters (Especially When You’re Out of Energy)
Jesse’s melee attack might seem like a last resort, but with a few upgrades, it can become a surprisingly effective tool in your arsenal. Upgrading your melee damage and reach can allow you to quickly dispatch weakened enemies without wasting ammo or energy. It’s also incredibly useful in those frantic close-quarters encounters when you’re out of energy and need to create some space. Don’t underestimate the power of a well-timed punch or kick!
12. Dance Like Nobody’s Shooting: Stay Mobile (If You Stop, You Drop)
Seriously, I can’t stress this enough: staying mobile in combat is absolutely crucial for survival in Control. The Hiss are relentless and their projectiles can come from all directions. Learn to master Jesse’s evade ability to quickly dodge incoming attacks and reposition yourself behind cover. Don’t just stand there and trade shots. Keep moving, flank your enemies, and use the environment to your advantage. Think of yourself as a paranormal ninja – always moving, always elusive.
13. Know Your Enemy, Know Yourself (and How to Launch Things)
Every type of Hiss enemy has its own unique attacks and vulnerabilities. Take the time to observe their behavior and figure out the best way to take them down. For example, the shielded Hiss are practically immune to direct gunfire, but a well-aimed chunk of concrete launched with your mind will shatter their defenses. The flying Hiss Distorted are fast and agile, but they’re vulnerable to sustained fire from the Spin weapon form. Learning these enemy-specific strategies will make even the toughest encounters manageable.
You might also like this: Centum Game Review
14. Prioritizing Hiss Cluster Elimination (Healers are Always the First to Go)
Those glowing red orbs, the Hiss Clusters, are the bane of your existence in Control. They can rapidly heal nearby enemies, turning what should be a quick fight into a prolonged and frustrating ordeal. Whenever you spot a Hiss Cluster, make it your absolute priority to take it down. Use your most powerful attacks and abilities to eliminate them quickly. Sometimes, you might even need to reposition yourself to get a clear shot. Taking out the healers first will significantly reduce the overall difficulty of any combat encounter.
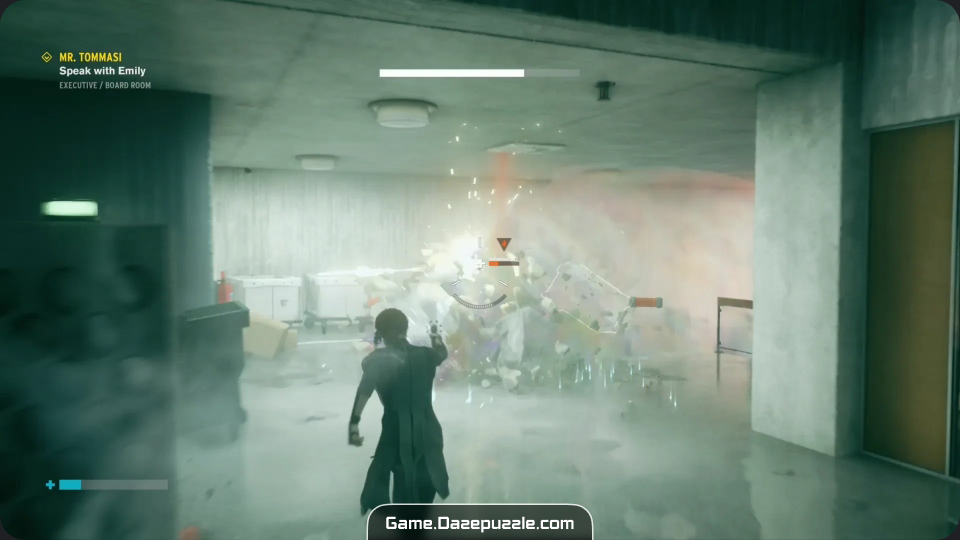
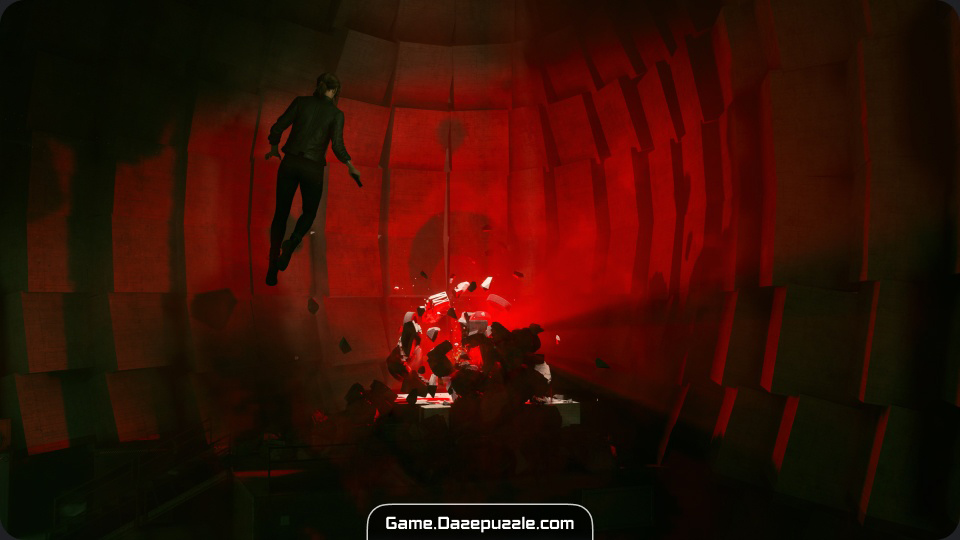
15. Smash the Red Blocks: Dealing with Hiss Walls (Time for a Little Environmental Puzzle)
Those pesky red Hiss Walls can be a real roadblock (literally). To get past them, you need to find and destroy the glowing red Hiss blocks that are powering them. These blocks can be hidden in out-of-reach locations, requiring you to use your abilities like Launch and Levitate to find and destroy them. Sometimes, you might need to solve a small environmental puzzle to access the blocks. Pay attention to your surroundings, look for clues, and don’t be afraid to experiment with your powers to clear the path.
With these more in-depth tips, you’re well on your way to becoming a master of Control. Remember, the Oldest House is a mysterious and unpredictable place, so stay curious, keep experimenting, and don’t be afraid to get a little weird. You got this!