You know that awesome feeling in a game when you finally make a character feel like yours? That’s what Donkey Kong Bananza is all about, and it really shines with the incredible collection of Donkey Kong Bananza Pauline outfits. Seriously, for a character who’s gone from being stuck in an arcade cabinet to running a city and now being a key adventure buddy, her wardrobe is a huge deal! It’s not just for looks, either. Each dress, vest, and coat is a real tool that can totally change how you play the game.
So, don’t just think of these as simple collectibles. Pauline’s outfits are total game changers. They give you real advantages that can help you win a tough boss fight, find some well hidden secrets, or just make exploring way more fun. This guide is your new best friend for her entire collection. We’ll break down every single outfit, what it does, what it costs, and the big one: how to get it. Let’s get ready to turn Pauline from a great singer into a strategic powerhouse, one awesome outfit at a time!
What Is in Our Donkey Kong Bananza Pauline Outfits Guide
More Than a Pretty Dress: Why Outfits Are a Core Mechanic
Before we start raiding the closet, you’ve got to understand how you’ll pay for all this stuff. In Donkey Kong Bananza, fashion is fueled by fossils. And no, that’s not just a fun little detail; it’s a main part of the game that rewards you for being curious.

The Fossil Economy
While you’re exploring the huge, layered world, you’ll be picking up hundreds of fossils. They come in three flavors: common Blue Fossils (like Ammonites), rare Red Fossils (like Anomalocaris), and super rare legendary Gold Fossils (like that massive Whale skeleton). These aren’t just for a museum display; they’re the cash you’ll use at the Style Shop in each area.
This system is pretty clever because it pushes you to explore every nook and cranny of each world. You can’t just farm fossils in the first easy level and buy the best stuff later. Nope! Each layer has its own set of fossils and its own Style Shop with exclusive items. If you want the coolest outfits, you have to beat the challenges of the world they’re in.
The Golden Rule: Treasure Tie First!
Here’s the deal: every single outfit you buy comes with a buff a special power up that helps you out. Because these buffs are so important, there’s a right way to go about collecting everything. So listen up, because this is the most important tip you’ll get: before you even think about buying a cool dress for Pauline, you have to get Donkey Kong’s Treasure Tie.
Trust me on this. As we explain in our Lagoon Layer Fossils Guide, this tie is the key to getting everything. It makes treasure chests appear way more often, and those chests have maps that show you where other fossils are. It’s a great cycle: the tie helps you find fossils faster, which lets you buy more cool outfits for everyone. Make it the very first thing you buy in a new area. You won’t regret it!
A Detailed Look at Pauline’s Closet
Pauline’s wardrobe is where your strategy really gets to shine. Each outfit is made to power up DK’s “Bananza” transformations, letting you switch up your game plan for whatever comes next.
| Outfit Name | Buff / Ability | Required Layer | Purchase / Upgrade Cost |
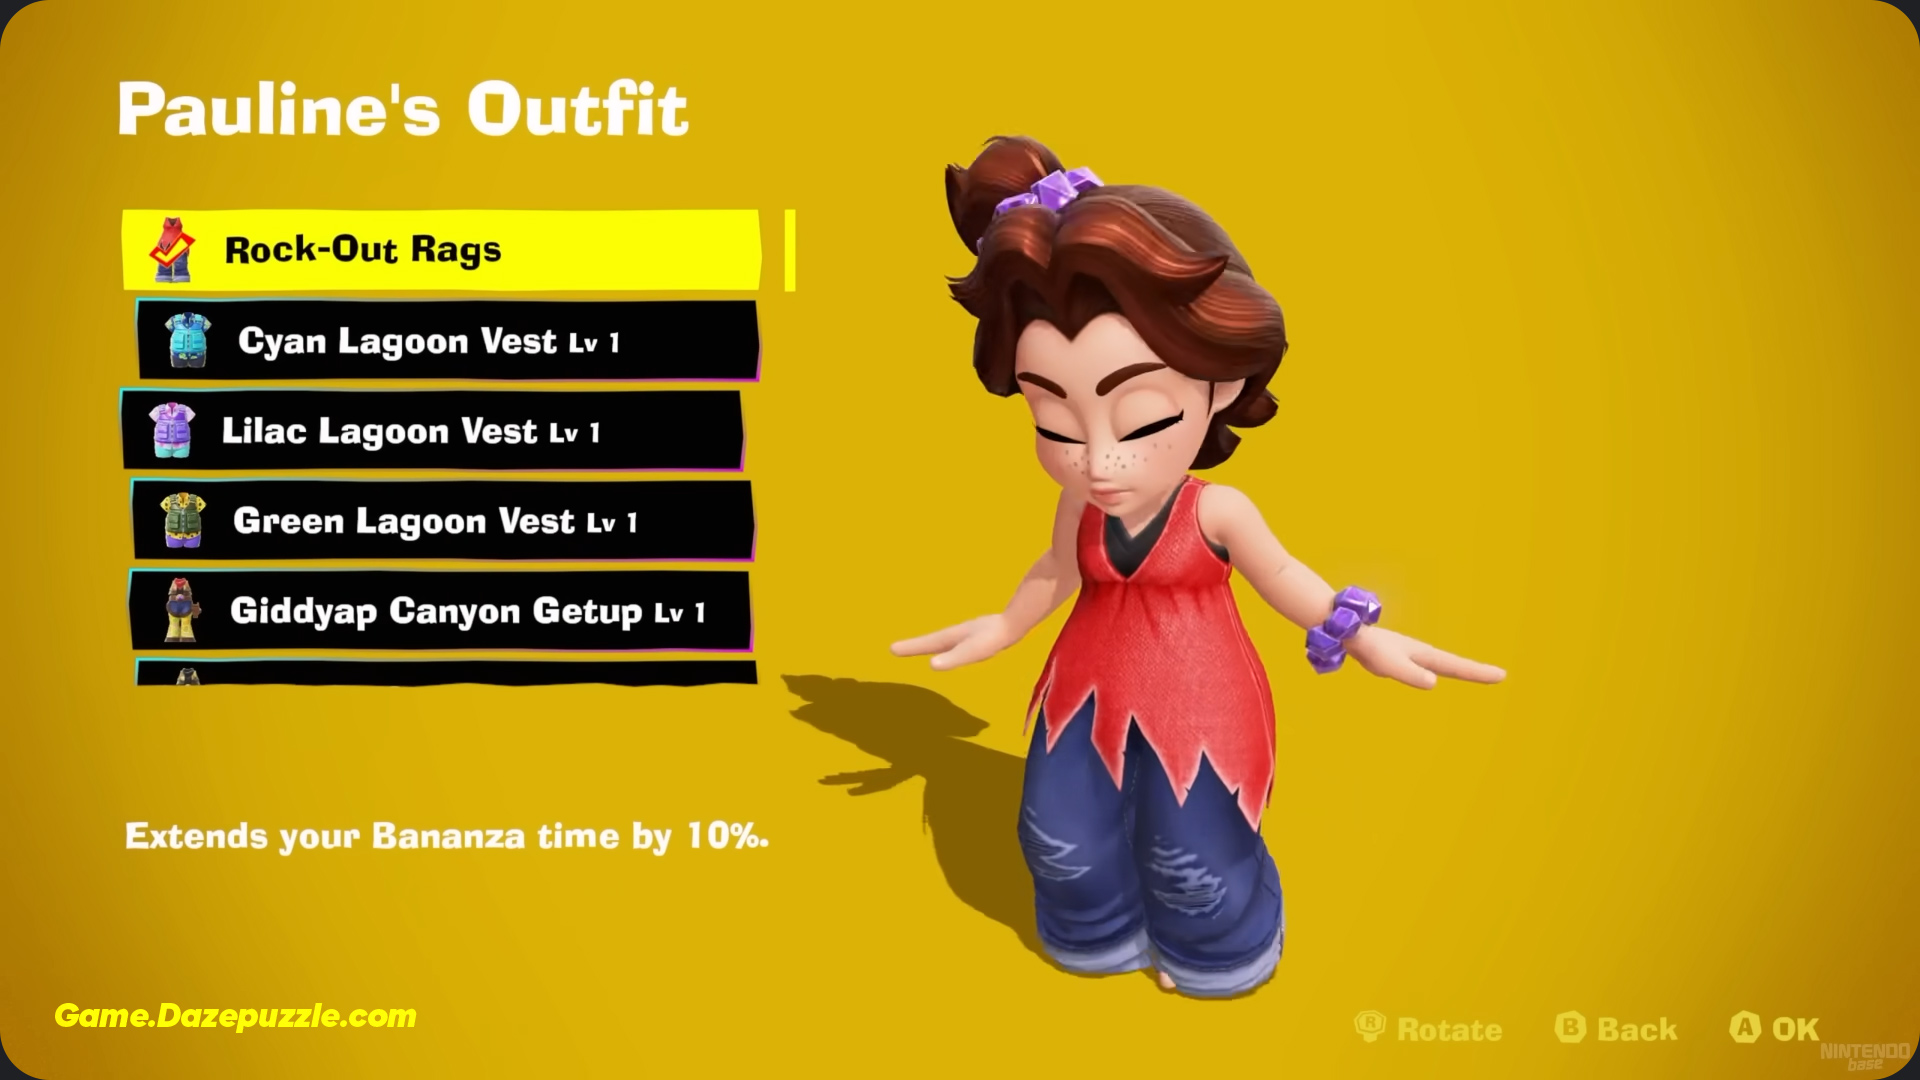
| Rock Out Rags | Increases Bananza time by 10%. | Default | Free |
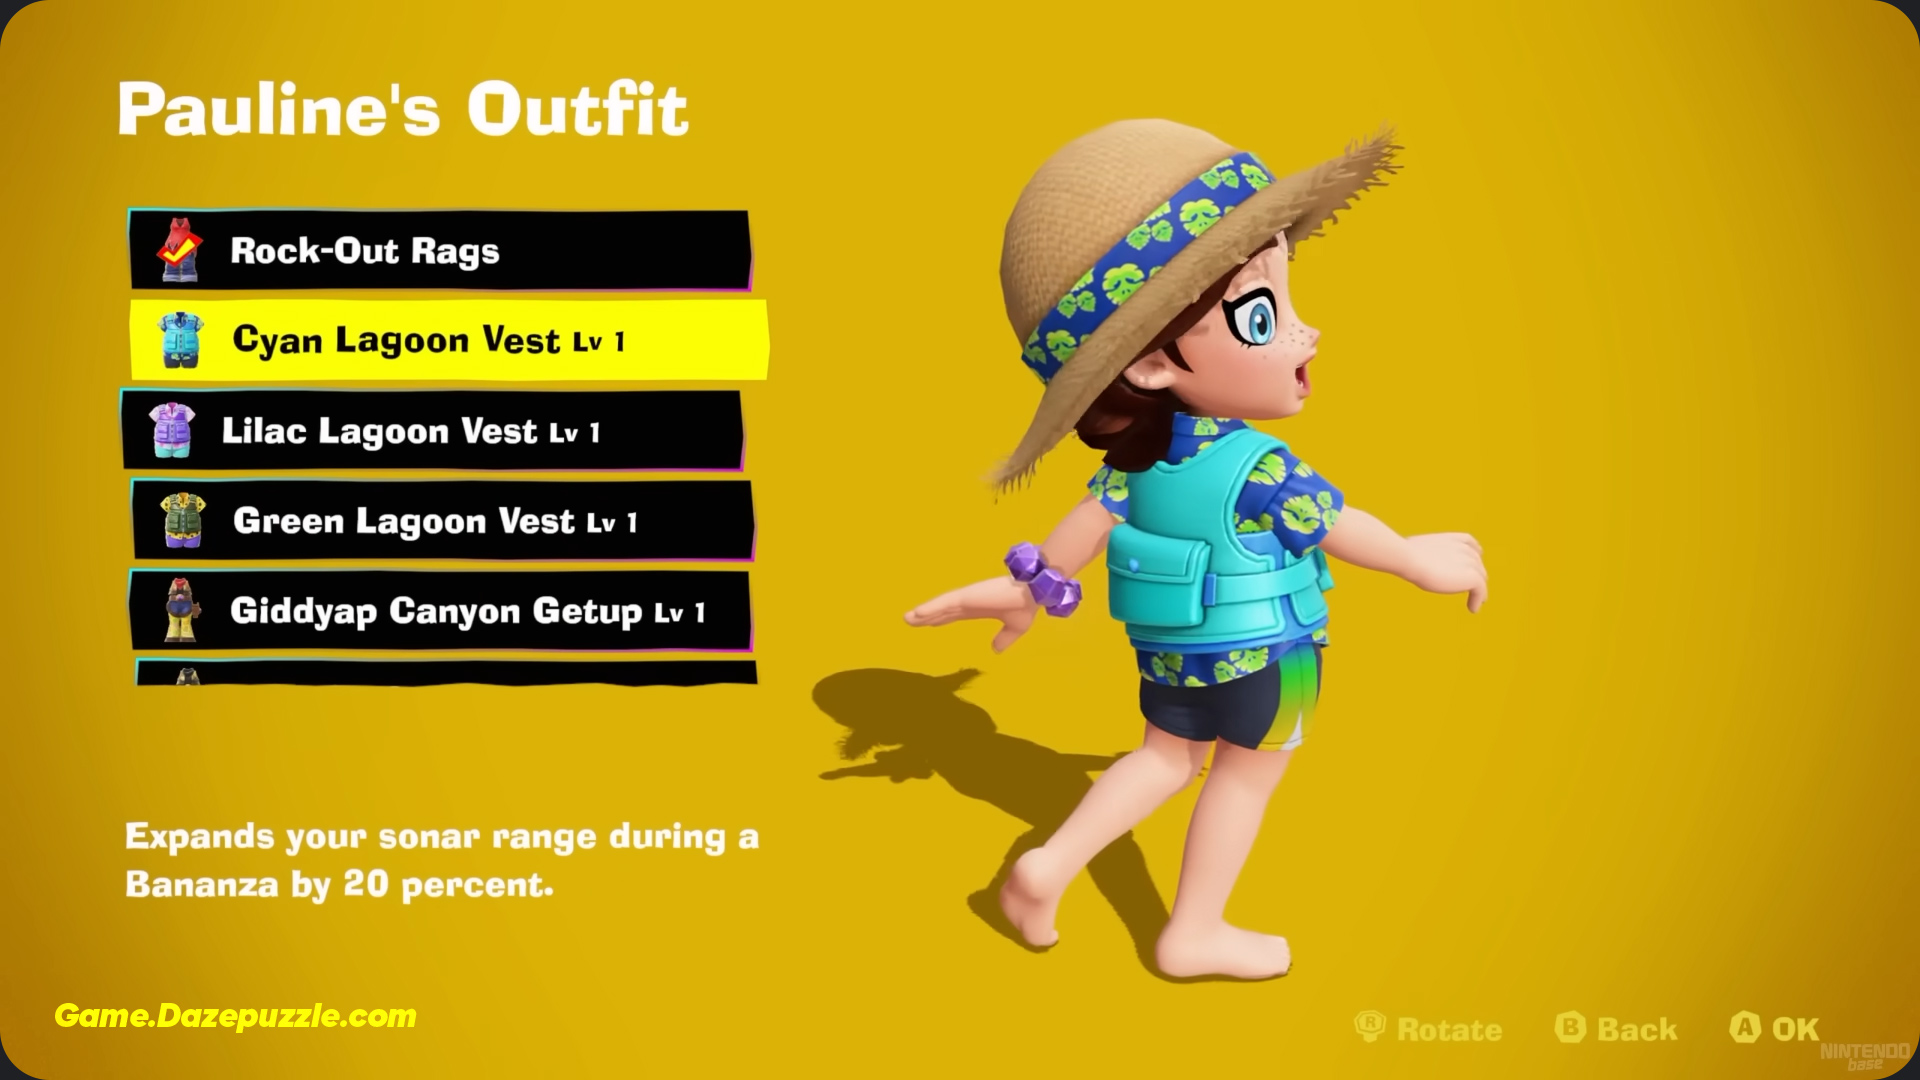
| Lagoon Vest | Increases sonar range during Bananza mode. | Lagoon Layer | Lv1: 5 Ammonite Fossils Lv2: 10 Ammonite Fossils Lv3: 3 Anomalocaris Fossils |
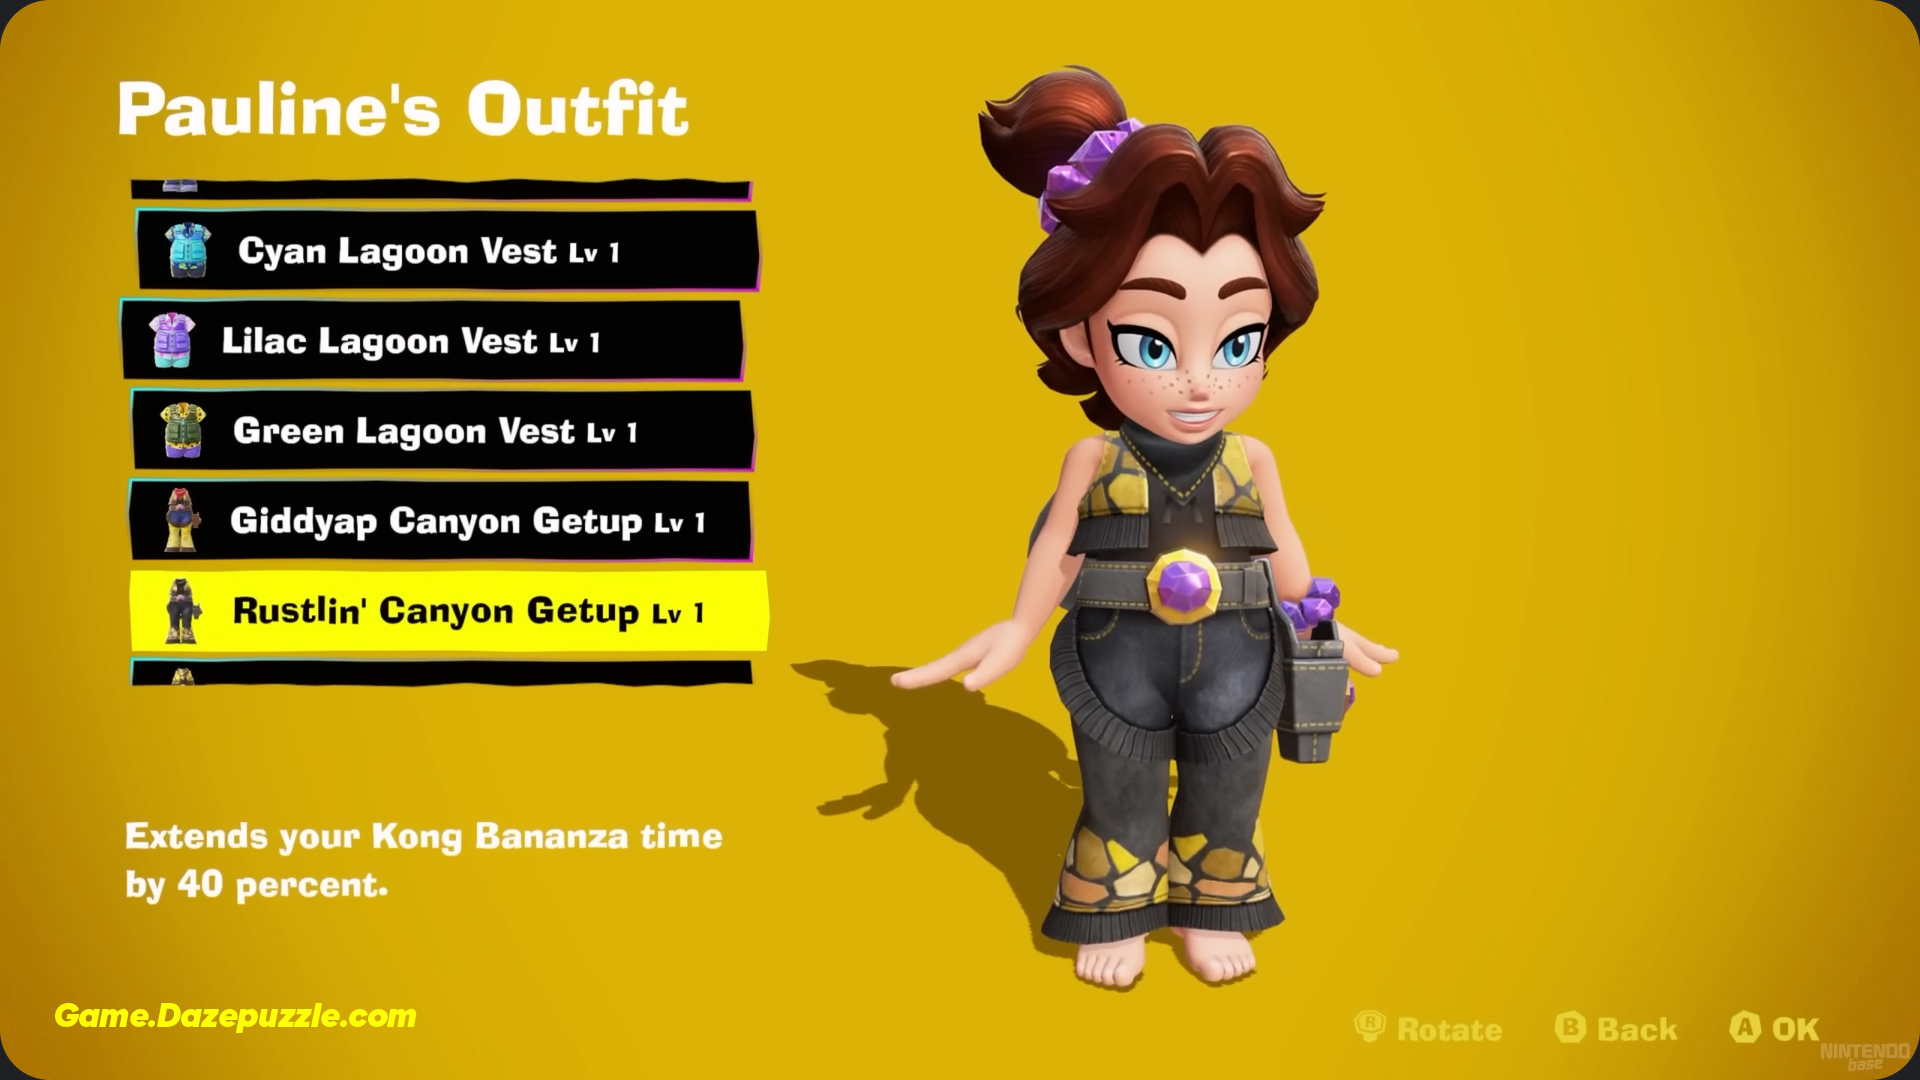
| Canyon Getup | Increases Kong Bananza duration. | Canyon Layer | Lv1: 5 Leaf Fossils Lv2: 10 Leaf Fossils Lv3: 3 Trilobite Fossils |
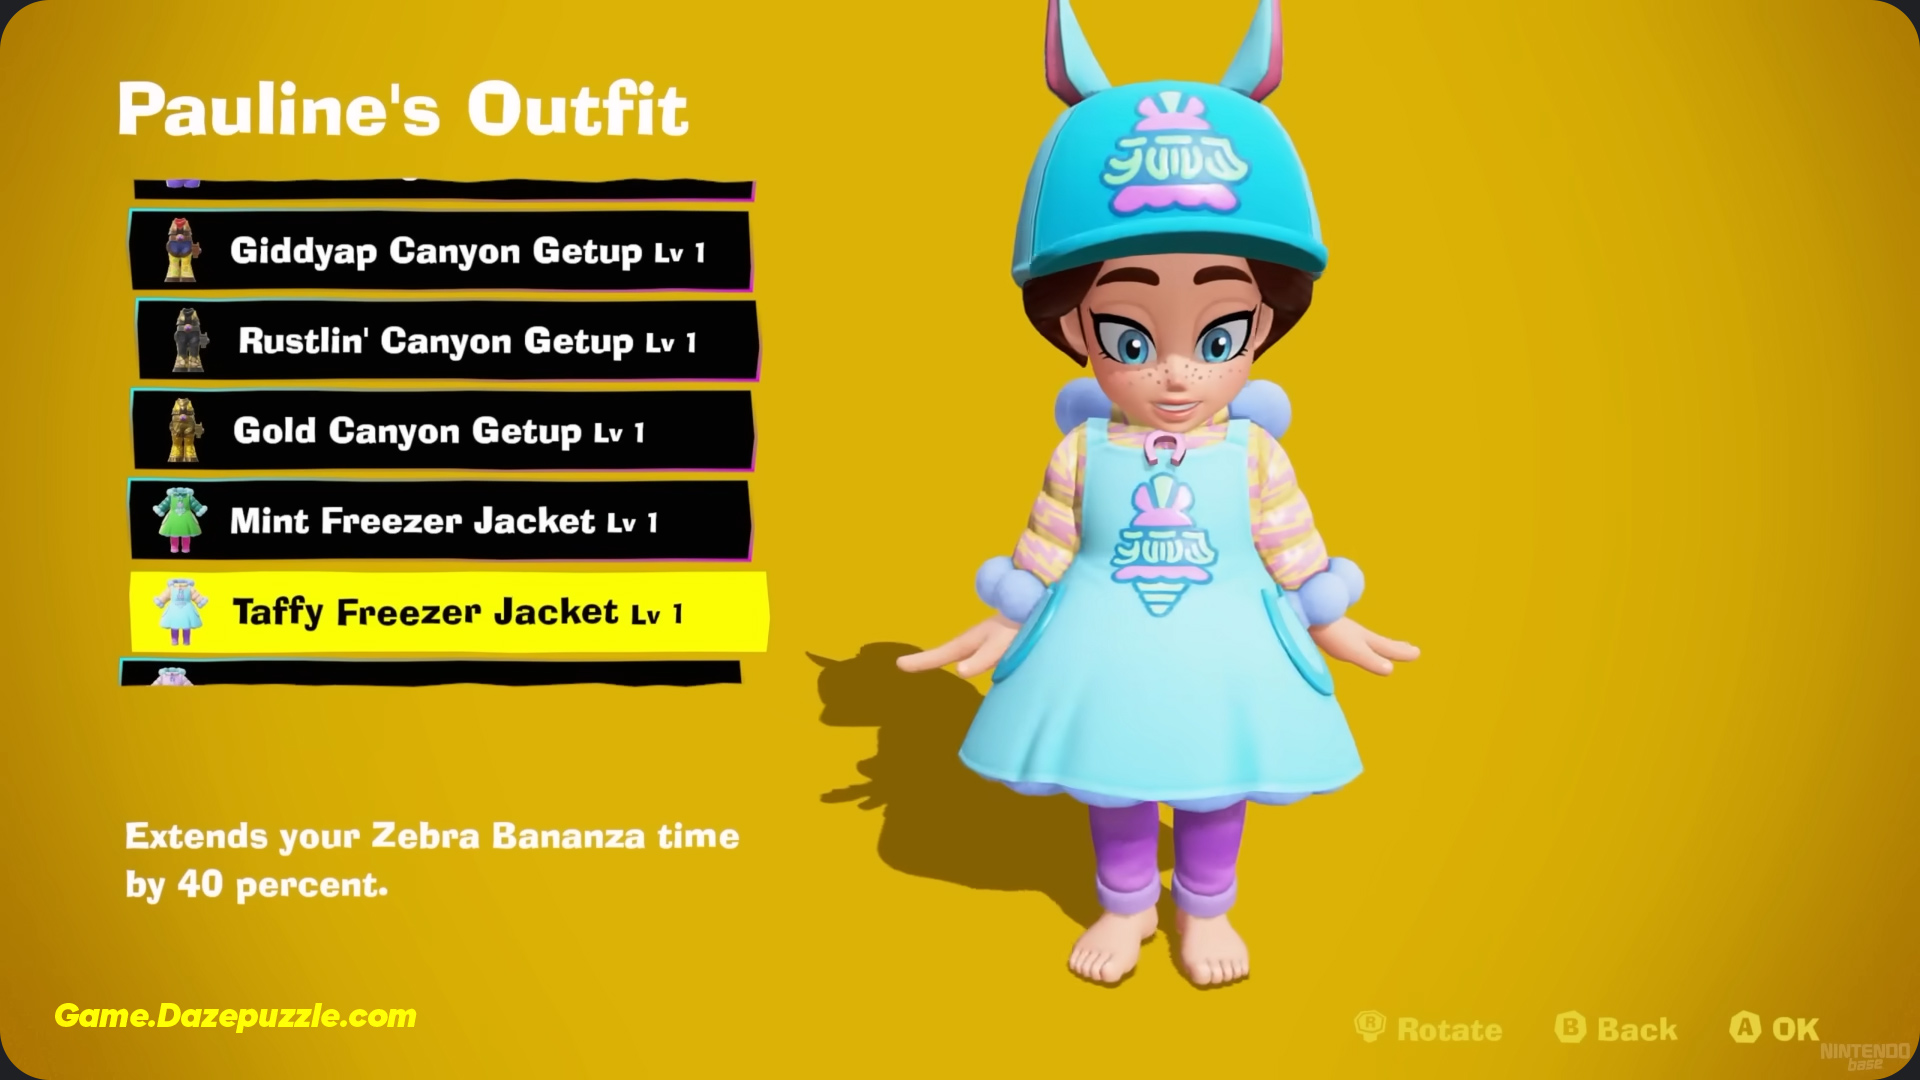
| Freezer Jacket | Increases Zebra Bananza duration. | Freezer Layer | Lv1: 5 Sea Lily Fossils Lv2: 10 Sea Lily Fossils Lv3: 3 Preserved Bug Fossils |
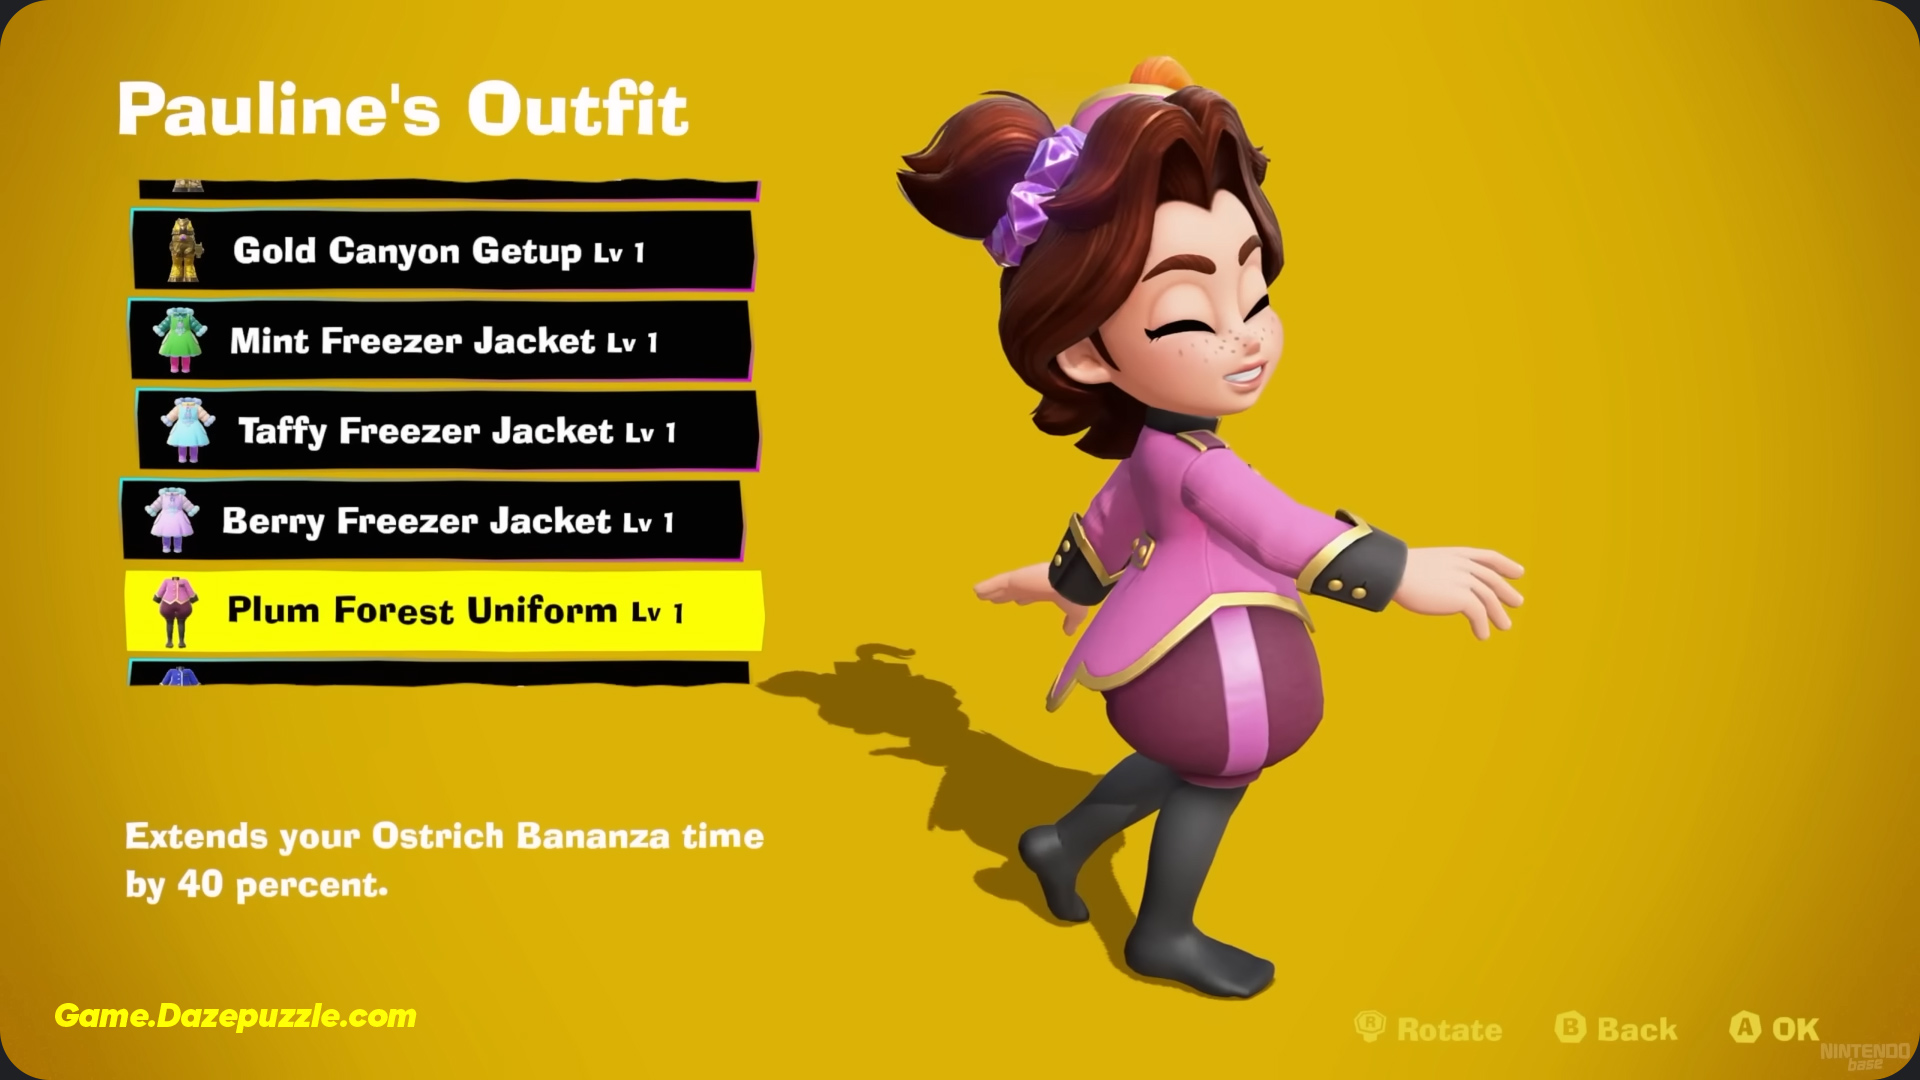
| Forest Uniform | Increases Ostrich Bananza duration. | Forest Layer | Lv1: 5 Beaver Fossils Lv2: 10 Beaver Fossils Lv3: 3 Pig Fossils |
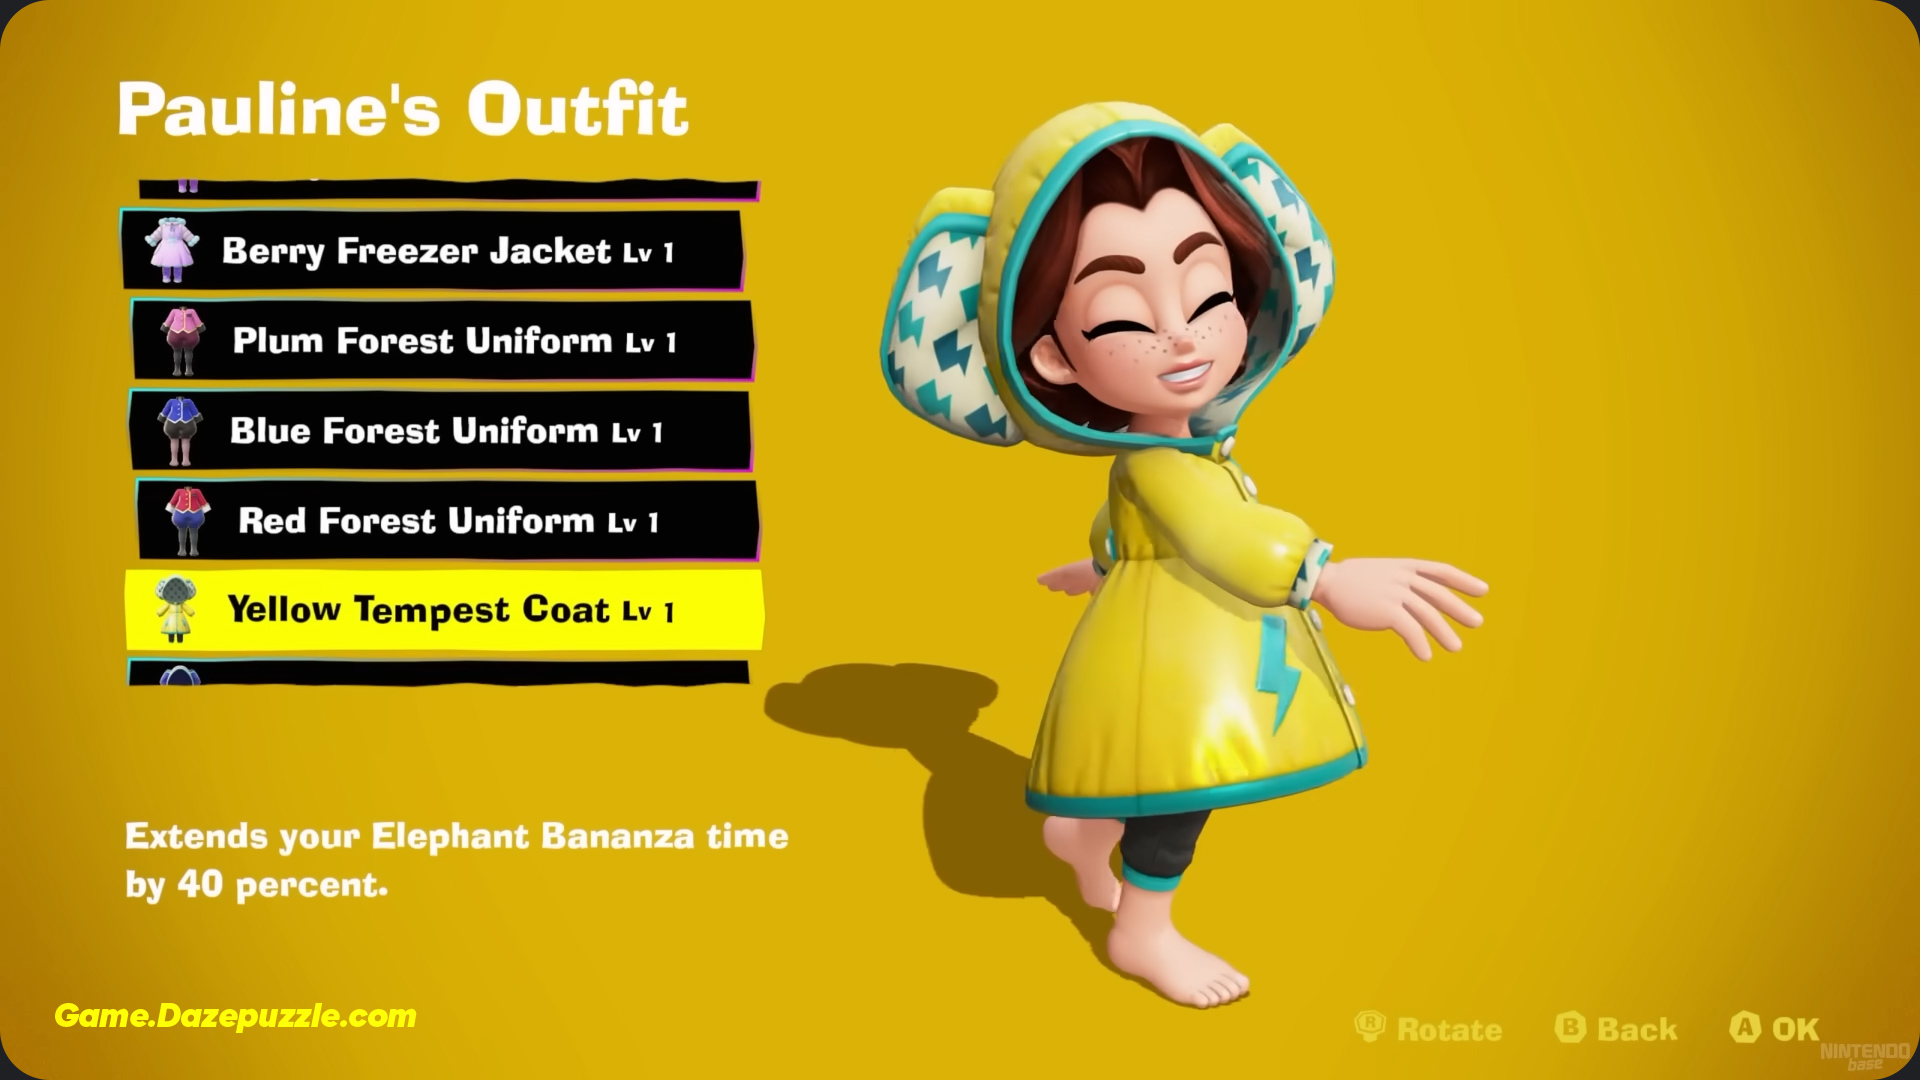
| Tempest Coat | Increases Elephant Bananza duration. | Tempest Layer | Lv1: 5 Frog Fossils Lv2: 10 Frog Fossils Lv3: 3 Anglerfish Fossils |
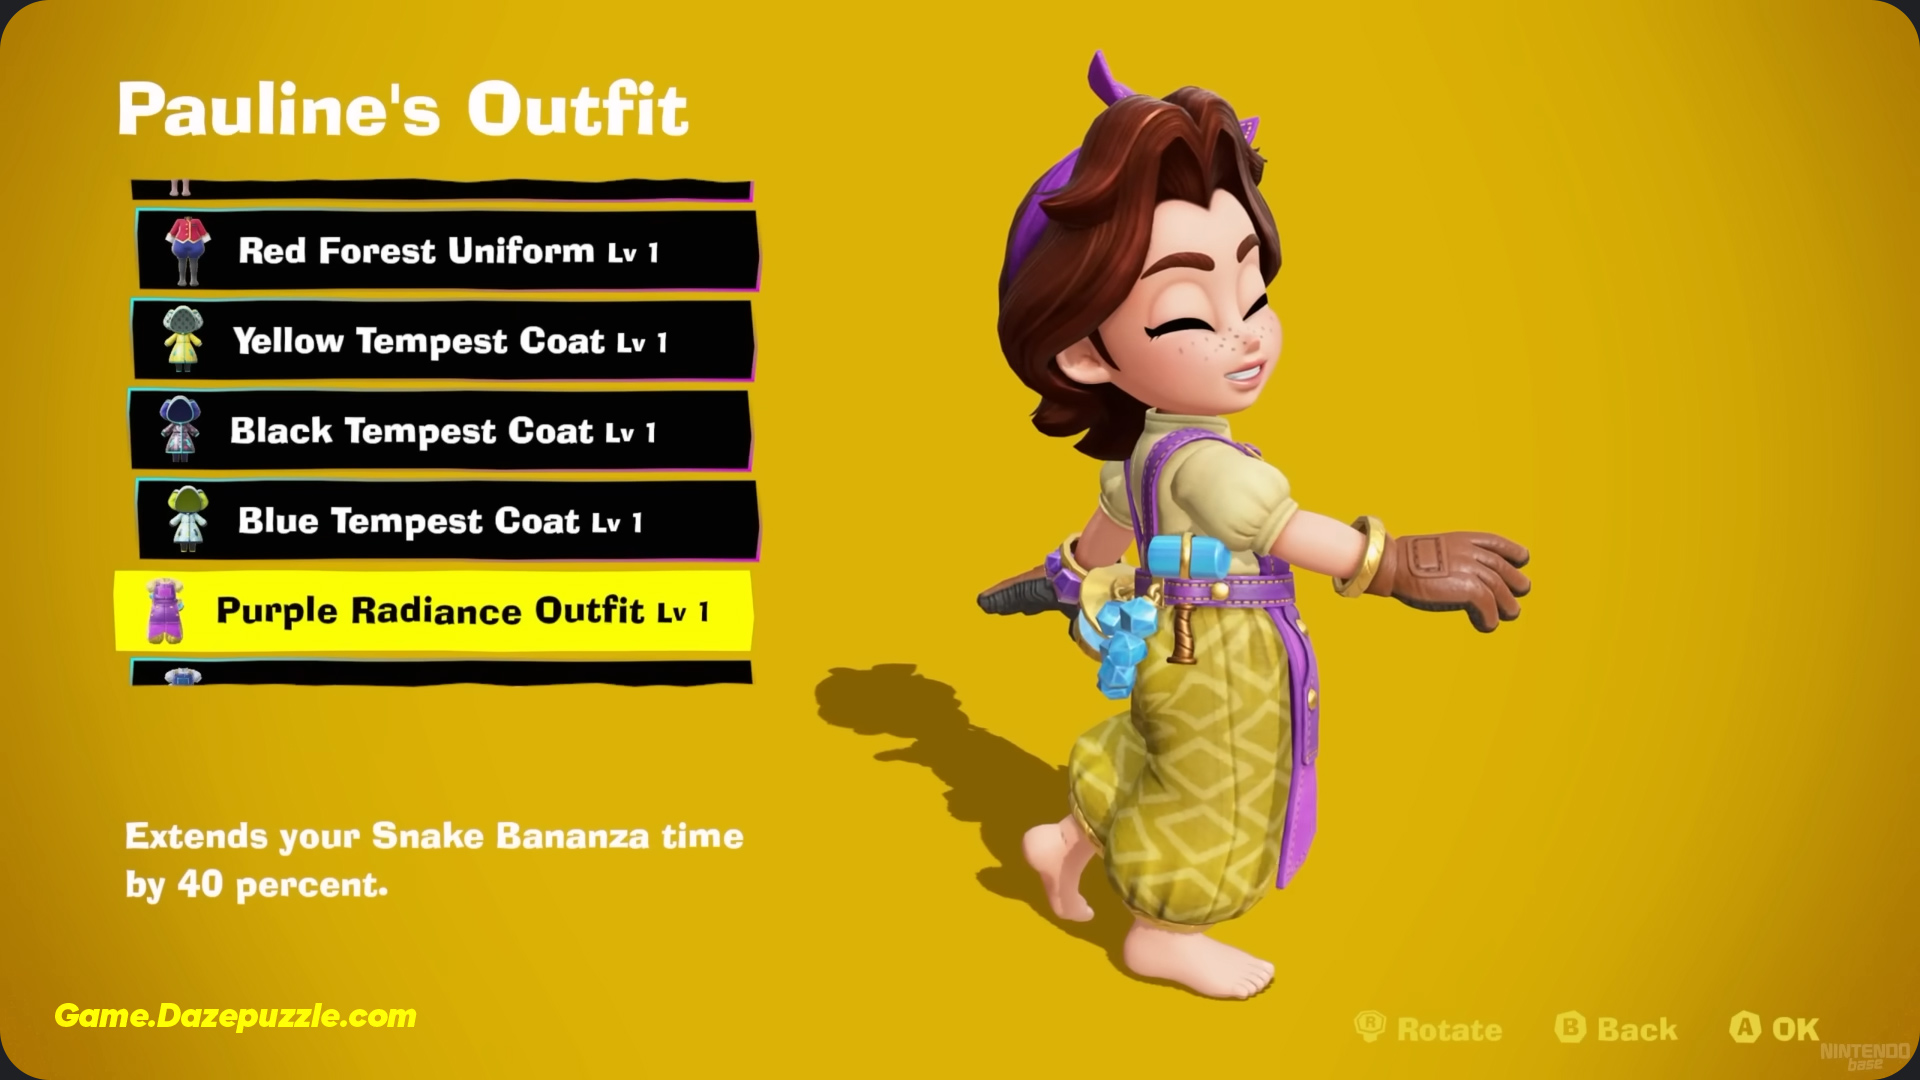
| Radiance Outfit | Increases Snake Bananza duration. | Radiance Layer | Lv1: 5 Banana Bird Fossils Lv2: 10 Banana Bird Fossils Lv3: 3 Armadillo Fossils |
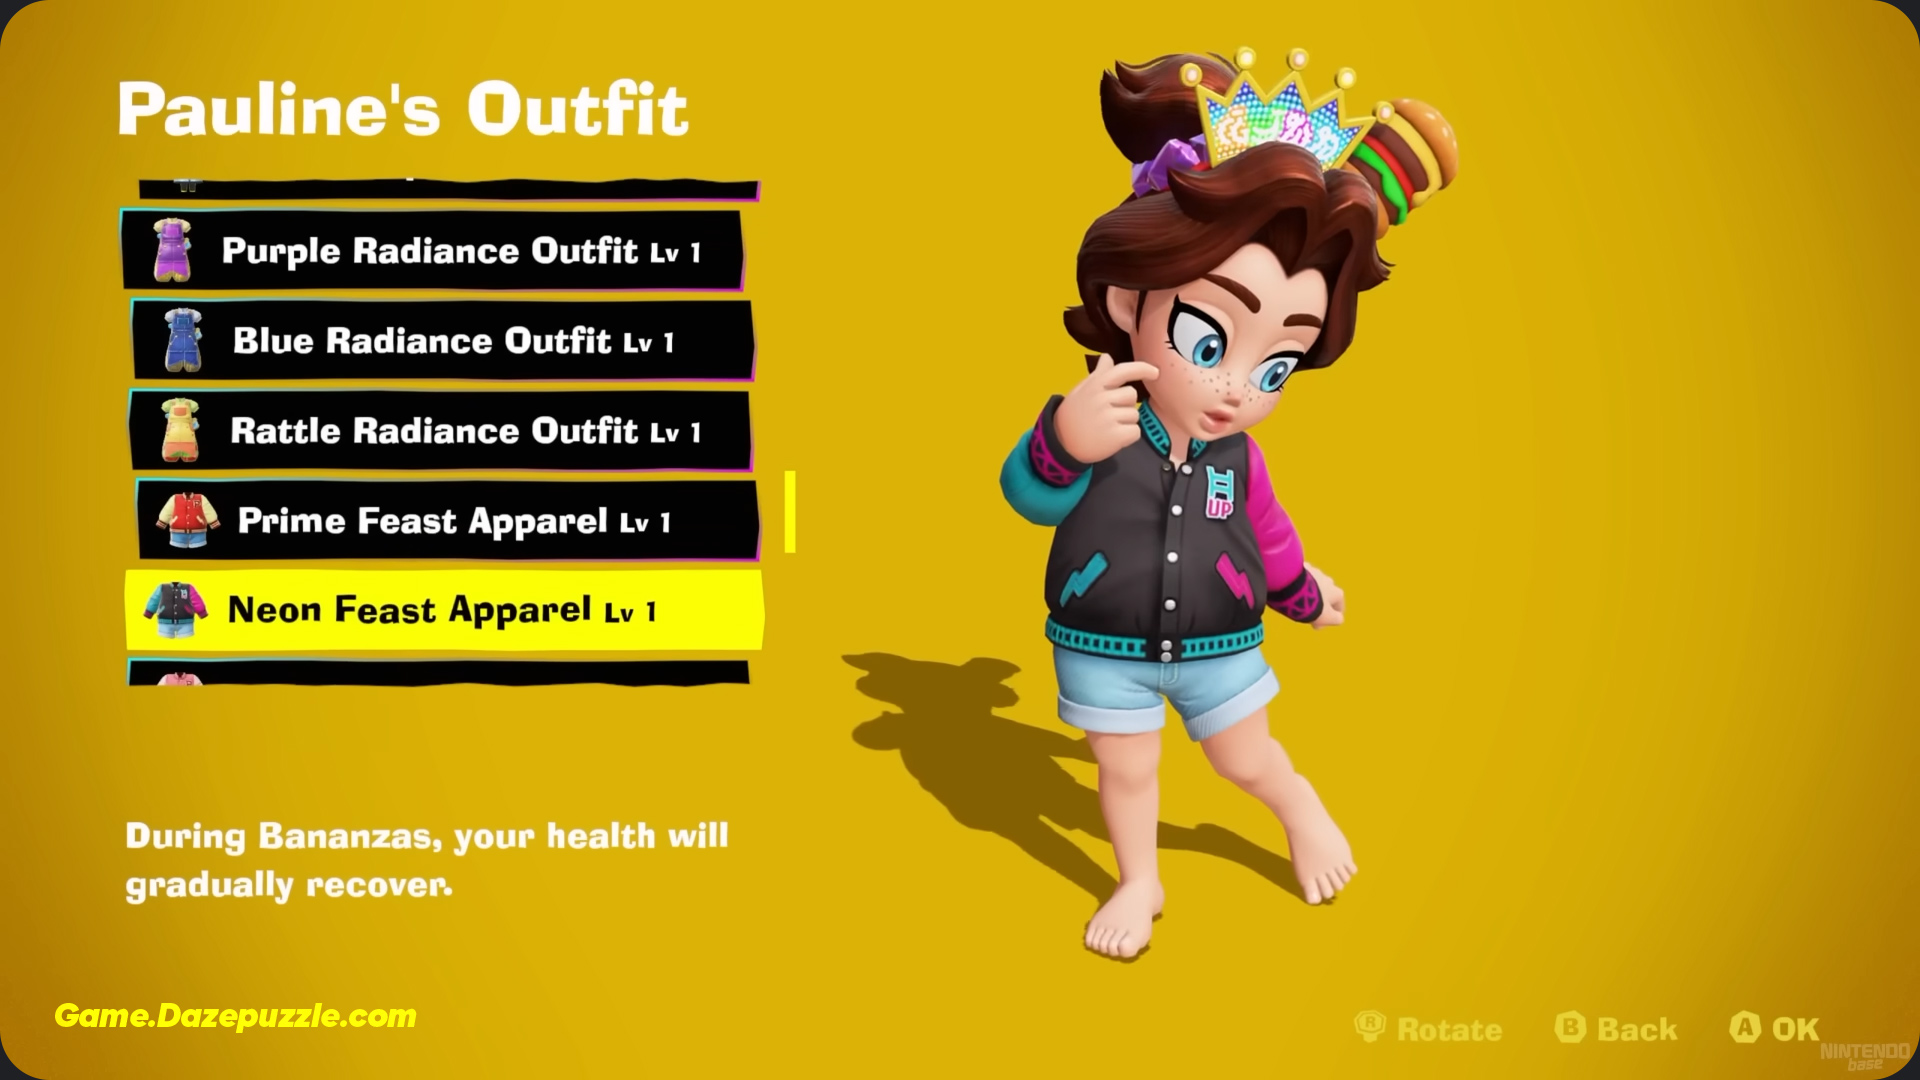
| Feast Apparel | Gradually restores health during Bananza mode. | Feast Layer | Lv1: 5 Old Tire Fossils Lv2: 10 Old Tire Fossils Lv3: 3 Cathode Ray Tube Fossils |
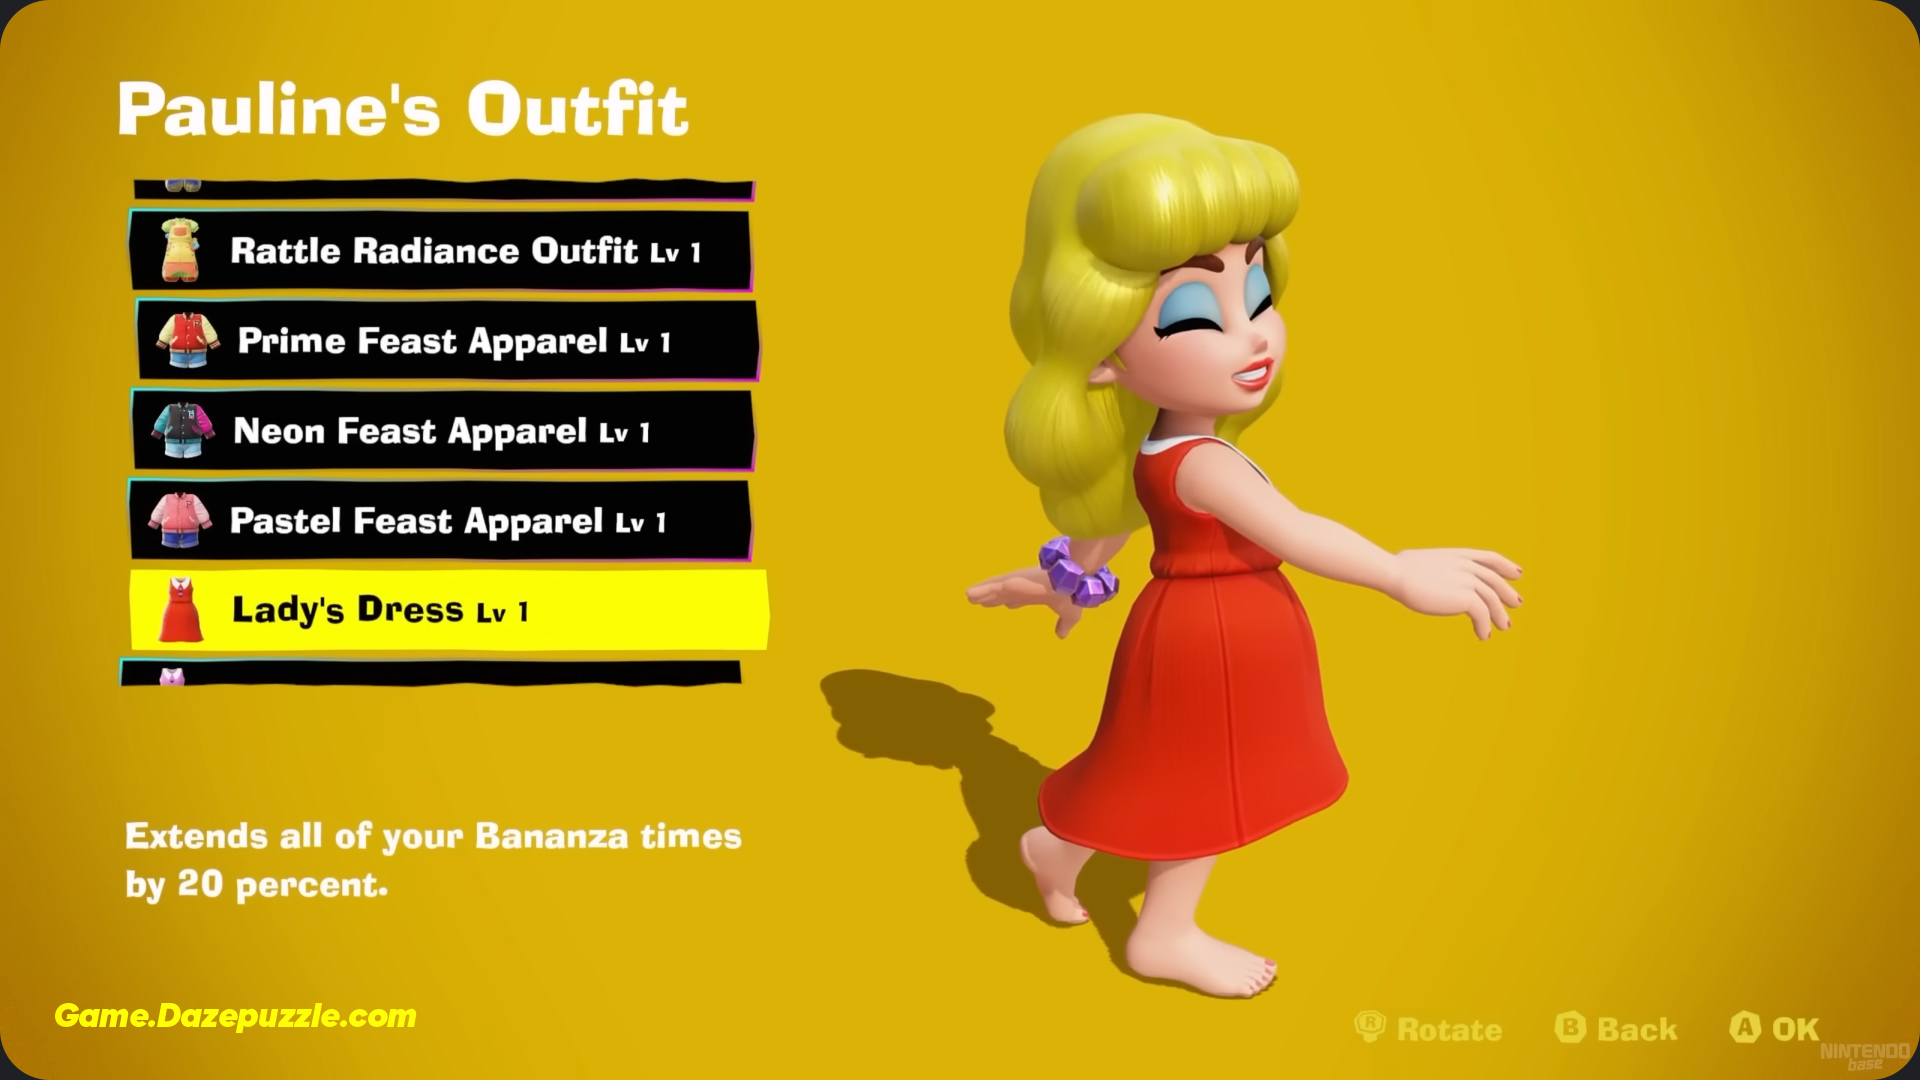
| Dress | Increases duration of all Bananza forms. | Planet Core | Lv1: 5 8-bit Barrel Fossils Lv2: 10 8-bit Barrel Fossils Lv3: 3 8-bit Items Fossils |
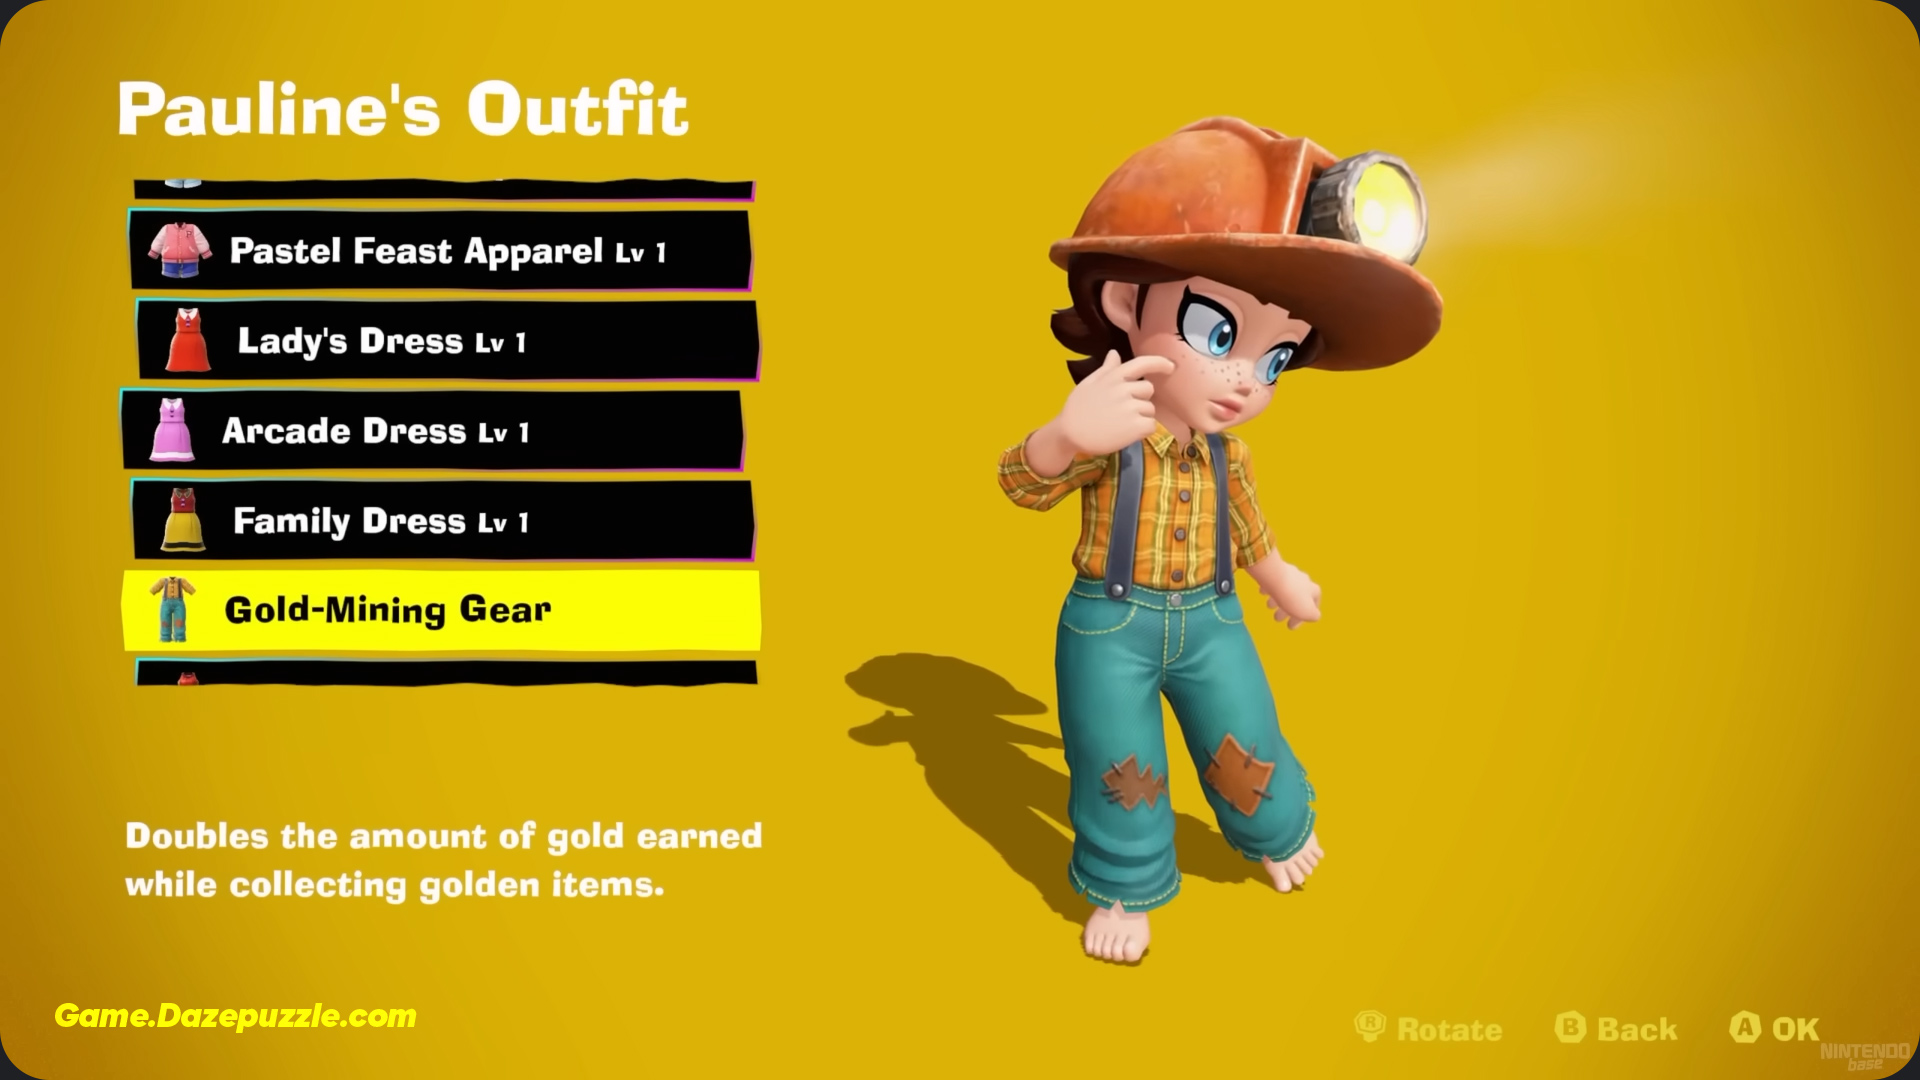
| Gold Mining Gear | Doubles the amount of gold acquired. | Post Game | Free |
| Diva Dress | Doubles the chance of finding rare music discs. | Amiibo / Post Game | Free |
Rock Out Rags
This is what Pauline starts with. It’s a simple and tough looking outfit that says, “I’m ready for an adventure!” Strategic Notes: Hey, a 10% boost to your Bananza time right from the start is pretty sweet! It’s a solid, all around buff that’s always helpful until you decide to get more specialized.
Lagoon Vest
A cool vest that looks like it’s made of waterproof stuff, which is perfect for the super damp Lagoon Layer. It definitely has that “professional explorer” vibe. Strategic Notes: This thing is the ultimate tool for treasure hunters! A bigger sonar range in Bananza mode is a huge deal for finding items hidden deep in walls or floors. It basically turns your smash fest into a treasure seeking mission. It’s a must have if you’re trying to find everything.
Canyon Getup
This outfit has a real archaeologist look to it, with earthy colors and tough fabric that can handle the dusty Canyon Layer. Strategic Notes: The Kong Bananza is your main, go to transformation. Making it last longer is always a good thing, helping you with fights and smashing through huge parts of the level. It’s a great choice for the first half of the game.
Freezer Jacket
A super thick and insulated jacket that just looks incredibly warm. It’s even got little frost patterns on it, which is a perfect fit for the chilly Freezer Layer. Strategic Notes: The Zebra Bananza is all about speed. Making it last longer means you can pull off longer dashes, which is awesome for speedrunning or beating those tricky time based challenges.
Forest Uniform
This one has a park ranger feel, with lots of greens and browns. It looks light and easy to move in, perfect for getting through the thick jungles of the Forest Layer. Strategic Notes: The Ostrich Bananza lets you fly! More time in the air means you can get to higher spots, skip entire annoying platforming parts, or just have more fun exploring the tall levels.
Tempest Coat
This is a heavy duty coat that looks like it could handle a hurricane. It’s just what you’d want for the wild winds and crazy rain in the Tempest Layer. Strategic Notes: The Elephant Bananza is a wrecking ball. Making it last longer is great for dealing a ton of damage to a boss or for clearing out rooms full of tough enemies without stopping.
Radiance Outfit
Wow, this one is a real showstopper! It seems to glow on its own, made from stuff that lights up in the dark. It’s both gorgeous and super useful in the pitch black caves of the Radiance Layer. Strategic Notes: The Snake Bananza is for squeezing into tight spots and climbing walls. A longer duration is a huge help for solving those complicated puzzles where you have to crawl through long, winding tunnels.
Feast Apparel
This is a really fun and weird outfit that looks like it’s patched together from junk food wrappers from the Feast Layer. It’s a funny little joke about that crazy world. Strategic Notes: This might just be one of the best outfits in the whole game. Getting your health back slowly during Bananza mode can save your skin in long boss fights or tough challenge rooms. It lets you keep fighting without worrying so much about taking a hit.
Dress
Pauline’s classic, fancy red dress. It’s a nice little nod to her other game appearances, like in Super Mario Odyssey, and a reminder that she’s a true icon. Strategic Notes: This is the best all around outfit, hands down. It makes all of your Bananza forms last longer, giving you a solid boost no matter what you’re doing. It’s the perfect thing to wear when you’re not sure what’s coming next.
Gold Mining Gear
A tough looking outfit you get after beating the game. It looks like an old timey gold miner’s uniform, telling the world you’ve conquered the game and are just here to collect your loot. Strategic Notes: This one is all about the money! Once you’ve finished the story, this outfit will double all the gold you pick up. It’s perfect for quickly buying up anything you missed.
Diva Dress
An absolutely stunning gown that’s perfect for a superstar! It’s super glamorous and sparkly exactly what you’d expect a famous singer to wear. Strategic Notes: This one’s for the true collectors. If you’re trying to find every single hidden music disc to customize your game’s soundtrack, you need this dress. It doubles the chances of them dropping from enemies!

The Art of the Outfit: A Deep Dive into Design
Ever wonder where they got the ideas for these outfits? It’s actually pretty cool. The designers mixed real world stuff with some creative fantasy to make the world feel believable but still magical.
Inspired by Real World Spelunking
A lot of the first outfits you see are based on actual caving gear. It makes total sense, since you’re spending the whole game deep underground! Outfits like the Canyon Getup and Forest Uniform look like the tough coveralls real cavers wear to keep from getting scraped up. And the rugged, waterproof boots you see everywhere? Those are just like the boots people wear to walk through wet, muddy caves. It’s a nice touch that makes the characters look like they really belong down there.
Fantasy Forged from the Earth
But the really cool part is when the designs get more creative. The game takes the stuff you find underground and turns it into awesome clothes. The whole idea of using fossils for cash is built on this you’re literally turning old bones into armor! This idea gets even wilder later on. The Radiance Outfit, for instance, looks like it’s made from the glowing mushrooms you find in that level. The Freezer Jacket doesn’t just look warm; it looks like it has real ice crystals sewn into it. This kind of creativity makes you want to find every last fossil, just to see what amazing thing you can make next!
Strategic Styling: The Best Loadout for Every Situation
With so many choices, what should you wear? Here are some pro tips for picking the right outfit for the job.
The Completionist’s Loadout
When you’re trying to find every single collectible in the game, you need gear that helps you search.
- Pauline’s Pick: Lagoon Vest. That bigger sonar range is your best friend for sniffing out hidden goodies.
- DK’s Must Have: Treasure Tie. I’m telling you, it’s a must have. Upgrade it all the way to get as many treasure maps as possible.
The Boss Slayer’s Build
Gearing up for a big boss fight? You’ll want to focus on staying alive and keeping your power levels high.
- Pauline’s Pick: Feast Apparel. Getting health back over time is a game changer. It lets you recover from small mistakes without wasting your healing items.
- Alternative: Dress. If you’re good at dodging and don’t need the healing, the classic “Dress” is your best bet for pure damage, since it makes all your power ups last longer.
The Speedrunner’s Kit
When you just want to blast through a level as fast as you can, it’s all about moving quickly.
- Pauline’s Pick: Freezer Jacket or Forest Uniform. Depending on if you need to dash across flat ground or fly over gaps, boosting your Zebra or Ostrich Bananza is the key to skipping huge chunks of a level.
- DK’s Must Have: Swimmin’ Britches or Traction Britches. Don’t forget DK! Wearing the right shorts for the terrain (water, mud, or snow) can save you a lot of time.
By thinking a little about your wardrobe, you can take on any challenge in Donkey Kong Bananza. So get out there, start digging, and build the best closet for the best underground adventure!
Thanks for keeping up with Game.Dazepuzzle.com