
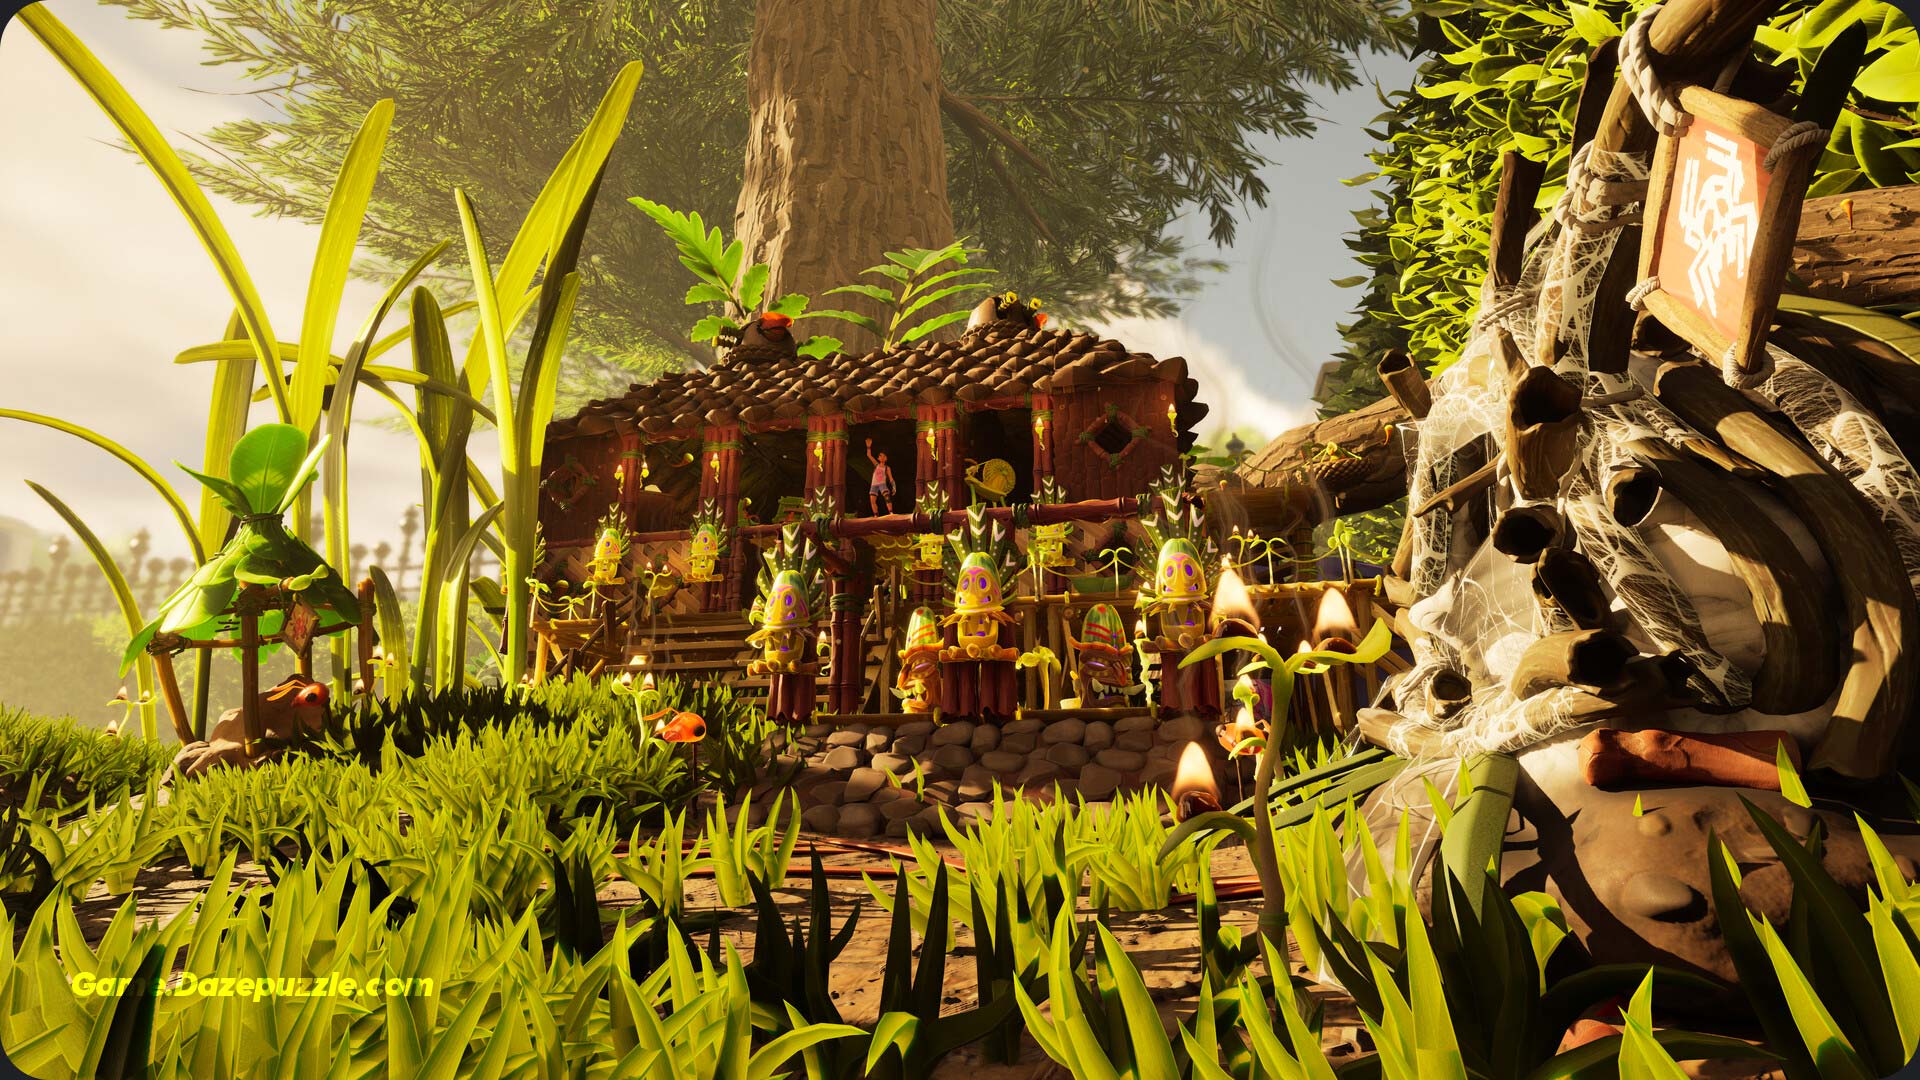
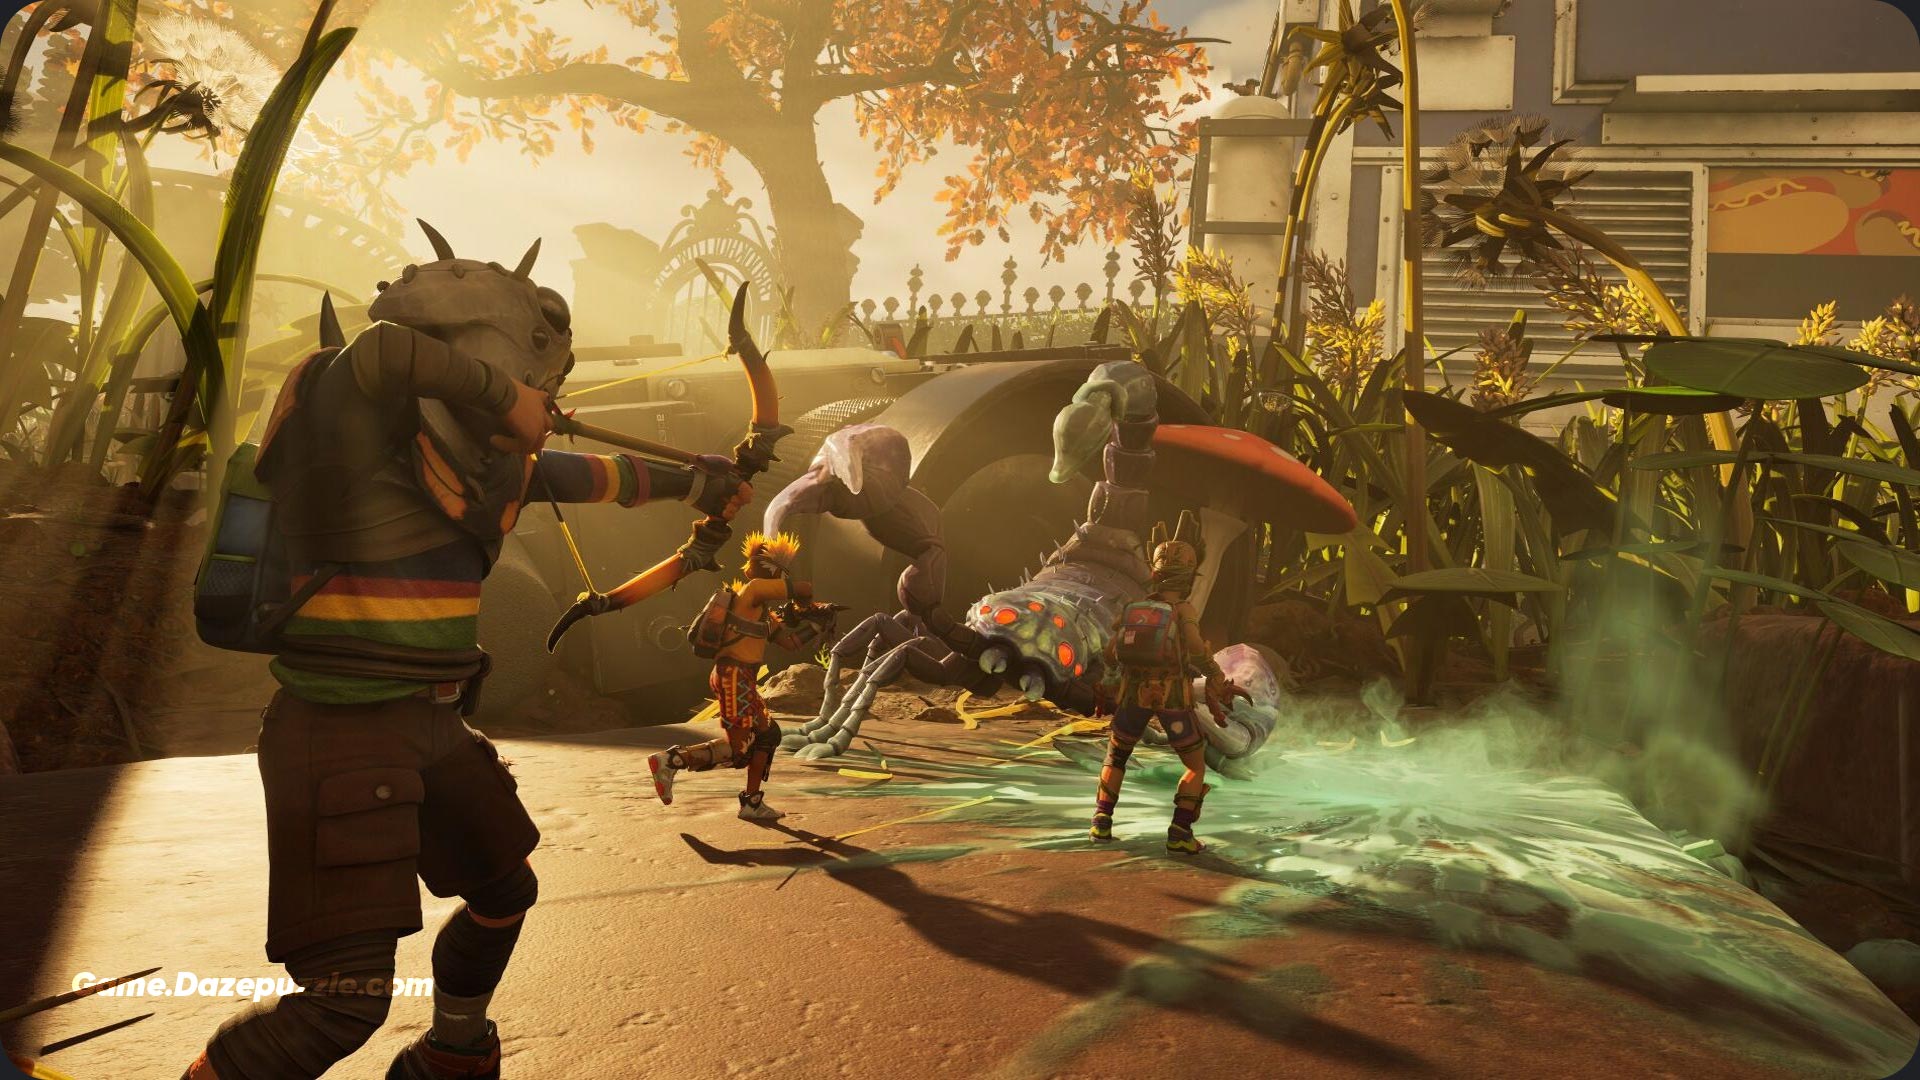
The world feels impossibly huge again, doesn’t it? One moment, you were celebrating your escape, and the next, the grass blades are towering skyscrapers and the smallest insects have become monstrous beasts. Welcome back to the miniature nightmare. This time, however, you’re not in the familiar backyard. You’ve been dropped into the vast, unknown wilderness of Brookhollow Park.
Don’t panic. While you may be small, you’re not helpless. Think of this guide as your survival partner, a field manual passed down from someone who’s already faced the giant wolf spiders and lived to tell the tale. We’ll walk you through those critical first hours, turning you from a trembling survivor into a seasoned park predator. This Grounded 2 beginner’s guide is your ticket to conquering the beautiful, terrifying world that lies beneath your feet.
Table of Contents
Your First Hour: Focus on the Mission
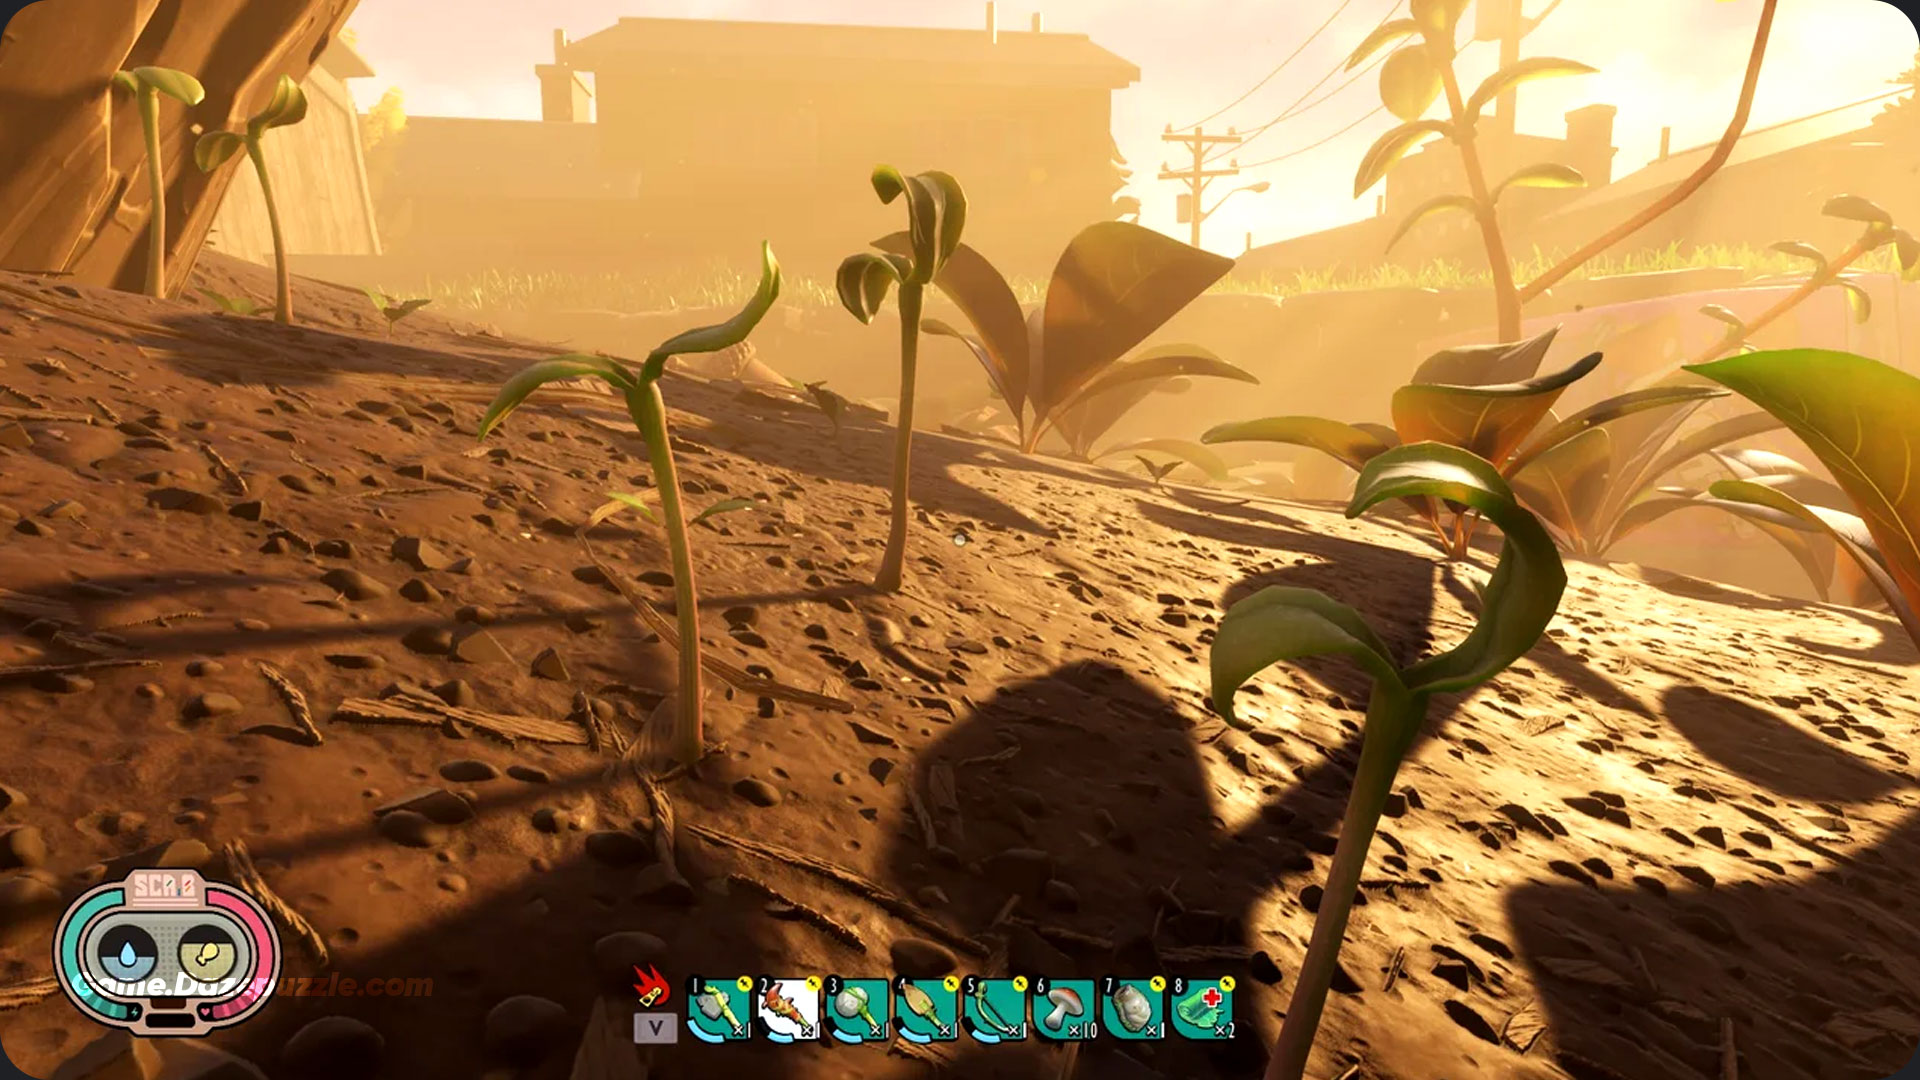
Those first 60 minutes in Brookhollow Park are overwhelming. You’re vulnerable and everything seems designed to kill you. Your success hinges on focusing on the right priorities from the get go.
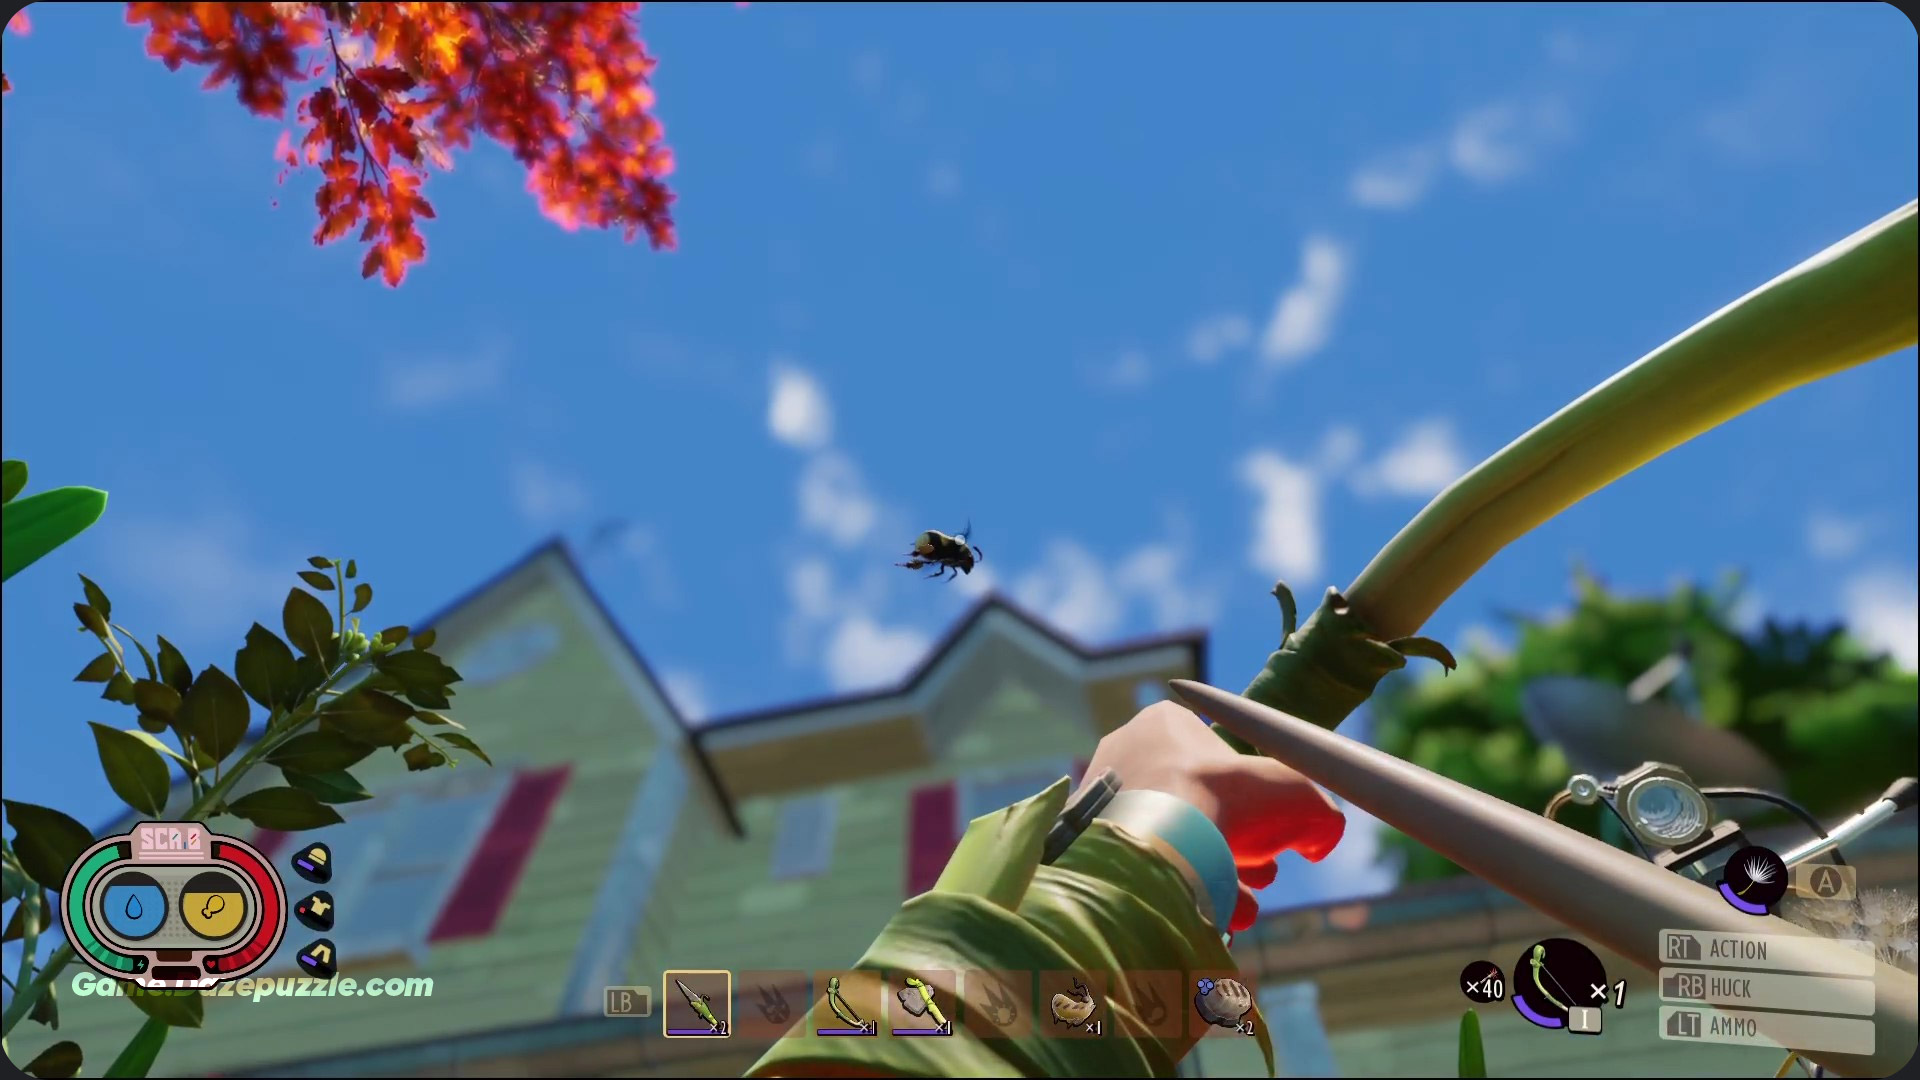
Your most critical tool is the SCA.B bracelet on your wrist, which displays your vitals in the bottom left corner. The red bar is your health, the blue is your stamina, and the two icons in the middle track your hunger and thirst. Letting those last two get too low will eventually start draining your health, so keeping them topped off is non-negotiable.
So, what’s the game plan? Simple: follow the main story quests. The game brilliantly uses these initial missions as a tutorial, guiding you to build essential items like the Workbench, the all in one Omni Tool, and even your first rideable “Buggy”. Don’t wander off exploring until you’ve knocked these out; they are the foundation of your entire journey.
The Survivor’s Trinity: Essential Early Game Resources
To build anything, you need resources. In the beginning, a holy trinity of materials will be used in almost every basic recipe you unlock. Learn to spot these instantly as you run around.
You’ll need Pebblets, the small, individual rocks scattered everywhere on the ground. You’ll also need Sprigs, the small, two leafed shoots growing out of the dirt. Finally, keep an eye out for Plant Fiber, which comes from the tiny, spiky plants growing close to the ground. These three are the building blocks for your first tools and shelters.
The Omni-Tool: Your New Best Friend
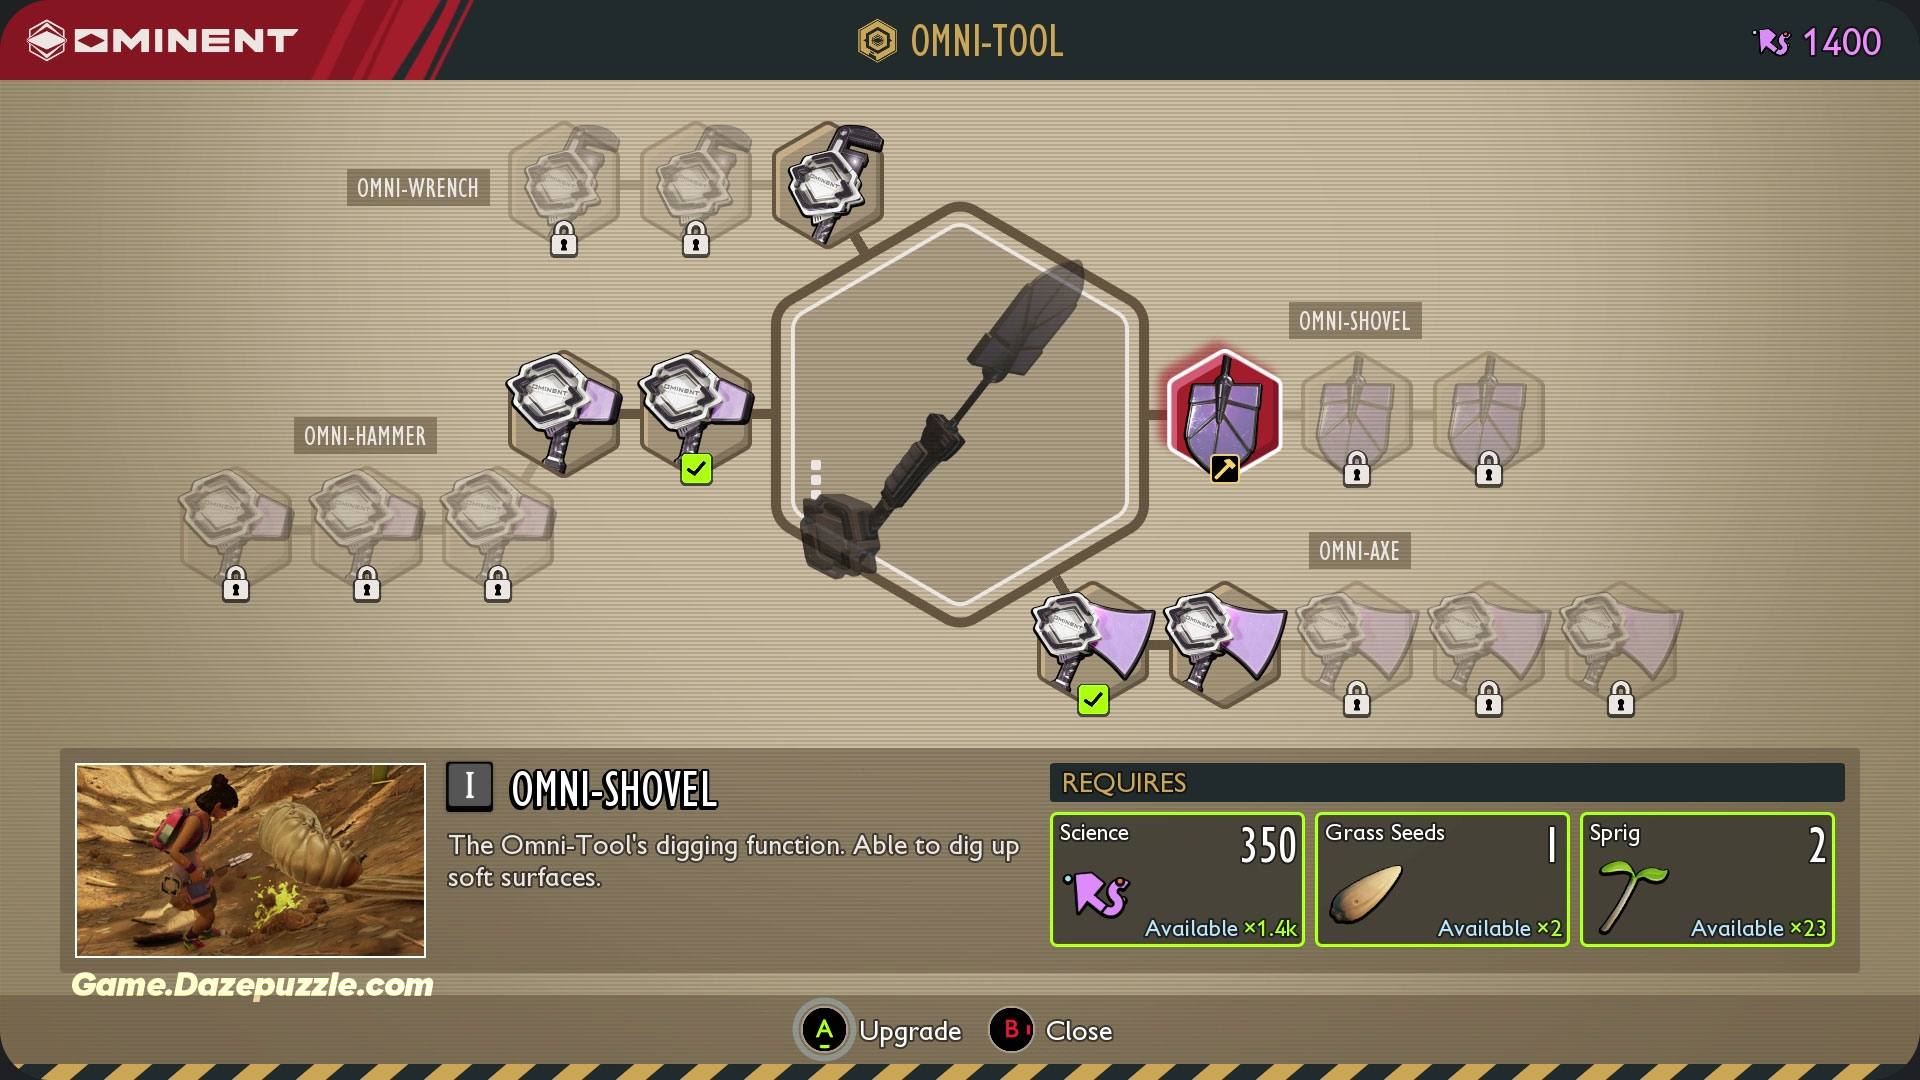
One of the best quality of life upgrades in Grounded 2 is the Omni-Tool. Forget juggling an axe, a hammer, and a shovel. This amazing device combines them all into one upgradable tool that doesn’t take up any inventory space.
You’ll find your first Omni-Tool on a shelf inside the first Ranger Outpost, a key location in your initial quests. It starts with the axe function unlocked, letting you chop down grass right away. To unlock the other functions, you’ll need to spend Raw Science at a Ranger Outpost. Make unlocking the shovel your top priority; you’ll need it to dig up Grubs, which are essential for crafting a Canteen to carry water.
Building Your First Base: Location is Everything
As night falls, the park becomes a much more dangerous place, with predators like Wolf Spiders actively hunting. You need a safe place to sleep and store your stuff. The golden rule for your first base is simple: get high up. Most early threats are ground based, so building on an elevated platform is your best defense.
A few prime locations for your starter home include the wooden platform near the Billy Hog Snackbar (close to the first outpost and resources) or on top of the giant baseball. Both spots are naturally elevated and keep you safe from most wandering enemies.
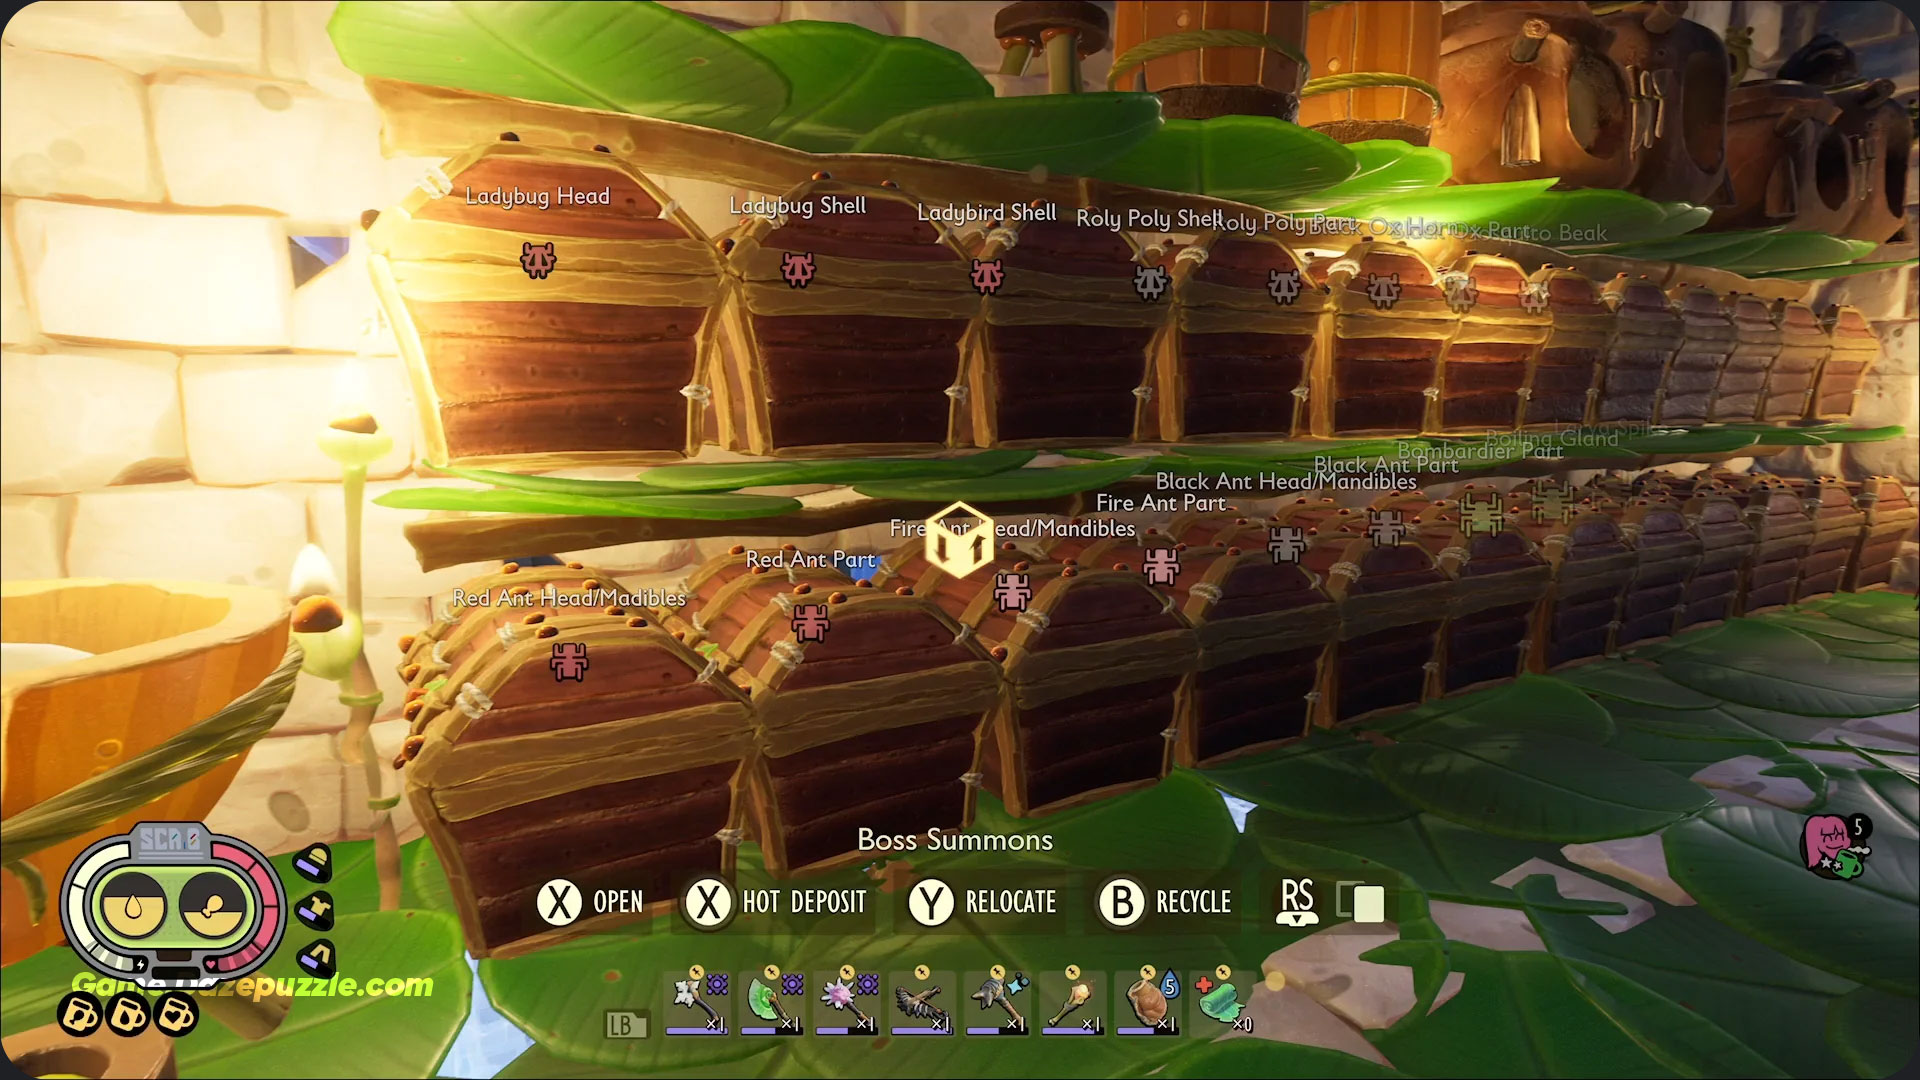
Once you’ve picked a spot, immediately craft a Lean-To. This simple structure lets you sleep through the dangerous night and, more importantly, sets your respawn point. Next up are a Workbench for crafting gear, a Storage Chest to keep your inventory clean, and a Roasting Spit to cook raw meat, which restores more hunger and some health.
Tiny Combat: Master the Parry
You can’t hide forever. Sooner or later, you’ll have to fight. The combat in Grounded 2 is more strategic than just wildly swinging your weapon. It revolves around blocking, dodging, and most importantly, perfect blocking, also known as parrying.
Perfect blocking is the single most important combat skill you can learn. By tapping the block button the instant an enemy’s attack is about to land, you’ll perform a parry. This completely negates all damage, prevents status effects like poison, and briefly stuns the enemy, opening them up for a counter attack. Mastering this is not optional; it’s essential for taking down tougher bugs.
To practice, find some weak enemies like Lawn Mites. They have simple attack patterns and don’t hit very hard. Build a Lean-To nearby to set your respawn point, so you can practice without a long run back if you die. Pay attention to the enemy’s “tells” the unique animation and sound they make right before they attack. Learning these tells is the key to timing your parries perfectly.
Your First Arsenal: Essential Weapons and Armor
You can’t fight a spider with a Sprig. You’ll need to craft some proper gear. For weapons, a Pebblet Spear is a great starting point, as you can also throw it. Your most important ranged weapon will be the Sprig Bow, which is crucial for dealing with annoying flying enemies like Gnats.
For armor, the Acorn set is your first real defensive option. However, the absolute MVP for the early game is the Red Ant Armor set. Besides offering decent protection, wearing the full set has a fantastic perk: Red Ants will become neutral towards you unless you attack them first. This makes exploring their anthills for resources an absolute breeze.
Beyond the Basics: How to Get Stronger
Once you’ve mastered survival, it’s time to start thriving. Grounded 2 has several progression systems to make you more powerful.
Mutations are passive perks you unlock by repeatedly performing certain actions, like using a specific weapon type. You start with only two active mutation slots, but you can increase this to five.
To unlock more mutation slots and other permanent stat boosts, you’ll need to find Milk Molars. These valuable collectibles are hidden all over the park. It is highly recommended that you spend your first few Molars on increasing your active mutation slots, as this gives you the biggest power boost and flexibility early on.

Finally, you can upgrade your weapons and armor at a Smithing Station. Using materials like Brittle Whetstone and Brittle Plating, you can increase the level of your gear, boosting its damage or defense. Don’t hoard these upgrade materials; the game expects you to use them to keep up with the increasing difficulty.
Say Goodbye to Walking: Getting Your First “Buggy”
Brookhollow Park is massive, and walking everywhere gets old fast. The most exciting new feature in Grounded 2 is the ability to tame, raise, and ride insects called “Buggies”. These companions are a total game changer.
You’ll unlock your first Buggy, a Red Ant Soldier, by following the main story quests. This will involve a dangerous mission to steal an egg from a Red Ant hill, so make sure you’re wearing your full Red Ant armor set to stay safe! Your ant companion is incredibly useful. It’s much faster than running, it can fight alongside you, and it can even carry heavy building materials like grass planks for you.
With your base established, your combat skills honed, and your trusty ant by your side, you’re no longer just surviving, you’re ready to take on the deeper mysteries of Brookhollow Park. Good luck out there, and try not to get stepped on.
Thanks for keeping up with Game.dazepuzzle.com