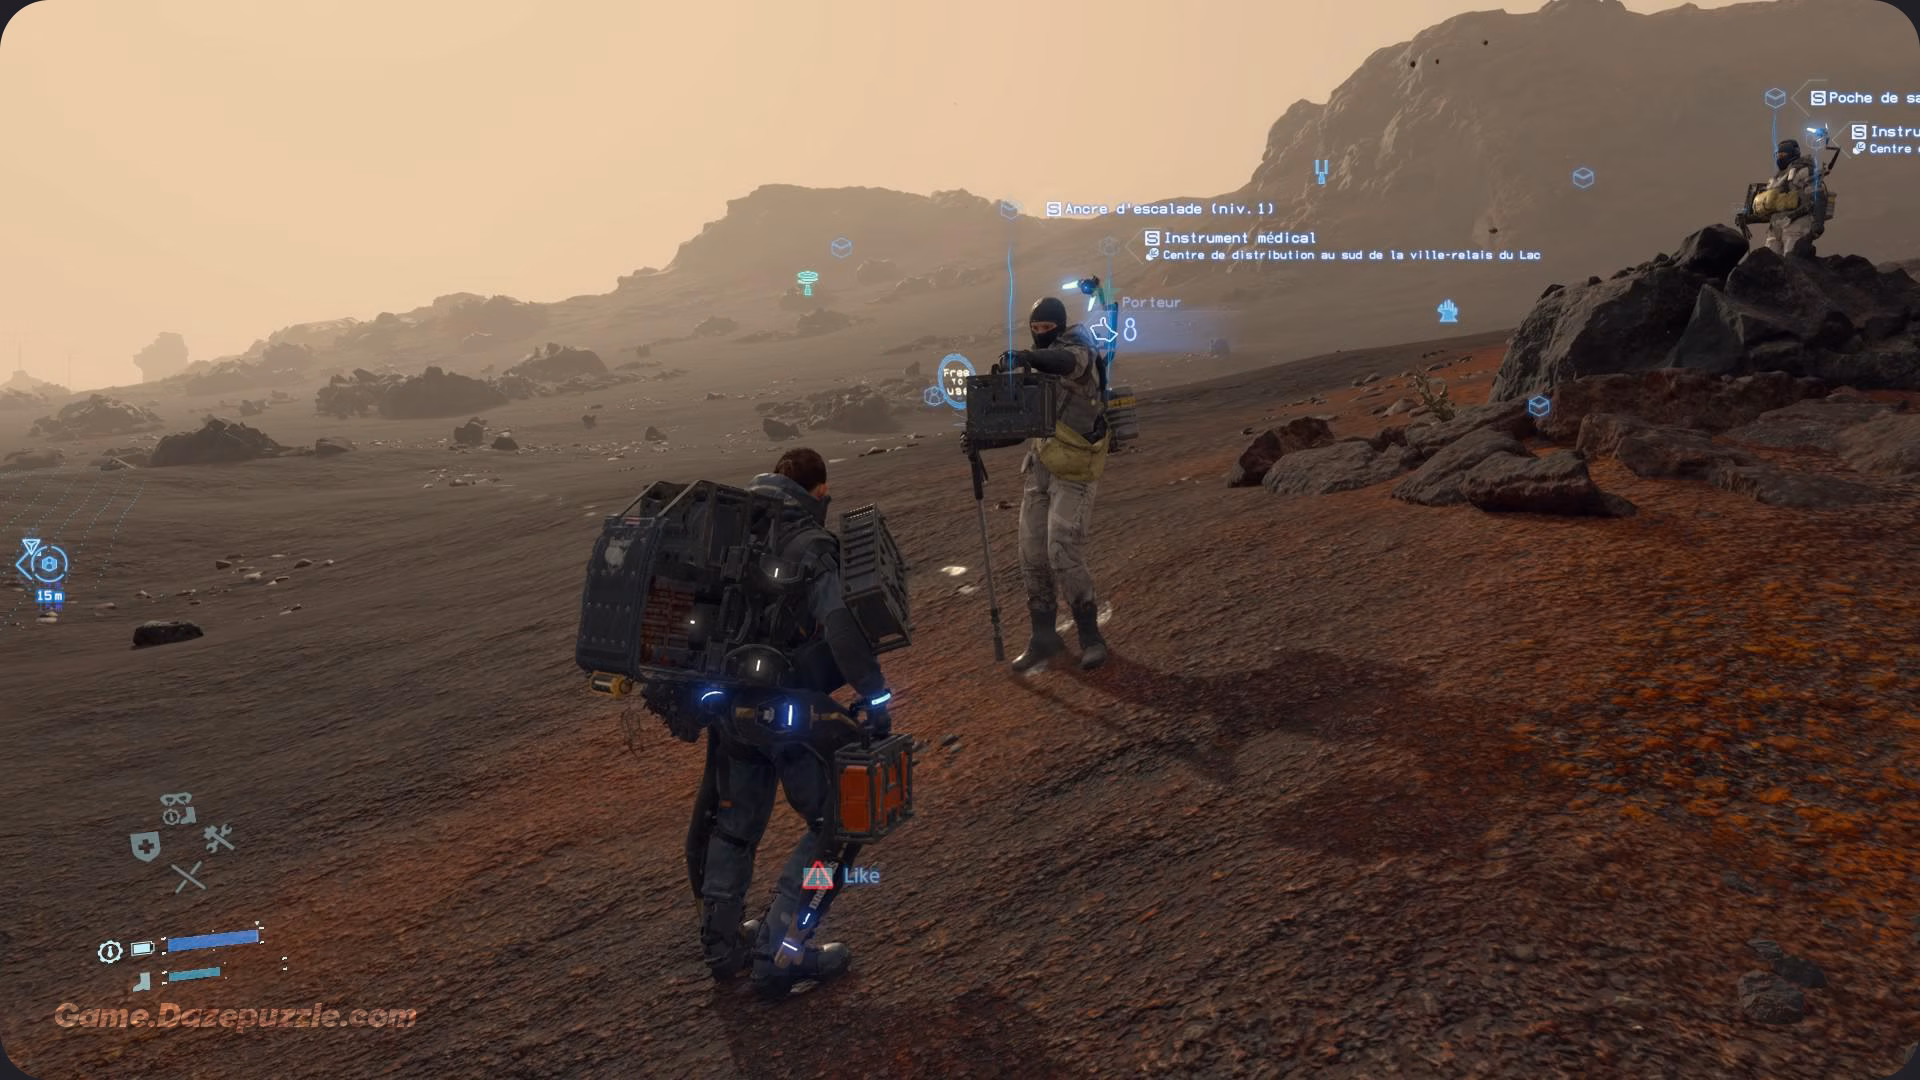
The rain’s pouring, your cargo’s teetering on your back, and the world of Death Stranding 2: On the Beach feels like it’s trying to break you. You’re navigating a rocky path, dodging BTs, when you spot a pair of figures in the distance, white suits, heavy packs, moving with the same grit you’ve got. These are porters, fellow wanderers in this fractured world, and they’re more than just faces in the crowd.
They’re your chance to trade, to swap a beat up tool or a stack of resources for something that might just make your next delivery a little easier. In a game built on connection, trading with porters is a small but powerful way to keep going, and it’s way more fun than it sounds.
This guide’s your one stop shop for mastering how to trade with porters in Death Stranding 2. Whether you’re a first time delivery driver or a grizzled vet aiming for that shiny “Any Porter in a Storm” trophy, we’ve got you covered. We’ll walk you through who porters are, where to find them, how to Trade with Porters, and what to do when things get tricky. Expect clear steps, practical tips, and a few pro moves to make every trade count. Written for gamers like you, this is all about keeping it real and helping you thrive in Kojima’s wild world. Let’s get started.
What’s in our How to Trade with Porters Guide?
Understanding Porters in Death Stranding 2
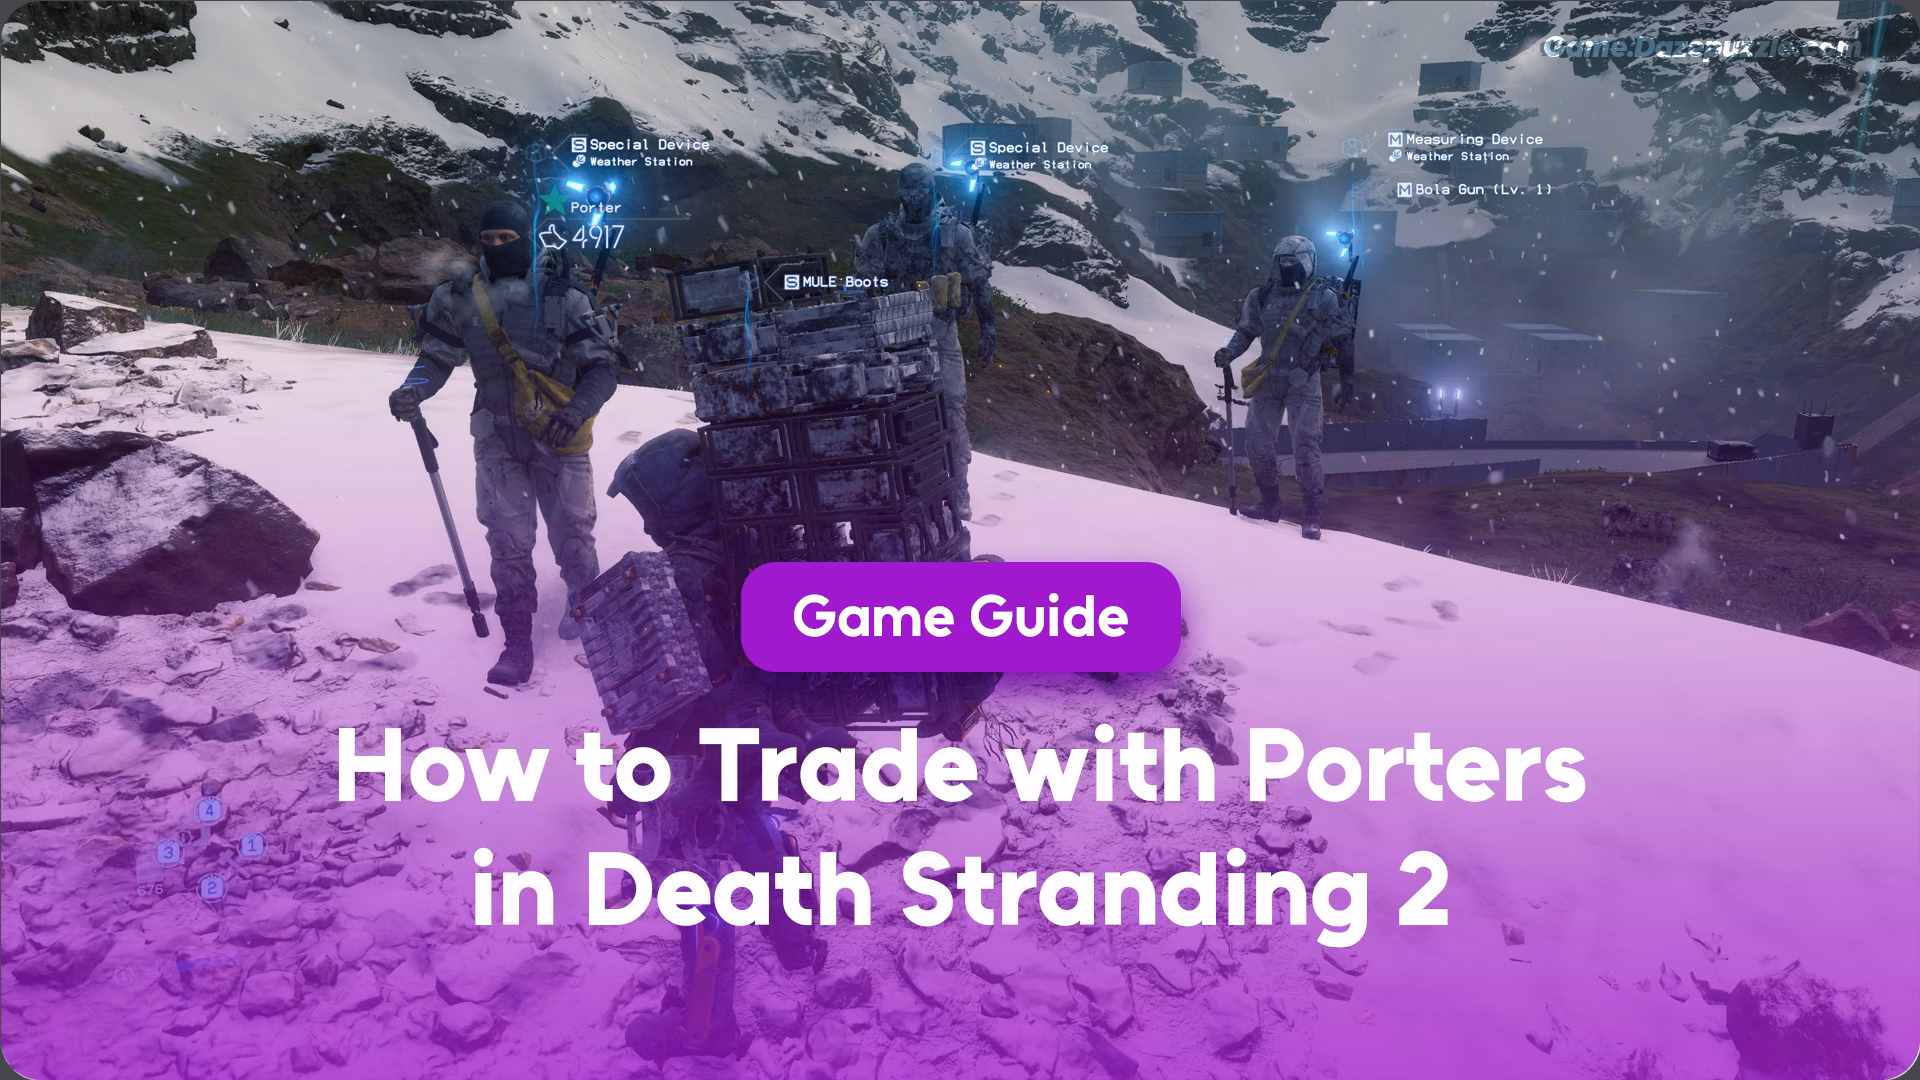
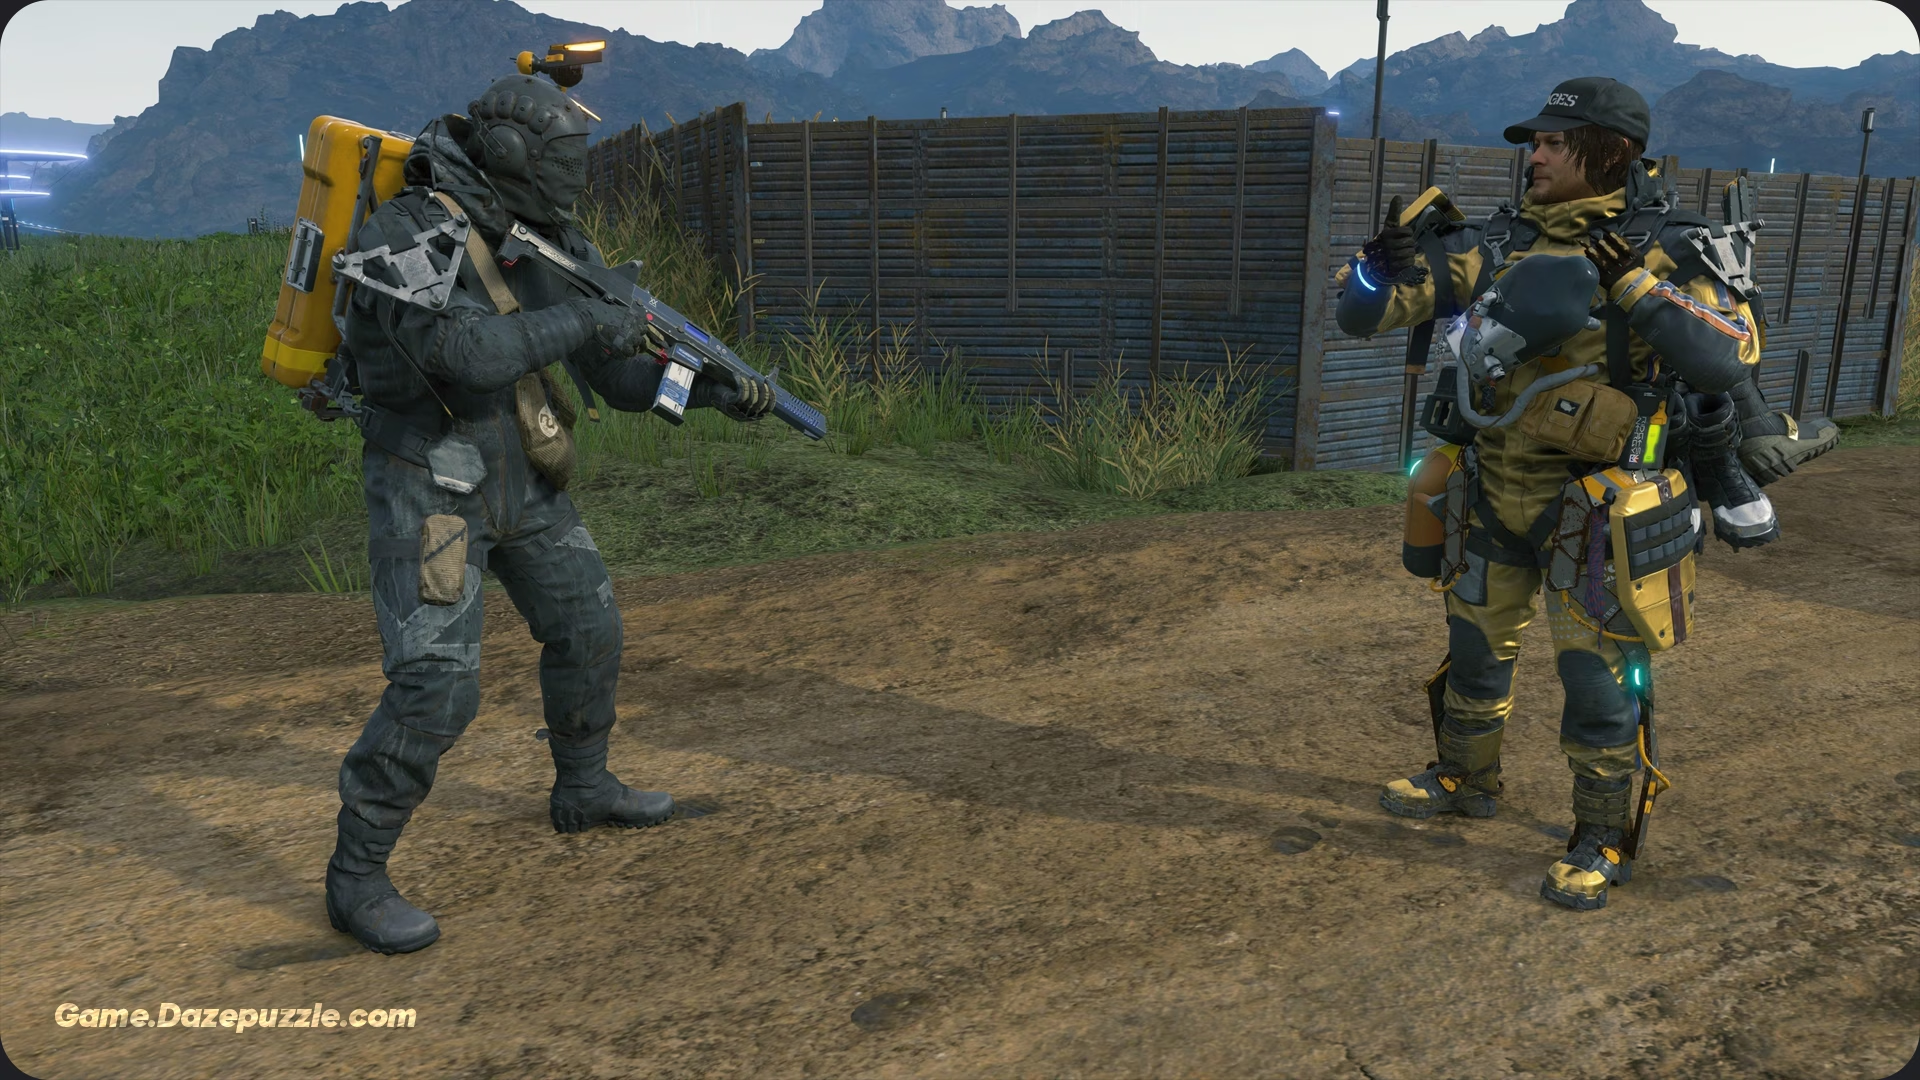
To trade like a pro, you first need to know who you’re dealing with. Porters are the unsung heroes of Death Stranding 2, NPCs in white suits who roam the game’s open world, hauling cargo just like Sam. They’re not out to fight like MULEs or haunt you like BTs. Instead, they’re friendly workers, part of the fragile network keeping humanity’s remnants connected. You’ll usually see them in pairs, their backpacks stacked with gear, trudging along paths or lingering near safe spots like distribution centers or knots.
Porters aren’t just random wanderers. They’re tied to the game’s chiral network, the system you build by connecting locations with your Q-pid. Once an area’s linked up, porters start showing up more often, carrying supplies that reflect the needs of that region. Think of them as the game’s way of showing humanity’s struggle to rebuild one delivery at a time. Their role ties into the bigger story of Death Stranding 2: every package they carry, every trade you make, is a tiny step toward stitching the world back together.

Why trade with them? Because porters have gear, tools, and materials, you can use ladders, ropes, chiral crystals, or even lost cargo. Trading lets you swap something you don’t need for something you do, lightening your load or giving you a tool for that tricky climb ahead. It’s practical, sure, but it’s also a nod to the game’s heart, helping each other out in a world that’s seen better days. Plus, trading’s tied to a trophy, so completionists have extra reason to get involved.
Finding Porters in the Wild
Before you can trade, you need to track down some porters. They’re not hard to find once you know where to look, but it helps to understand their habits. The best spots are near facilities, think distribution centers, safe rooms, or knots you’ve connected to the chiral network. For example, after linking West Fort Knot to the network, check the nearby paths or open areas. Porters often hang out there, either walking or standing around, ready to interact.
They’re not limited to buildings, though. Porters roam the open world, sticking to safer routes between locations. You might spot them on a quiet trail or in a clearing, far from the main hubs. The catch? They avoid danger like the plague. If an area’s crawling with BTs or patrolled by MULEs, porters won’t show up until it’s safe. To make a spot porter friendly, clear out threats, deal with BTs using EX grenades or take down MULEs with non-lethal gear. Once the area’s secure and connected to the network, porters will start appearing.

How do you know it’s a porter? Look for the white suits, usually in pairs, with cargo piled high on their backs. Their Odradek scanners might be spinning lazily, a sign they’re scanning the area. If you get close, they’ll often wave or give off a friendly vibe, and that’s your cue to start thinking about a trade. Keep your scanner on too; it can help you spot them from a distance, especially in rough terrain.
One last thing: porters don’t spawn everywhere. Their presence depends on your progress in the game. Early on, you’ll see fewer of them, but as you connect more areas to the chiral network, they’ll pop up more often. So, if you’re not seeing porters, push forward with your deliveries and network connections, it’ll open up more trading opportunities.
Starting a Trade: Step by Step
Now that you’ve found a porter, let’s talk about how to trade. It’s a straightforward process, but there’s a knack to getting it right. Here’s how it works.
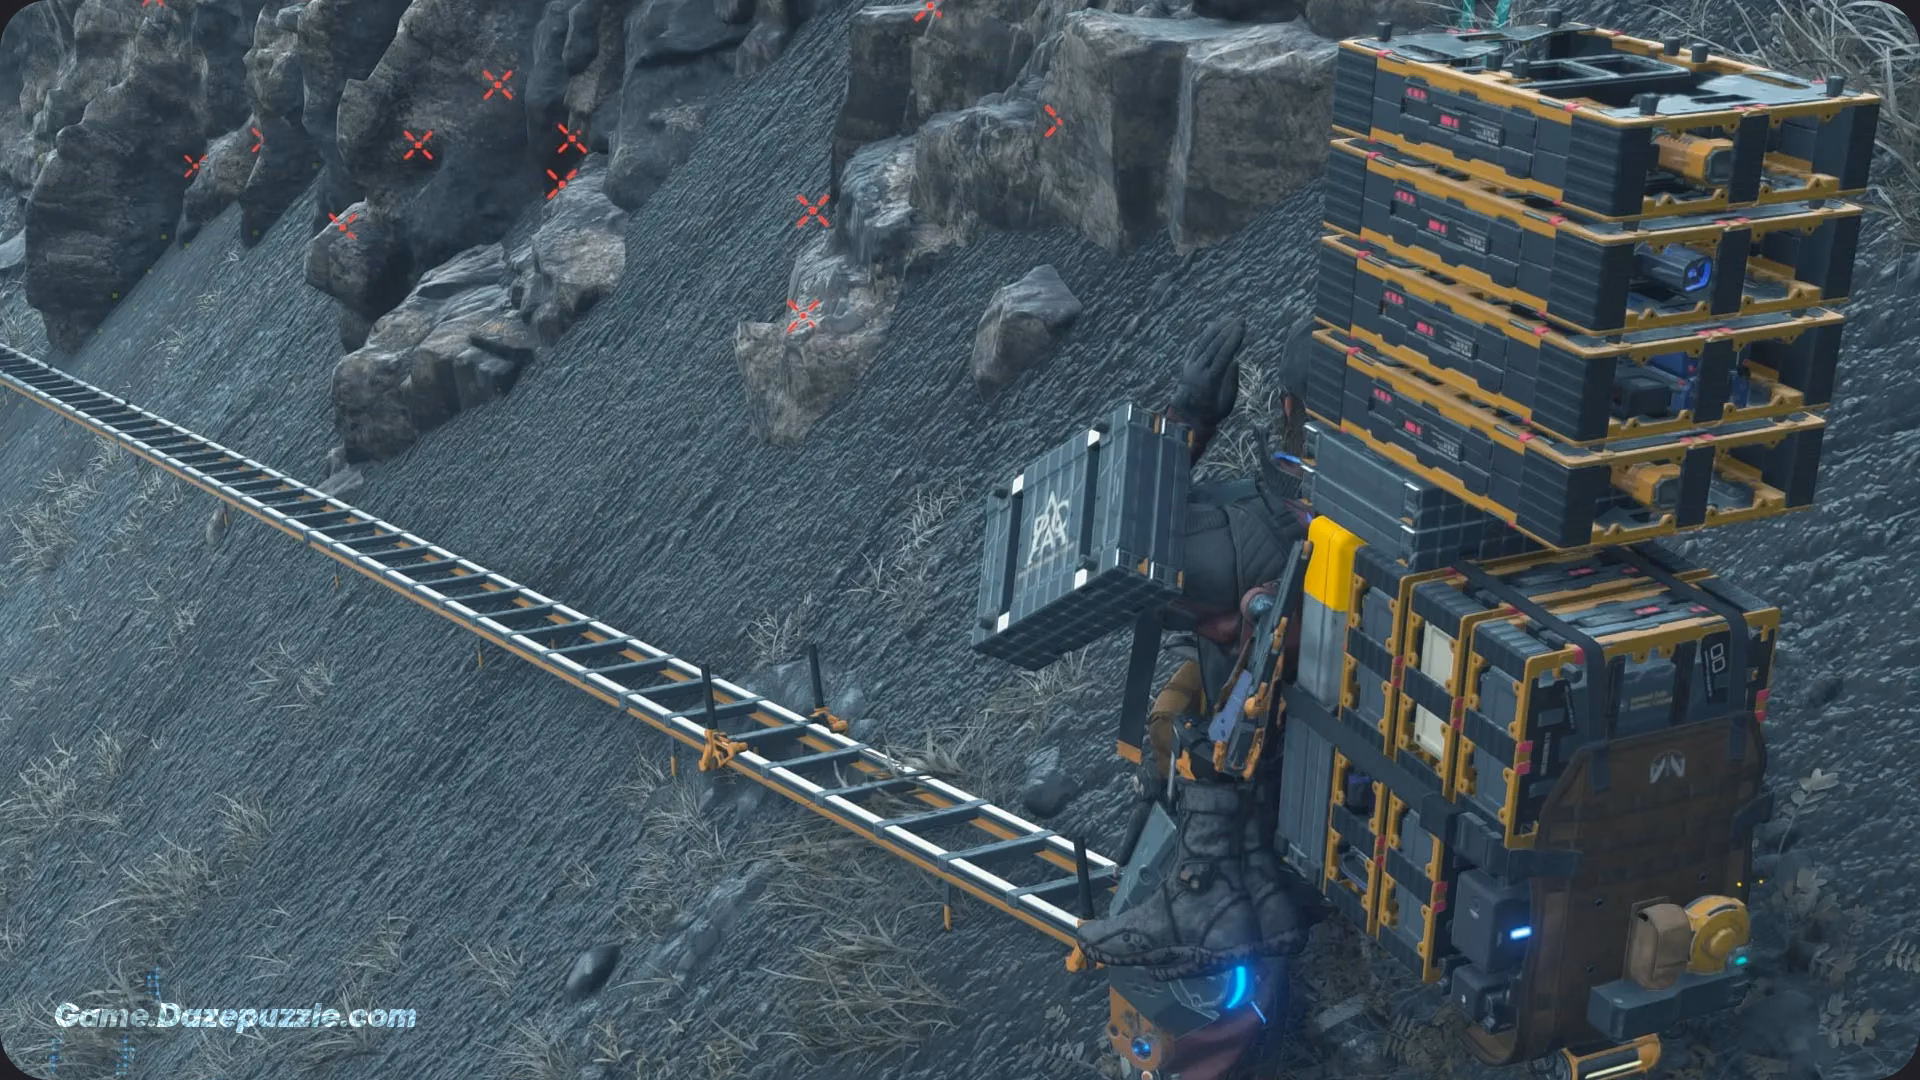
Approach the porter calmly. Sprinting at them or acting aggressive can spook them, so just walk up like you’re saying hello. When you’re close within a few feet, open your inventory. Check your controls, but it’s usually holding up on the D-pad to bring up your cargo menu. Look through what you’ve got and pick something you’re okay parting with. Good choices include extra tools (like a used ladder or rope), spare PCCs, or materials like metals, ceramics, or chiral crystals. Select the item and drop it on the ground in front of the porter.
Next, watch the porter’s Odradek. This little scanner on their shoulder will start spinning as they check out your offer. If it locks onto your item and spins faster, you’re in luck, they’re interested. The porter will pick up your item and drop something of their own in its place. All you need to do is walk over and grab it. That’s the trade done quick, simple, and satisfying.
Not every item will spark their interest, though. Porters are picky, and they’re more likely to go for useful stuff. Tools like ladders or ropes are solid bets, as are materials they can use for their own deliveries. If you drop something low value, like a broken tool or random junk, they might just ignore it and walk away. Experiment with different items to see what works best. And don’t worry if it takes a few tries; you’ll get a feel for what they want.
What Happens During a Trade
Once you’ve dropped your item and the porter’s Odradek gives the green light, what’s next? Let’s break down the trade process so you know exactly what’s happening.
When the porter likes your offer, they’ll grab it and leave something in return right there on the ground. What they drop depends on what they’re carrying, and it’s always a bit of a surprise. You might get a fresh climbing rope, a stack of chiral crystals, a new PCC, or even a piece of lost cargo. Sometimes it’s a direct upgrade, like swapping a worn out ladder for a pristine one. Other times, it’s a trade off, like getting materials you can use later instead of immediate gear. The unpredictability is part of the charm, it’s like opening a mystery box in the middle of nowhere.
The trade itself is fast, usually wrapping up in under a minute. If the porter’s slow to react, give them a few seconds; their Odradek needs time to scan your item. Once they drop their offering, just pick it up to complete the exchange. There’s no haggling or fancy menus; it’s all about that quick, in the moment connection.
What determines their offer? It’s based on what they’re carrying, which you can sometimes glimpse on their backs. Porters haul a mix of tools, resources, and cargo, often tied to the needs of the area you’re in. For example, in a rocky region, they might carry more climbing gear. In a resource heavy zone, expect materials like metals or ceramics. The game’s AI seems to decide their inventory based on your location and progress, so trading in different areas can yield different results.
One thing to note: porters don’t always give you something amazing. You might trade a solid item and get a small stack of resources in return. That’s just how it goes sometimes you win big, sometimes you don’t. But every trade’s a chance to tweak your inventory, so it’s worth trying whenever you spot a porter.
If you’re new to this game, you can read out Death Stranding 2 Beginner’s Guide
Advanced Tips for Trading Success
Trading’s simple once you’ve got the basics, but a few pro tips can make you a master. Here’s how to get the most out of every exchange.
First, always check the porter’s cargo before you drop anything. You can often see what they’re carrying, ladders, ropes, or materials stacked on their backs. If it looks like something you need, that’s a good sign you’re in for a worthwhile trade. It’s not a guarantee, but it’s a solid clue. Next, prioritize offering high value items. Tools like ladders, ropes, or PCCs are more likely to catch their eye than random scraps. Materials like chiral crystals or metals work well too, especially in areas where those are in demand.
Timing’s another key factor. Don’t rush the trade after dropping your item, wait for the Odradek to spin and lock on. If you move away too soon, you might miss the exchange. Also, trade in safe areas. Porters won’t stick around if BTs or MULEs are nearby, so clear the zone first. Connecting the area to the chiral network can also boost your chances, as porters show up more often in linked up regions.
Inventory management is huge for trading. If your backpack’s full, trading’s a great way to swap heavy items for lighter ones. For example, if you’re carrying extra ceramics but need a climbing rope, drop the ceramics and hope for a trade. It’s a quick way to stay mobile without dumping gear entirely. Also, try trading early in a delivery run; fresh tools or resources can make the rest of your trip easier.
Here’s a short list of pro moves to try:
- Offer tools or materials that match the area’s needs (e.g., ropes in mountainous zones).
- Trade near safe spots like knots or shelters for a smoother experience.
- Keep an eye on the Odradek’s spin speed faster means they’re more likely to trade.
- Experiment with different items to learn what porters value most.
These tricks will help you trade smarter and make every encounter count.
Overcoming Trading Challenges
Even with the best intentions, trading can hit a few snags. Here’s a rundown of common issues and how to fix them, so you’re never stuck.
One of the biggest problems is picking the wrong location. Porters avoid dangerous areas, BT-infested zones or MULE camps are no go zones. If you’re not seeing porters or they’re running off, that’s likely why. The fix is simple: clear the area. Use EX grenades to deal with BTs or non-ethal weapons to knock out MULEs. Once the area’s safe and connected to the chiral network, porters will start showing up. For example, if you’re near a knot that’s not yet linked, plug it into the network with your Q-pid to make it porter friendly.
Another issue is offering items porters don’t want. You might drop something you think is great, only for them to walk away. It happens porters prioritize useful gear. If they ignore your offer, try something else. Tools like ladders or ropes are usually safe bets, as are materials like chiral crystals or metals. Avoid dropping broken or low value items; they’re less likely to spark interest. If you’re not sure what they want, experiment with a few items to see what sticks.
Timing can also mess things up. If you drop an item and move on too quickly, you might miss the trade. Give the porter’s Odradek a moment to scan, sometimes it takes a few seconds. Patience is key. Another mistake is spooking the porter. Charging at them or accidentally bumping them can make them bolt. Approach slowly, keep your distance, and avoid any aggressive moves.
Finally, don’t expect every trade to be a jackpot. Sometimes you’ll trade a solid item and get something underwhelming, like a small stack of resources or a tool you already have. That’s just the luck of the draw. Keep trading, and you’ll eventually score something useful. If you’re consistently getting bad trades, try a different area porters’ inventories vary by region, so switching locations can shake things up.
Why Trading with Porters Is a Game Changer
Trading with porters might seem like a small mechanic, but it’s a big deal in Death Stranding 2. For one, it’s practical. Need a new ladder for that steep climb? Want to ditch some heavy ceramics for a lighter load? Trading’s your answer. It lets you tweak your inventory on the fly, keeping you nimble and ready for whatever the game throws at you. Whether you’re prepping for a tough delivery or just trying to stay under your weight limit, a quick trade can make all the difference.
Then there’s the trophy angle. Nabbing the “Any Porter in a Storm” trophy feels great, especially for completionists who live for that ping. But trading’s not just about checking boxes, it’s about the heart of the game. Death Stranding 2 is built on the idea of connection, of people helping each other in a world that’s crumbling. Every trade you make is a tiny act of teamwork, a moment where you and a porter help each other out. It’s not just gear swapping; it’s a nod to the game’s bigger story.
The fun factor’s real too. There’s a thrill in dropping an item and waiting to see what you’ll get, like a mini loot box without the price tag. Sometimes you score big with a rare tool; other times, you get something small but useful. Either way, it keeps things fresh. And as you play more, you’ll start to notice patterns what porters carry in certain areas, what they’re likely to want. It’s like learning a secret language of the game’s world.
So, next time you’re out there, cargo strapped high, and you see those white suits moving through the haze, take a moment. Drop something, make a trade, and keep the cycle of connection going. It’s a small step, but in Death Stranding 2, those steps build bridges literally and figuratively. Get out there, trade smart, and keep on keeping on. Happy delivering!
Thanks for keeping up with Game.Dazepuzzle.com