You’re in the cockpit of Alysnes, the battlefield of Mecha BREAK buzzing around you. The enemy team’s closing in, and you’ve got that split second choice: charge up the Energy Autocannon for a long range snipe or dash in with the Battle Halberd to cleave through a foe. Alysnes feels like it can do anything, but that’s the catch. Without a plan, you’re just a shiny mech getting outplayed.
Learning how to use Alysnes in Mecha BREAK is about mastering its versatility, from tanking hits with the Complex Shield to pulling off a game changing Airdrop. This guide’s your roadmap to turning Alysnes into a force that makes enemies rethink their strategy. Let’s break it down, piece by piece, so you can dominate whether you’re a rookie or a seasoned pilot.
What’s in Our How to use Alysnes in Mecha BREAK Guide?
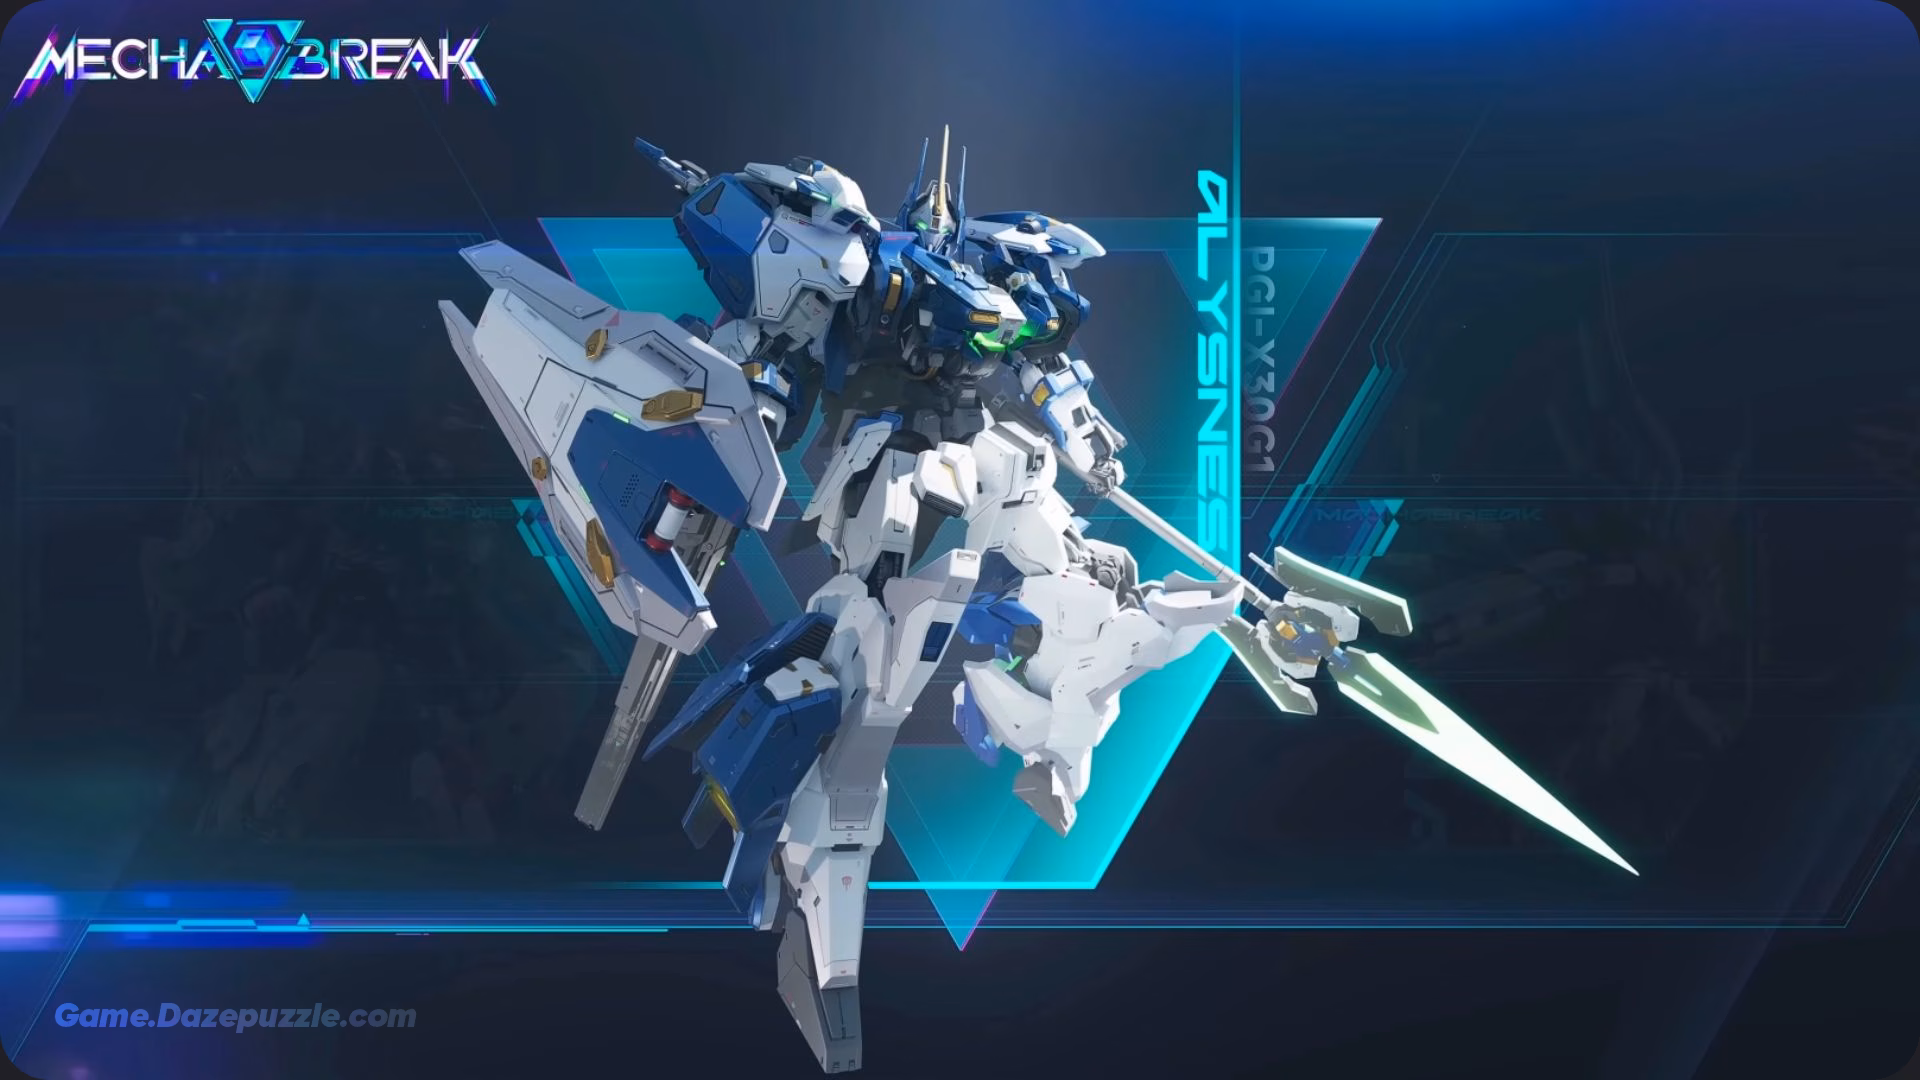
Who Is Alysnes?
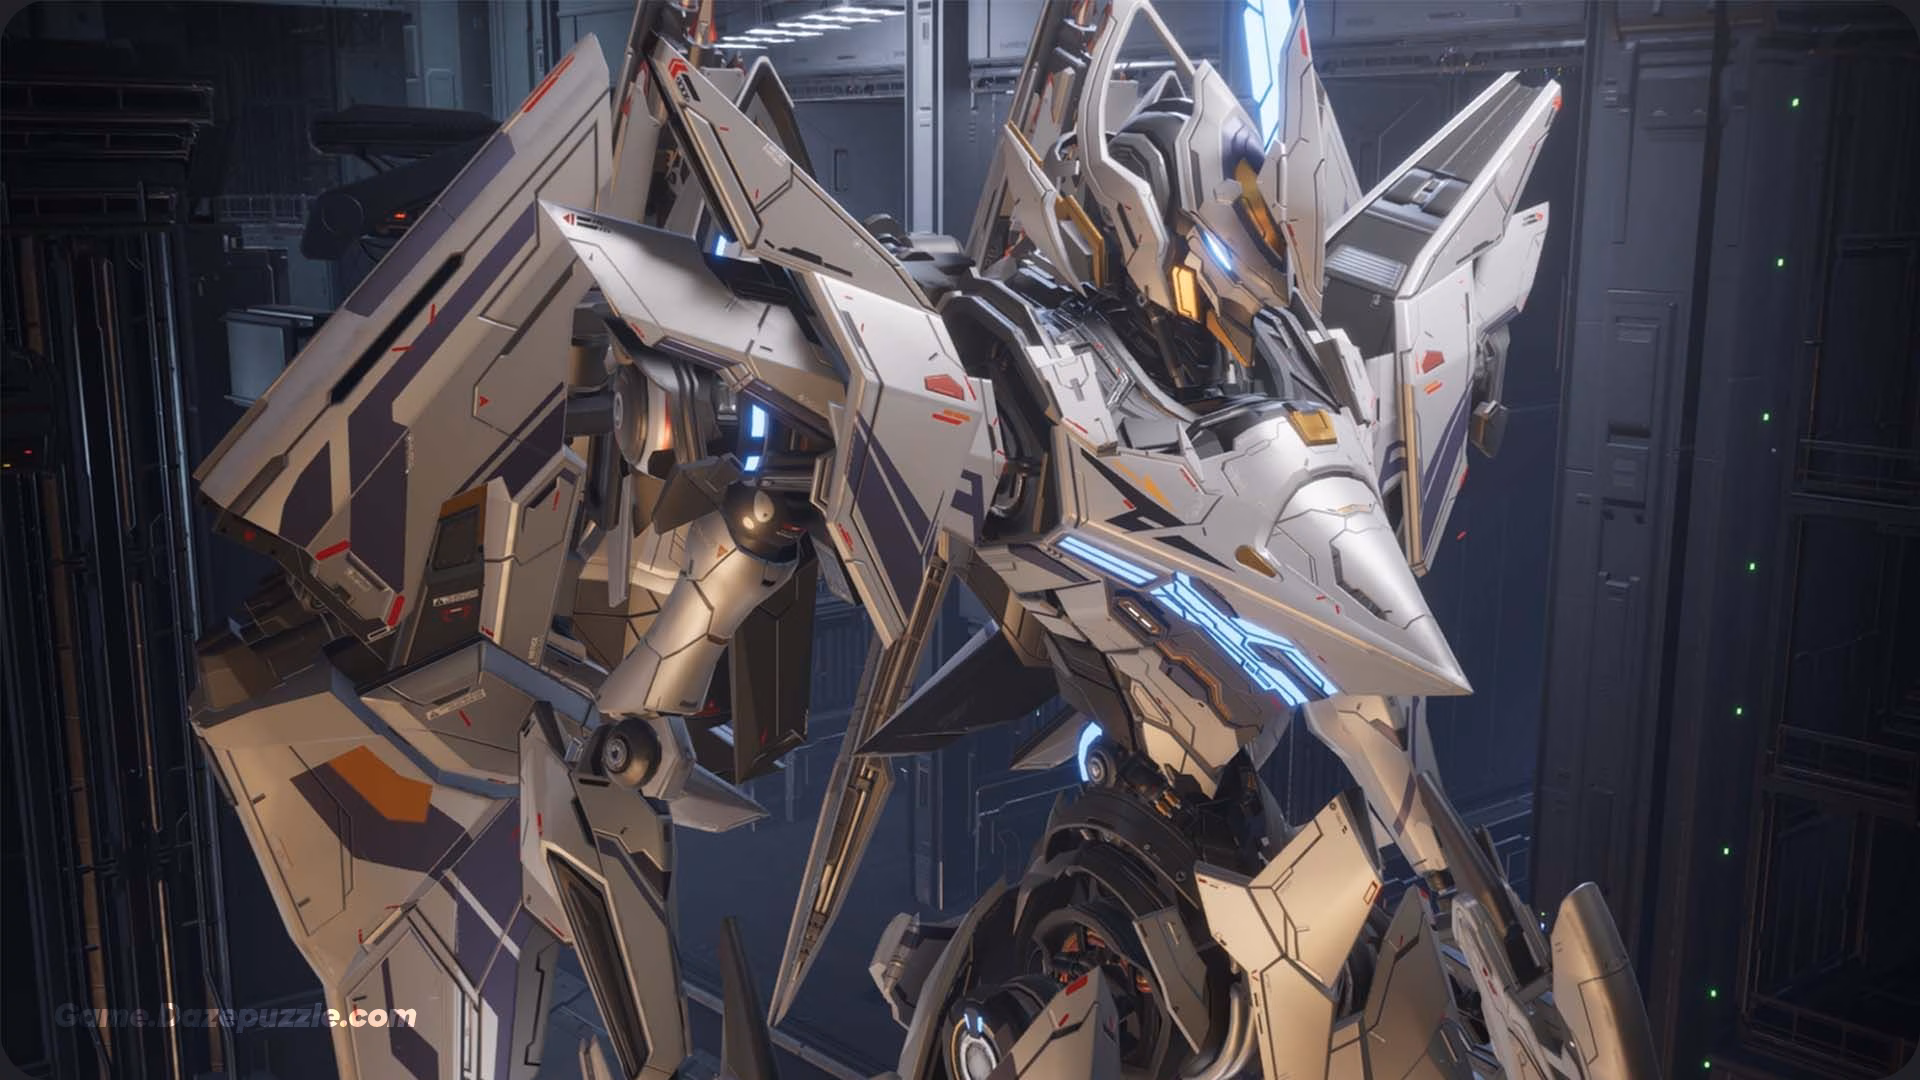
Alysnes isn’t just another mech in Mecha BREAK, it’s a statement. Originally codenamed “Sturgeon” by the Marciana BrainTech Institute, this 16.1-meter, 16.5-ton beast (25.1 tons fully loaded) was built as a prototype for MindBridge type strikers. When PyroGenesis Industries took over, they turned it into a showstopper, racking up wins in events like the Crimson New Year. PyroGenesis keeps the tech specs under wraps, but one thing’s clear: Alysnes is a multi tool, blending raw power, agility, and durability. It’s the kind of mech that rewards players who can think on their feet, adapt to chaos, and make every ability count.
Understanding Alysnes’ Abilities
Alysnes’ kit is what makes it shine. It’s got tools for every situation, ranged, melee, defense, and even a second life. But each piece needs to be used right to unlock its potential. Here’s the full breakdown, with tips to make each ability pop.
Energy Autocannon: Your Mid Range Muscle
The Energy Autocannon is your bread and butter for fights at a distance. It fires explosive shots, and the trick is in the charge. Hold the trigger until it’s about 80% charged, and you’ll land precise, hard hitting shots. Overcharge it, though, and the spread goes wild, spraying like a shotgun with less control. Picture this: you’re holding a control point, and a Narukami’s sniping from afar. A well charged autocannon shot can force them to reposition, giving your team breathing room. Or, if an enemy’s low and trying to jet away, a quick burst can seal the deal. Use it to keep pressure on or set up for a melee finish.
Complex Shield: Your Defensive Edge
The Complex Shield is where Alysnes gets spicy. It blocks incoming damage, but the real magic is the parry. Time it right within a 2-4 second window and you’ll deflect a melee attack and counter with a devastating three hit combo. Imagine a Panther charging you, swinging for the kill. You pop the shield, parry their strike, and suddenly they’re eating a counterattack that chunks their health. It’s satisfying, but it takes practice. The shield burns energy fast, so don’t lean on it too hard. Save it for big moments, like when a Welkin’s trying to bully you in close quarters.
Battle Halberd: Close Quarters Chaos
When it’s time to get dirty, the Battle Halberd delivers. This axe dishes out heavy damage with standard swings, but the real showstopper is the unblockable dive attack. Jump, hover, and slam down from the air; it’s a move enemies can’t parry, perfect for starting a fight or finishing one. Say you’re facing a weakened Aquila trying to kite you. A dive attack can close the gap and end them before they know what hit them. Just be careful: swinging the halberd commits you, so make sure you’ve got a plan to get out if things go south.
Gauss Cannons: Disrupt and Destroy
The Gauss Cannons are your secondary ranged option, great for interrupting or dealing burst damage. Fully charged, they hit like a shotgun, making them deadly up close. They’re perfect for stopping enemies mid-move, like a Tricera charging up a big ability. If you’re in a scrap and need to stun a foe long enough to land a halberd hit, these are your go to. Think of them as a quick jab to set up your knockout punch.
Airdrop Kit: Your Second Chance
The Airdrop Kit is Alysnes’ trump card. It calls in a fresh set of armor and weapons, fully healing you and resetting your abilities. Low on health, surrounded by enemies? Pop the Airdrop, and you’re back at full strength, ready to turn the tide. I’ve been in matches where an Airdrop at the right moment flipped a losing fight into a victory. Save it for when your armor’s gone or you’re about to go down, it’s not just a heal, it’s a psychological blow to the enemy team.
Armor Purge: A New Lease on Life
Alysnes’ signature trick is the Armor Purge. When your health hits zero, instead of exploding, you shed your armor, becoming a faster, lighter version with an energy sword instead of the shield and halberd. You’re more fragile, but the speed boost lets you dart around, chase down stragglers, or escape to call in an Airdrop. It’s like getting a second wind in a boxing match, just don’t get too bold, because one wrong move and you’re toast.
If you want to compare Mecha BREAK Strickers, you can read our Mecha BREAK Tier List Guide
Core Gameplay Strategies
Alysnes is a jack of all trades, but that doesn’t mean you can just wing it. To dominate, you need a game plan that plays to its strengths. Here’s how to make Alysnes a nightmare for your enemies.
Master the Mid to Close Dance
Alysnes shines when you blend ranged and melee combat. Start with the Energy Autocannon to chip away at enemies from mid range, forcing them to make mistakes. Maybe they dodge too early or overextend; either way, that’s your cue to dash in with the Battle Halberd and finish the job. For example, if you’re facing a Luminae trying to heal their team, pepper them with autocannon shots to disrupt their focus, then close in for a halberd strike. Keep moving, keep mixing it up, and you’ll keep enemies guessing.
Nail Your Shield Timing
The Complex Shield isn’t just for soaking damage, it’s for turning the tables. Practice parrying against aggressive mechs like Panther or Welkin. A successful parry can stop their momentum and give you a free combo. I’ve messed this up plenty of times, but once you get the rhythm, it feels like cheating. Just don’t spam it; each parry eats energy, and you’ll need that for dashes or other abilities.
Keep Your Energy in Check
Energy management is Alysnes’ Achilles’ heel. Dashes, shield parries, and charged autocannon shots all drain your meter, and running dry leaves you vulnerable. Always check your energy before committing to a big move. If you’re low, play defensively, stick to cover, and let it regen. Trust me, there’s nothing worse than getting caught mid-fight with no juice to dodge or block.
Save Airdrop for the Right Moment
The Airdrop Kit can change the game, but only if you use it wisely. Don’t pop it the second you take a hit, wait until you’re low on health or your armor’s purged. I’ve seen players waste it early and regret it when they’re limping later. Picture this: you’re in a 6v6, down to your last sliver of health, and the enemy thinks they’ve got you. Drop the Airdrop, come back at full strength, and watch their confidence crumble.
Make the Most of Armor Purge
When you trigger Armor Purge, you’re not out of the fight; you’re just playing a different game. Use your new speed to reposition, chase down weak enemies, or dodge incoming fire. The energy sword still packs a punch, so you can take out stragglers if you’re careful. Just don’t overstay your welcome; your goal is to survive long enough to call in that Airdrop and get back to full power.
Common Mistakes to Avoid
Even the best Alysnes pilots can slip up. Here are some traps to watch out for:
- Overusing the Shield: It’s tempting to hide behind the Complex Shield all day, but it burns energy fast. Save it for key moments, like parrying a big melee hit, instead of spamming it.
- Wasting Airdrop: Popping the Airdrop too early or when you don’t need it is a rookie move. Hold it for when you’re truly desperate, it’s your lifeline, not a snack.
- Ignoring Energy Management: Charging into a fight with low energy is asking for trouble. Always keep an eye on your meter and prioritize regen when you’re running low.
- Sticking Around Post-Purge: The Light Fighter Mode is great for quick hits, but lingering too long without armor is a death wish. Play it smart and reposition.
Mods and Customization
Mods can take Alysnes from good to great, but you need to choose wisely. They’re earned through Supply Crates (via challenges, contract points, or Mashmak missions), and each mod boosts one stat while often nerfing another. Here’s what to prioritize:
- Ground Energy Regen: This mod got a nice buff in recent updates, speeding up your energy recovery when you’re grounded. Since Alysnes guzzles energy, this is a lifesaver for keeping your abilities online.
- Health or Armor Boosts: Extra health or armor makes you tougher to kill, especially in prolonged fights. These mods let you tank more hits before needing to purge or Airdrop.
- Melee Damage Increase: If you love getting up close, mods that pump up the Battle Halberd’s damage are a no brainer. They make your halberd swings hit like a truck.
- Shield Efficiency: Look for mods that lower the shield’s energy cost or boost its parry effectiveness. They let you lean into your defensive game without draining your meter.
When equipping mods in the Operation Storm menu, you can slot up to three per section (like engine or frame). Balance is key, don’t stack all damage mods if it tanks your energy regen. For example, pairing a health boost with energy regen lets you stay in the fight longer while keeping your mobility intact.
Game Mode Tactics
Alysnes is built for flexibility, but different modes demand different approaches. Here’s how to adapt.
6v6 PvP: Be the Team’s Backbone
In 6v6, Alysnes is a frontline all-star. Use your shield to hold objectives and block enemy pushes, and your halberd to punish anyone who gets too close. Coordinate with your team, an Airdrop at the right moment can swing a team fight. For instance, if your squad’s pushing a control point and you’re taking heat, pop Airdrop to reset and keep the pressure on. Stick with your teammates; going solo against a coordinated team is a quick way to get scrapped.
Mashmak: Survive and Thrive
Mashmak’s PvPvE chaos is where Alysnes’ durability shines. The Armor Purge and Airdrop Kit let you outlast waves of enemies or Rival players. Use your speed in Light Fighter Mode to grab resources or escape ambushes. For example, if you’re collecting loot and get jumped, purge your armor, dash to safety, and call in an Airdrop to rejoin the fight. Just don’t get greedy, focus on surviving and securing objectives over chasing kills.
Building Synergy with Your Team
Alysnes is a team player at heart. Its versatility makes it a great complement to other mechs, but you need to sync up to maximize impact. Pair with a support like Luminae to keep your health topped off, letting you stay in the fray longer. If you’ve got a tank like Tricera soaking damage, use your autocannon to harass enemies while they’re distracted. Communicate with your squad, call out when you’re about to Airdrop so they can rally around you. A coordinated team with Alysnes in the mix is a nightmare for opponents.
Dealing with Enemies
Alysnes can handle most threats, but each enemy type needs a specific approach.
Close-Range Fighters (Welkin, Panther)
These mechs love to brawl, so lean on your Complex Shield. Time your parry to interrupt their combos, then hit back with the halberd. If a Panther’s chaining attacks, bait them into overcommitting, parry, and counter. Keep your distance when possible to avoid getting overwhelmed.
Snipers (Aquila, Narukami)
Snipers want to keep you at range, so close the gap fast. Use dashes and cover to get in their face, then unleash the halberd. Gauss Cannons are great for stunning them mid shot, giving you time to close in. If they’re too far, harass with the autocannon until you can engage.
Heavy Tanks (Tricera, Stego)
Tanks are tough nuts to crack, so don’t go solo. Use Gauss Cannons to interrupt their big abilities and autocannon shots to chip away. Support your team’s damage dealers your job is to disrupt and survive, not to slug it out alone.
Support Mechs (Luminae)
Supports are slippery, so keep the pressure on with autocannon shots to force them out of position. If they’re healing a tank, use Gauss Cannons to stun them and break their rhythm. Once they’re isolated, a halberd dive can take them out quick.
Advanced Techniques
Want to take Alysnes to pro level? These tricks will set you apart:
- Dive Attack Opener: Start fights with the halberd’s unblockable dive. Jump, hover, and slam down on enemies for a surprise hit they can’t block. It’s perfect for catching a sniper off guard.
- Autocannon to Gauss Combo: Fire a charged autocannon shot to soften up a target, then follow with Gauss Cannons for a quick burst. This combo’s great for finishing low-health enemies or stunning a tank.
- Parry Prediction: Parrying has slight input lag, so anticipate enemy attacks rather than reacting. Practice against bots to nail the timing, it’s a game changer in clutch moments.
- Aggressive Airdrop Play: Some pros pop Airdrop before death, using the brief invulnerability to reposition or land a surprise attack. It’s risky but can throw enemies off their game.
- Purge and Run: In Light Fighter Mode, use your speed to bait enemies into chasing you, then lead them into a trap like a teammate’s ambush or a control point your squad’s holding.
Alysnes is the ultimate all rounder in Mecha BREAK, blending durability, speed, and firepower into a package that’s as fun as it is deadly. Whether you’re parrying a Panther’s assault, diving onto a sniper with your halberd, or pulling off a clutch Airdrop to save the day, this mech rewards smart play and quick thinking. Take the time to master its abilities, manage your energy, and sync with your team, and you’ll be a force to be reckoned with. Now hop in the cockpit, pilot, you’ve got this.
Thanks for keeping up with Game.Dazepuzzle.com