The battlefield of 2091 is a chaotic symphony of screams, gunfire, and viscera. In this nightmare, it’s easy to think of the Commando as the simple, straightforward soldier. The one who just points and shoots while others handle the complex tasks. That assumption is the fastest way to get your squad wiped on Hell on Earth.
The Commando is no longer just a rifleman; they are the metronome of the team, the steady hand that dictates the rhythm of the fight. A great Commando doesn’t just kill Zeds; they create opportunities, control the flow of combat, and make everyone else on the team better. This isn’t a guide about simply holding down the trigger. This is a blueprint for building the most effective Killing Floor 3 Commando build possible, transforming you from a simple grunt into the unshakeable anchor every high difficulty squad needs to survive.
What’s in our Your Complete Killing Floor 3 Commando Build Guide?
The Commando’s Toolkit: Tools of the Trade
Your path to mastery begins with understanding your arsenal. The Commando’s three core assault rifles aren’t just different options; they are a calculated progression, a ladder of power you must climb to keep pace with the growing threat.

The Weapon Ladder
- X295 Wraith (Tier 1): This is your starting workhorse. In the crucial opening waves, the Wraith is your primary tool for generating Dosh and establishing control. It’s reliable, accurate, and with a few early mods, surprisingly effective. Don’t underestimate it.
- SCAR EIR (Tier 2): This is your all-purpose powerhouse and the weapon that will carry you through the mid to late game. It hits harder than the Wraith and has superior range. While it might feel a bit weaker in its base form compared to its KF2 counterpart, the right attachments turn it into an absolute monster.
- Knightsbridge (Tier 3): This is your crowd clearing finale. An LMG designed for one purpose: sustained, overwhelming firepower. When the screen is filled with Zeds and you need to hold a lane at all costs, the Knightsbridge is your answer.
To make informed decisions at the Trader pod, you need to understand the fundamental trade offs.
You can find more detail about Guns and Loadouts in our Killing Floor 3 Loudout Guide
Core Assault Rifle Base Stats Comparison
| Weapon Name | Damage Type | Base Damage | Rate of Fire (RPM) | Magazine Size | Base Recoil |
|---|---|---|---|---|---|
| X295 Wraith | Ballistic | 30 | 650 | 30 | Low |
| SCAR EIR | Ballistic | 45 | 600 | 25 | Medium |
| Knightsbridge | Ballistic | 40 | 750 | 100 | High |
This table clearly shows the SCAR’s superior damage per shot, justifying an early purchase, and highlights the Knightsbridge’s trade off: higher recoil for a massive magazine, defining its role as a late game weapon.
Gadget & Grenade Doctrine
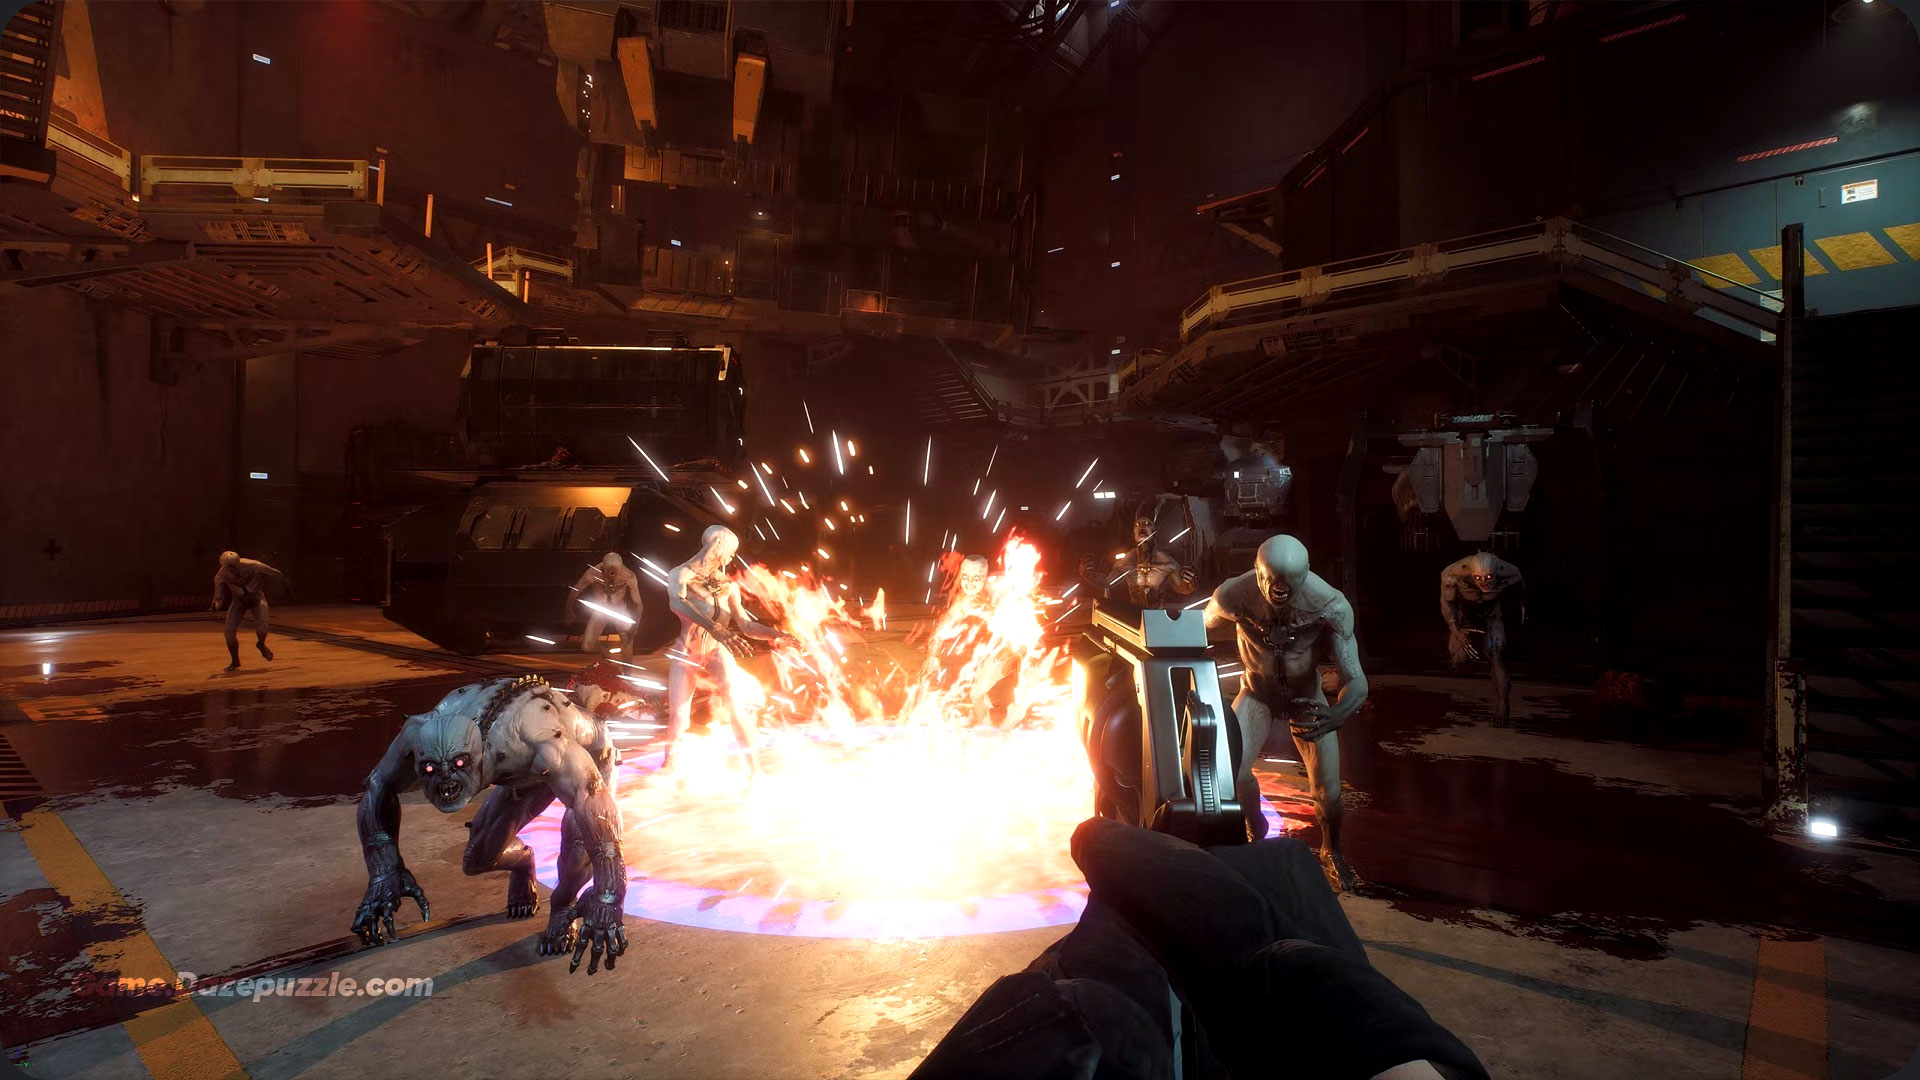
- The “Hellion” Drone: This is the Commando’s most important new tool. Don’t treat it as a panic button. Use it proactively. Deploy it to cut a path through a horde, block a flank with its acid pools, or focus its fire to melt high threat targets like Husks and Sirens before they become a problem.
- HE Grenade: This is more than just a simple explosive. Use its concussive force to stumble large Zeds, creating a window for your team’s big game hunters. A well placed grenade can interrupt a Fleshpound’s charge, saving a teammate’s life.
The Ultimate Skill Build: A Blueprint for Hell on Earth
Your skill choices are critical decisions that define your role. The Commando’s tree forces you to choose between personal damage (DPS), team utility, and economic advantage. For Hell on Earth, our build prioritizes utility and economy to create an overwhelming advantage for the entire team.
The following is a predictive framework for the most effective skill path, based on the most likely skill archetypes.
Recommended HoE Skill Progression
| Level | Skill A (Example) | Skill B (Example) | Recommended Choice |
|---|---|---|---|
| 2 | Ready Up (+15% Swap Speed) | Tactical Reload (+20% Reload) | Tactical Reload |
| 4 | High Capacity Mags (+25% Mag Size) | Eat Lead (+20% Auto Fire Damage) | High Capacity Mags |
| 6 | Impact Rounds (+30% Stumble) | Hollow Points (+25% Headshot Dmg) | Impact Rounds |
| 8 | Resourceful (-30% Rifle Cost) | Deep Mags (+15% Max Ammo) | Resourceful |
| … | … | … | … |
| 30 | Machine Gunner (No recoil in Zed time) | Tactician (Zed Time extensions are 2x as effective) | Machine Gunner |
Mastering the Armory: The Pre Game Grind
The single biggest strategic shift in Killing Floor 3 is that the “best build” is no longer just about in-game choices. It now depends on a pre-game grind to craft the perfect set of weapon attachments in the Armory.
The system is simple: you use resources earned in-game to craft attachments. When you upgrade these attachments, they get a random perk. The high level strategy is to recycle and re-craft attachments until you get desirable “god-roll” perks like “+Stumble Power” or “+Damage to Bosses.” By combining these god rolled attachments with your Resourceful skill, you can walk out of the first Trader pod with a weapon worth thousands of Dosh for a fraction of the price, creating an insurmountable power and economic advantage for the rest ofthe match.
Best in Slot SCAR EIR “All-Rounder” Build
| Slot | Recommended Attachment | Primary Stats | Ideal Random Perk |
|---|---|---|---|
| Ammo | Armor Piercing (AP) Rounds | +Damage, +Penetration, +Stumble | +Stumble Power |
| Barrel | Suppressor | -Recoil, +Accuracy | +Recoil Control |
| Underbarrel | Enhanced Foregrip | -Recoil, +Handling | +Handling |
| Optic | Reflex Sight | +Handling, +Zoom Crit Dmg | +Critical Damage |
| Magazine | Drum Mag | +Magazine Capacity | +Magazine Size |
| Internal | Heavy Frame Receiver | +Damage, -Rate of Fire | +Damage |
The Hell on Earth Playbook: Tactics & Execution
Having the right gear is only half the battle. Now you need to execute.
Target Prioritization Protocol
Your primary job is to kill the “trash” Zeds to protect your large Zed killers. Follow this hierarchy religiously:
- Alpha Priority (Engage Immediately): Clots, Crawlers, Stalkers, Gorefasts. These are your responsibility. If left unchecked, their numbers will overwhelm the team.
- Bravo Priority (Engage Opportunistically): Sirens, Husks, Bloats. These special Zeds disrupt the team. You have the sustained fire to take them down quickly from a safe distance. Your Hellion Drone is especially effective here.
- Charlie Priority (Support & Stumble): Scrakes, Fleshpounds. Your rifles are not efficient for killing these large Zeds. Your job is to clear the trash around them so your Sharpshooter or Engineer has a clear shot. Use your stumble enhancing attachments to interrupt their attacks and create openings for your team.

The Art of the Zed Time Extension
This is the Commando’s most powerful team utility.
- Identify: Spot a group of low tier Zeds like Clots.
- Initiate: Aim for the head of the first one.
- Chain: The moment Zed Time triggers, rapidly switch targets, chaining headshot kills on the remaining Zeds. This will prolong the slow motion effect as long as possible, maximizing your team’s DPS. This is where skills like Machine Gunner become invaluable.
The Team Multiplier: Squad Synergy
A Commando’s greatest strength isn’t their personal DPS, but their ability to elevate the entire team’s performance. You are the foundation upon which a successful HoE run is built.
- Commando + Sharpshooter: The classic symbiotic relationship. You clear the trash, they pop the heads of large Zeds. Your Zed Time extensions give them more time to line up those critical shots.
- Commando + Engineer: The “Hold the Line” duo. The Engineer provides powerful area control with turrets; you provide the sustained fire needed to eliminate anything that gets through.
- Commando + Firebug: The “Crowd Control Kings.” The Firebug panics and slows hordes with ground fire, making them easy targets for your precise headshots.
An ideal 6-person “dream team” for Hell on Earth will almost always include a Commando, a Sharpshooter, a Medic, and an Engineer, with the final two slots being flexible for roles like a Firebug or even a second Commando for maximum Zed Time uptime.
Become the Unshakeable Anchor
The Commando’s role in Killing Floor 3 has evolved. You are no longer just a rifleman; you are a multi faceted strategist who must master economy, battlefield control, and team amplification to be truly effective at the highest level.
Use this guide as your foundation. Master the core build, understand the “why” behind each choice, and then begin to experiment. Adapt the build to your personal playstyle and your team’s specific needs. Now go out there and become the anchor your team can’t win without.
Thanks for keeping up with Game.Dazepuzzle.com

