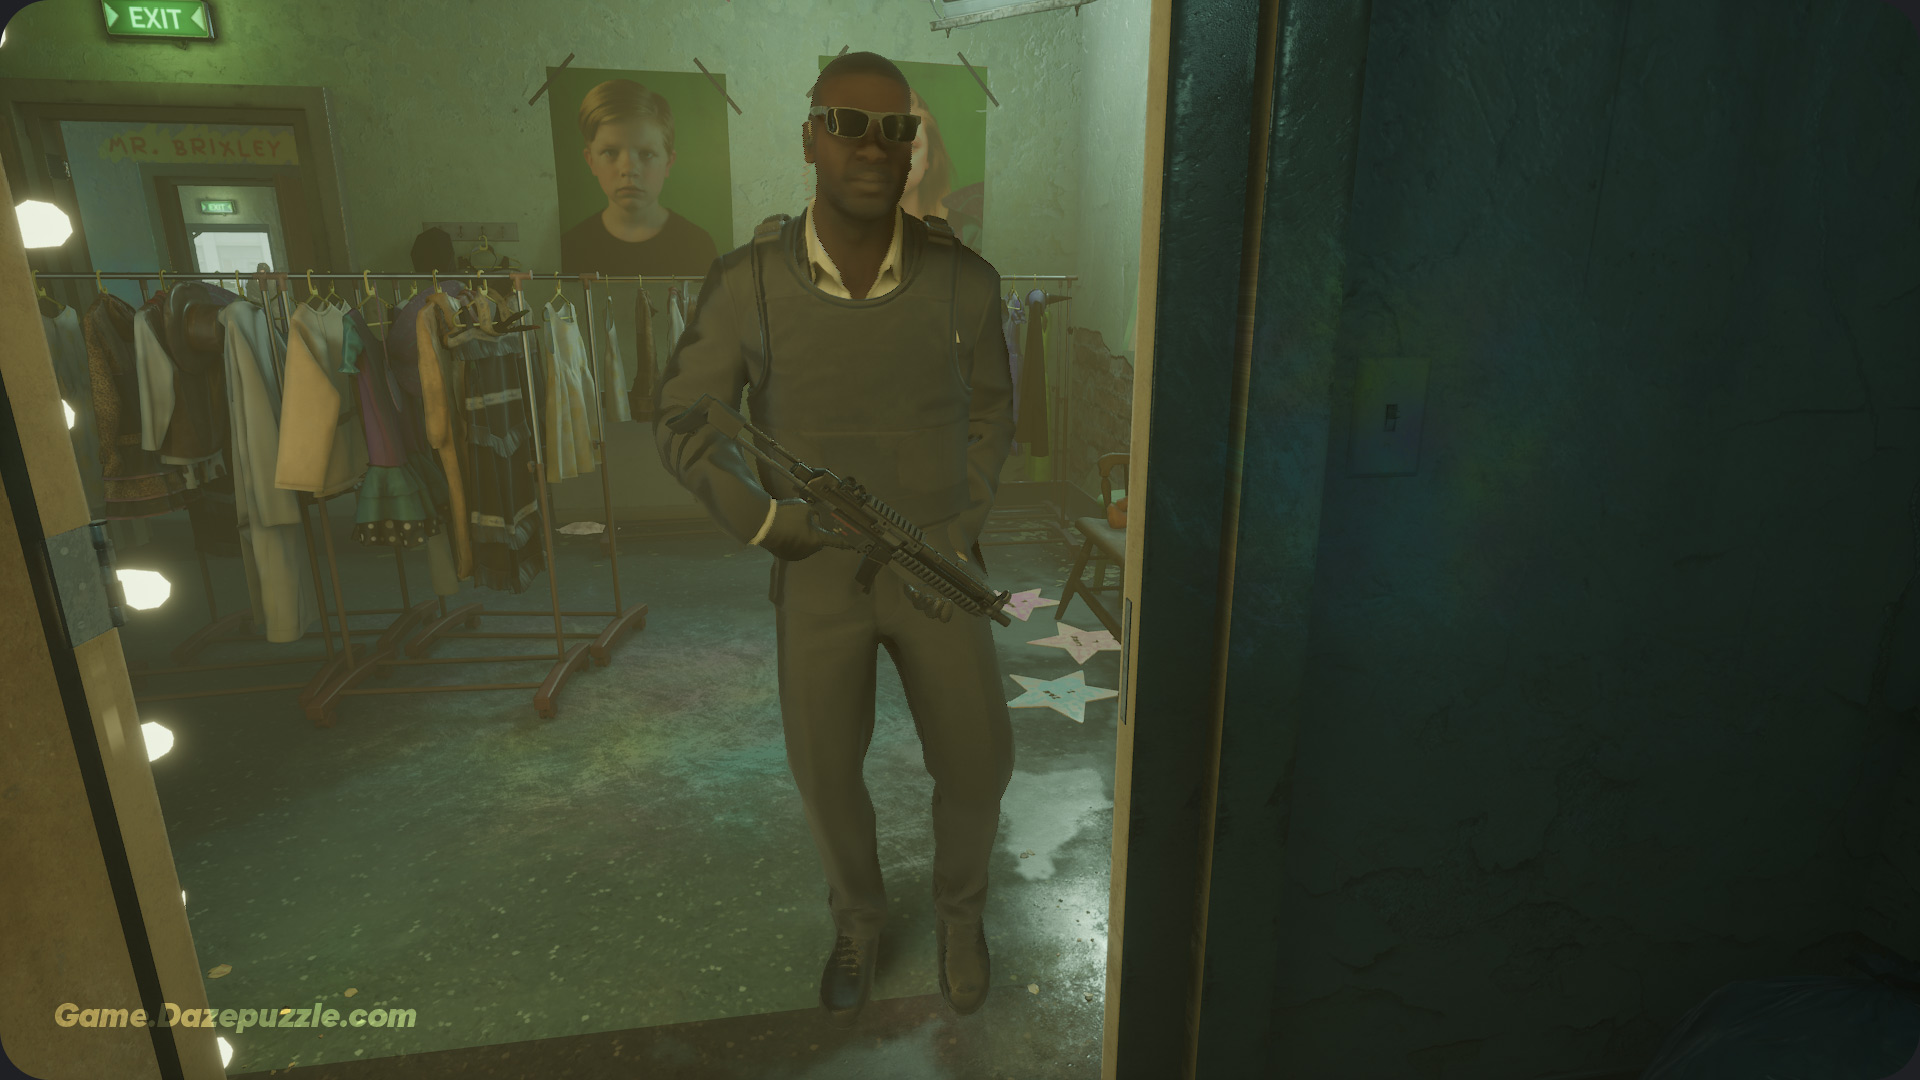
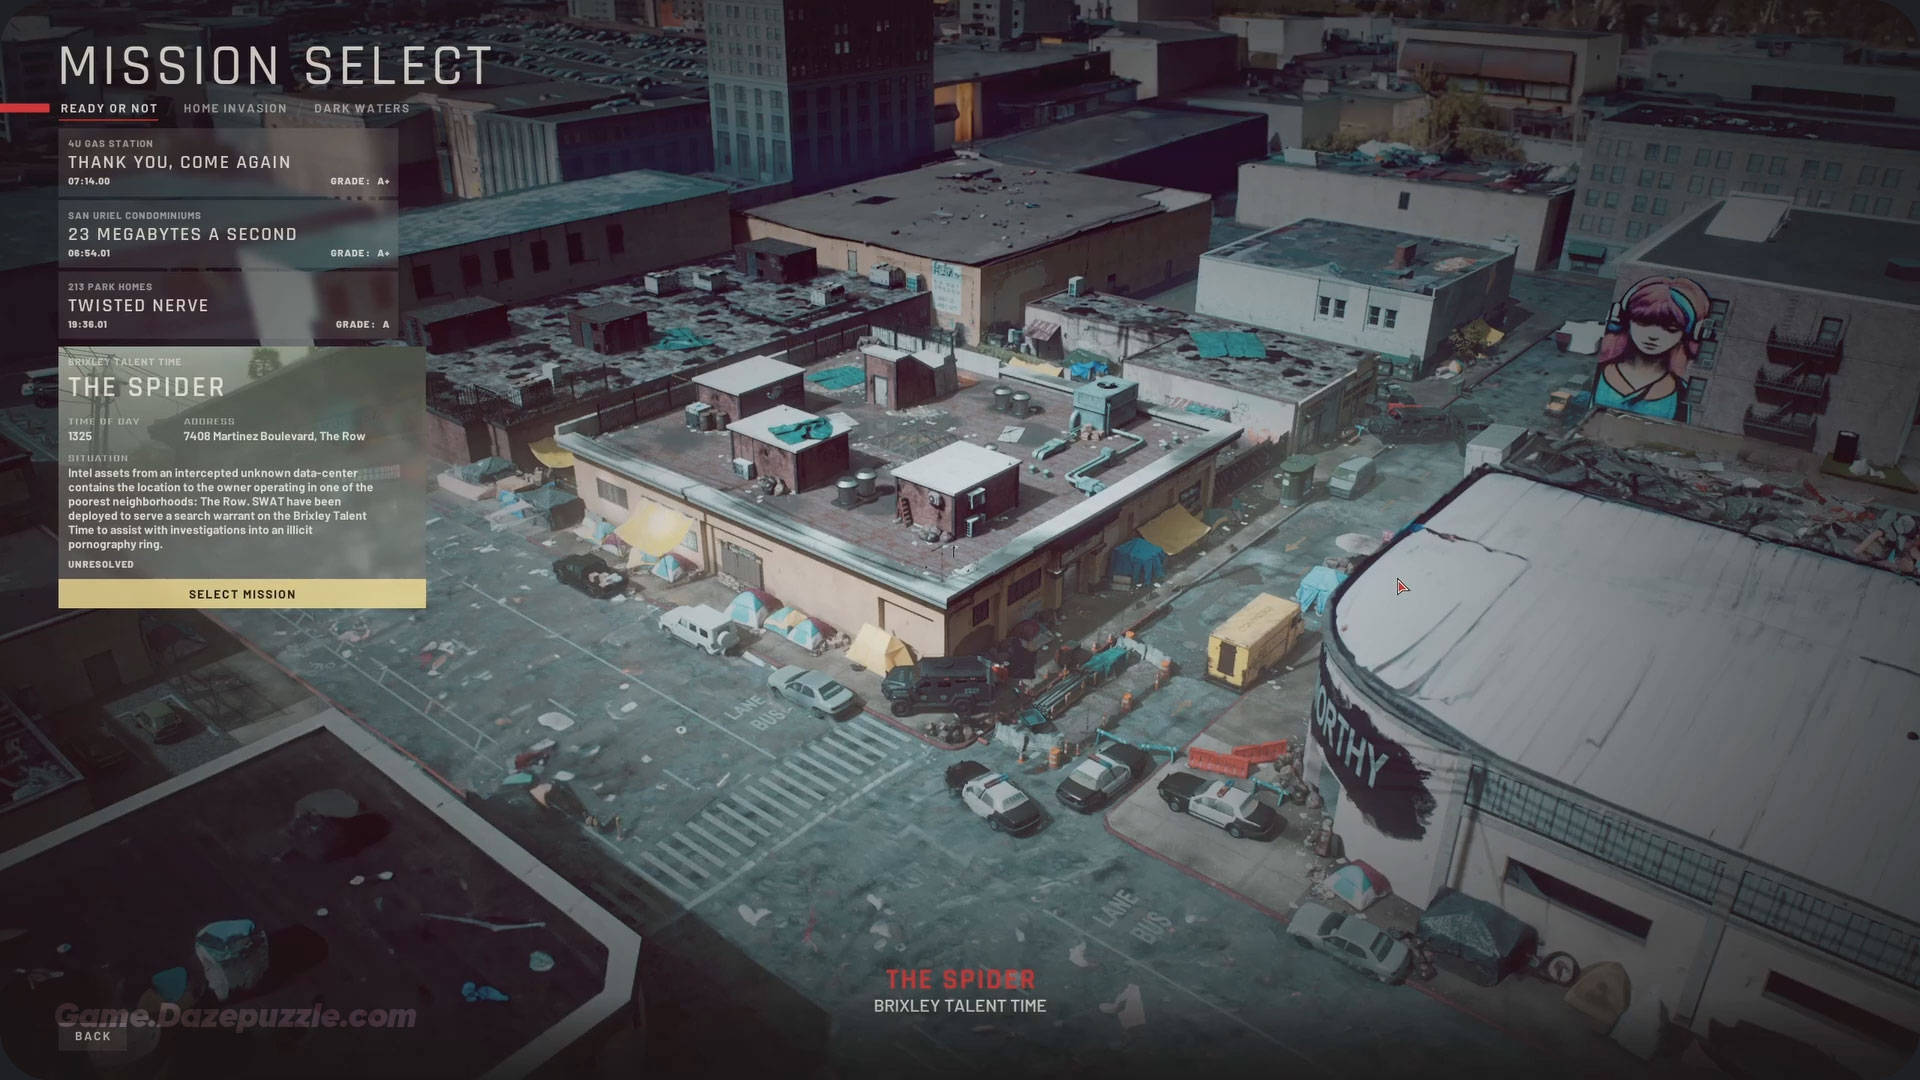
We’ve all been there. You’re having a perfect run on the Brixley Talent Time mission, one of the trickiest assignments in the complete Ready or Not missions list. Every suspect is secured, every civilian is safe. You approach the final office, ready to arrest George Brixley himself, only for him to end the entire run before you can even breach the door. It’s one of the most frustrating moments in the game, but it doesn’t have to be. This mission, known as “The Spider,” has a specific solution. This is the spider S rank guide that will show you exactly how to beat it, every single time. Forget theory; this is a practical, step by step plan.
What Is in Our Ready or Not: The Easiest Spider S Rank Guide
The S Rank Rules: Your Non Negotiable Checklist
To get an S Rank, you must play by a strict set of rules. While this guide focuses on The Spider, you can learn the universal principles in our definitive guide on how to get an S-Rank in Ready or Not.
For this mission, these are the rules:
| Category | Requirement for S Rank |
|---|---|
| Fatalities | Zero. No one dies. This includes suspects, civilians, and especially George Brixley. |
| Arrests | All suspects must be arrested and secured. |
| Civilians | All civilians must be rescued and secured. |
| Evidence | All dropped weapons must be collected. |
| Penalties | None. No unauthorized use of force or friendly fire. |
| Mission End | The mission must end automatically. If you have to press a key to finish, you missed something. |
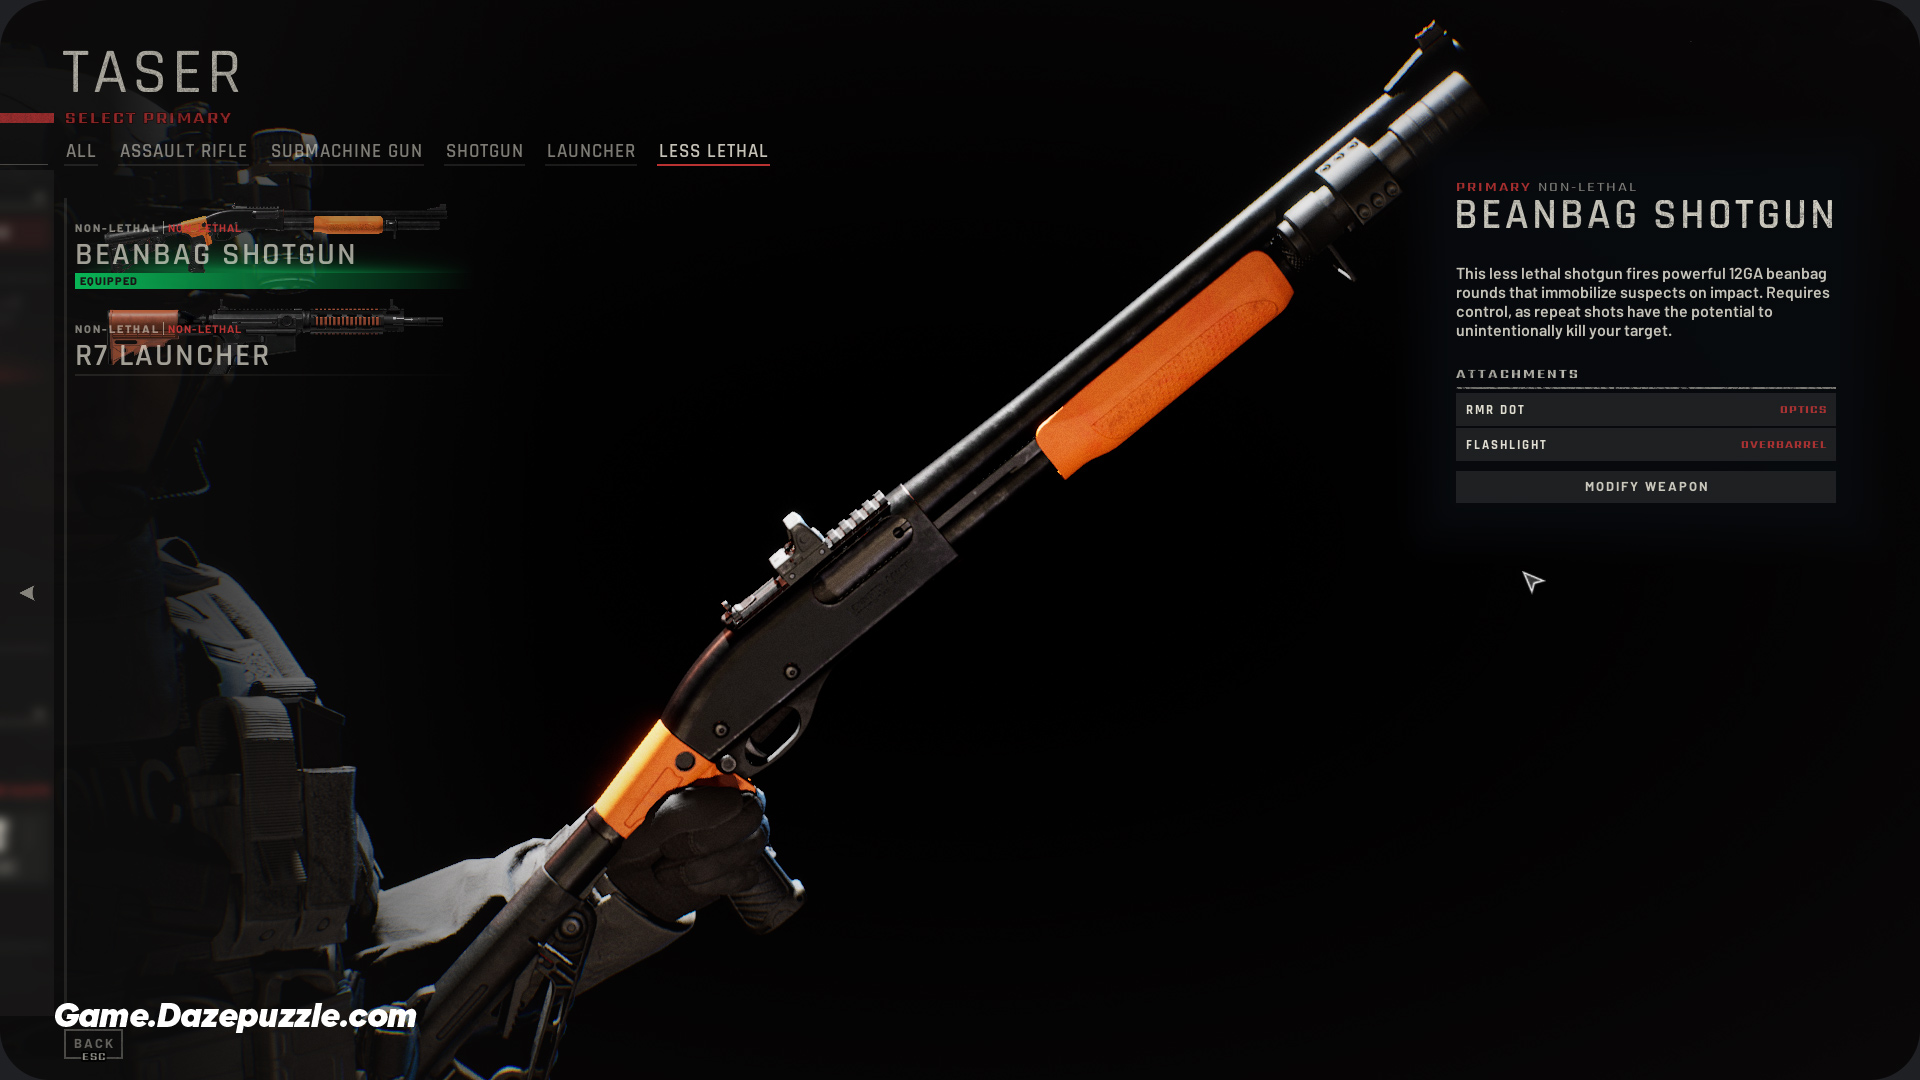
The Only Loadout You Need for The Spider S Rank
Your gear selection is half the battle. This loadout is designed for maximum control and minimum risk.
The Golden Rule of AI Management: Before you start, go into your team’s loadout and remove all ammunition from their sidearms (pistols). This is the most critical step. It prevents your AI from switching to a lethal weapon in the heat of the moment and ruining your S Rank attempt.
| Role | Primary Weapon | Tactical Gear | Grenades & Armor |
|---|---|---|---|
| Player (You) | Beanbag Shotgun | Mirrorgun, Door Wedges | CS Gas, Light Armor |
| AI Squad (x4) | Beanbag Shotgun | Breaching Tools (Ram/Shotgun) | CS Gas, Heavy Armor |
Why this loadout works: The suspects on this map don’t wear gas masks, making CS Gas incredibly effective. The Beanbag Shotgun provides the stopping power needed to make aggressive suspects comply without the risk of an accidental headshot kill from a pepperball gun.
The Winning Strategy: A Step by Step Takedown
Forget the front door and the courtyard. That path is a killzone designed to fail runs. There is a better, safer way.
Step 1: The Rooftop Entry (Don’t Use the Front Door!)
From the mission start, ignore the main entrance. Head immediately into the alley on the side of the building. You will find a fire escape ladder. Take your team up to the roof. This approach bypasses the most dangerous part of the map and gives you a massive tactical advantage. Before entering the building from the roof, use your Door Wedges to block the doors that lead from the deadly courtyard into the building. This prevents anyone from flanking you from below.
Step 2: Securing the Top Floor
Now that you’re on the roof, you can begin clearing the building from the top down. This is far more controlled than fighting your way up from the bottom.
Use your Mirrorgun on the roof access door, then give the “Stack Up” command. Lead your team in clearing the top floor room by room. Use the standard procedure: mirror, gas, breach, and clear. Be methodical. Your goal here is to secure the entire floor except for Brixley’s office. Save him for last.
Step 3: The Brixley Takedown (The Mission’s Make or Break Moment)
This is the moment that defines the success or failure of the mission. George Brixley is programmed to commit suicide if he feels threatened. You cannot give him that chance. A slow, quiet approach will fail. You need to use shock and awe.
- Locate Him: Use the Mirrorgun under his office door to confirm his exact position. Make sure no one is standing directly in front of the door.
- Prepare the Breach: Order your team to stack up. Select the “Breach and Clear with CS Gas” command. A Breaching Shotgun or Ram is best here.
- Execute: Give the command. Your team will breach the door explosively. The moment the door opens, the combination of the violent entry and the immediate flood of CS gas will overwhelm Brixley, forcing him to surrender instantly before his suicide script can trigger. Move in quickly to arrest him.
Step 4: Clearing the Ground Floor & Final Sweep
With Brixley in custody, the hardest part is over. Now, carefully proceed down the stairs to the ground floor. Continue your methodical room clearing process for the reception area and any remaining rooms. Be mindful of the glass security booth, as a suspect can be inside.
Once all suspects and civilians are secured, and the “Bring Order to Chaos” objective is complete, it’s time for the final cleanup.
Final Tips for a Perfect Run
- Shout Constantly: Your voice is a tool. Spamming the “Shout” command (F key by default) can make suspects surrender without a single shot fired.
- Use “Search and Secure”: Once the area is safe, issue the “Search and Secure” command. Your AI teammates will automatically find and bag all remaining evidence. This guarantees you don’t miss a weapon hidden in a dark corner.
- Be Patient: An S Rank is a test of discipline, not speed. Move slowly, check your corners, and trust the strategy. Let the mission end on its own to ensure you have met all the requirements.
Thanks for keeping up with Game.Dazepuzzle.com