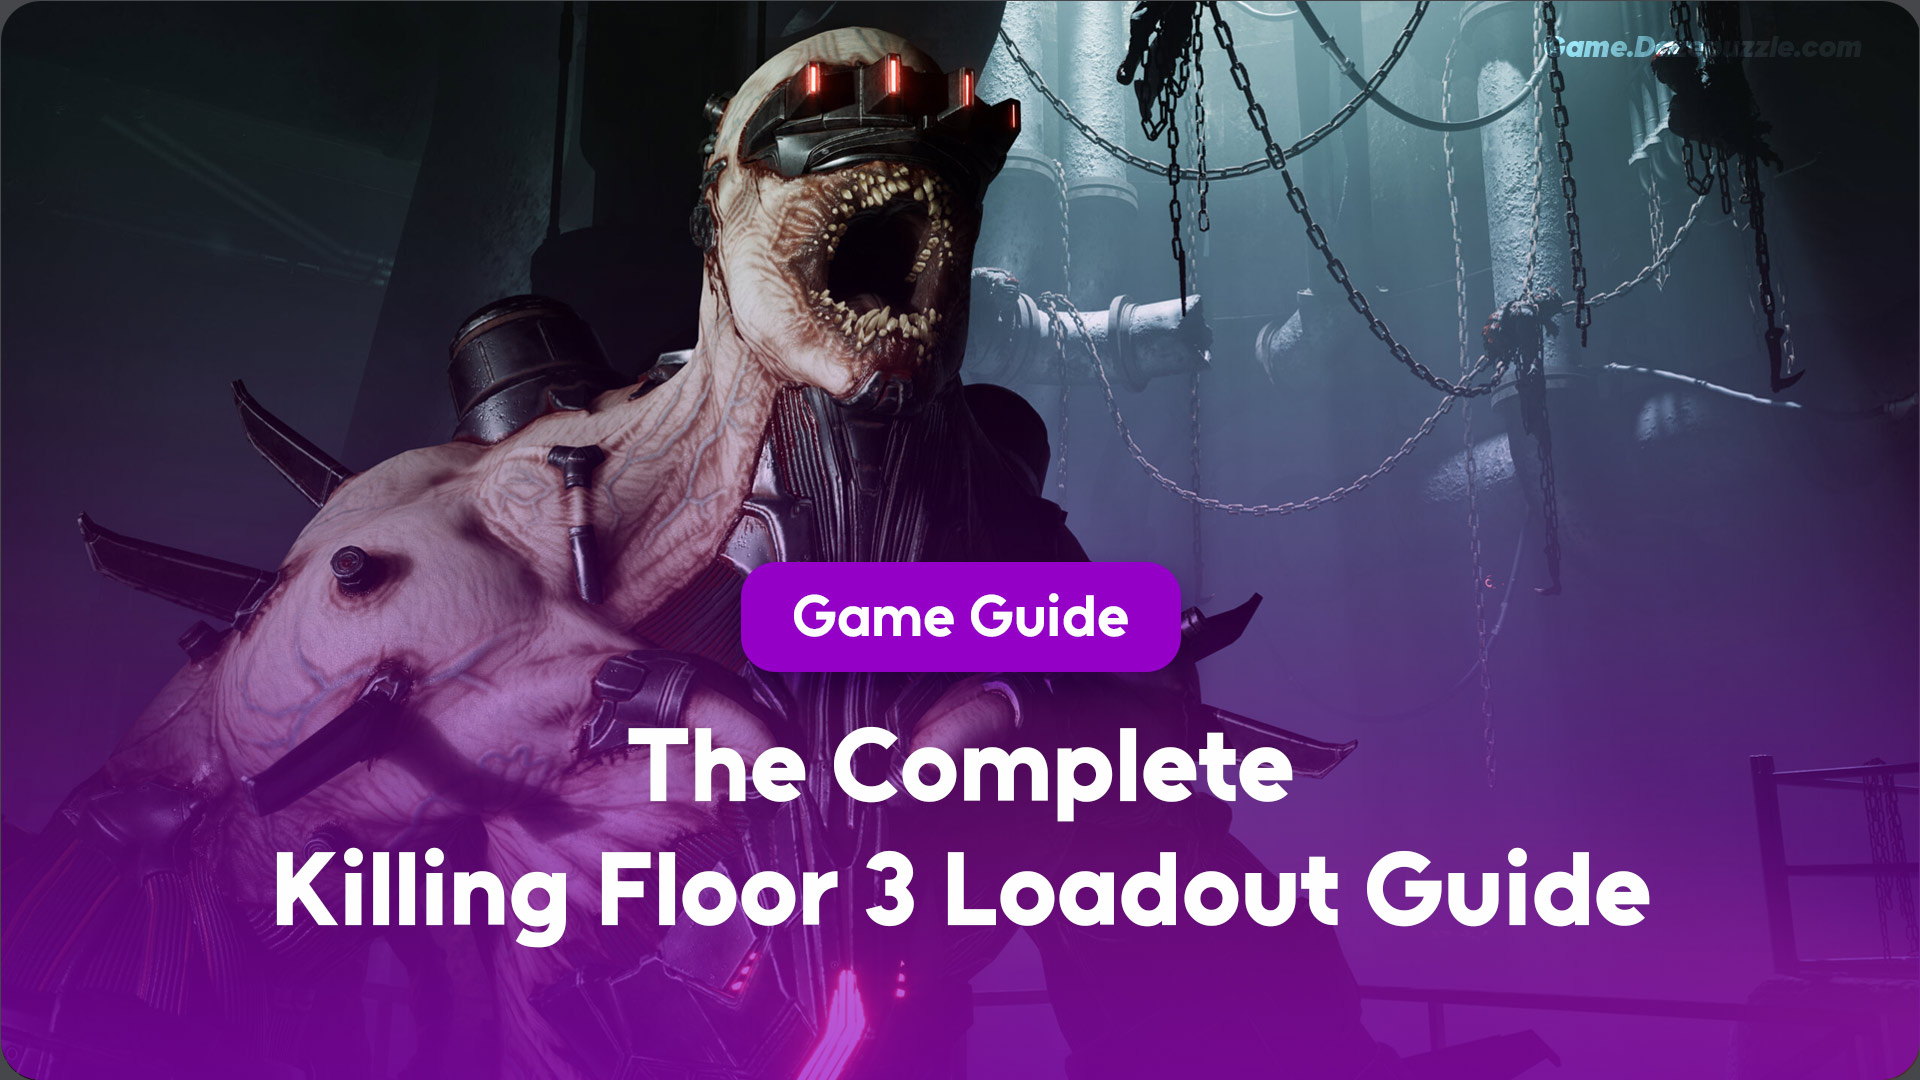
Welcome to the year 2091. The Zed apocalypse is in full swing, and survival isn’t just about quick reflexes anymore. If you’ve jumped into Killing Floor 3 thinking your old strategies will work, you’re in for a rude awakening. Power in this new world doesn’t come from your Specialist level alone; it comes from your build. The gear you carry, the mods you craft, and the way they all work together is what separates a dead Specialist from a legendary one. This isn’t just a list of guns; this is your complete killing floor 3 loadout guide, designed to help you craft the perfect setup to dismantle Horzine’s monstrous creations, wave after wave.
What Is in Our Complete Killing Floor 3 Loadout Guide
The Core of Your Build: Understanding Specialists & Skills
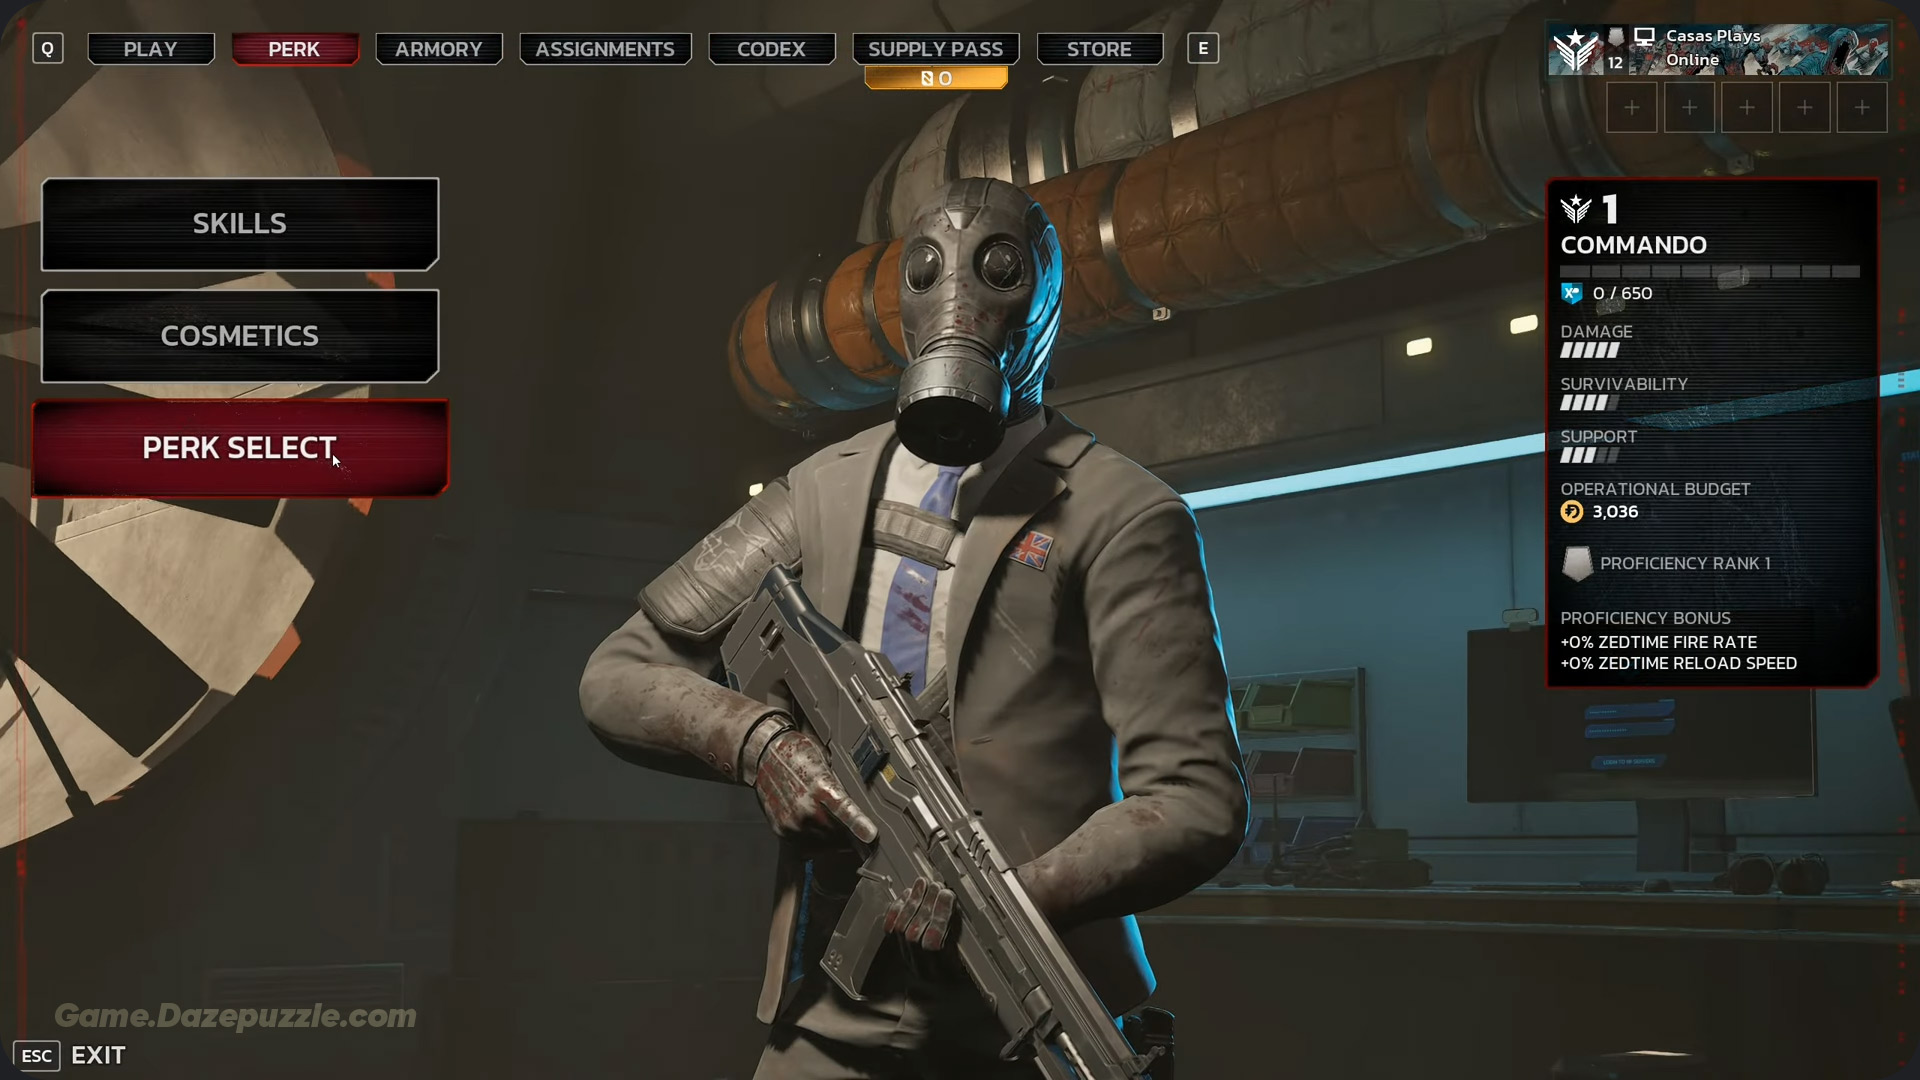
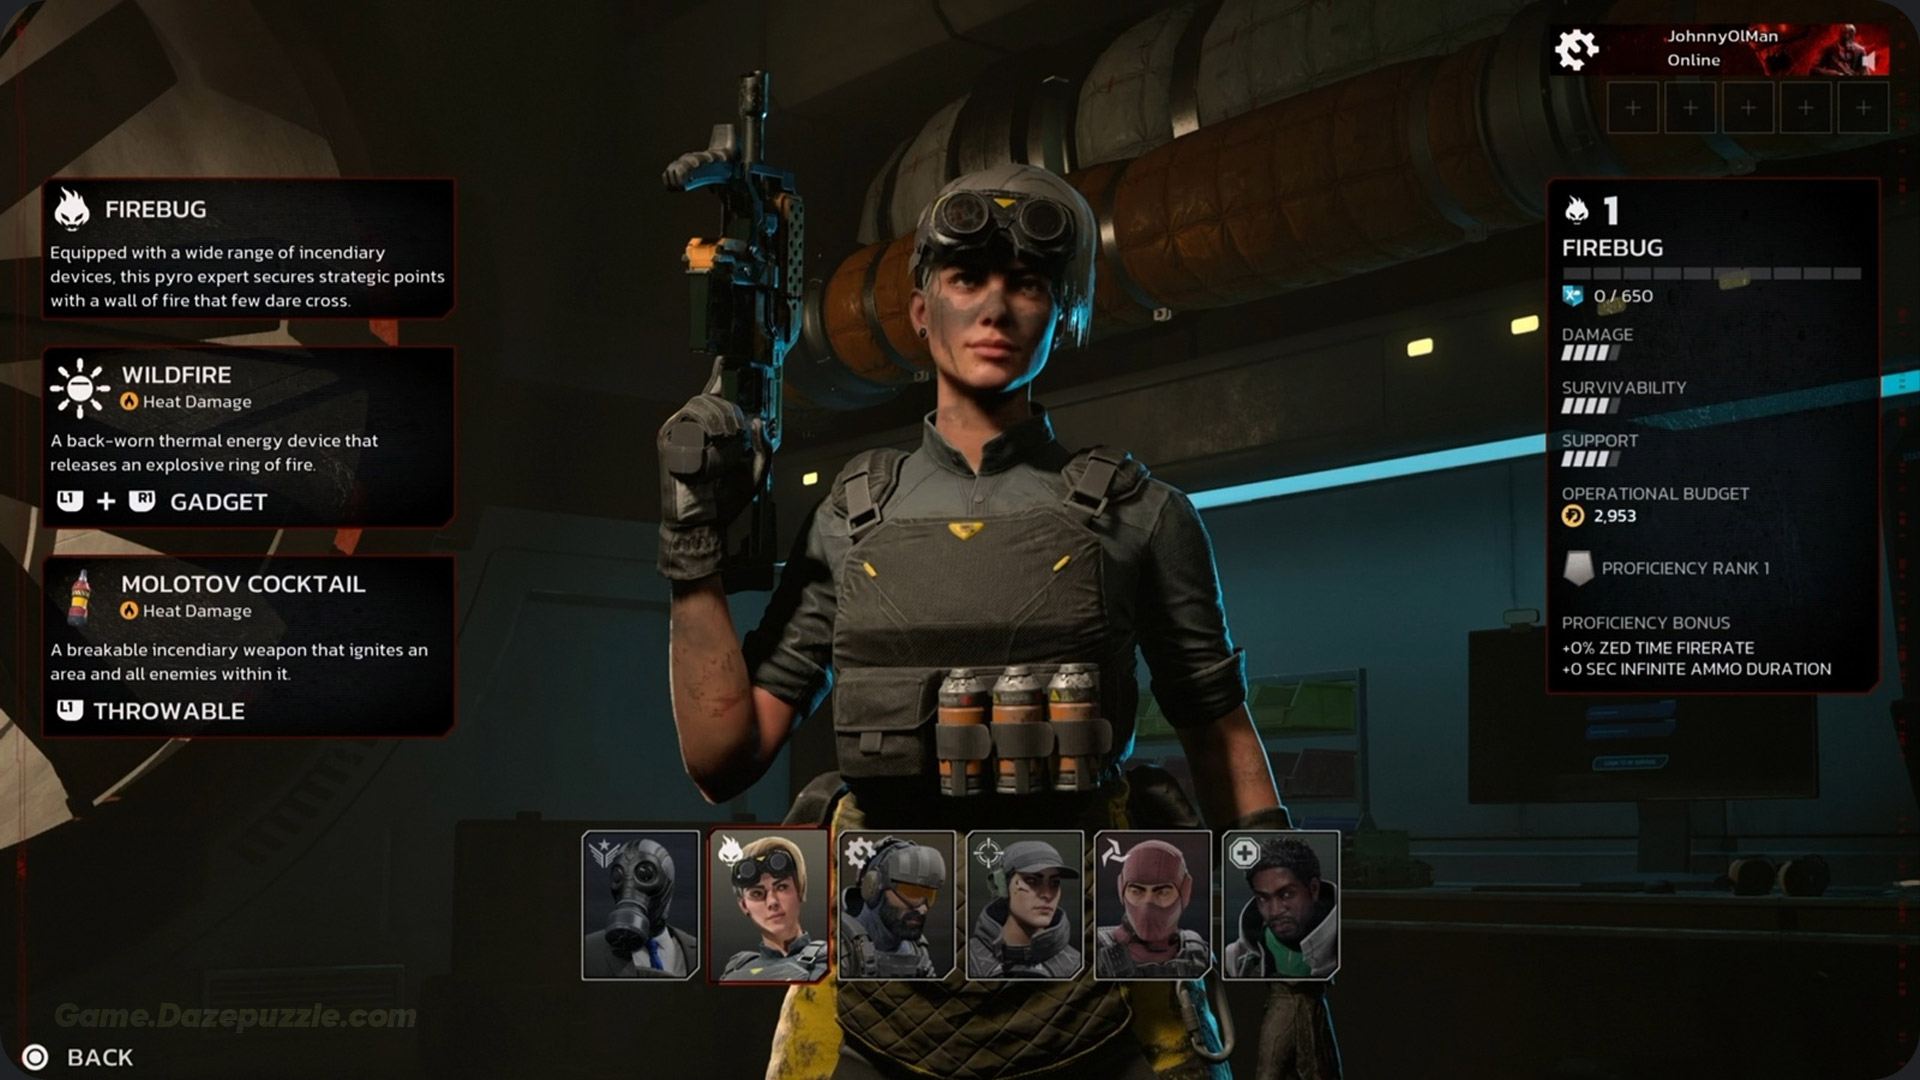
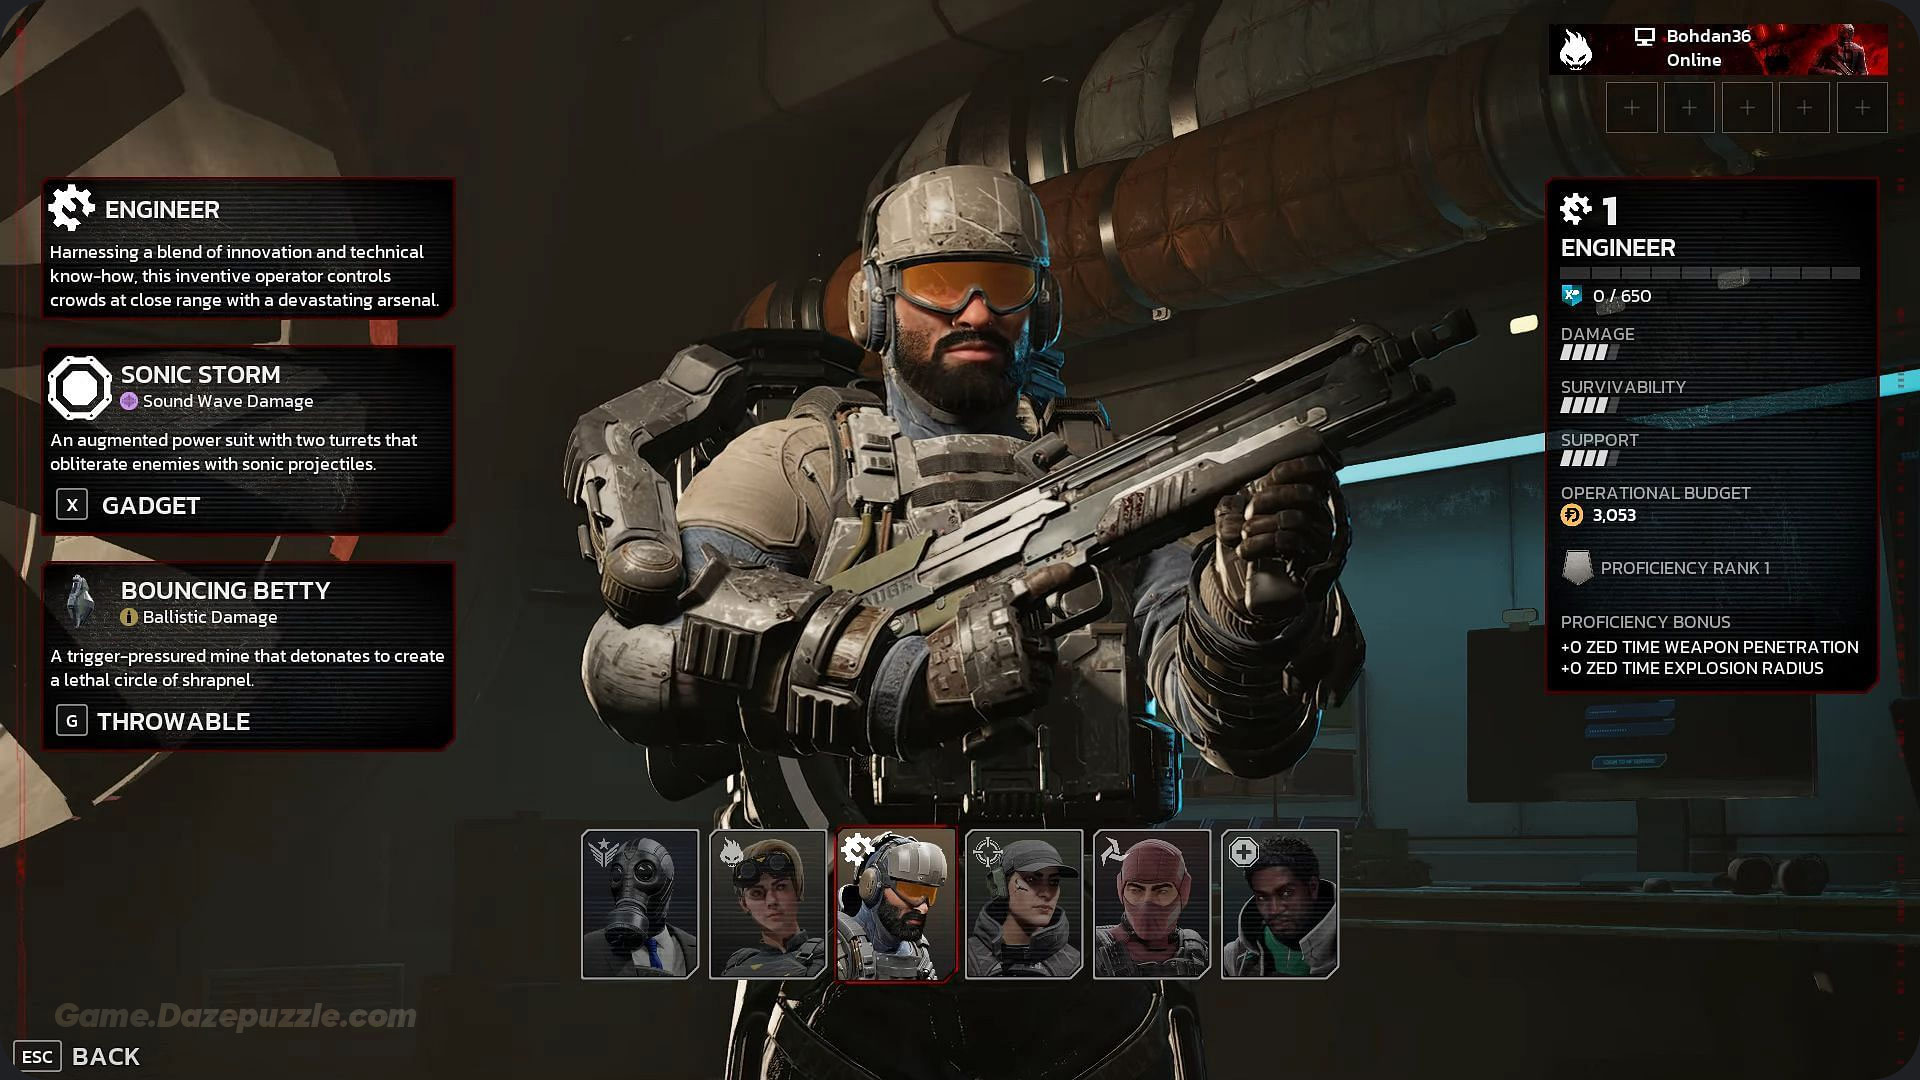
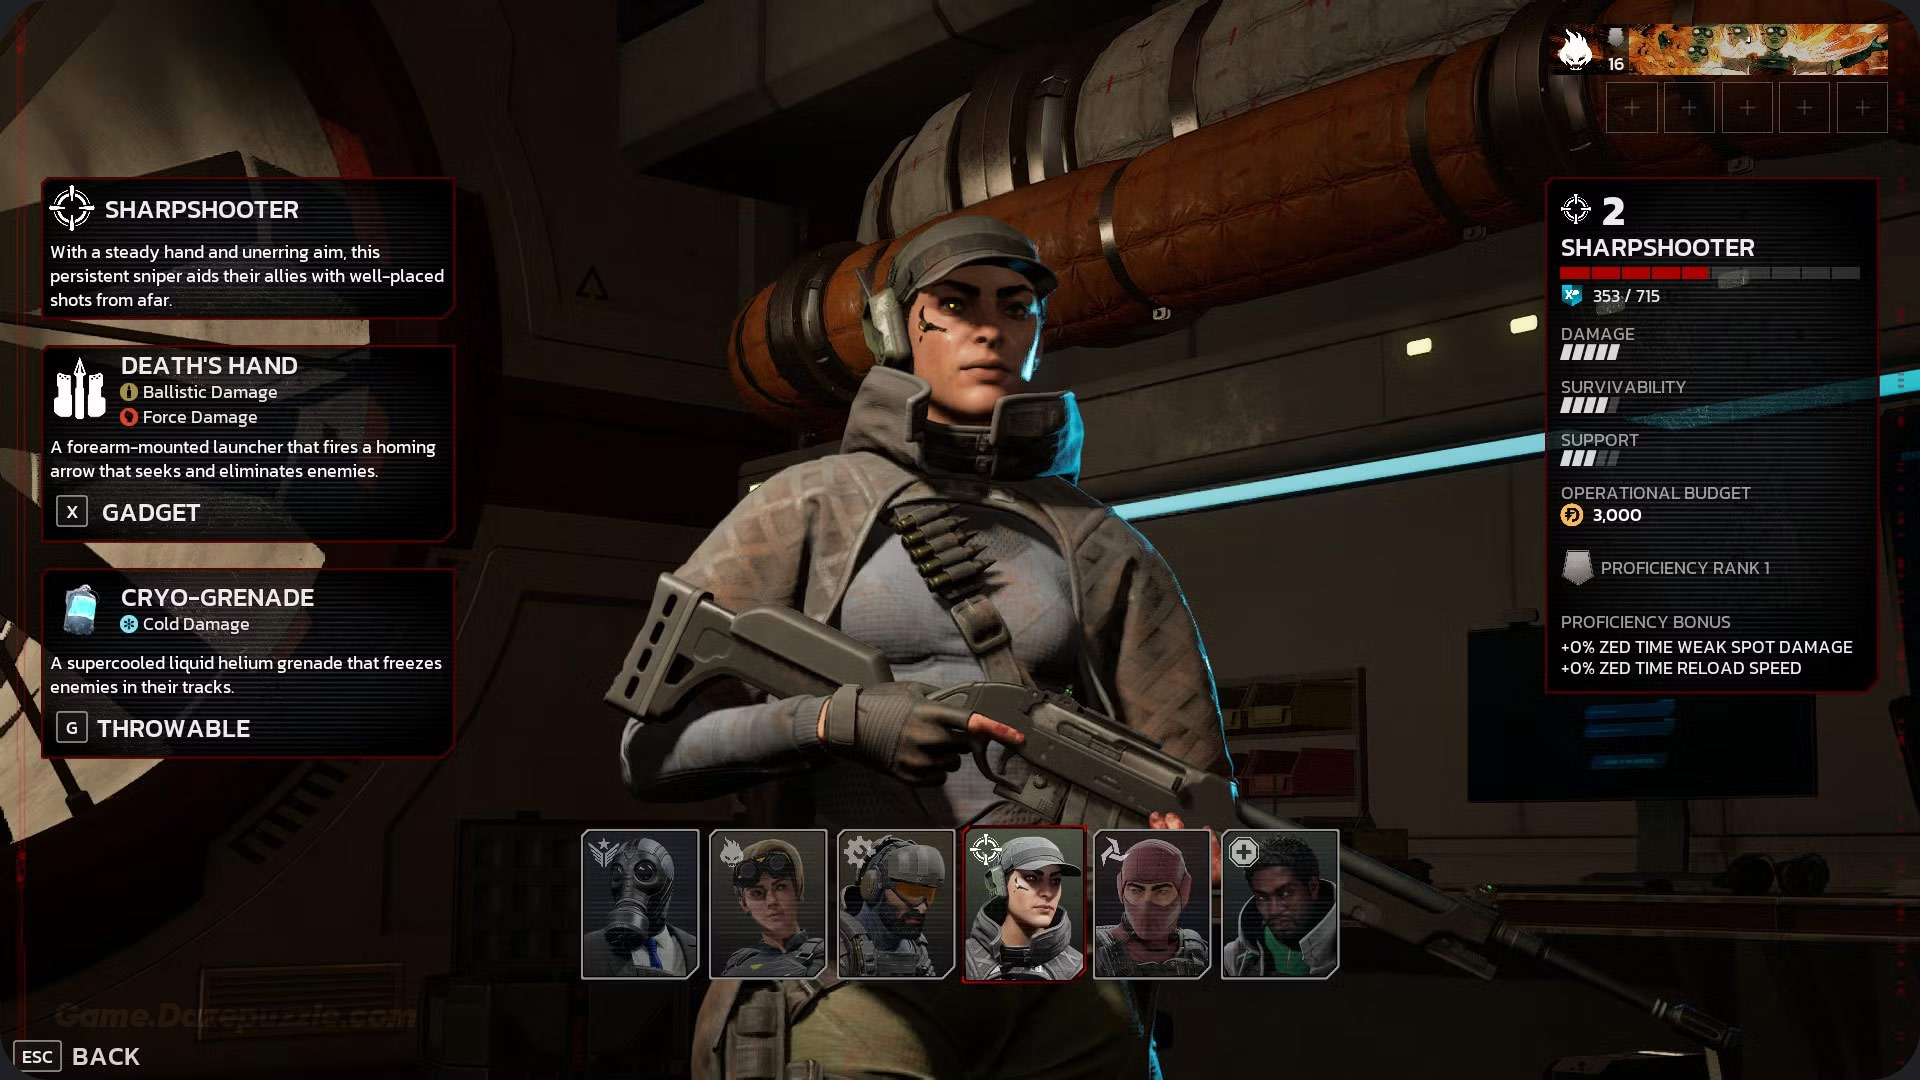
Before you even think about weapons, you need to choose your fighter. In Killing Floor 3, your Specialist (or Perk) is tied to a specific character, making team roles easier to identify at a glance. Each of the six launch Specialists has a unique skill tree and a game changing gadget. Your first step is picking the role that fits your playstyle.
Commando: The backbone of any squad. Commandos are masters of assault rifles, responsible for mowing down the hordes of common and medium Zeds. Their job is to control the crowd so everyone else can focus on their own roles.
Firebug: If you like watching the world burn, this is your Specialist. Firebugs excel at area denial, using flame based weapons to block off paths and incinerate large groups of Zeds, turning the battlefield into a fiery death trap.
Engineer: The close quarters powerhouse. Armed with heavy hitting shotguns, the Engineer breaks through enemy lines and provides crucial team support. Their unique gadget can stun even the biggest Zeds, creating openings for the whole team.
Sharpshooter: The big game hunter. Sharpshooters are precision killers who operate from a distance, tasked with taking down high priority targets like the Fleshpound and Scrake before they can wreck your team.
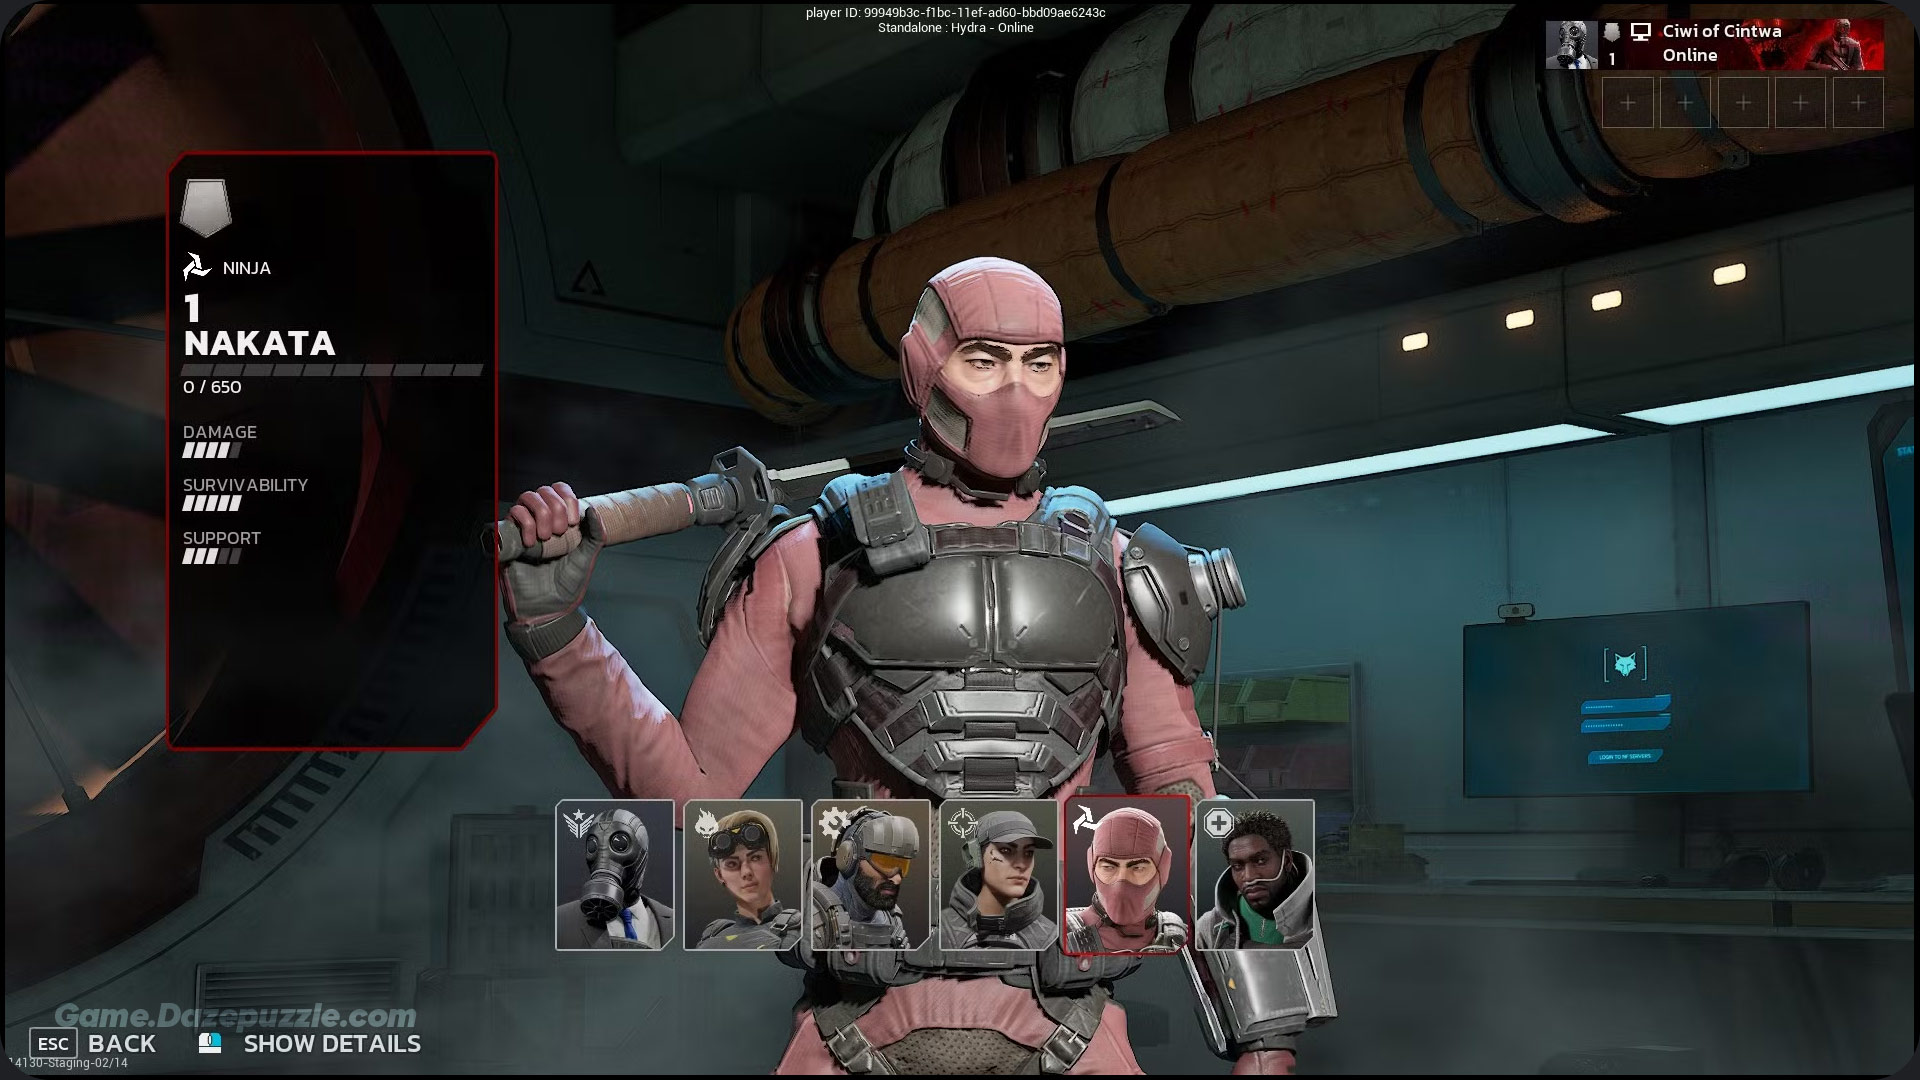
Ninja: For those who prefer getting up close and personal. The Ninja is a high mobility melee expert, weaving through combat with deadly blades to slice Zeds to ribbons. They are masters of hit and run tactics.
Medic: The team’s lifeline. A good Medic is the difference between victory and a wipe. They keep the team alive with healing darts and provide buffs that are essential for surviving the tougher waves.

The Armory: Forging Power Through Weapon Customization
Here is where Killing Floor 3 truly shines and sets itself apart. Your real power comes from the Armory, where you can craft and install powerful mods onto your weapons. These mods don’t just tweak stats; they can fundamentally change how a weapon functions, adding new damage types or abilities. To do this, you need crafting materials.

How to Farm Crafting Materials Effectively
Knowing what to kill and what to break is crucial for upgrading your gear efficiently. Focus your fire on these sources to get the materials you need for your god roll weapon.
| Material | Primary Use | Best Farming Source |
|---|---|---|
| Ichor | All Tier 3 mod upgrades | Bosses (Chimera, Impaler, Queen Crawler) |
| Zed Tech | All Tier 2 mod upgrades | Scrake and Fleshpound |
| Scrap Metal | Crafting parts like Receivers | Clots, security cameras, speakers |
| Bio Sample | Crafting parts like Mags & Grips | Gorefast, Husk, kiosks |
| Bio Steel | Crafting parts like Barrels & Blades | Gorefast, Husk, Siren, kiosks |
| Chemical Agent | Crafting Ammo types & Coatings | Cyst, Clot, Crawler |
| Electrical Parts | Crafting electronic parts like Sights | Clot, security cameras, power panels |
| Gray Matter | Crafting Ammo, Grips, & Mags | Bloat, Husk, Siren |
A key thing to remember is the random bonus you get when upgrading a mod to Tier 3. This is the “grind” of the game rerolling your mods until you get that perfect bonus, like “+5% damage to bosses,” which can make a massive difference.
The Best Loadout Builds for Every Specialist
Now for the main event. Here are the top tier, endgame loadout builds for each Specialist. Think of these as your ultimate goal. This is what you should be spending your hard earned materials on.
Commando: The Ultimate Trash Clearer Build (SCAR EIR)
The SCAR EIR is a versatile and accurate assault rifle that becomes an absolute monster with the right mods.
| Slot | Recommended Mod | Justification |
|---|---|---|
| Ammunition | Armor Piercing Rounds | Boosts damage, penetration, and stumble power. |
| Barrel | Muzzle Brake | Reduces recoil to stay on target. |
| Underbarrel | Laser Sight | Tightens your hip fire and aimed accuracy. |
| Sight | Reflex Sight | Massively improves handling, accuracy, and crit damage. |
| Magazine | Lightweight Mag | Faster reloads mean less downtime and more shooting. |
| Internal | Fast Action Receiver | Increases fire rate to maximize your DPS. |
Firebug: The Supreme Area Denial Build (Incinerator M7)
This loadout turns the flamethrower into the ultimate tool for controlling the battlefield.
| Slot | Recommended Mod | Justification |
|---|---|---|
| Ammunition | Tar Fuel | Increases the duration and radius of ground fire. |
| Barrel | Focused Nozzle | Increases the effective range of your flames. |
| Underbarrel | Incendiary Launcher | Adds a grenade launcher for dealing with big Zeds. |
| Magazine | Condensed Fuel Tank | Faster reloads and better weapon handling. |
| Internal | Slowed Tick Receiver | Increases the damage over time effect of your fire. |
Engineer: The Zed Breaker Build (G33 Grenade Launcher)
Turn this grenade launcher into a crowd controlling, mass destruction weapon.
| Slot | Recommended Mod | Justification |
|---|---|---|
| Ammunition | Enfeebling Smoke Grenades | Creates clouds that weaken and damage Zeds over time. |
| Barrel | Extended Barrel | Increases projectile speed and accuracy. |
| Sight | Red Dot Sight | Improves accuracy and reduces recoil. |
| Magazine | Three Round Cylinder | Drastically improves reload speed and weapon control. |
| Internal | Aluminum Alloy Receiver | Significantly increases your rate of fire. |
Sharpshooter: The Big Zed Hunter Build (ESR 36 Rifle)
This build makes the semi auto ESR 36 the perfect tool for popping heads on priority targets.
| Slot | Recommended Mod | Justification |
|---|---|---|
| Ammunition | Armor Piercing Rounds | Essential for punching through the armor of big Zeds. |
| Barrel | Compensator | Massively reduces recoil for rapid follow up shots. |
| Underbarrel | Enhanced Foregrip | Further improves accuracy and recoil control. |
| Sight | Sniper Scope | A must have for precision shots and crit damage. |
| Magazine | Lightweight Mag | Faster reloads to keep the pressure on. |
| Internal | Precision Receiver | Increases fire rate while further reducing recoil. |
Ninja: The Swift Death Build (Kunai)
This turns your throwing knives into a versatile tool for stunning, bleeding, and killing.
| Slot | Recommended Mod | Justification |
|---|---|---|
| Coating | Stunning Coating | Adds a stun effect to your attacks, perfect for control. |
| Grip | Smooth Grip | Increases projectile speed, accuracy, and thrown damage. |
| Blade | Lightweight Blade | Increases attack speed and adds a bleed effect. |
| Pommel | Whistler Pommel Ring | Further boosts projectile speed, accuracy, and penetration. |
| Quiver | Expanded Ammo Pouch | More knives mean more throwing without needing a restock. |
Medic: The Combat Healer Build (LF-85)
This energy weapon allows you to deal solid damage while charging your healing darts, making you a true combat support.
| Slot | Recommended Mod | Justification |
|---|---|---|
| Ammunition | Efficient Battery Formulation | Improves accuracy and ammo efficiency. |
| Barrel | Penetrating Barrel | Lets your shots hit multiple Zeds at once. |
| Underbarrel | Enhanced Foregrip | Improves accuracy and reduces recoil. |
| Sight | Reflex Sight | Further boosts accuracy, handling, and recoil control. |
| Magazine | Primary Battery Booster | Larger magazine to deal more damage and charge heals faster. |
| Internal | Overlocked Receiver | Increases both your fire rate and damage output. |
Dosh, Tools, and Team Play: Mastering In-Game Resources
A great loadout is useless if you can’t manage your resources in a match. Always aim for headshots to maximize your Dosh income. Spend wisely between waves on armor and ammo.
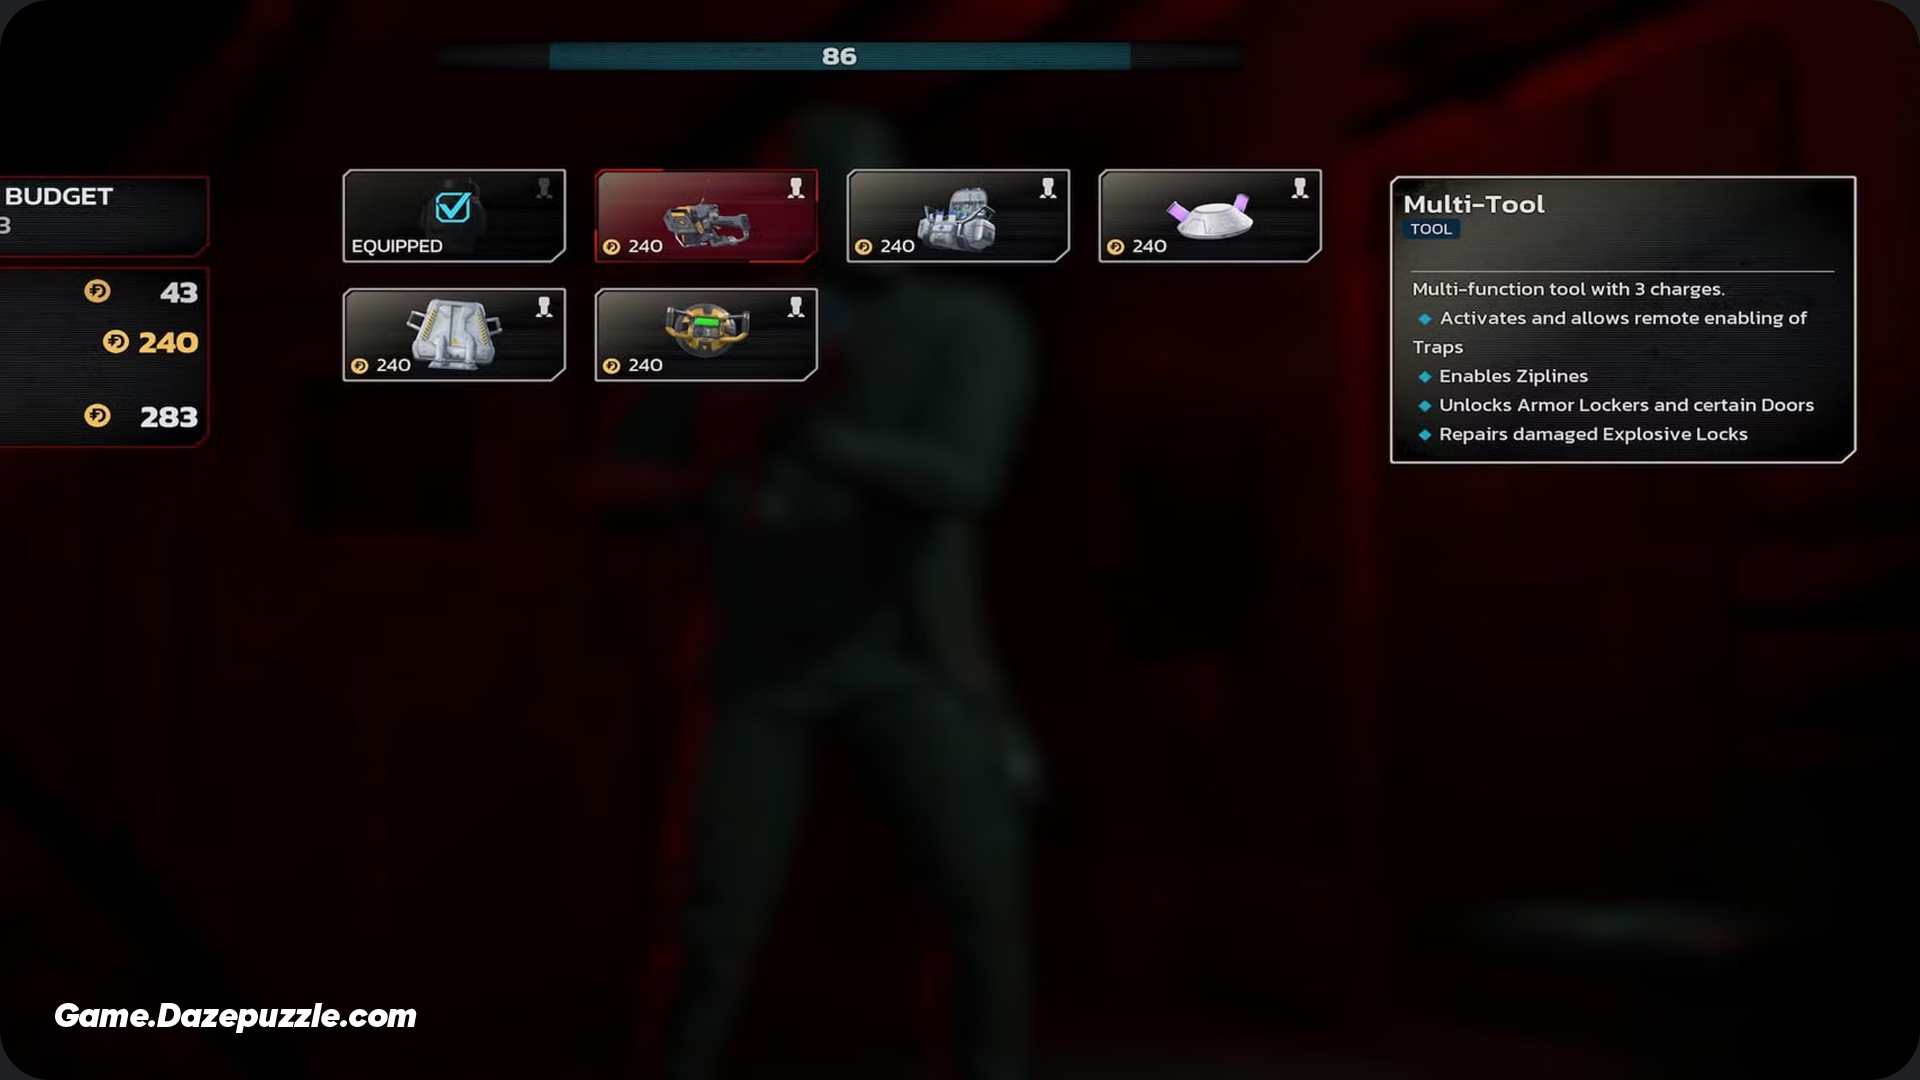
Your choice of Tool is also a critical part of your loadout. The Multi tool is often the best choice, as it allows you to activate defensive turrets and ziplines, but coordinating with your team is key. If two people have a Multi tool, a third should bring an Ammo Bag or Syringe Bag to diversify the team’s utility.
Squad Synergy: Building an Unstoppable Team
Finally, remember that Killing Floor 3 is a team game. A single powerful player cannot carry a team on higher difficulties. A balanced squad is essential. You generally want a mix of roles to handle any situation the game throws at you.
| Composition Name | Perk 1 | Perk 2 | Perk 3 | Strategy |
|---|---|---|---|---|
| The Balanced Trio | Commando | Sharpshooter | Medic | The classic, effective composition. Covers crowd control, big Zed hunting, and survival. |
| The Fire Wall | Firebug | Engineer | Medic | Perfect for locking down tight corridors. The Firebug denies areas while the Engineer mops up anything that gets through. |
| The Glass Cannon | Sharpshooter | Ninja | Commando | Extremely high damage output but very fragile. Requires high skill and coordination to survive. |
| The Full Squad | All 6 Specialists | – | – | The ultimate composition for a 6 person team, providing an answer for every possible threat. |
Your Path to Mastery
Mastering Killing Floor 3 is a journey. It’s about finding the Specialist you love, grinding out the materials to build your perfect weapon, and learning how to work with a team to survive the endless horde. Use this guide as your roadmap. Now get out there, start crafting, and show those Zeds what a truly prepared Specialist can do.
Thanks for keeping up with Game.Dazepuzzle.com