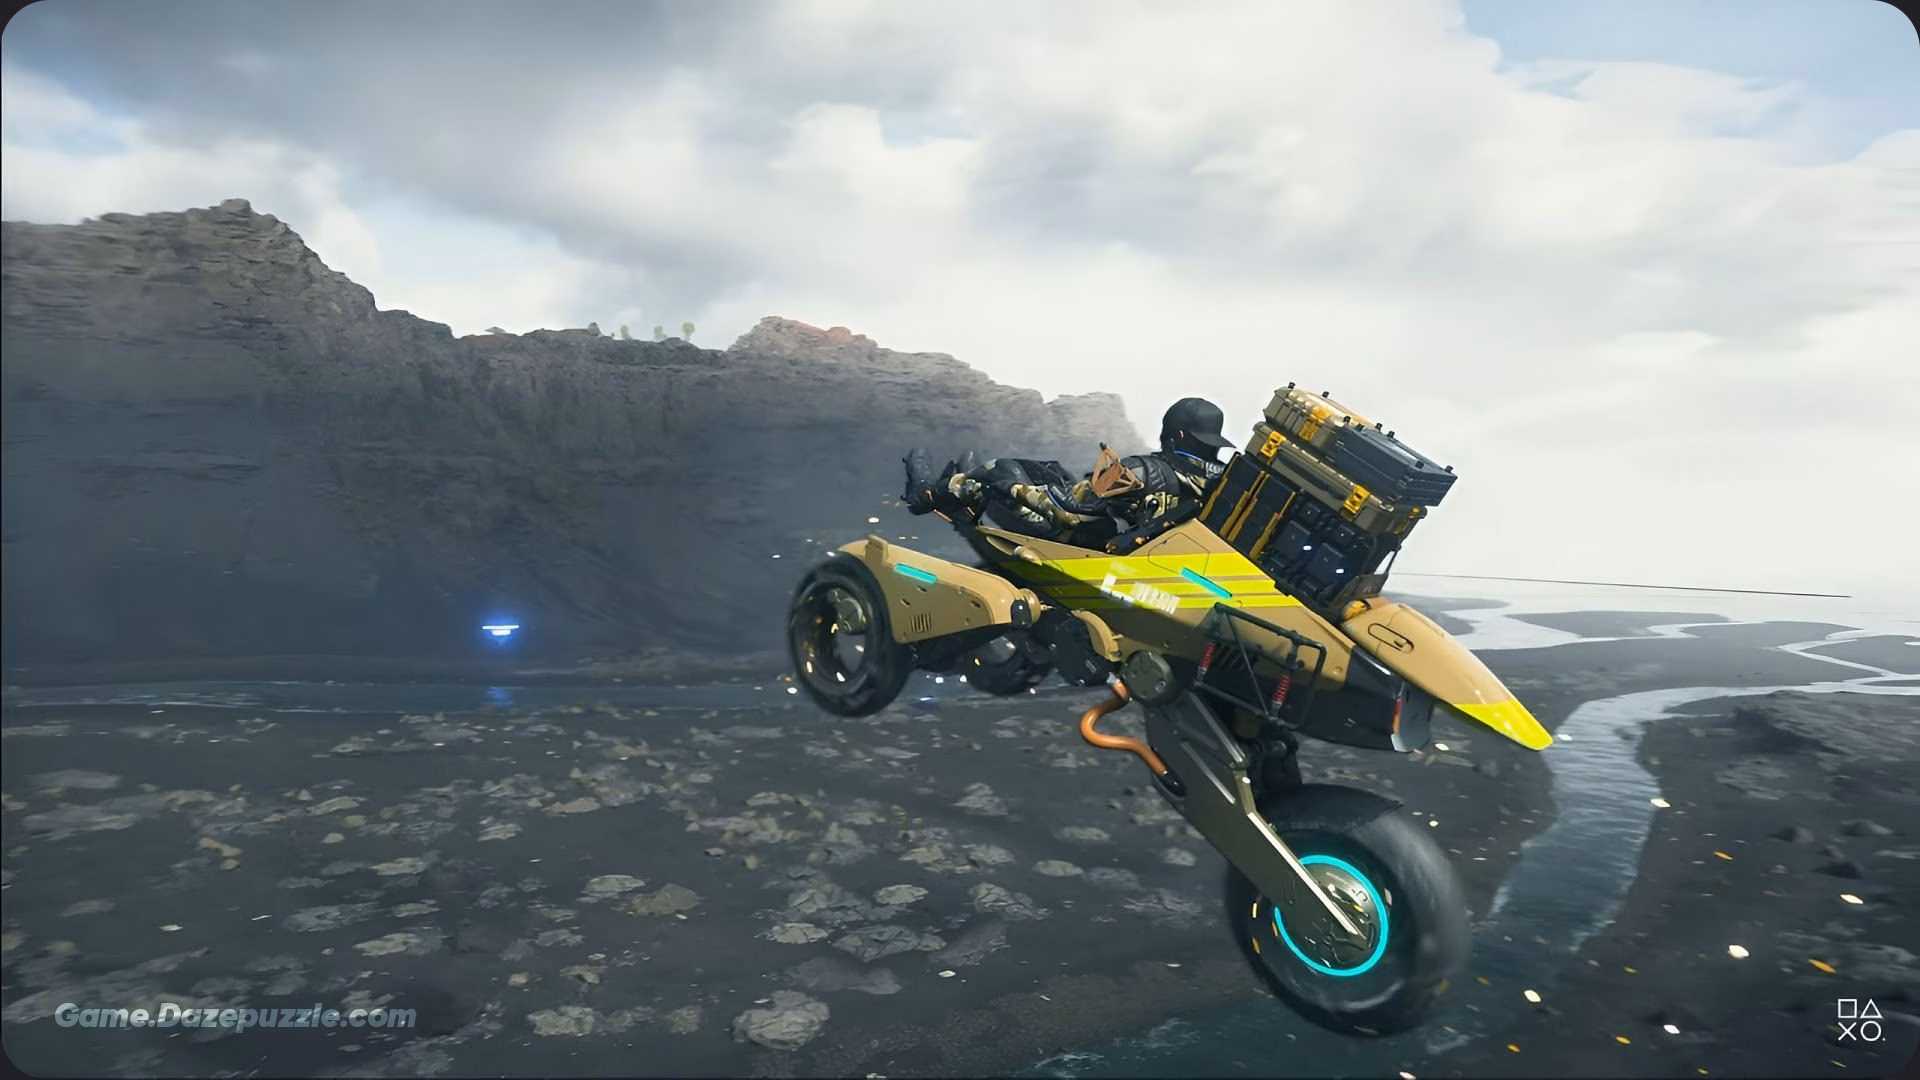
You’re hauling a towering stack of cargo through the tar soaked wilds of Death Stranding 2: On the Beach, the sun dipping low over Mexico’s jagged cliffs. Your Tri Cruiser’s humming along, eating up the miles, when bam! a timefall storm hits, and your ride starts sparking like it’s auditioning for a sci-fi flick. Or maybe you pushed that Pickup Off-Roader too hard, and now the battery’s blinking red, leaving you stranded in the middle of nowhere with a delivery deadline looming. Sound familiar, porter?
Vehicles in Death Stranding 2 are your best bud for tackling Hideo Kojima’s sprawling, otherworldly landscapes, but they’re not immune to the game’s brutal terrain or creepy BTs. That’s why knowing how to repair and recharge vehicles is your ticket to keeping those deliveries flowing and your stress levels in check. In this guide, I’m spilling all the secrets to fixing up your ride and keeping its battery juiced, with tips to make you feel like a pro porter. So, grab a Monster Energy, hop in the driver’s seat, and let’s get rolling!
What’s in our How to Repair and Recharge Vehicles Guide?
Why Vehicles Are Your Best Friend in Death Stranding 2
Let’s be real: Death Stranding 2 is a beast of a game. The world is massive, the terrain is brutal, and those delivery orders aren’t going to complete themselves. Vehicles are your lifeline for covering long distances, especially when you’re lugging heavy cargo that would break Sam’s back otherwise. Whether it’s the nimble Tri Cruiser for zipping over rocky paths or the beefy Pickup Off-Roader for hauling massive loads, these rides make your job as a porter way easier. But there’s a downside: vehicles take a beating. Timefall rain that weird, corrosive weather chips away at their durability, while crashing into rocks or dodging enemy attacks can leave your ride looking like it just went ten rounds with a BT.
If you don’t keep an eye on your vehicle’s health and battery, you’ll find yourself stranded in the middle of nowhere, forced to hoof it with a mountain of cargo. That’s not just a hassle; it can tank your delivery scores and make you question why you signed up for this gig in the first place. The good news? Repairing and recharging vehicles is straightforward once you know the tricks. Stick with me, and I’ll show you how to keep your ride in tip top shape so you can focus on connecting the world, one delivery at a time.
How to Repair Vehicles in Death Stranding 2
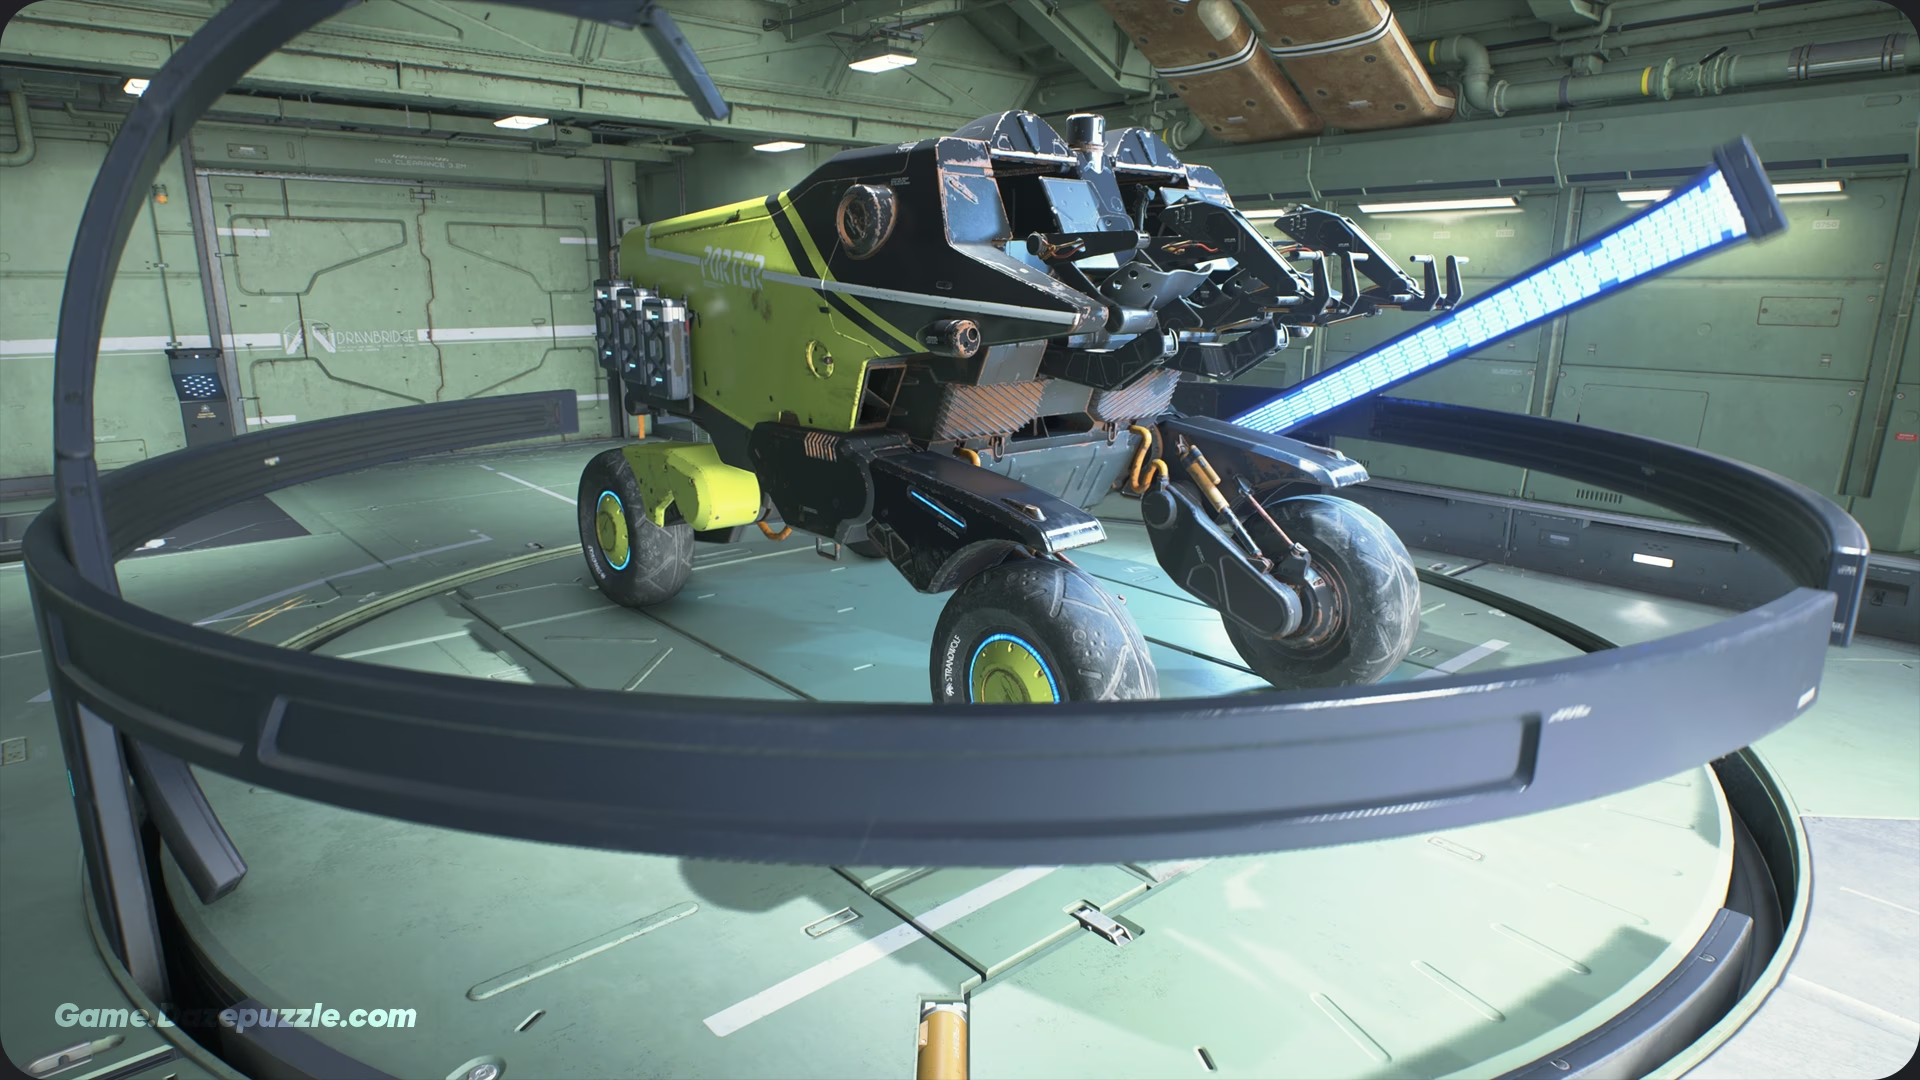
Let’s start with the big one: repairing your vehicle. When your Tri Cruiser is sparking and smoking after a rough trip through a timefall storm, you don’t want to be stuck fabricating a new one from scratch. Luckily, Death Stranding 2 makes repairs easy, as long as you know where to go. The key is to find a facility with a garage, like a major distribution center, safe house, or the DHV Magellan, your mobile airship hub that becomes a lifesaver later in the game.
To repair your vehicle, drive it to one of these locations. You’ll know you’re in the right spot when you see a big circular platform at the bottom of a ramp, often with stone obstructions that lower as you approach. Park your vehicle on that circle, hop off, and face your ride. On a PS5 controller, hold the Circle button, and Sam will kick off the repair process. A quick cutscene plays, and in a few seconds, your vehicle is back to pristine condition, no dents, no rust, and best of all, no cost. That’s right, repairs in Death Stranding 2 are completely free, so there’s no excuse to let your ride fall apart.
One thing to watch out for: this only works for vehicles you’ve crafted yourself through the Chiral Network. If you snagged a Pickup Off-Roader from a bandit camp (like the one northwest of C1 in Mexico), you’re out of luck; stolen enemy vehicles can’t be repaired. You can still use them for a bit, but once they’re banged up, you’ll need to ditch them or risk them breaking down mid delivery.
My advice? Stick to crafting your own vehicles whenever possible so you can keep them in top shape. And if you’re playing with the game’s online features turned on, you might stumble across vehicles left by other players in garages or out in the wild. These can be repaired too, as long as they’re not enemy owned.
Pro tip: if you’re on the DHV Magellan, park your vehicle in the garage and rest in your Private Room. When you wake up, your ride will be fully repaired automatically, no button holding required. It’s like sending your vehicle to a spa while you catch a nap. Just don’t leave it out in the open at a regular facility, resting won’t fix it unless it’s in the garage.
Recharging Your Vehicle’s Battery: Keep the Juice Flowing
Now, let’s talk about keeping your vehicle powered up. All vehicles in Death Stranding 2 run on electricity, and their batteries drain faster than you’d like, especially if you’re boosting speed with L3 or tackling deep water. Running out of juice in the middle of a tar pit is a nightmare, so let’s go over the best ways to recharge your vehicle’s battery and stay on the move.
Garages: The One Stop Shop
The easiest way to recharge is by visiting a garage at a major facility or the DHV Magellan. When you repair your vehicle by parking it on the circular platform and holding Circle, it doesn’t just fix the damage, it also tops off the battery to 100%. This is a no brainer if you’re already stopping to repair, so always make a pit stop at a garage when you’re passing through a settlement. It’s quick, free, and ensures your vehicle is ready for the next leg of your journey.
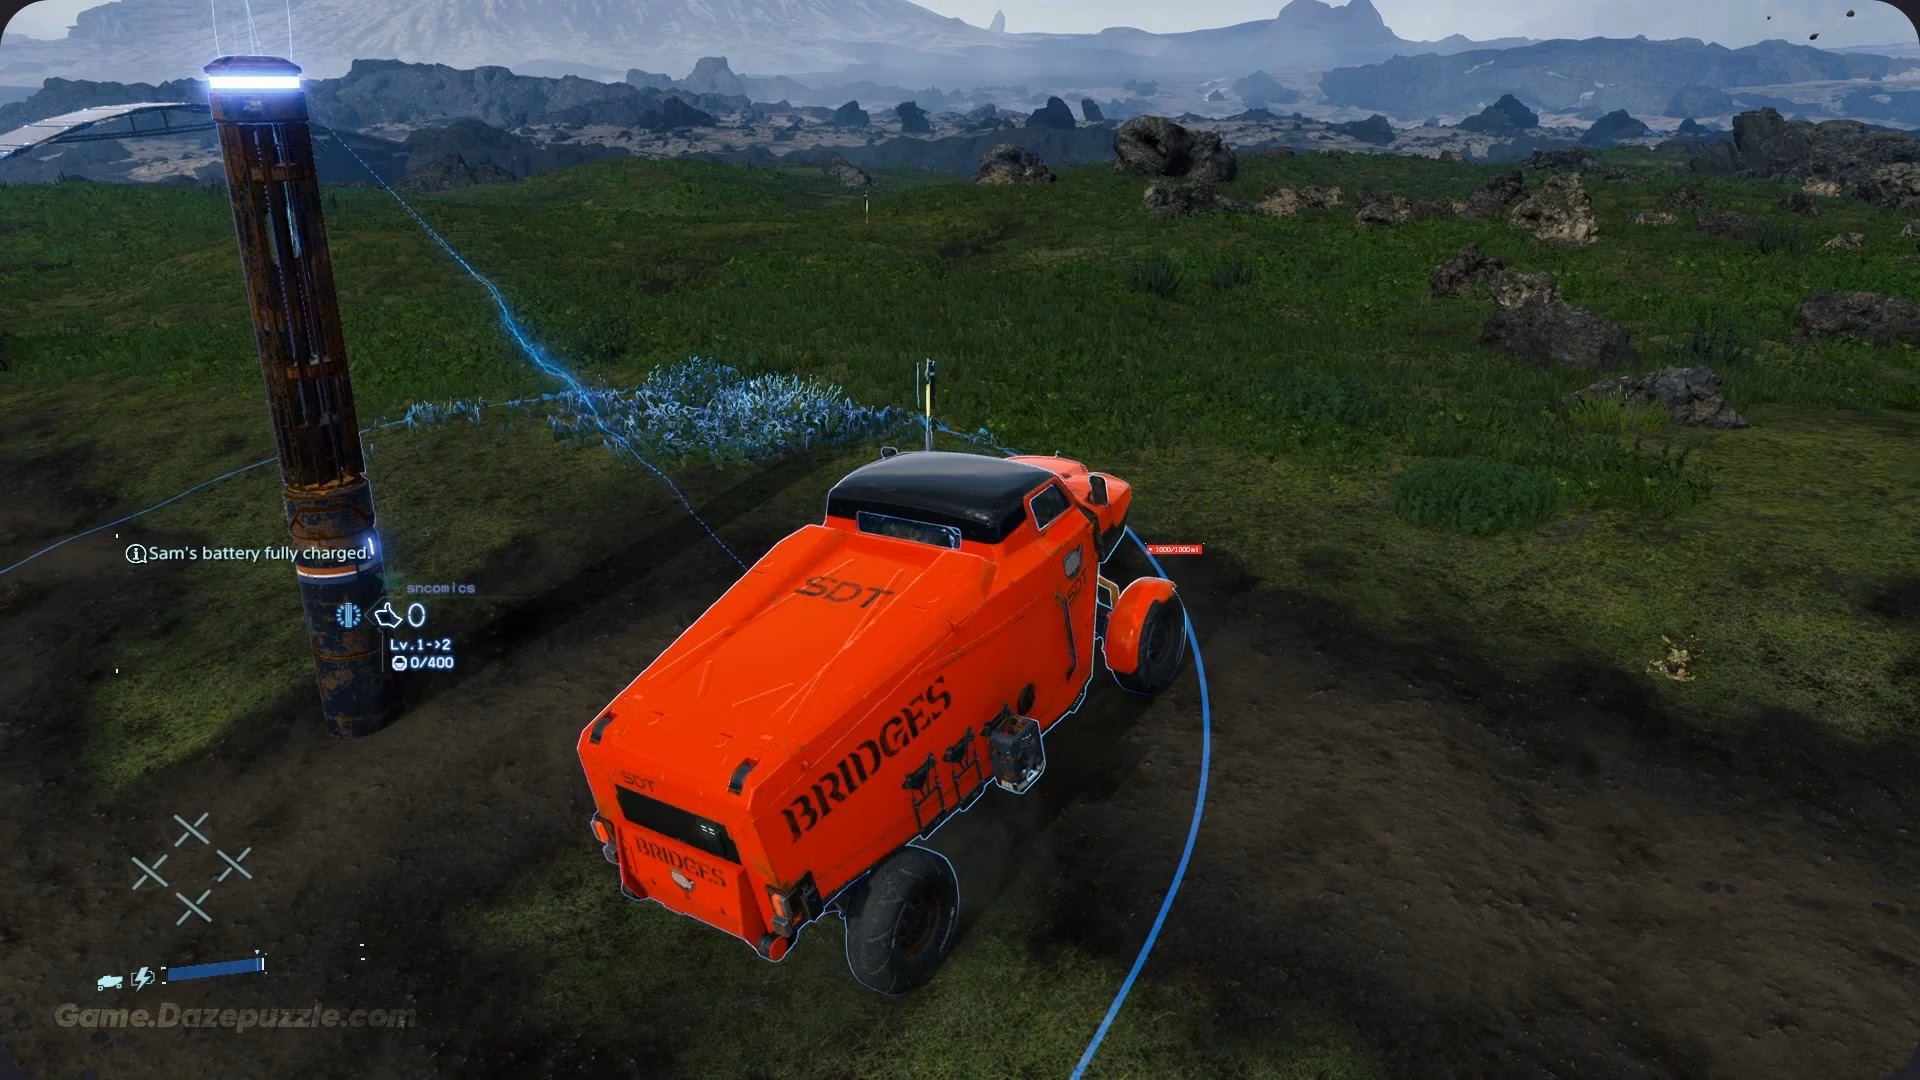
Generators: Power on the Go
What if you’re stuck in the wild, far from a garage, with a battery icon flashing in the lower left corner of your screen? That’s where generators come in. These are craftable structures you can build using a Portable Chiral Constructor (PCC) at level 1, but only in areas connected to the Chiral Network. Equip your PCC, select the generator, and place it near your vehicle. It’ll emit a power field that recharges your ride in no time. This works for both your crafted vehicles and stolen enemy ones, making it a lifesaver when you’re out in the middle of nowhere.
Here’s a tip: plan your routes and drop generators along common paths, especially near tough spots like mountain slopes or enemy camps. Other players in the shared world might leave generators too, so keep an eye out for those glowing structures, they’re free charging stations! Just don’t expect to build a generator outside the Chiral Network; you’ll need to expand the network first to unlock this option in new areas.
Solar Charging: Let the Sun Do the Work
If you’re really in a pinch and don’t have access to a garage or generator, there’s a slower but handy option: solar charging. All vehicles in Death Stranding 2 are solar powered to some extent. If you park your vehicle in direct sunlight and don’t move, it’ll gradually recharge over time. This isn’t as fast as a garage or generator, but it’s a great fallback if you’re stranded and don’t want to abandon your ride. Just make sure you’re not in a timefall zone, as the rain will damage your vehicle faster than the sun can charge it.
Energy Zones: Free Power on the Road
One of the coolest features in Death Stranding 2 is the energy zones found in settlements and on highways. When you’re driving within a settlement’s radius (marked by blue outlines and pylons), your vehicle’s battery won’t drain at all, even if you’re boosting. The same goes for roads you or other players have built, stick to the middle lane, where the “Energy Zone” signs are, and your battery stays untouched. These zones don’t recharge your vehicle, but they prevent drainage, letting you stretch your battery life on long trips. If you’re planning a big delivery, try to route through settlements or roads to save power.
Upgrades to Boost Battery Life
Want to make your vehicle last longer between charges? There are a couple of upgrades worth unlocking:
- Battery Efficiency Boost: This APAS skill, available as you advance your Porter grade, cuts vehicle power consumption by 8%. It might not sound like much, but it adds up on long treks, especially when you’re dodging obstacles or boosting speed.
- Battery Units: Reach a 2 star connection level with West Fort Knot in Episode 3, and you’ll unlock the blueprint for Battery Units. You can attach up to six of these to your vehicle, significantly increasing its charge capacity. It’s like adding extra gas tanks to your car, perfect for cross continental deliveries.
These upgrades take some effort to unlock, but they’re game changers for keeping your vehicle powered up longer. Check your Porter grade and connection levels regularly to see what’s available.
If you are new to this game, you probobly need to read our Death Stranding 2 Beginner’s Guide
Tips for Keeping Your Vehicle in Top Shape
Now that you know how to repair and recharge vehicles, let’s talk about how to avoid needing to do it all the time. Prevention is the best medicine, right? Here are some practical tips to keep your ride running smoothly and avoid those heart stopping moments when your vehicle dies mid delivery.
First, always prioritize crafting your own vehicles over using stolen ones. Crafted vehicles can be repaired and stored in garages, which makes them way more reliable. You’ll unlock the Tri Cruiser after completing Order 006 in Episode 1 (defeating the Giant BT in Mexico) and the Pickup Off-Roader after Order 013. Head to a facility’s delivery terminal, select “Fabricate Vehicles” under the Garage menu, and build your ride. It costs some materials, but it’s worth it for the peace of mind. Plus, crafted vehicles can be stored and repaired, unlike those you snag from bandit camps.
When driving, try to stick to flat terrain or paved roads whenever possible. Rough ground, deep water, and steep slopes drain your battery faster and can damage your vehicle if you crash. If you’re in a timefall storm, get out of there quick; those otherworldly raindrops eat away at your vehicle’s durability like nobody’s business. And if you’re near enemies like Ghost Mechs or Survivalists, don’t try to be a hero. Their attacks can wreck your ride, and stolen vehicles won’t survive long without repair options.
Another tip: keep an eye on your battery meter in the lower left corner of the screen while driving. If it’s getting low, reroute to a settlement or road with an energy zone to pause the drain. And don’t be afraid to use that speed boost sparingly, pressing L3 to zip across the map is tempting, but it guzzles power. Plan your routes to hit garages or generators before you’re running on fumes.
If you’re playing with online features enabled, take advantage of the shared world system. Other players might leave vehicles or generators in the wild, which can save you in a pinch. Just don’t rely on them too much, those abandoned rides might not always be there when you need them, and they could be damaged. Check garages at distribution centers for player left vehicles, as these can often be repaired and used like your own.
Finally, invest in those APAS skills and Battery Units as soon as you can. The Battery Efficiency Boost and extra battery capacity make a huge difference, especially for long deliveries across Australia’s massive map. You’ll thank yourself when you’re cruising through a tar pit with power to spare.
Common Mistakes to Avoid When Managing Vehicles
Even seasoned porters can mess up when it comes to vehicles, so let’s go over some rookie mistakes to steer clear of. First, don’t ignore your vehicle’s condition. If it’s sparking or smoking, it’s on its last legs, and one bad crash could destroy it, damaging your cargo and leaving you stranded. Make a habit of stopping at garages regularly, even if your vehicle doesn’t look that bad yet. It’s free, so why risk it?
Another big no no is relying too heavily on stolen vehicles. Sure, that Pickup Off-Roader you nabbed from a bandit camp is tempting, but since you can’t repair it, it’s a ticking time bomb. Use it for short trips if you must, but get yourself a crafted vehicle ASAP for long term reliability.
Don’t burn through your battery like it’s unlimited, either. Boosting speed, crossing deep water, or climbing steep hills drains power fast. If you’re not near a garage or generator, you could end up walking the rest of the way. Always check your battery before a big delivery and plan your route to hit energy zones or charging spots. And speaking of planning, don’t venture into timefall zones or enemy heavy areas without a backup plan. A dead battery in BT territory is a recipe for disaster.
Lastly, don’t sleep on the shared world system. If you’re playing offline, you’re missing out on free vehicles and generators left by other players. Turn on online features to make your life easier, just don’t expect every abandoned vehicle to be in perfect shape.
Unlocking and Crafting Vehicles: Getting Your Ride
Before you can worry about repairs and recharging, you need a vehicle to call your own. In Death Stranding 2, vehicles aren’t handed to you right away you’ll need to progress through the story to unlock them. The first vehicle you’ll get is the Tri Cruiser, available after completing Order 006 in Episode 1. This involves defeating a Giant BT outside the Former Geophysics Research Lab in Mexico. Once that’s done, you can craft the Tri Cruiser at any facility with a garage. Just head to the delivery terminal, go to “Fabrication and Management,” select “Garage,” and choose “Fabricate Vehicles.”
The Pickup Off-Roader comes later, after completing Order 013. It’s pricier to craft but worth it for its huge cargo capacity and protection against timefall (since cargo is stored inside). If you’re early in the game and don’t have these yet, keep an eye out for vehicles left by other players in the shared world or at enemy camps, like the bandit base northwest of C1. Just remember, those can’t be repaired, so they’re temporary solutions.
Crafting vehicles costs materials like Chiral Crystals and Metals, so make sure you’re stocking up by completing deliveries and recycling cargo. Once you’ve got your own ride, store it in a garage to keep it safe and ready for repairs. This sets you up for success, letting you focus on deliveries instead of scrambling for a new vehicle.

Hit the Road with Confidence
There you have it, Porter’s a complete guide to repairing and recharging vehicles in Death Stranding 2: On the Beach. From parking at a garage for a free fix to dropping generators in the wild for a quick charge, you’ve got all the tools to keep your ride humming. Throw in some smart planning like sticking to energy zones, avoiding timefall, and unlocking those battery upgrades, and you’ll be cruising through Mexico and Australia like a pro. Vehicles are your ticket to faster, easier deliveries, so treat them right, and they’ll carry you far.
Got any tips of your own for keeping vehicles in shape? Drop them in the comments below and share the love with the porter community. Now grab your Tri Cruiser, hit the road, and keep on keepin’ on
Thanks for keeping up with Game.Dazepuzzle.com