There are missions in Ready or Not that test your aim, and then there are missions that test your soul. The raid on the Voll Health House, codenamed “Valley of the Dolls,” falls squarely into the latter category. It’s a descent into one of the darkest narrative threads in the game, set within a sprawling, multi-layered mansion that is as beautiful as it is deadly. This level has rightfully earned its reputation as a true crucible for any SWAT team, a complex tactical puzzle box filled with aggressive suspects and terrifying vertical sightlines.
This is not just another mission; it’s a final exam. While this guide will focus on the specific strategies for this map, mastering the core principles of teamwork is essential. If you’re new to co-op play, brushing up with our Full Ready or Not Multiplayer Guide first will give your team a significant advantage. This comprehensive guide for Ready or Not Valley of the Dolls is your key to passing.
Many teams have seen their operations fall apart on its pristine marble floors. But it doesn’t have to be that way. This is not just another mission; it’s a final exam. This comprehensive guide for Ready or Not Valley of the Dolls is your key to passing. We will break down the mission’s objectives, analyze the treacherous map layout, provide optimal loadouts for both lethal and S-Rank runs, and walk you through the tactical strategies needed to finally bring order to the chaos of the Voll Health House.
What Is in Our Ready or Not: Valley of the Dolls Mission Guide
Mission Briefing: The Darkness in Los Sueños
Understanding the context of this mission is the first step to succeeding in it. This operation is the grim finale to the “Digital Rot” storyline, an investigation that takes your team into the horrifying world of child exploitation networks. Your target is Amos Voll, a wealthy and depraved film director who uses his opulent mansion as a front for unspeakable crimes.
Your raid takes place during his daughter’s birthday party, a chilling backdrop for the violence and horror that unfolds. This mission is atmospherically heavy and narratively impactful, turning your tactical operation into a grim quest for justice.
Mission Objectives (Hard & Soft)
To achieve the highest rating (S-Rank), you must complete all objectives. These aren’t just tactical checkboxes; they are pieces of a narrative puzzle that reveal the full extent of Voll’s crimes.
- Hard Objectives (Mission Critical):
- Arrest Amos Voll: Your primary target. He must be taken alive. Killing him will result in failing this key objective.
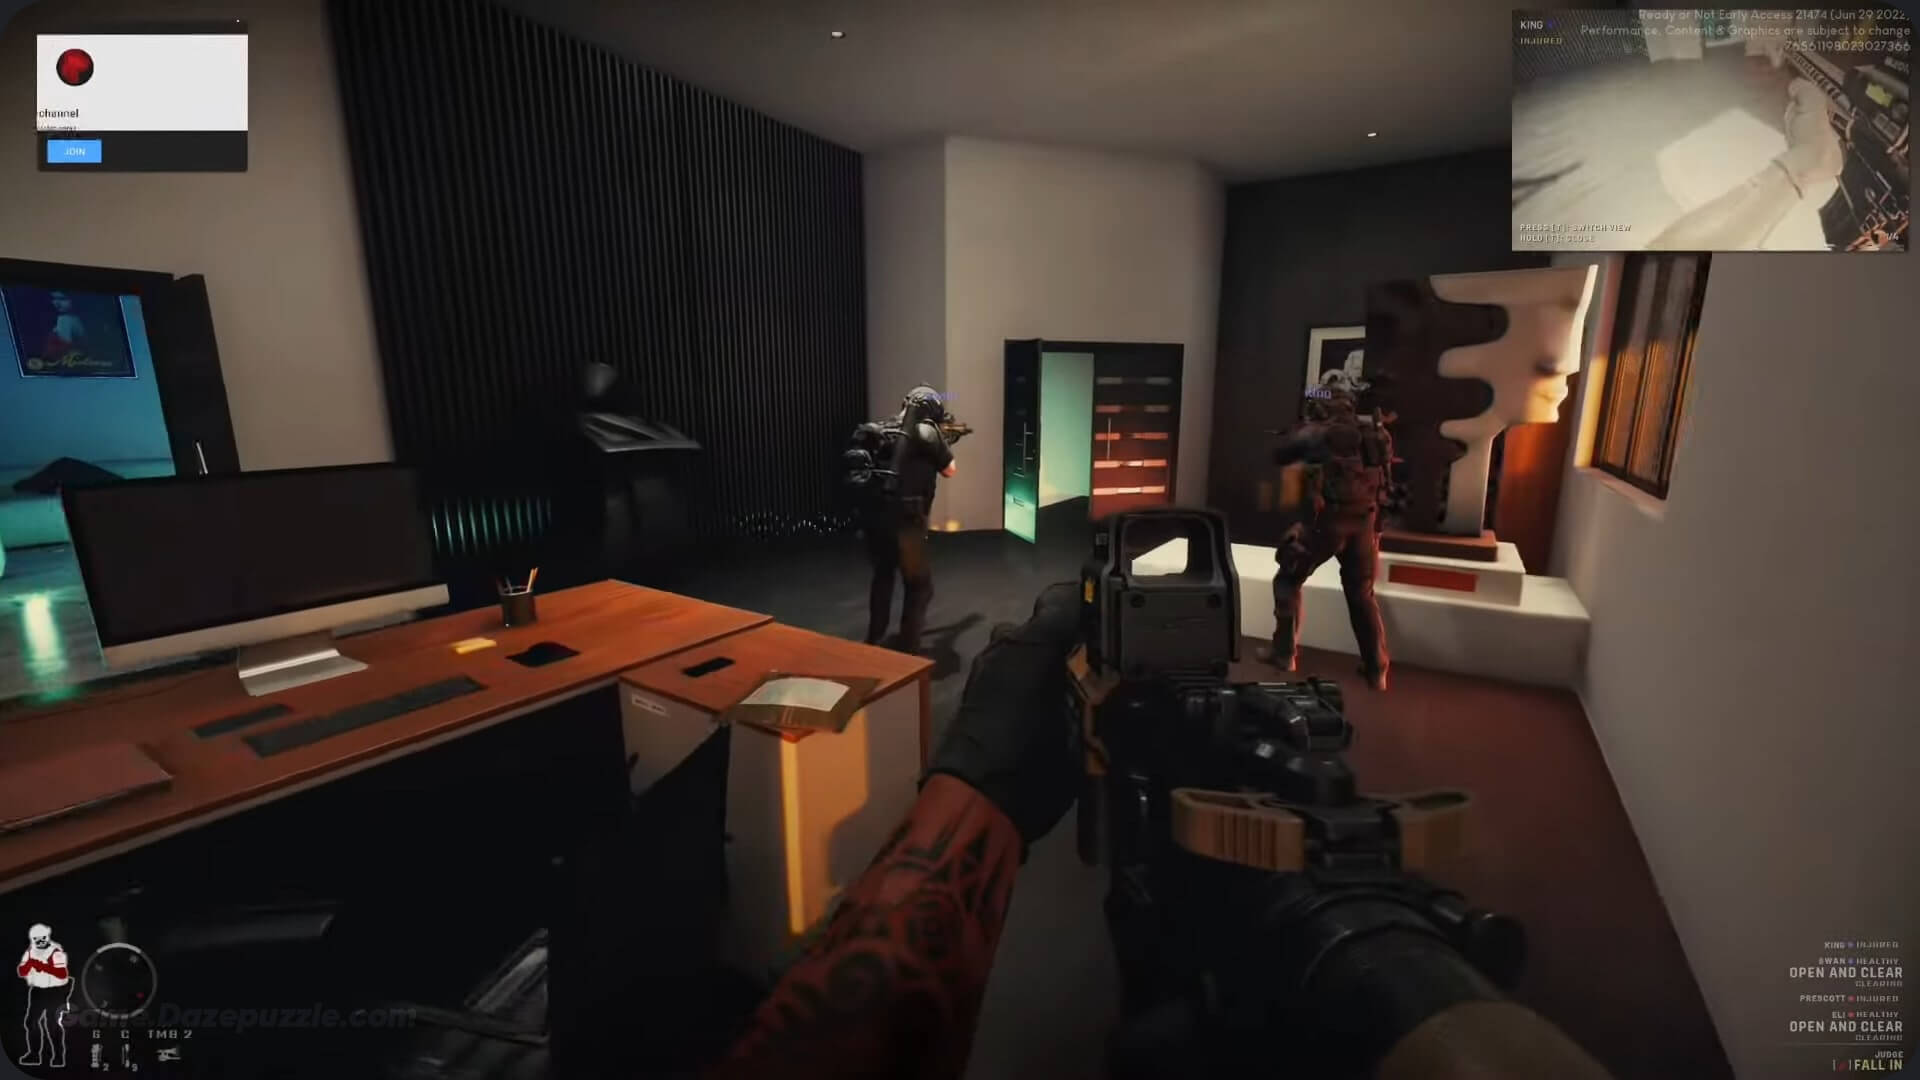
- Collect Voll’s Laptop & Hard Drives: These are crucial digital evidence, typically found in his office.
- Soft Objectives (Required for S-Rank):
- Report Pornographic CDs: In an upstairs bedroom near the mission’s starting point, you’ll find a collection of CDs that must be reported as evidence.
- Report the Photo Lab: In the basement, there is a photographic darkroom with a distinct red light. A collection of disturbing images found here must also be reported.
Voll Health House Map Analysis
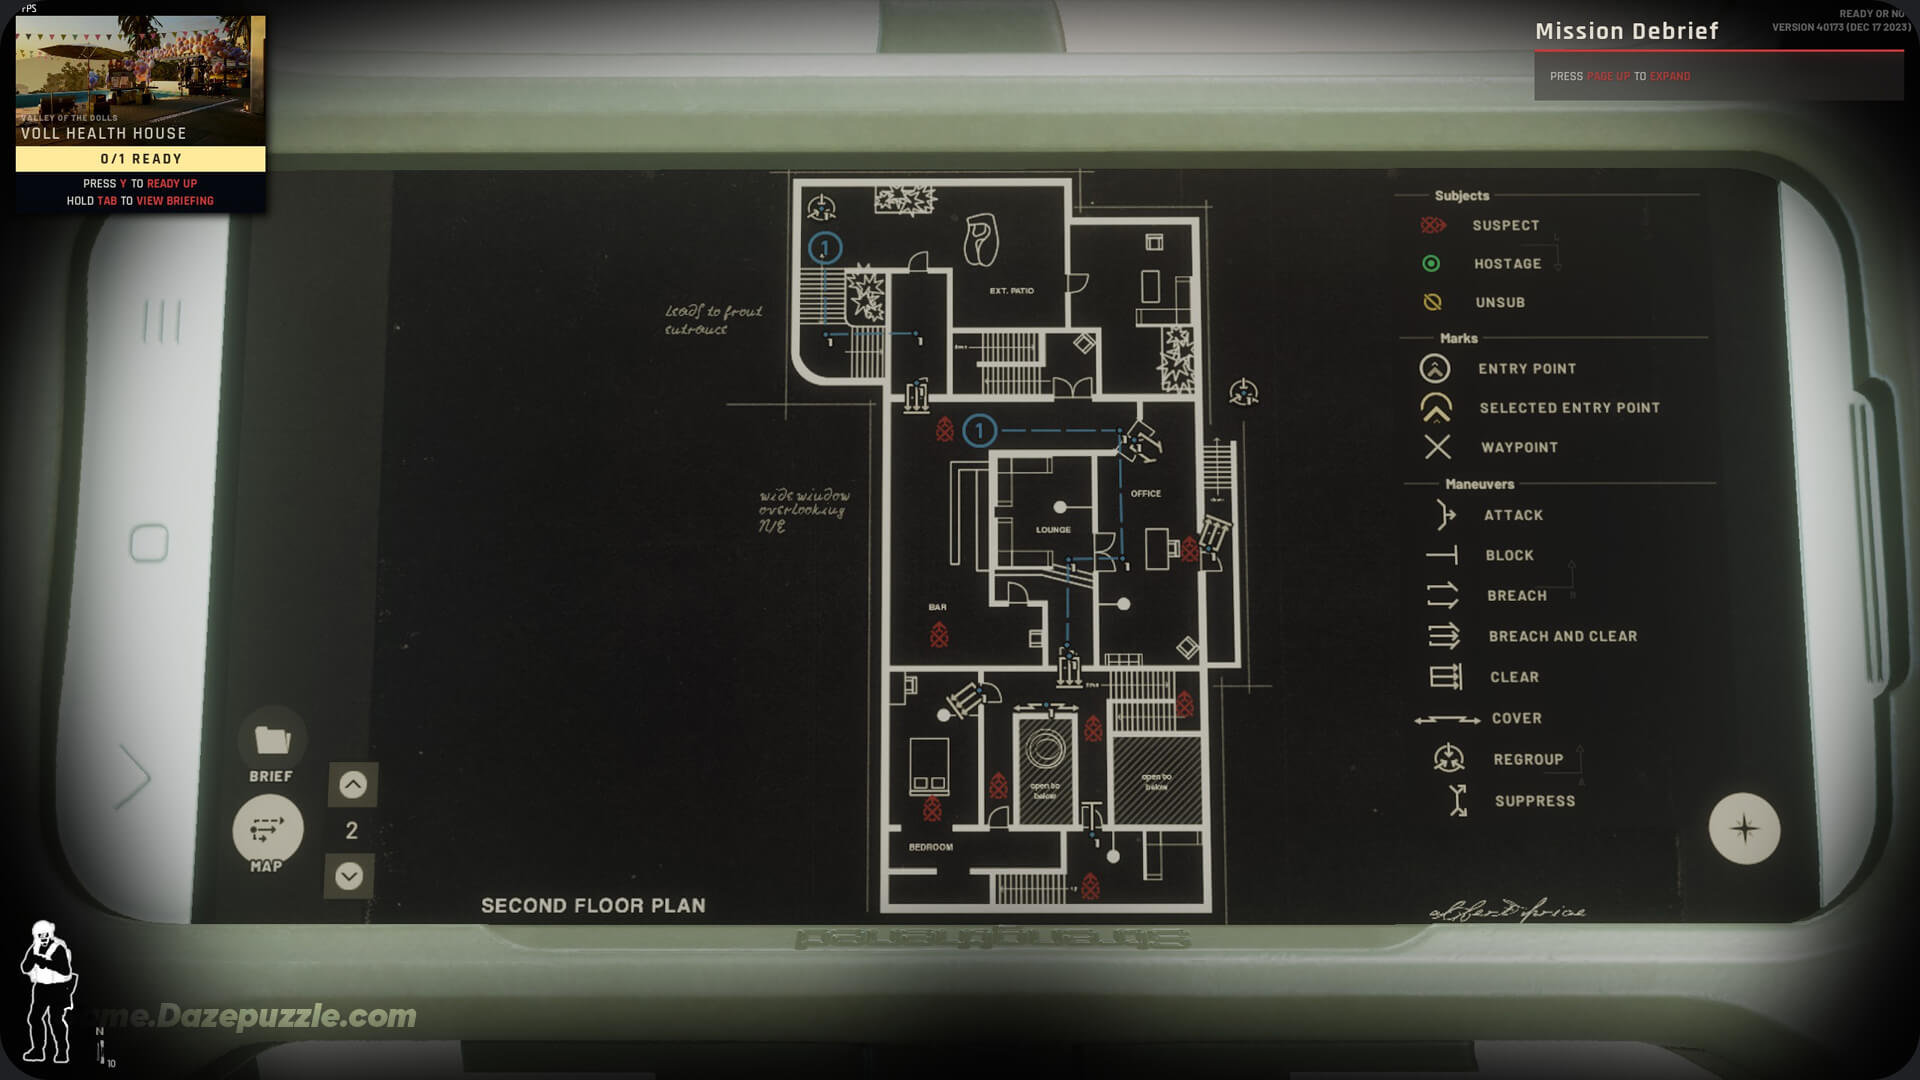
The Voll mansion is a complex, four-level structure defined by wide open spaces, tight corridors, and, most importantly, extreme verticality. Understanding the layout and identifying the most dangerous areas is non negotiable.
The Four Levels of Hell
- Floor 2 (Penthouse/Entry): Your starting point. This floor contains a large living room, the master bedroom (where the first soft objective is), and the main staircase. Its massive glass windows offer a clear view of the garden below, but they also expose you to fire from lower levels.
- Floor 1 (Mezzanine/Office): This level is connected by a deadly catwalk and contains the bar, library, home theater, and Amos Voll’s office (where the hard objective is located).
- Ground Floor (Party/Pool): This is a massive, open plan area with the kitchen, main lobby, and the outdoor party space. The lack of cover and multiple entry points make it an extremely dangerous combat zone.
- Underground (Basement): A network of tight corridors, utility rooms, and the darkroom (where the second soft objective is). Its claustrophobic nature makes it perfect for ambushes.
Identifying the Kill Zones
The primary challenge of this map is its three-dimensional nature. Standard room clearing tactics that focus on horizontal threats are insufficient here. You must constantly be aware of threats from above and below.
The Catwalk
Without a doubt, the deadliest spot on the map. This narrow, exposed walkway puts you in the line of fire from multiple angles on the same floor and from the ground floor below. Stacking your team here is a death sentence.
Main Living Room & Kitchen
These open plan areas have too many entry points and are overlooked by the floor above, quickly turning any engagement into a chaotic, multi-front battle.
The Poolside Area
This outdoor space offers very little cover and leaves your team completely vulnerable to shots from the large windows on the upper floors.
Threat Assessment: Voll’s Private Security
The enemies on this map are well equipped and highly motivated private security contractors. They are more aggressive and tactically aware than the common criminals in other missions.
They are typically equipped with light body armor and a variety of assault rifles. Unlike suspects who might surrender after a few non lethal shots or a stern command, these guards have high morale and will aggressively push and flank your position. The open design of the mansion encourages this behavior, meaning a firefight in one room can quickly draw in roaming guards from several others. This is why Door Wedges are arguably the most critical piece of equipment for this map; your goal is not just to clear rooms but to “tame the map” by systematically blocking off cleared areas to prevent the AI from exploiting its environmental advantage.
Be aware that Amos Voll himself is armed, and there is a high chance he will perform a “fake surrender,” dropping his weapon only to draw a hidden sidearm.
Recommended Loadouts for the Mission
Your equipment choice will define your strategy. We’ll cover two primary approaches: a standard lethal loadout and a specialized non lethal loadout required for achieving an S-Rank.
The Lethal Approach
This loadout is for teams whose primary goal is simply to complete the mission.
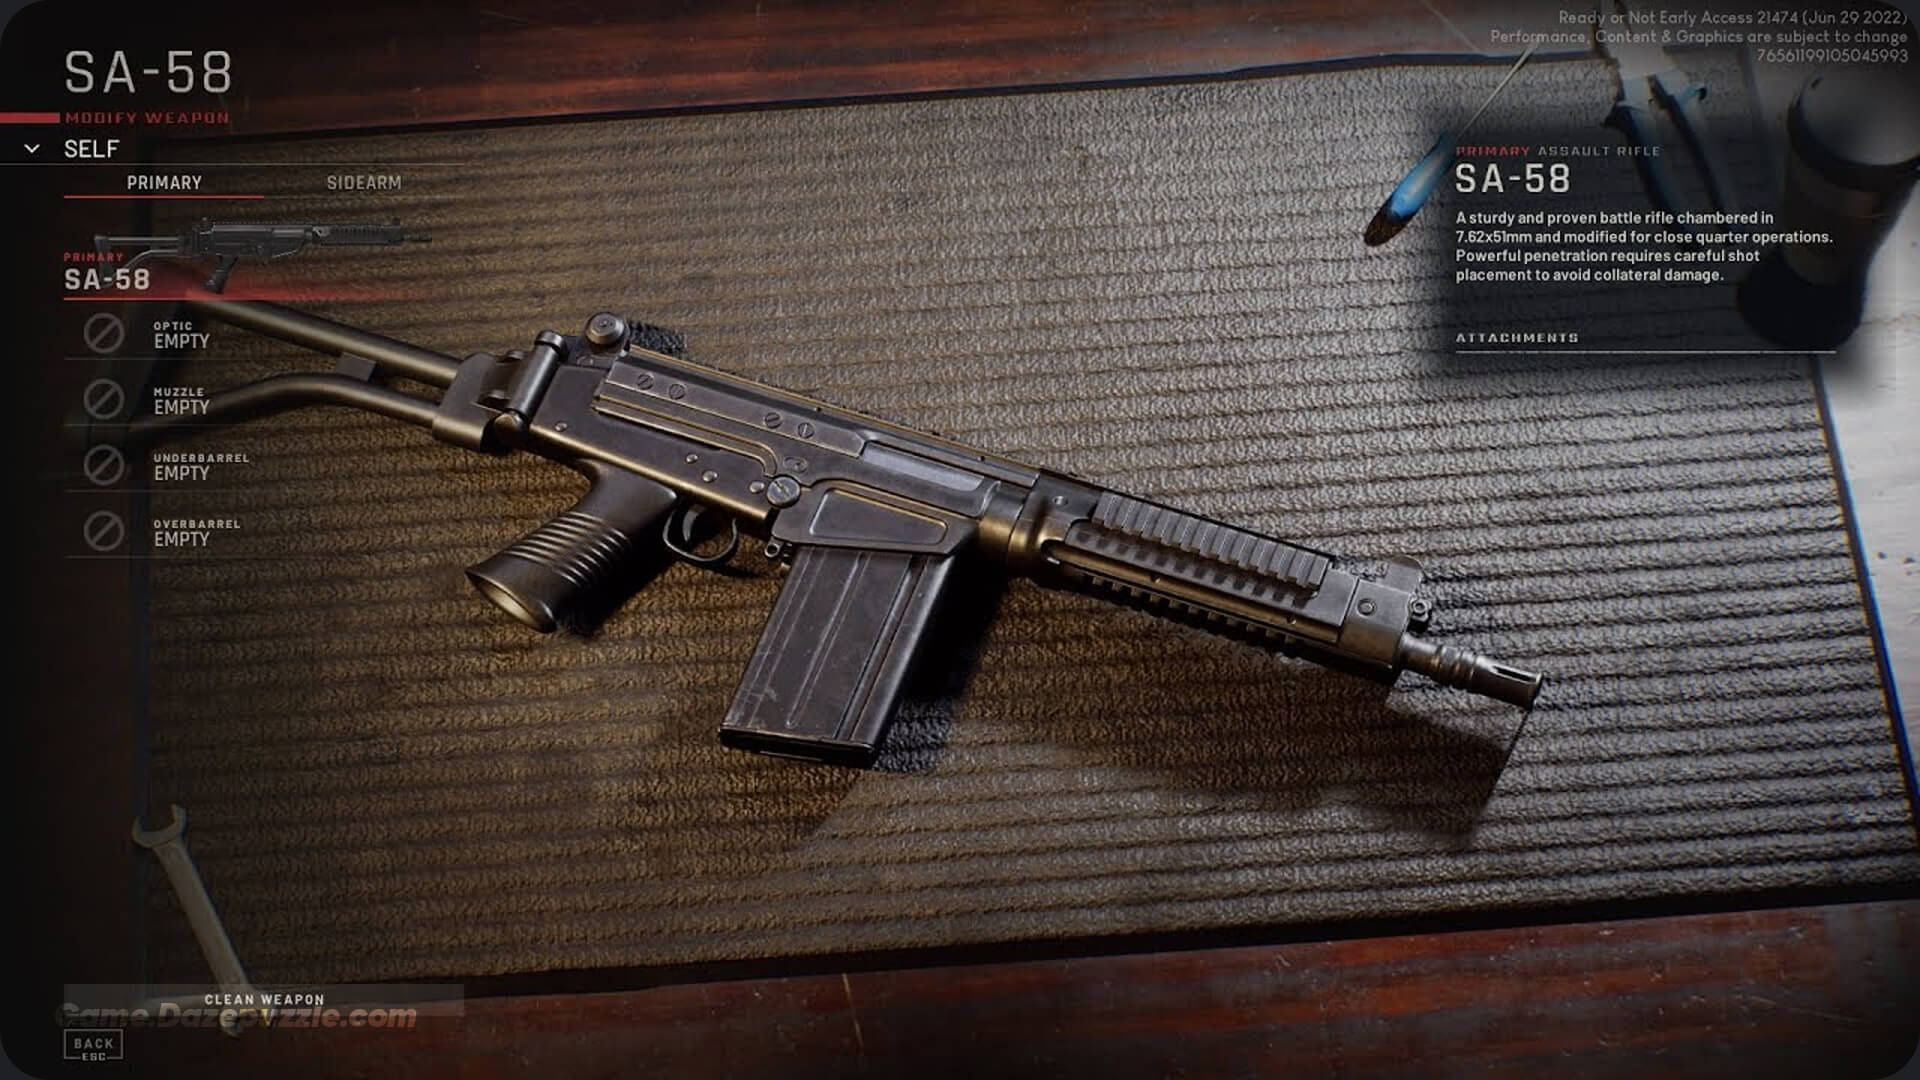
Primary Weapon
High caliber assault rifles like the SA-58 are recommended for their stopping power against the lightly armored guards.
Ammunition
AP (Armor Piercing) rounds are a must to ensure you can penetrate any body armor the suspects are wearing.
Tactical Grenades
Flashbangs and Stinger Grenades are highly effective for aggressive room entries.
The S-Rank (Non Lethal) Specialist Loadout
This loadout is meticulously designed to arrest every suspect alive.
Primary Weapon
The Beanbag Shotgun is the best choice for the player due to its ability to incapacitate a suspect with a single, well aimed shot. The VKS (Pepperball Rifle) is an excellent alternative, especially for equipping AI teammates, as it has a lower risk of accidental lethal headshots.
Grenades
CS Gas is your most powerful tool. It is unmatched for controlling large spaces, breaking enemy morale, and forcing surrenders without lethal force.
Long Tactical
The Mirrorgun (Optiwand) is absolutely essential for checking under doors for threats and traps before entry.
Other Gear
Door Wedges are critical for map control. A Taser is useful for stubborn suspects who refuse to comply.
Headwear
A Gas Mask is mandatory for every member of the team to protect against the effects of your own CS Gas.
Equipping Your AI Teammates for S-Rank
Properly equipping your AI squad is the key to a successful non lethal run.
Primary Weapon
Give every AI teammate a VKS (Pepperball Rifle). Do not give them the Beanbag Shotgun, as they have a tendency to accidentally land lethal headshots.
Sidearm
Remove all ammunition from their sidearms. This prevents them from switching to a lethal weapon after they run out of non lethal ammo.
Armor
Give them Heavy Armor with either Ceramic or Steel plates. Since AI movement speed always matches the player’s, there is no speed penalty, only the benefit of increased survivability.
Gear
Distribute a balanced mix of C2 (for fast breaching), CS Gas, and Door Wedges among your team.
Tactical Walkthrough: Two Paths to Success
There are two primary strategies for clearing the Voll mansion. Your choice will depend on your team’s playstyle and coordination level.
Strategy 1: The Top Down Route (Safer)
This is the classic, more methodical approach.
- Entry & Penthouse Clear: Enter through the main penthouse entrance and immediately clear the adjacent living room and master bedroom to secure the first soft objective (the CDs).
- Isolate the Catwalk: After clearing the top floor, wedge the door leading to the deadly catwalk. Do not proceed through it.
- Reposition to Lower Levels: Return to your starting point and use the exterior staircases to descend to the mezzanine or ground floor. This completely bypasses the catwalk kill zone.
- Systematic Clear: From this new entry point, begin clearing the lower floors room by room, using Door Wedges constantly to secure the areas behind you and prevent enemies from flanking.
Strategy 2: The Flanking Route (Faster, Higher Risk)
This advanced strategy requires excellent map knowledge.
- Bypass the Main Entry: Ignore the main penthouse entrance entirely. Immediately take the exterior stairs down to enter the mansion on the ground floor (pool area) or mezzanine level (side entrances).
- Clear from the Bottom Up: This approach aims to clear the mansion from the ground up, potentially catching enemies on the upper floors by surprise. However, it leaves your team more vulnerable to threats from above.
- Utilize Key Rooms: When clearing rooms, use tactics like throwing CS Gas into Voll’s office from the adjacent home theater before entering. If you must cross the catwalk, use smoke or gas to obscure the view from the floor below and move quickly from cover to cover.
Conclusion: Taming the Monster’s Lair
The “Valley of the Dolls” mission is rightfully considered one of the most difficult and memorable challenges in Ready or Not. Its complex verticality, wide open spaces, and aggressive AI force players to abandon standard tactics and adopt a truly strategic mindset. The key to success lies in mastering three core principles: map control through the relentless use of Door Wedges, morale control through the overwhelming application of CS Gas and other non lethal tools, and smart routing to bypass the map’s deadliest kill zones. By understanding these principles and executing the strategies laid out in this guide, any team can overcome the darkness within the Voll mansion and bring justice to one of Los Sueños’ most monstrous criminals.
Thanks for keeping up with Game.Dazepuzzle.com