It happens in every great adventure game. You hit that first massive, sprawling level, and the sheer number of collectibles feels both exciting and a little daunting. In Donkey Kong Bananza, that moment arrives when you delve into the subterranean world of the Lagoon Layer. The game suddenly opens up, revealing a cavern of secrets, destructible walls, and shiny things tucked into every conceivable corner. While the main quest pushes you forward, it’s the hunt for those elusive collectibles that truly defines a master of the game. And in this waterlogged wonderland, your main obsession is going to be collecting all 72 of the Lagoon Layer fossils.
This isn’t just another checklist. This is your definitive roadmap, your key to becoming a master paleontologist of the Kong world. We’re going to break down everything, from the essential gear you need to invest in first, to a step by step walkthrough of every sub layer, all the way to finding that one legendary fossil that most players miss. Forget wandering around aimlessly for hours, punching random walls. Let’s get strategic and hunt these fossils down with purpose.
What Is in Our Complete Lagoon Layer Fossils Guide
Gearing Up: Your Fossil Hunting Toolkit and Strategy
Before you even think about starting a full blown excavation, let’s talk strategy. A smart player doesn’t just run around hoping for the best; they understand the systems at play. Nailing this early will turn a frustrating grind into a satisfying and efficient treasure hunt.
Know Your Prey: The Three Types of Fossils
Not all fossils are created equal. In the Lagoon Layer, you’ll be hunting for three distinct types, each with its own rarity and purpose at the Style Shop.
Ammonite Fossils (Common)
These 61 blue fossils are your bread and butter. You’ll find them everywhere, embedded in walls, hidden in dirt, and submerged in ponds. They are used to purchase basic outfits and the initial upgrades for DK and Pauline.
Anomalocaris Fossils (Rare)
These 10 red fossils are much harder to come by. They are often hidden behind environmental puzzles or in more secluded locations. You’ll need these for the premium costumes and final, most powerful gear upgrades.
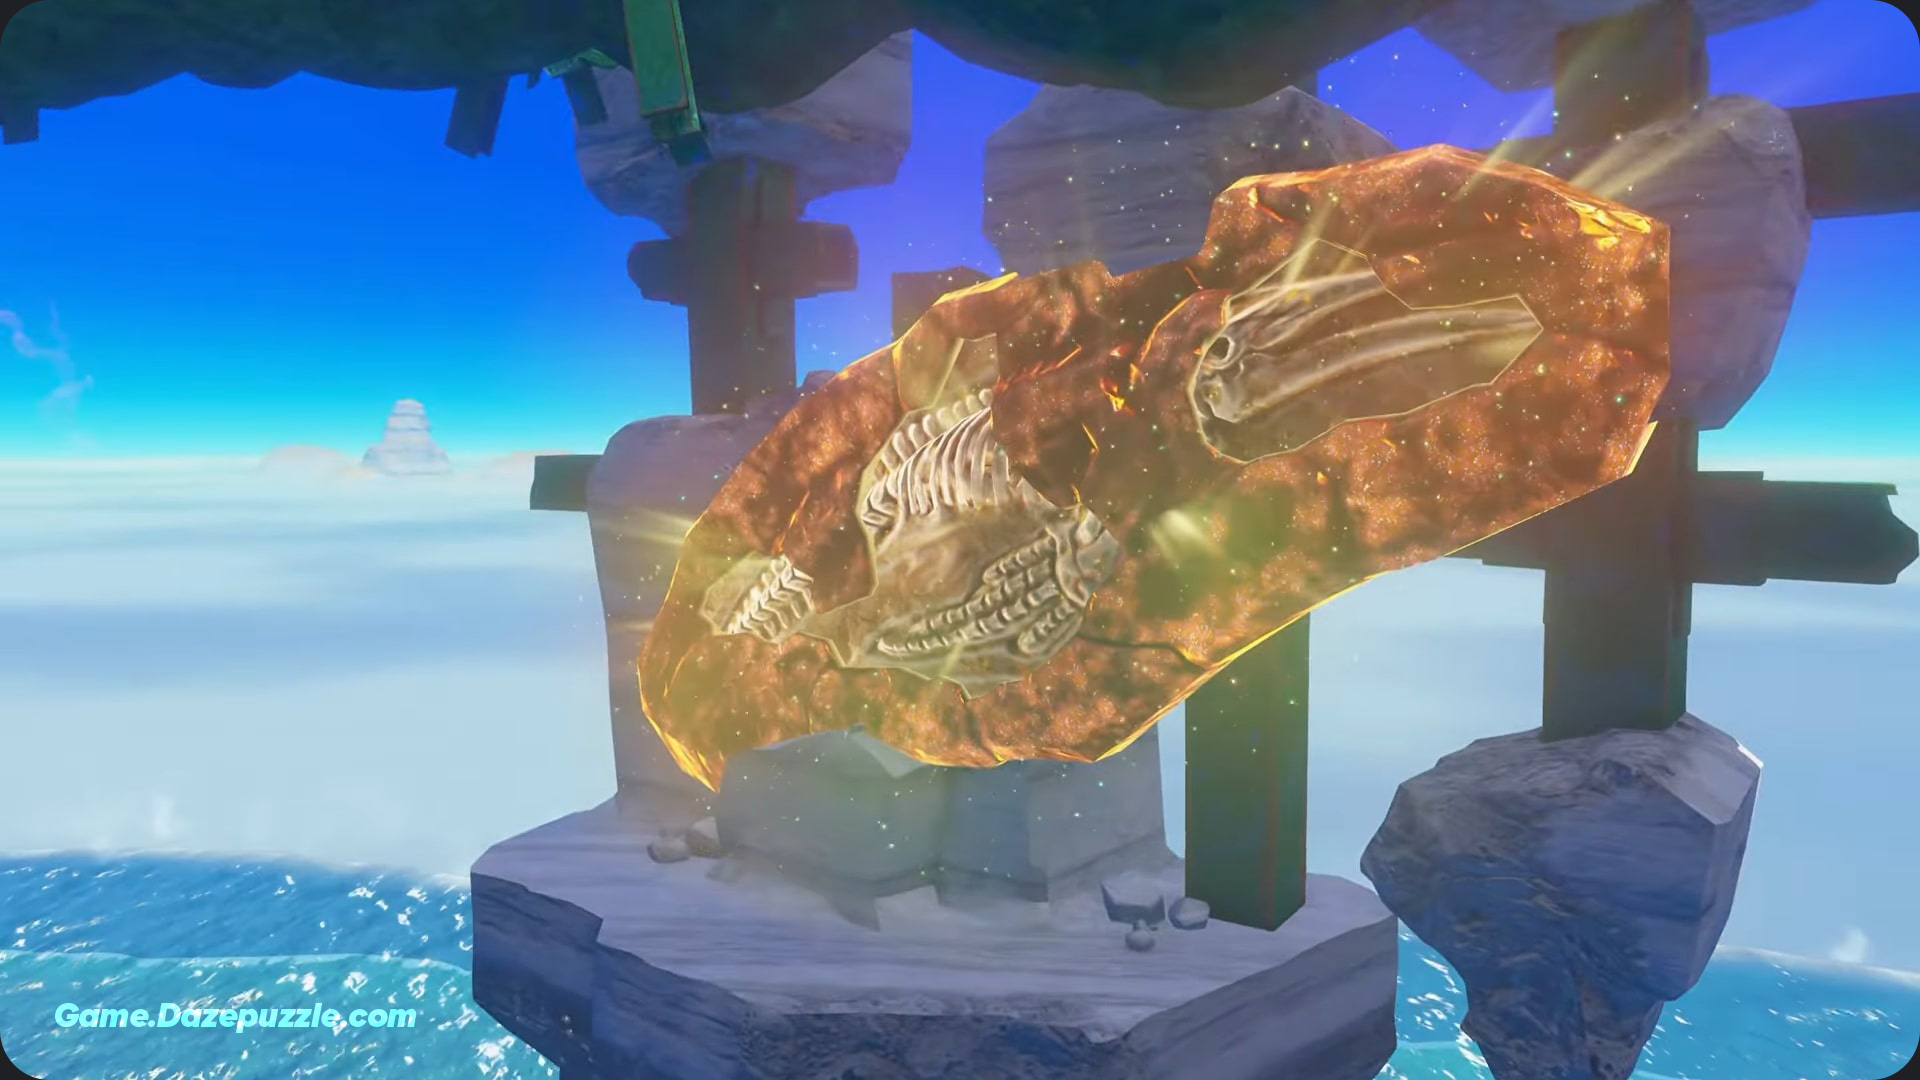
Whale Fossil (Legendary)
There is only one of these golden behemoths in the entire Lagoon Layer. It’s the ultimate prize, a testament to your dedication. Finding it requires solving a specific environmental puzzle, and it stands as the crowning achievement for any completionist.
It’s critical to remember that fossils are a layer specific currency. The fossils you find in the Lagoon Layer can only be spent in the Lagoon Layer’s Style Shop. You can’t take them with you, so spend them wisely while you’re here.
Your Most Important Investment: The Treasure Tie
When you reach Salvager’s Landing in Sub Layer 101, you’ll find the Style Shop. While there are plenty of cool outfits to buy, one item is absolutely non negotiable for a fossil hunter: the Treasure Tie. Make buying and upgrading this your absolute first priority.
The Treasure Tie directly increases the spawn rate of treasure chests when you break terrain. These chests contain gold, helpful items, and most importantly, Treasure Maps that reveal fossil locations on your main map. Here’s how the upgrades break down:
- Treasure Tie Lv. 1: Increases chest spawn rate by 10%.
- Treasure Tie Lv. 2: Increases chest spawn rate by 20%.
- Treasure Tie Lv. 3: Increases chest spawn rate by 30%.
Investing in this tie early and fully upgrading it is the single most important thing you can do to streamline your fossil hunt.
The Completionist’s Cycle: How to Hunt Efficiently
With the right gear, you can create a highly effective gameplay loop that makes finding every fossil a breeze. Don’t just explore randomly. Follow this cycle:
- Gear Up: As soon as you can, buy and fully upgrade the Treasure Tie.
- Power Up: Progress through the main story in Sub Layer 101 until you unlock the mighty Kong Bananza transformation. This super powered state lets you smash through even the toughest concrete walls with ease.
- Farm Chests: Equip the Treasure Tie and activate Kong Bananza mode in areas with lots of destructible terrain. Your enhanced smashing power will generate a shower of treasure chests.
- Collect Maps: Open every chest to gather the Fossil Maps. These will populate your game map with icons showing the locations of the common and rare fossils.
- Precision Hunt: Use the markers on your map to track down and collect the remaining fossils with surgical precision.
“I’m Stuck at 99%!” – The Story Gated Secret
Many players hit a wall. They have a few fossils left, but no matter how many chests they open, no new maps appear. This isn’t a bug; it’s a deliberate design choice. The game will not give you maps for fossils located in a sub layer you haven’t entered yet.
So, if you find yourself stuck with a handful of missing fossils and the maps have dried up, stop wasting your time searching. You need to advance the main story to unlock Sub Layer 102 (Chimpy Channel). Once you set foot in this new area, maps for the final fossils will begin to appear again. This one tip will save you hours of frustration.
Finally, to clear up any confusion: Treasure Maps will reveal the locations of all 61 common Ammonite Fossils and all 10 rare Anomalocaris Fossils. However, there is no map for the legendary Whale Fossil. That one is on you to find through pure exploration, but don’t worry, we’ll show you exactly where it is.
The Grand Tour: Sub Layer 100 Walkthrough
Your adventure begins in the first and largest area of the Lagoon Layer. We’ll guide you through each major zone, using other collectibles and landmarks to pinpoint every fossil in SL100.
Ape Cape: First Steps and First Finds
You enter the Lagoon Layer at Ape Cape. As you head up the path, you’ll meet Buzzoids, bee like enemies that toss rocks. A simple jumping punch or a thrown piece of terrain will take care of them.
Your paleontological journey starts immediately. The first Ammonite Fossil is tucked inside a small alcove behind a destructible dirt wall on the left side of the main path. A bit further up, a second Ammonite Fossil is embedded directly into the main path’s wall, near where the Buzzoids are flying. Look to your right just before the dirt slide leading down to the Reservoir Bank checkpoint; a third Ammonite Fossil sits on a raised ledge.
Reservoir Bank: Mastering the Boom Rock
Sliding down into the Reservoir Bank area, you’re greeted by a massive waterfall and a crucial new tool: Boom Rock. These glowing purple rocks are the key to destroying the tough Concrete walls that your normal fists can’t scratch. Pick one up, aim, and throw it at concrete barriers to open new paths.
This area is dense with fossils. Right after the checkpoint, you’ll see a Salvager Monkey fishing in a small pond. An Ammonite Fossil is waiting for you at the bottom of that very pond. Further on, in a tunnel blocked by rotating concrete slabs, look closely. Another Ammonite Fossil is embedded in one of the rotating slabs itself a well aimed Boom Rock throw will snag it.
After the tunnel, as the path curves downhill, look to your right. There’s a concrete wall hiding a secret room. Blast it with a Boom Rock to find another Ammonite Fossil. Nearby, where you fight an armored Crockoid, is another concrete wall. Destroying this one reveals not only another Ammonite Fossil but also the entrance to a large cave. Inside this cave, you’ll find a treasure trove: three more Ammonite Fossils and your very first rare Anomalocaris Fossil.
Reservoir Hills: Heights and Hallucinations
Continuing on, you’ll reach Reservoir Hills, a canyon filled with cliffs and new enemies. Here you’ll meet the Peekaboopoids, octopus like creatures that disguise themselves as ordinary walls and rocks, ambushing you when you get close.
Your main goal here is to clear the path to the Orangu Hang Highway. This requires crossing a narrow walkway over a pool of water, which is blocked by concrete slabs. Use the giant cube of Boom Rock nearby to clear the way. Don’t forget to check under the bridge on the floating weeds for more Ammonite Fossils.
At the end of this section is a large ascent blocked by concrete walls. Head to the left of the structure, fight off a swarm of Peekaboopoids, and find a supply of Boom Rock. Use it to blast your way up. In this area, keep an eye out for the giant stone monkey heads visible on the map. Several Ammonite Fossils are hidden in and around these statues, including one in the left ear of a large head. Once you clear the path and climb up, you’ll reach a stake. Ground pounding it will open the way to the next sub layer.
The Sunken Village: Exploring Sub Layer 101
Dropping into Sub Layer 101, the environment shifts. You’ve arrived at Salvager’s Landing, the heart of the Salvager Monkey civilization. This is where the main quest of the Lagoon Layer kicks off and dramatically alters the world’s layout.
Salvager’s Landing: The New Hub
Head into the village, and you’ll find two key locations: the Style Shop, where you’ll spend your hard earned fossils, and the Li’l Eelevator, which allows you to fast travel between discovered checkpoints.
Start your fossil hunt right away. Just past the Li’l Eelevator is a floating block of a strange, shifty substance. Throw a rock at it to solidify it into a platform, allowing you to reach a rare Anomalocaris Fossil. Another Ammonite Fossil can be found in the pool of water next to the Style Shop.
The Water Shortage Quest: Raising the Water Level
The Salvager Monkeys have a problem: three purple seals are blocking the flow of water into their reservoir. Your job is to destroy the three concrete pillars connected to these seals to raise the water level.
You must do this in order. As the water rises, it grants you access to the next pillar. To reach the first one, cross the green metal bridge and climb a tall metal platform. Use Boom Rock at the top to destroy the pillar. The second pillar requires a detour through the Orangu Hang Highway, a section involving ceiling climbing and fighting Antickoids, which conveniently carry Boom Rock you can use. Keep your eyes peeled for Ammonite Fossils hidden in the walls and ceilings along this route.
The Elder’s Trial: Unleashing Kong Bananza
The climax of SL101 is meeting the Kong Elder. After destroying the first two pillars and raising the water, the bridges to the Elder Court become accessible. The Elder tasks you with finding his Ancient Record to prove your worth.
The record is on a platform with a broken bridge. To reach it, you must destroy the final concrete pillar. This raises the water to its maximum level, connecting the bridge. Fun fact: the record itself is nearly indestructible and can be used as a weapon to smash a nearby concrete wall, revealing another Ammonite Fossil.
If you want to learn everything in the game, read our Donkey Kong Bananza Complete Guide
Return the record to the Elder and place it on the turntable. A powerful rhythm sequence (holding L and R) helps Pauline break free from her petrified state. Her singing awakens DK’s true power, transforming him into the mighty Kong Bananza. This form gives you incredible destructive power, allowing you to smash any terrain, including concrete, with ease. This is a pivotal moment, as you now have the final tool for the “Completionist’s Cycle.”
The Final Pieces: Sub Layer 102 and the Legendary Whale
With the power of Kong Bananza unlocked, your quest isn’t over. This final section provides the solution for players just steps away from 100% completion.
Accessing Chimpy Channel (Sub Layer 102)
Head back behind the Elder Court to the area with shipping containers. Previously, their concrete walls were impassable. Now, with your new power, you can shatter them. Clear a path through the containers to find another large stake. Smashing it opens a pit leading down to Sub Layer 102: Chimpy Channel.
This is where the “missing fossils” mystery is solved. Chimpy Channel is a short area, but it holds the last few pieces of your collection. Scour the area carefully to find the final Ammonite Fossils and the tenth and final rare Anomalocaris Fossil. As soon as you enter this sub layer, Treasure Maps will start spawning from chests again, guiding you to these last few collectibles.
The Leviathan Hunt: The Legendary Whale Fossil
This is the one you’ve been waiting for. As we mentioned, no map will ever point you to this location. Its discovery relies purely on keen eyed exploration.
The precise location of this legendary fossil, the culmination of your collection efforts, is as follows:
Return to Sub Layer 100. The fossil is found off the coast of the fishing village area. You need to drop down from a specific corner of the sub layer and descend a rope. From there, you’ll see the massive fossil embedded in the cliffside. Smash the rock away to claim the legendary Whale Fossil and secure your 100% completion of the Lagoon Layer fossils.
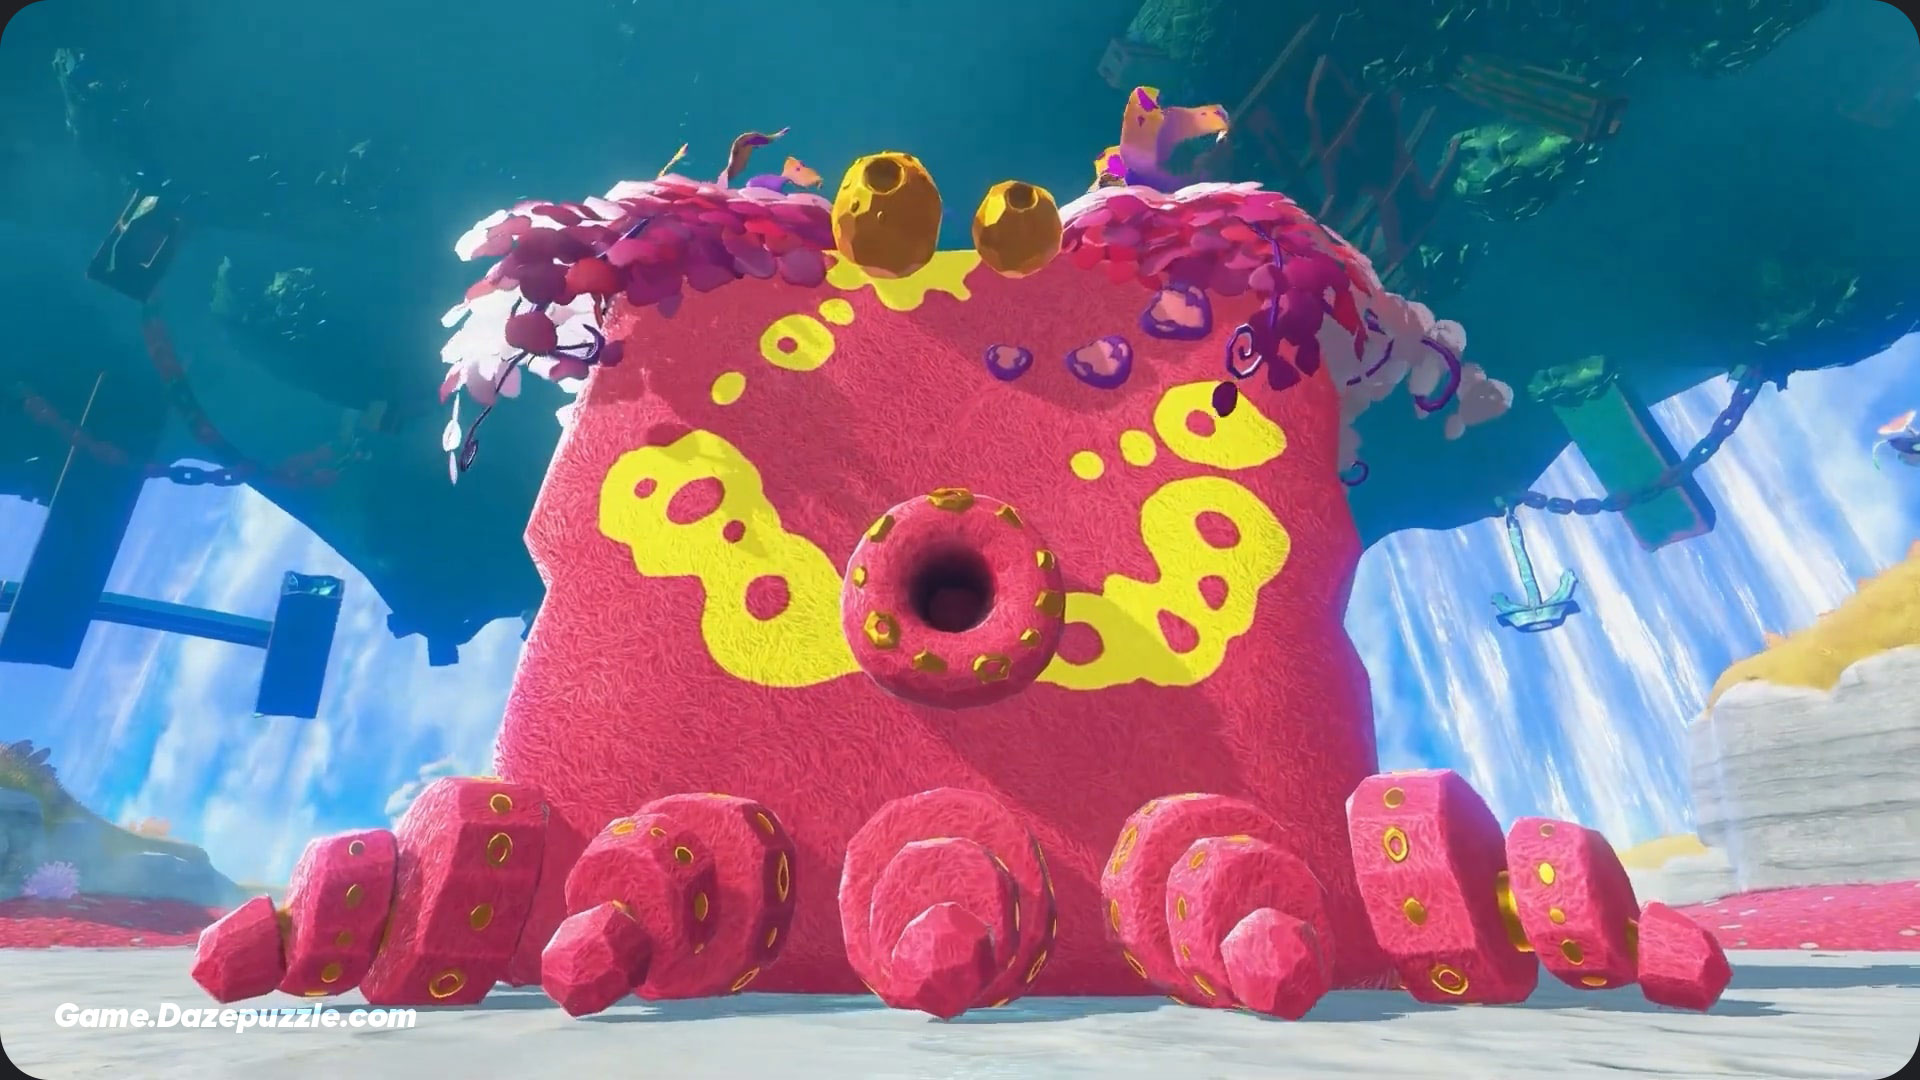
Layer Boss Guide: How to Defeat the Peekabruiser
No guide is complete without a strategy for the area’s final boss. At the end of Sub Layer 102, you’ll face the Peekabruiser, a colossal monster made from a swarm of Peekaboopoids and concrete like sludge.
Phase 1: Crack the Armor
The Peekabruiser starts the fight encased in concrete armor, making it invincible. Your first job is to break this outer shell. You can do this with repeated punches up close or by throwing chunks of the arena at it from a distance. Pro Tip: Activate Kong Bananza mode for this phase. Your boosted power will shatter its armor much faster.
Phase 2: Dodge and Punish
Once the armor is gone, the boss’s main attack is a frantic charge across the arena. Instead of trying to block it, simply dodge to the side. The boss will rush past you, crash, and become stunned for a few seconds. This is your window to attack. Rush in and land as many hits as you can on its vulnerable body.
During this phase, watch out for smaller Peekaboopoids that latch onto you, draining your health. A quick spin attack will shake them off. If you’re low on health, look for glowing spots on the ground and smash them to release healing apples.
Phase 3: The Final Ascent
When the boss’s health is critically low, it will retreat to the top of a newly formed sand hill and try to regenerate its armor. This is the final push. You must race up the hill and attack it before it can heal. Any delay means you’ll have to repeat the previous phases. Choose your path wisely, get to the top, and unleash your final blows to win the fight.
Defeating the Peekabruiser rewards you with a massive haul of Banandium Gems and opens the pit to the next major world, the Hilltop Layer.
Final Fossil Checklist
For the meticulous player, here is the ultimate tool: a comprehensive checklist of every single fossil in the Lagoon Layer. Use this to track your progress and ensure no treasure is left behind.
| Fossil ID | Type | Rarity | Sub Layer | Brief Location Description |
|---|---|---|---|---|
| Ammonite | (61 Total) | |||
| AM-01 | Ammonite | Common | SL100 | Behind a dirt wall in an alcove at the start of Ape Cape. |
| AM-02 | Ammonite | Common | SL100 | On the main path’s wall near the first Buzzoid enemies. |
| AM-03 | Ammonite | Common | SL100 | On a raised ledge to the right, above the slide to Reservoir Bank. |
| AM-04 | Ammonite | Common | SL100 | In the small pond where the Salvager Monkey is fishing. |
| AM-05 | Ammonite | Common | SL100 | Embedded in a rotating concrete slab in the Reservoir Bank tunnel. |
| AM-06 | Ammonite | Common | SL100 | Behind a concrete wall to the right after the Reservoir Bank tunnel. |
| AM-07 | Ammonite | Common | SL100 | In the cave opened with Boom Rock, near the Crockoid fight. |
| AM-08 | Ammonite | Common | SL100 | In the same cave, embedded in the walls. |
| AM-09 | Ammonite | Common | SL100 | In the same cave, buried under dirt. |
| AM-10 | Ammonite | Common | SL100 | Under the narrow bridge over the water in Reservoir Hills. |
| … | (and so on for all 61) | |||
| Anomalocaris | (10 Total) | |||
| AN-01 | Anomalocaris | Rare | SL100 | In the large cave opened with Boom Rock near the Crockoid fight. |
| AN-02 | Anomalocaris | Rare | SL101 | Reachable using the shifty substance block in Salvager’s Landing. |
| AN-03 | Anomalocaris | Rare | SL101 | In the back-left corner of the Elder Court after the water has risen. |
| AN-10 | Anomalocaris | Rare | SL102 | On a high platform in Chimpy Channel, near the end of the layer. |
| … | (and so on for all 10) | |||
| Whale | (1 Total) | |||
| WH-01 | Whale | Legendary | SL100 | Descend a rope off the coast of the fishing village area; embedded in the cliffside. |
Thanks for keeping up with Game.Dazepuzzle.com