Welcome back, Lightner. Just when you thought you’d seen all the weird and wonderful things the Dark Worlds have to offer, Toby Fox pulls us back in for another wild ride. Forget everything you thought you knew about dungeons and dragons, because Deltarune Chapter 3 throws you and the gang straight into the glitz, glamour, and utter chaos of a television game show.
Hosted by the ever charismatic (and slightly unsettling) Ant Tenna, this chapter is a whirlwind of mini games, bizarre enemies, and S-Rank challenges. But don’t you worry. If you’re feeling a little lost in all the static and applause, you’ve come to the right place. This guide will be your co-host, walking you through every puzzle, every boss fight, and every secret this chapter holds. While this article covers Chapter 3, you can find everything you need for the other chapters in our main Deltarune Complete Guide. We’ll cover how to get a perfect S-Rank in every round and, most importantly, how to find and defeat the chapter’s incredibly tough secret boss.
So grab your remote, get comfortable, and let’s change the channel to adventure. It’s TV Time!
What’s in our Deltarune Chapter 3 Complete Guide
Waking Up in a Strange New World
Things start off familiarly strange. Kris and Susie awaken once again in a new Dark World, this time a bizarre, pixelated landscape that feels like the backstage of a forgotten TV studio. The path is straightforward at first, so just keep moving forward. You’ll soon reunite with the fluffy and ever so kind Ralsei, completing your trio.
As you venture deeper, your journey is suddenly interrupted. The screen flickers, and a booming voice introduces the man of the hour: Mr. Ant Tenna. He declares that you are the newest contestants on his hit program, “TV Time.” You don’t get much say in the matter, as you’re whisked away to the main stage. You’ll be prompted to enter a three letter name for the show feel free to stick with “KRI” or get creative like Susie. This choice is just for fun and doesn’t affect the story.

With the introductions over, you’re dropped into the first main event of the chapter: Round 1.
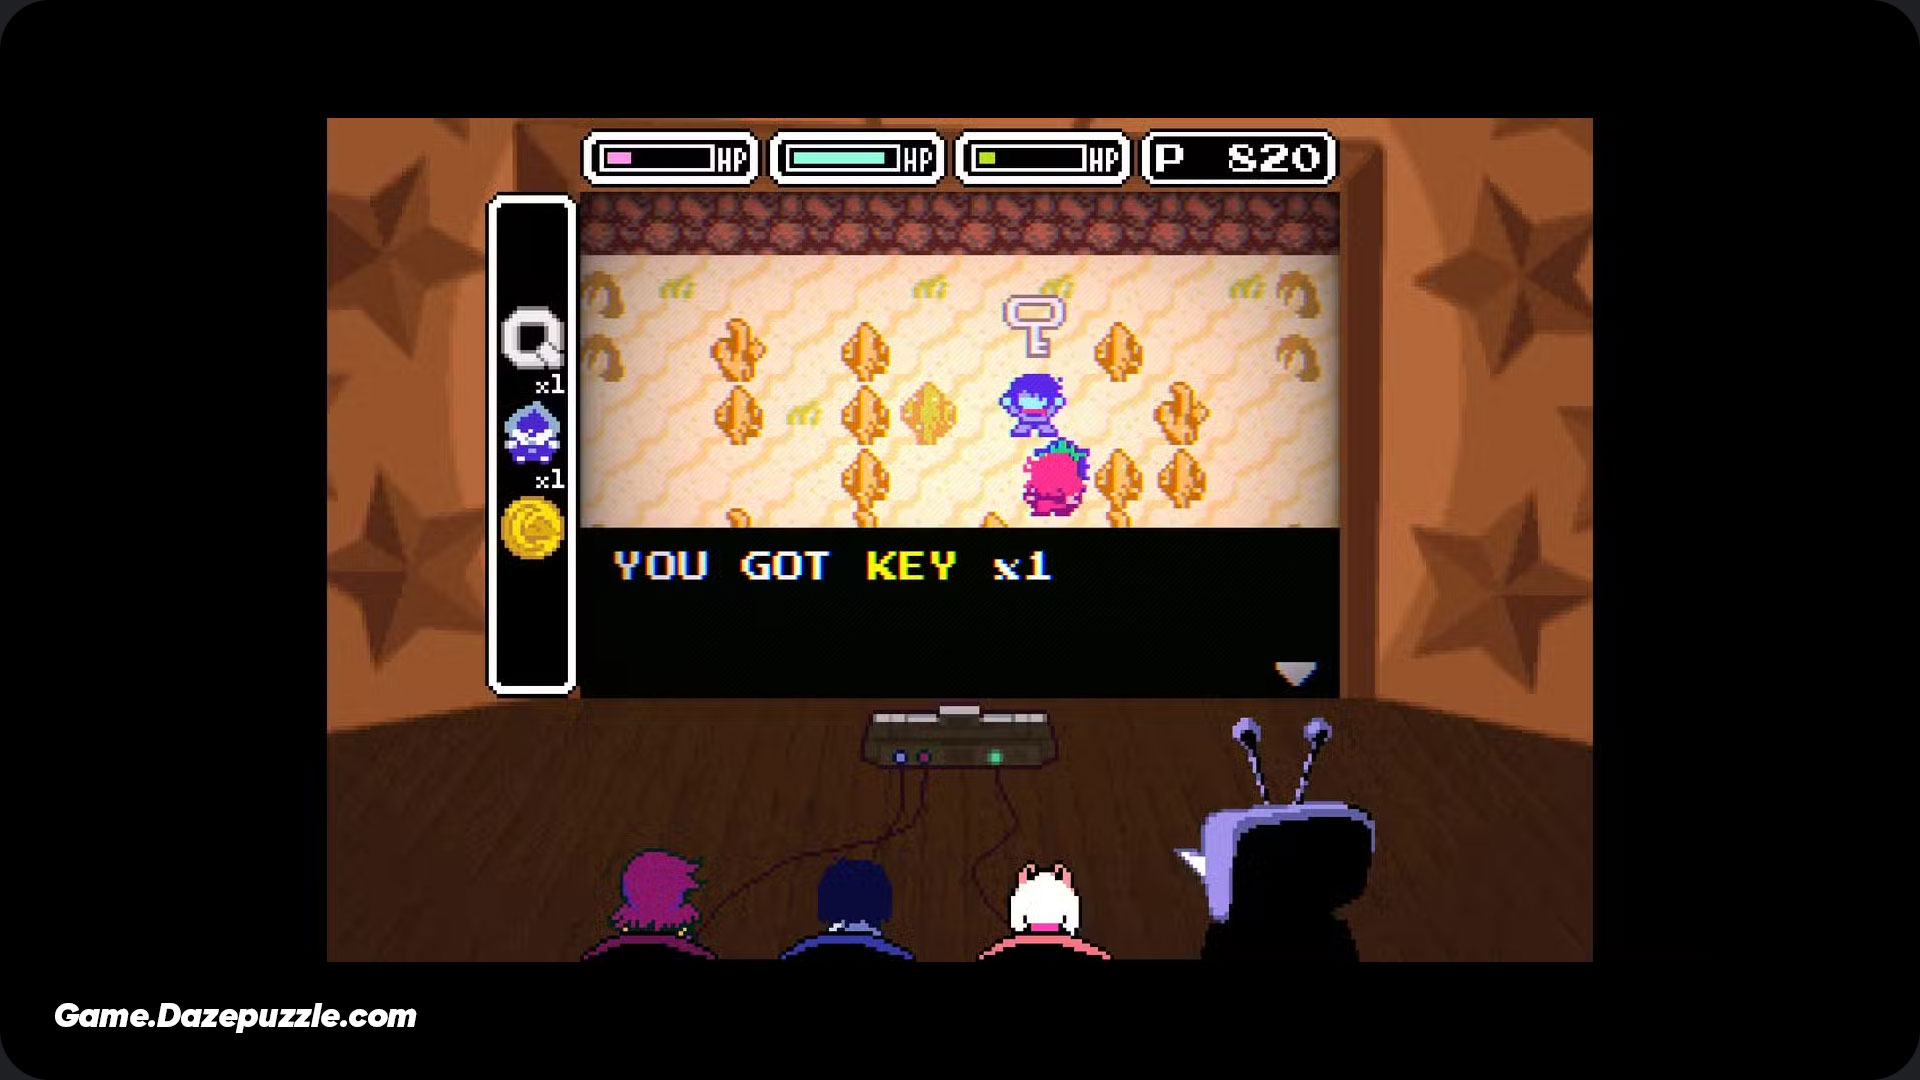
Round 1: The Desert of Doors
The first board of the game show is a sprawling desert landscape. Your goal here is simple on the surface but requires a bit of exploration. To clear the round, you must find three keys to unlock the giant pyramid at the end of the board. However, there’s a fourth bonus key hiding in the desert, and finding it is crucial for racking up points and achieving that coveted S-Rank.
The Goal: Finding the Keys
Before you run off, talk to Mr. Tenna’s avatar. He’ll explain the rules. You need to explore, fight, solve quizzes, and gain points to spend at the shop. One of the keys is for sale, but you can’t afford it yet. Let’s go find the others first.
Key #1: The Sphinx’s Riddle
As you explore the desert, you’ll run into “Quiz Vortex” enemies. Answering their questions correctly rewards you with points and a special “Q” item. You’ll need to find two of these Quiz Vortexes and collect their Qs.
Once you have both Q items, head to the upper right corner of the desert to find a giant Sphinx. It will pose a final set of questions. Here are the answers you’ll need:
- Body
- Pippins
- Sword Magician
Answer correctly, and the Sphinx will open a path to your first key. Before you grab it, solve the nearby puzzle to unlock the Power Croissant for Susie, which gives her the ability to pick up pots and weeds, a great way to farm extra points!
Key #2: A Little Help From Lancer
In the top left area of the map, you’ll find your old pal Lancer trapped inside a cactus. Step on the nearby button, and Susie will heroically toss Ralsei over to free him. With Lancer now in your party (as an item!), head to the oasis, which is one screen down and to the left. Use Lancer, and he’ll happily dig up the second key for you. This will also trigger a boss fight in another part of the map, which we’ll get to shortly.
Key #3: The Cactus That Loves You
One of the friendly Pippin NPCs will give you a cryptic clue: “the cactus that lived upstairs loves you.” Head to the large field of cacti. If you look closely, one of the cacti will blush when you get near it. It’s a little shy, but give it a push, and it will move aside to reveal your third key. It’s a sweet little secret that’s easy to miss if you’re not paying attention.
Key #4 (Bonus): The Price of a Key
Now that you’ve done some exploring and hopefully gathered some points from battles and picking up weeds, head back to the shop at the entrance. You should now have enough to purchase the final key for 250 points. With all four keys in hand, you’re ready to face the area’s boss.
Boss Battle: Lanino & Elnina
Because you used Lancer to dig up his key, a new path will be open at the oasis. Head there to encounter the boss duo of this round: Lanino and Elnina. Tenna tells you that to win, you need to say “I love TV” 99 times.

This fight is less about attacking and more about endurance and following instructions. In your ACT menu, you’ll have the option to “I love TV.” Keep selecting this option while dodging their attacks. Eventually, the two will start arguing and ask whose attack is your favorite. Your choice doesn’t really matter. Just keep showing your love for television, and Lanino will eventually give up, ending the fight peacefully and rewarding you with the Mooncloud Stone, the final piece you need to enter the pyramid.
The Final Challenge: Cooking for Points
With all the keys and the Mooncloud Stone, the pyramid is now open. Inside, you’ll face the final challenge of Round 1: a cooking mini-game. The goal is to stack ingredients and serve them to customers. For a high score, wait for special customers to appear and serve them a tall stack of ingredients. This will boost your rating significantly. Don’t take too long, though, as your score slowly depletes over time.
Achieving S-Rank in Round 1
Getting an S-Rank in the first round can be tough, but it’s totally doable. Here’s what to focus on:
- Find all four keys. The bonus points from the fourth key are a huge help.
- Answer all quiz questions correctly.
- Let Susie pick up every weed. This slowly but surely racks up points.
- Perform well in battles. Try to win fights quickly and without getting hit.
- Get a good score in the cooking mini-game. Aim for at least a B-rank in the final challenge.
If you’re still struggling, there’s a sneaky alternative. If you can farm 1,500 points, an NPC in the hub area will sell you an S-Rank card.
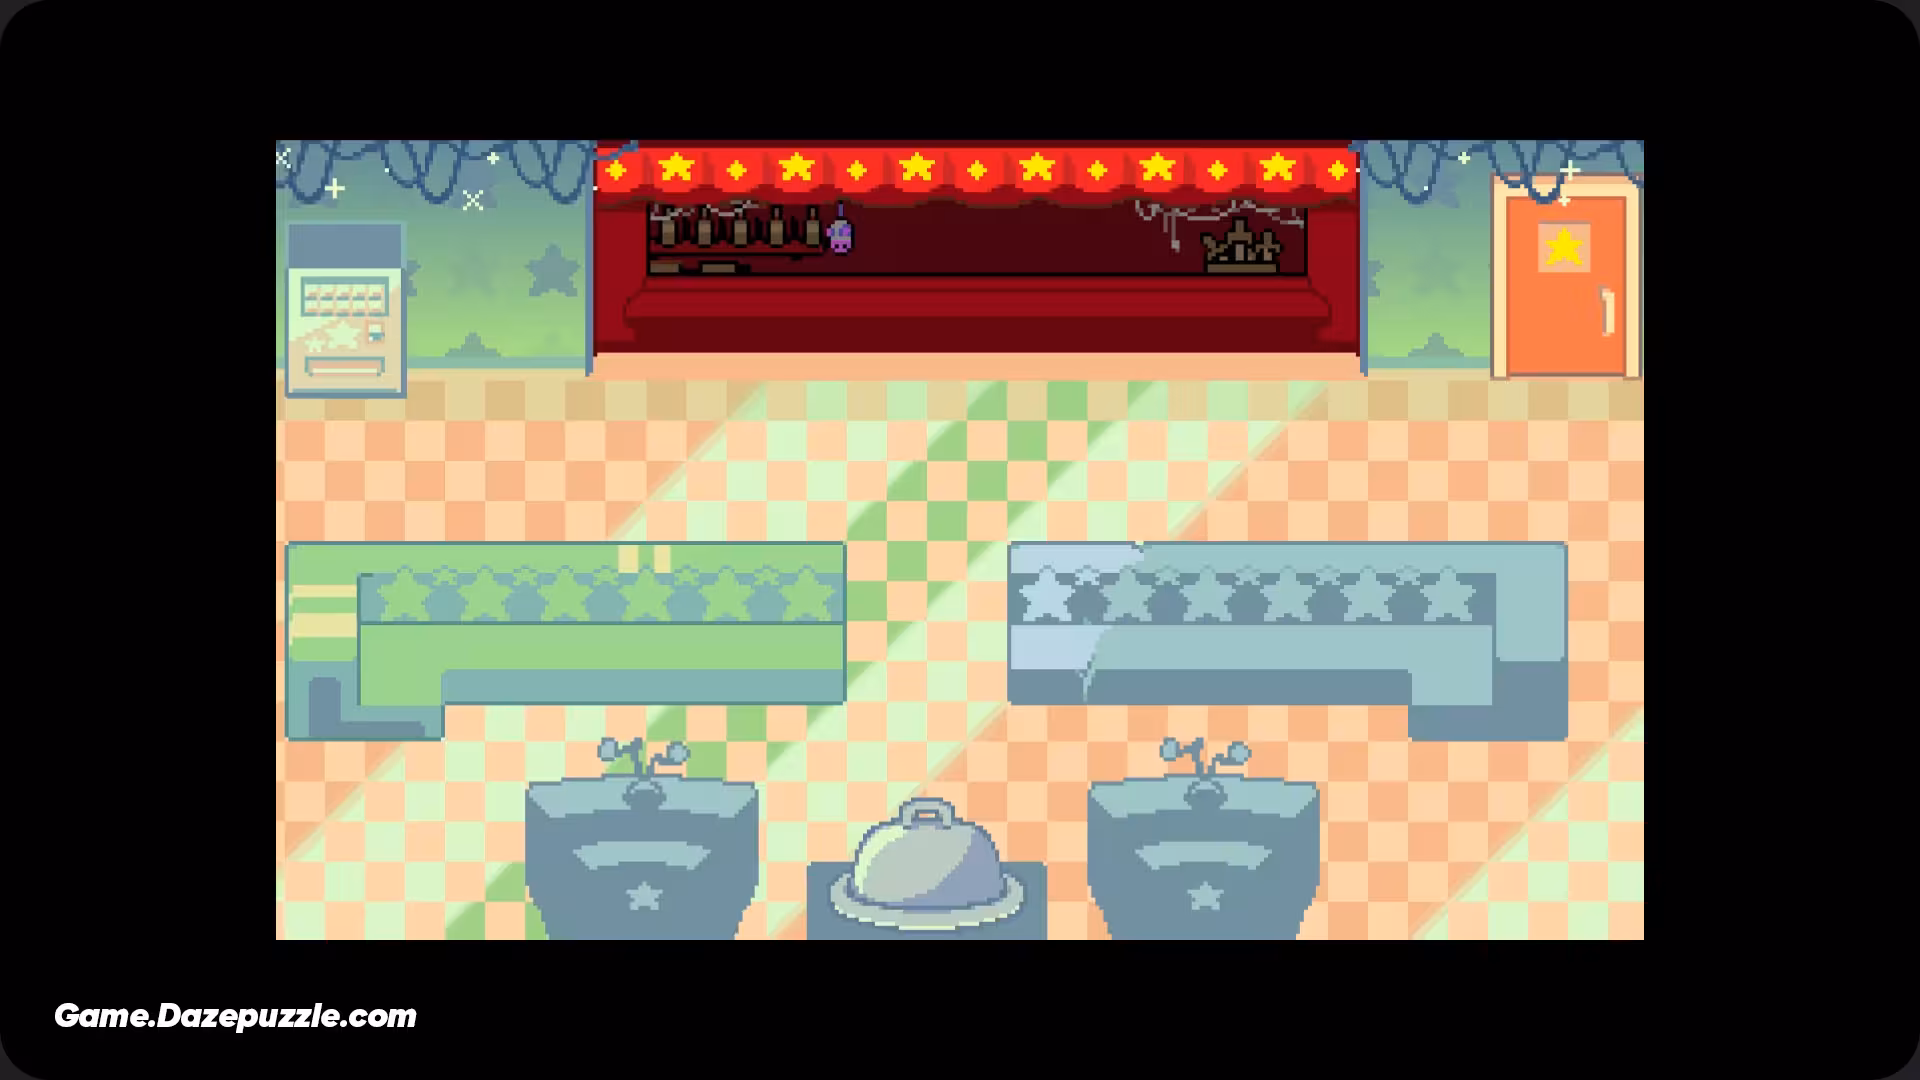
The Green Room: A Well-Deserved Break
After Round 1, you’ll find yourself in the Green Room, which serves as a hub between rounds. Here you can heal, buy items, and explore rooms that are only accessible if you have achieved a certain rank. The C, B, and A-Rank rooms have fun little mini-games and secrets, but the real prize is behind the S-Rank door. This is where the path to the secret boss truly begins.
The Path to the Secret Boss: Part 1 – The Ice Key
This part is absolutely essential for a complete guide, as missing this step will lock you out of the secret boss fight.
The S-Rank Backstage Pass
If you got an S-Rank in Round 1, you can enter the S-Rank door in the Green Room. This leads to a strange backstage area. Talk to the NPC on the left, and he’ll give you access to an even more secret area containing an old, abandoned video game console. At first, you can’t use it. Go back out and you’ll find a controller on the ground. Take it back to the console, and you’ll be transported into a retro, 2D version of the desert you just explored.
From Zero to Hero: The Sword and the Grind
This mini-game is a bizarre, lonely adventure. You start with nothing. Your first goal is to head to the southernmost part of the map, to the “mail room” area. Here, you will find a sword.
Once you have the sword, you can fight the enemies on the map. You need to defeat every single enemy to level up. Your goal is to reach LVL 3, which will allow you to chop down cacti. Head to the right side of the map where two cacti are blocking a cave. Go inside and defeat all the enemies there to reach LVL 4 (MAX Level). This will give you the ability to destroy palm trees.
Claiming the Ice Key
Now that you can destroy any obstacle, explore the areas that were previously blocked by palm trees. Make your way to the area above the starting pyramid. Here, you will find a red treasure chest. Open it to receive the Ice Key. What does it do? We don’t know yet, but it’s the first crucial item for the secret boss quest.
Round 2: The Photo Famous Forest
After your break (and secret hunting), it’s time for Round 2. This time, you’re in a lush forest, and the rules have changed.
A New Objective: Taking Grand Photos
Your goal in Round 2 is to take three “Grand Photos” of specific subjects hidden in the area. You’ll be given a camera to do this. Just like in Round 1, there’s a fourth bonus photo you can take for extra points towards your S-Rank.
Photo #1: The Spiky Subject
The clues you get mention a “plant of spikes” that “hides in the forest.” This is the same loving cactus from Round 1! Find the lone cactus in a field of palm trees and snap a picture of it.
Photo #2: The Red Antlion
Another clue talks about a “red antlion, under the ground.” You’ll need Susie’s help for this. In one area, Susie will take control and start throwing bombs. Use them to uncover the red antlions from the sand and take their picture.
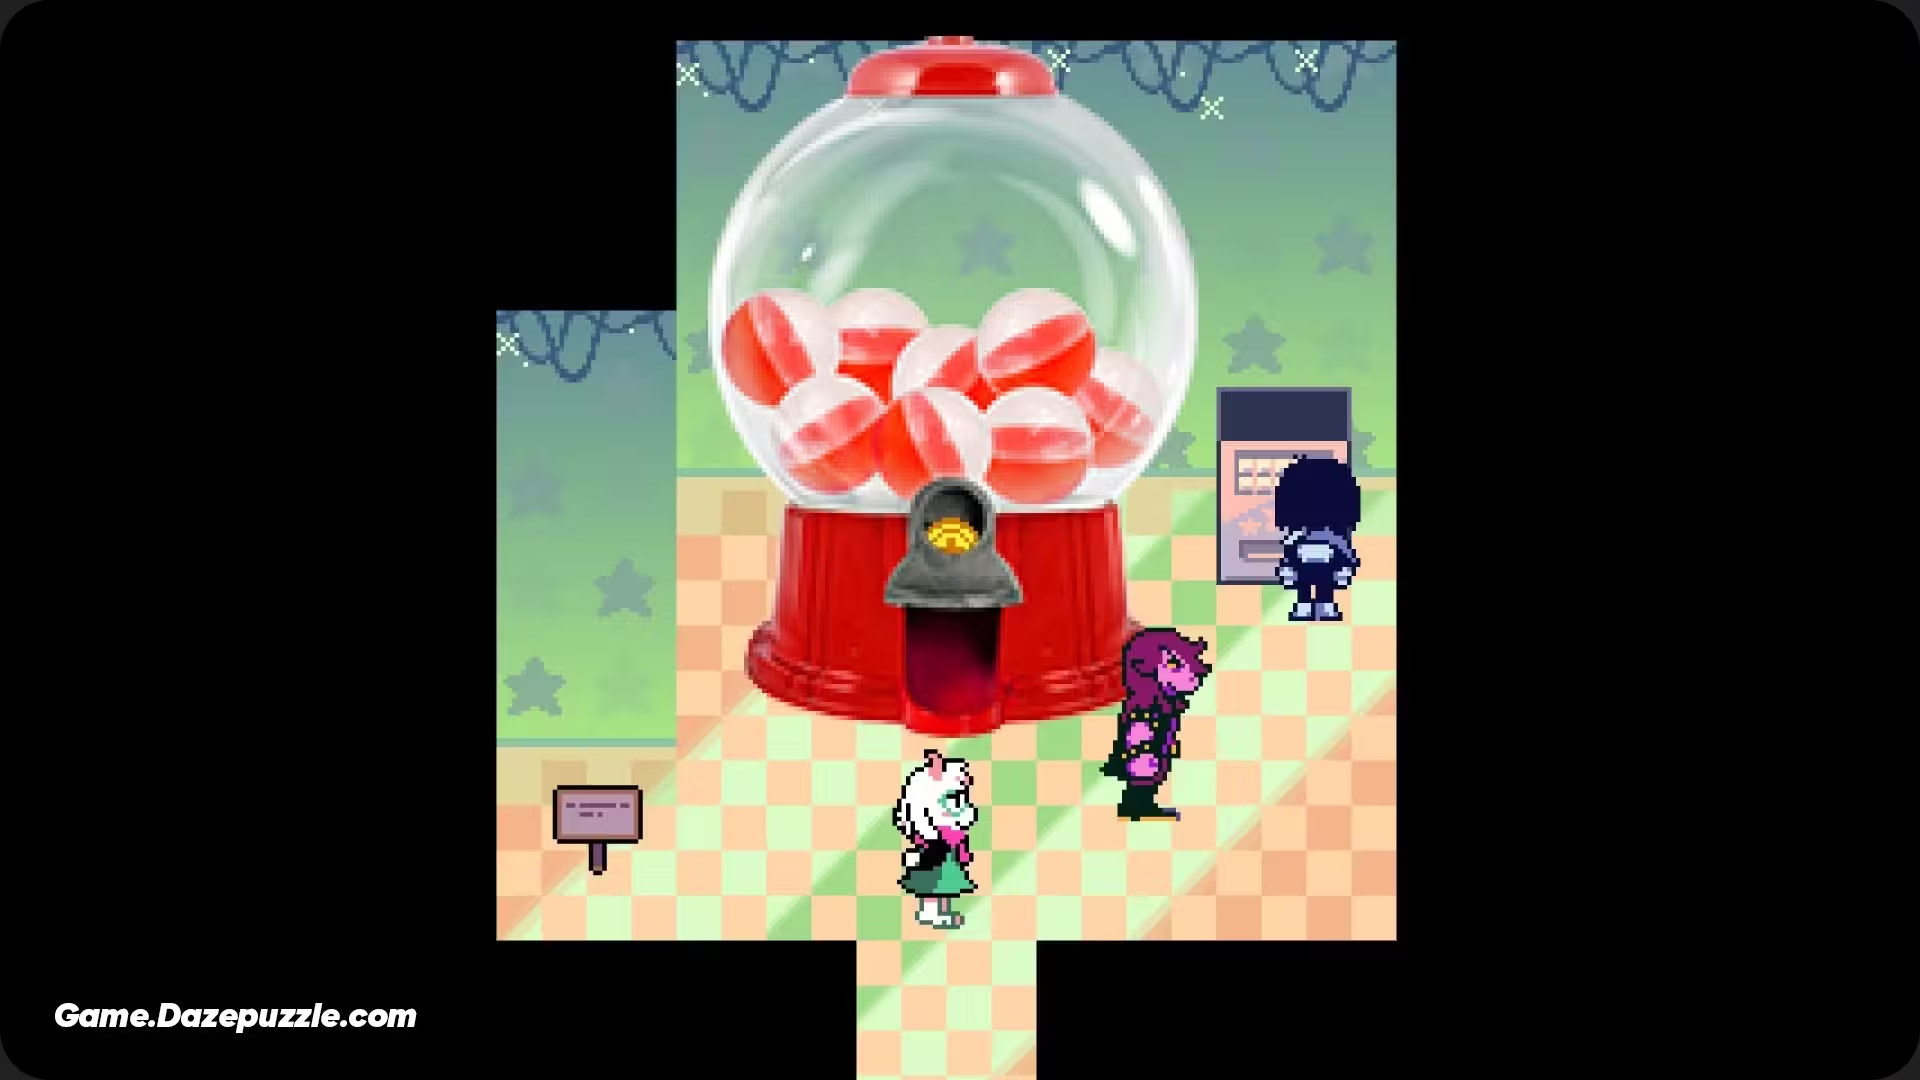
Photo #3: The Torn Flower (and Ralsei’s Help)
This is the easiest photo to get. Simply head to the left from the start of the board. The game will guide you through a short quest where Ralsei points out the torn flower and takes the picture for you. It’s practically a freebie!
Photo #4 (Bonus): The Green Geyser
The final clue mentions a “green geyser, just next door.” You’ll need Lancer’s help again. Find the right spot, and he will dig up a geyser for you to photograph.
The Final Challenge: A Rhythmic Finale
The final challenge of Round 2 is a rhythm game. The notes will scroll across the screen, and you have to hit them in time with the music. There’s a catch, though: Susie will be “helping” and will purposefully try to mess up your score. You’ll need to play extra well to counteract her antics and keep your score high.
Achieving S-Rank in Round 2
- Take all four photos. Just like with the keys, the bonus photo provides a significant point boost.
- Let Susie pull up flowers and weeds. Every point counts!
- Play the lawnmowing mini-game. On the bottom left of the map, there’s a dock that leads to a lawnmowing game that gives you a lot of free points.
- Do well in the rhythm game. Despite Susie’s interference, try to get a B-Rank or higher.
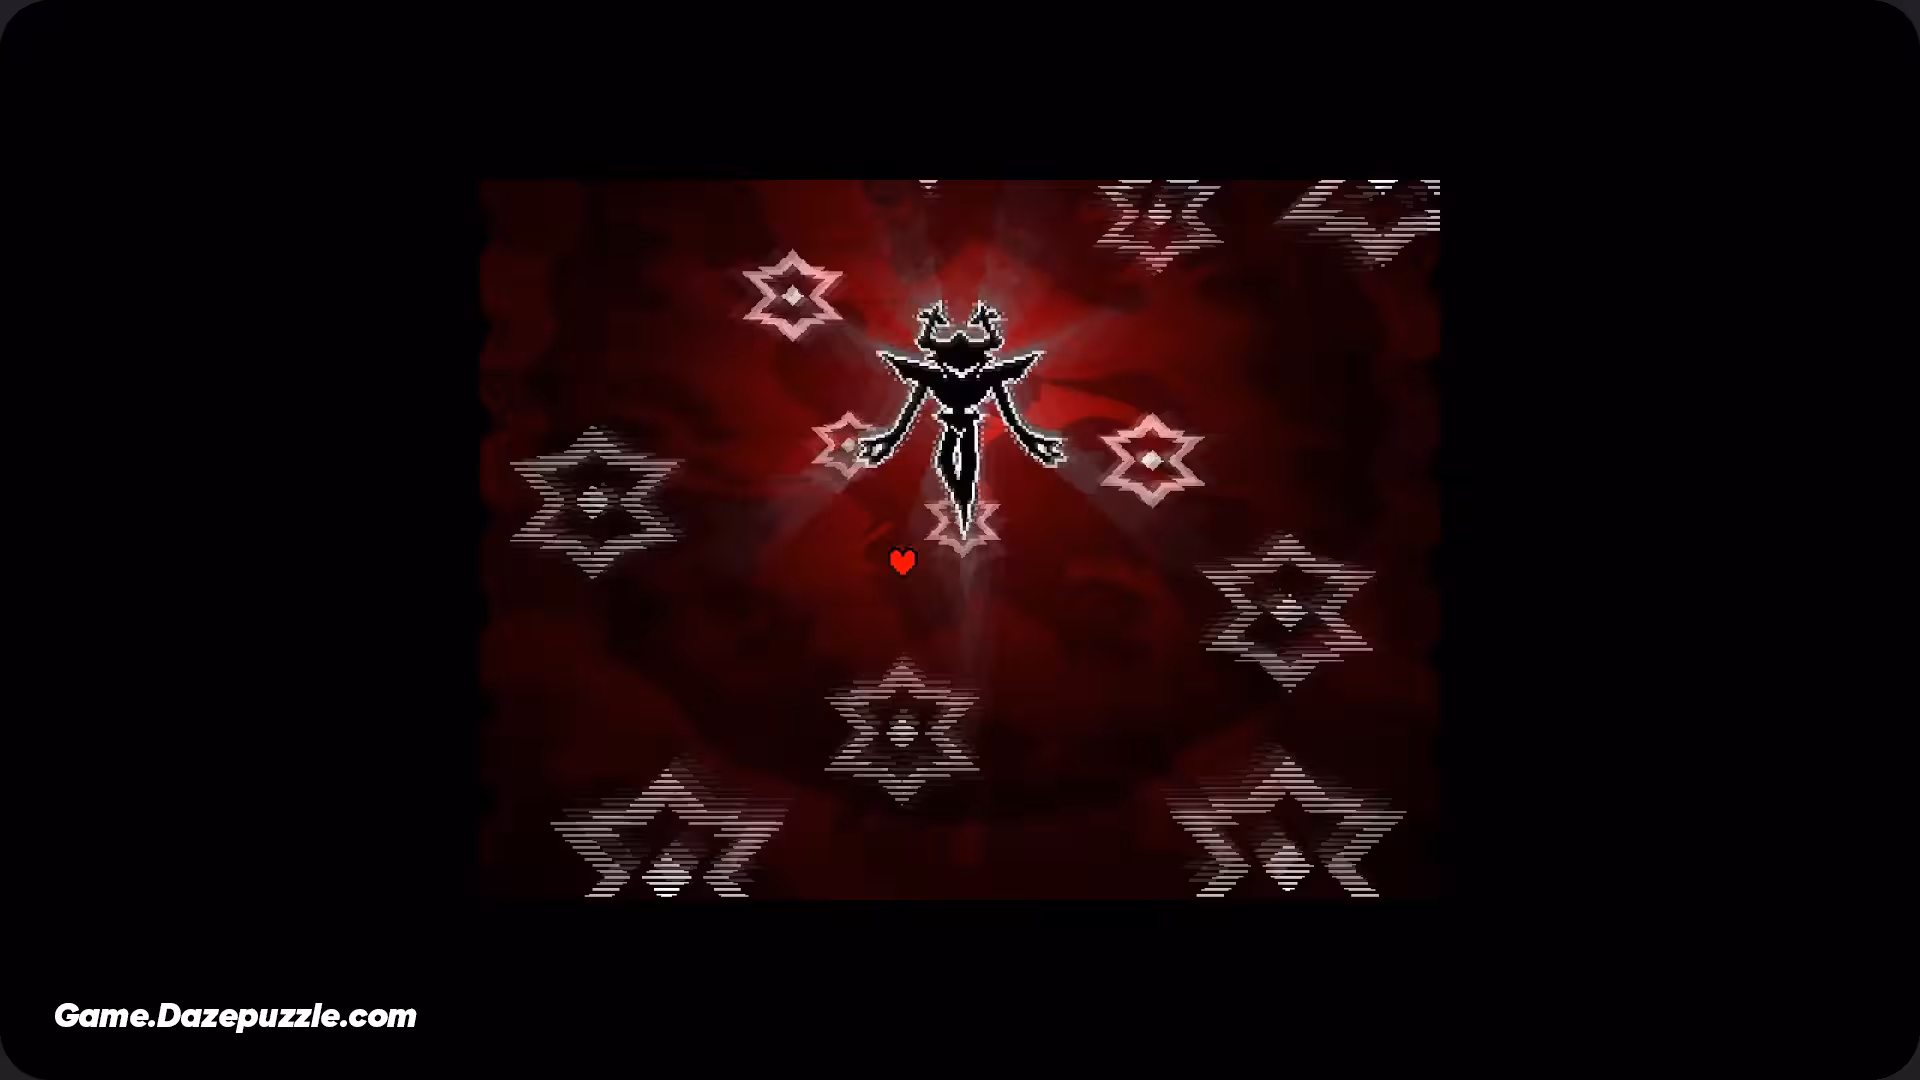
SECRET BOSS GUIDE: How to Beat the Roaring Knight
After completing Round 2 and proceeding with the story, you will eventually confront what seems to be the chapter’s final boss. However, if you have collected the Shadow Mantle (the reward for the S-Rank questline in Round 2, similar to how you got the Ice Key), you can challenge the true secret boss: The Roaring Knight.
The Scripted Loss and the Second Chance
Your first encounter with the Roaring Knight is a scripted loss. He is impossibly strong and will wipe out your party. However, if you have the Shadow Mantle equipped on a character (Susie is the best choice), you will be given a chance to fight him again. A mysterious voice will tell you that while the fight seems impossible, he will let you restart it immediately. This is your cue that the secret boss fight has begun.
Surviving the Onslaught: The Roaring Knight’s Attacks
This fight is brutally difficult. The Roaring Knight has several attacks that can one-shot your party members.
- Gaster Sword Blasters: His most dangerous attack. Requires incredibly fast reaction time to dodge.
- Lemonbread Slash: A very fast and powerful slash.
- Swords’ Dance: A flurry of swords that is almost impossible to dodge completely.
- Ice Crystal Barrage: His weakest attack, with smaller and easier-to-dodge projectiles.
The Key to Victory: Using the Shadow Mantle
The Shadow Mantle is the key. It protects the wearer from being instantly defeated by the Knight’s powerful attacks. Put it on Susie, as she has high HP and can deal massive damage with Rude Buster.
Your strategy should be to have Kris and Ralsei focus on defending and healing, while Susie unleashes Rude Buster whenever possible. Even with the Mantle, the character wearing it will take heavy damage, so keep them healed. If Kris is the last one standing, their attack power increases significantly, giving you a fighting chance. It’s an endurance battle. Keep dodging, keep healing, and chip away at his health.
Rewards for the Worthy
If you manage to defeat the Roaring Knight, you will be rewarded with the Black Shard and the Shadow Crystal, key items that will undoubtedly be important in future chapters.
That’s a Wrap!
And there you have it! You’ve survived the game show, achieved S-Rank, and even taken down a seemingly invincible knight. Deltarune Chapter 3 is a masterclass in subverting expectations, blending hilarious writing with genuinely challenging gameplay and deep secrets. You’ve collected keys, taken photos, cooked for monsters, and proven your worth as a true Lightner. Congratulations, and see you for Chapter 4!
Thanks for keeping up with Game.Dazepuzzle.com