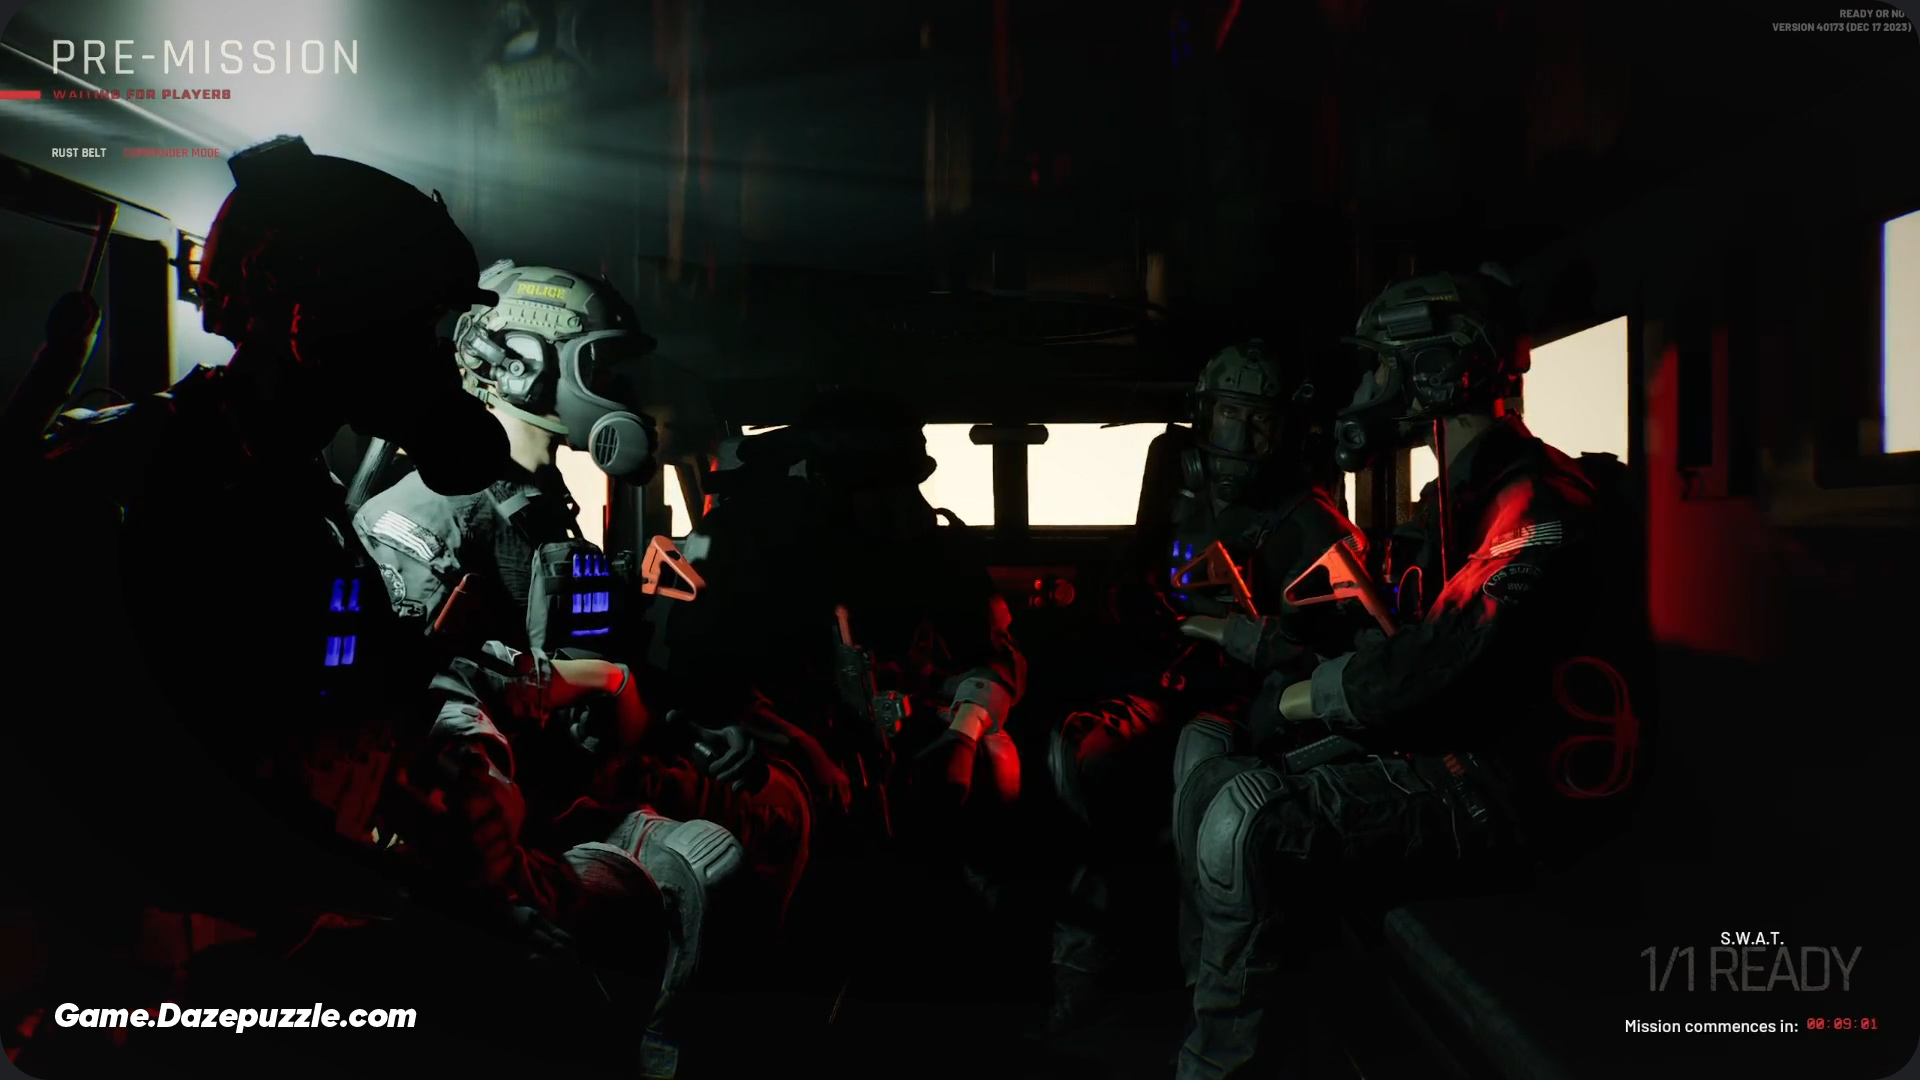
It’s a mission that every Ready or Not player comes to dread. You’ve cleared houses, diffused bombs, and handled hostage situations, and then you get the call to the Costa Vino Border Reserve. You get a mission called Rust Belt. On the surface, it seems straightforward, but deep beneath the earth, it turns into one of the most challenging and frustrating experiences in the game. If you’ve found yourself getting flanked in the dark, overwhelmed by armored suspects, or just plain lost in the tunnels, you are not alone. This mission is a true test of skill, but it is absolutely beatable. More than that, it’s possible to master it and walk away with a perfect S-Rank.
This is not just another list of objectives. This is your complete tactical guide to the Ready or Not Rust Belt mission. We’re going to break down every enemy, every room, and every strategy you need to turn this confusing labyrinth into a successful operation. Whether you just want to survive or you’re chasing that flawless S-Rank, we’ve got you covered.
What Is in Our Ultimate Ready or Not Rust Belt Guide
Mission Briefing: Know Your Enemy and Battlefield
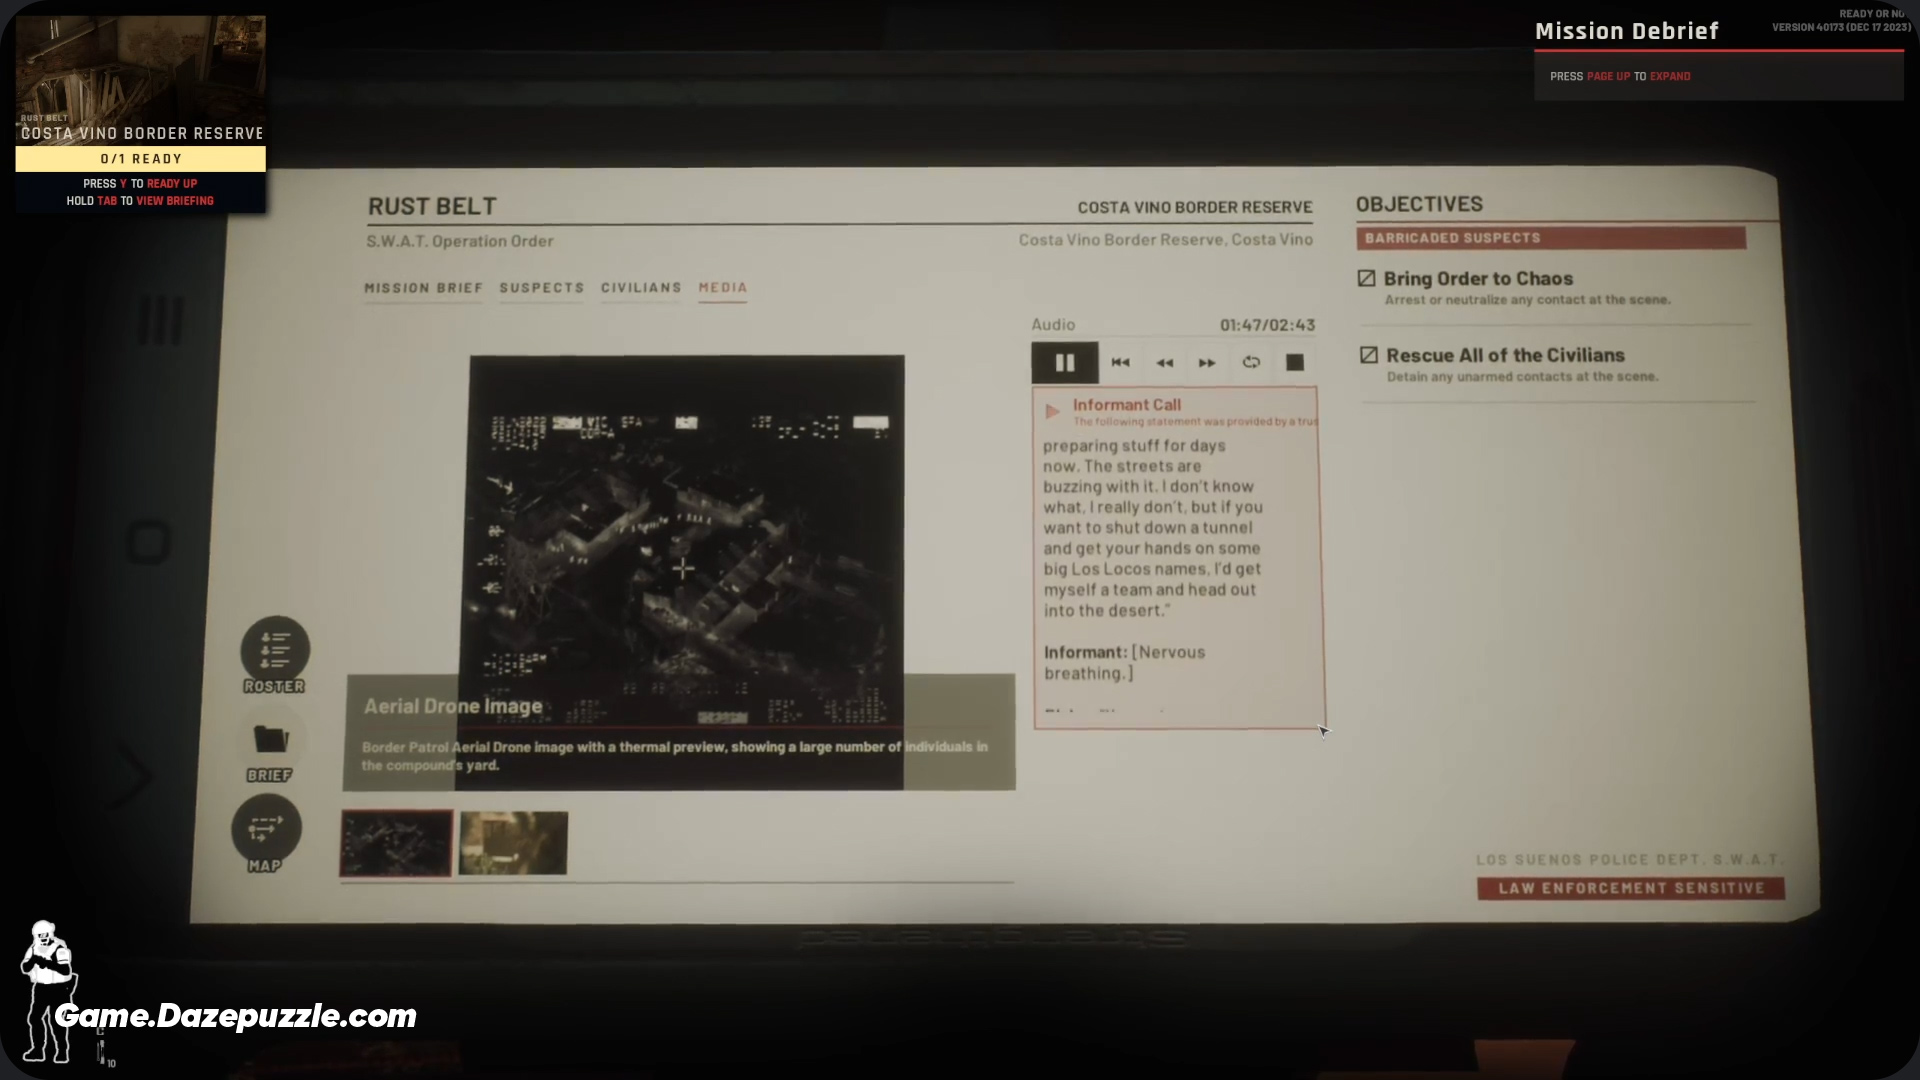
Before you even think about your gear, you need to understand the situation. A deep understanding of the challenges ahead is the foundation for every tactical decision you’re about to make. This is a joint operation to intercept key members of the Los Locos cartel who are trying to escape through a hidden tunnel system.
Your Objectives: More Than Just Survival
Your main goals are simple on paper: “Bring Order to Chaos” by arresting or neutralizing all suspects, and rescue all civilians. However, there are also two “soft objectives” you need to complete for a perfect score: reporting a stack of confiscated passports and a getaway boat used by the cartel. We’ll point out exactly where to find those later.
Threat Assessment: The Los Locos Cartel
The suspects you’re facing are members of the Los Locos cartel, and they are known for their aggression and willingness to fight. They have high morale and won’t give up easily, especially once you’re deep inside their tunnel network.
The most critical factor here is that, unlike some earlier missions, you will face suspects wearing body armor. This changes everything. If you’re going in with lethal force, you absolutely need armor piercing (AP) rounds. If you’re going non lethal, it means suspects will absorb more hits before they are stunned or surrender.
The enemy AI is also incredibly mobile. The moment they hear gunfire, they will abandon their starting positions, move around the map, and actively try to flank you. This is the single biggest threat in this mission and the reason so many runs end in failure. They are masters of hiding in the countless dark corners of the map.
The Environment: A Tale of Two Maps
The Rust Belt mission is split into two completely different battlefields, and you need to be prepared for both.
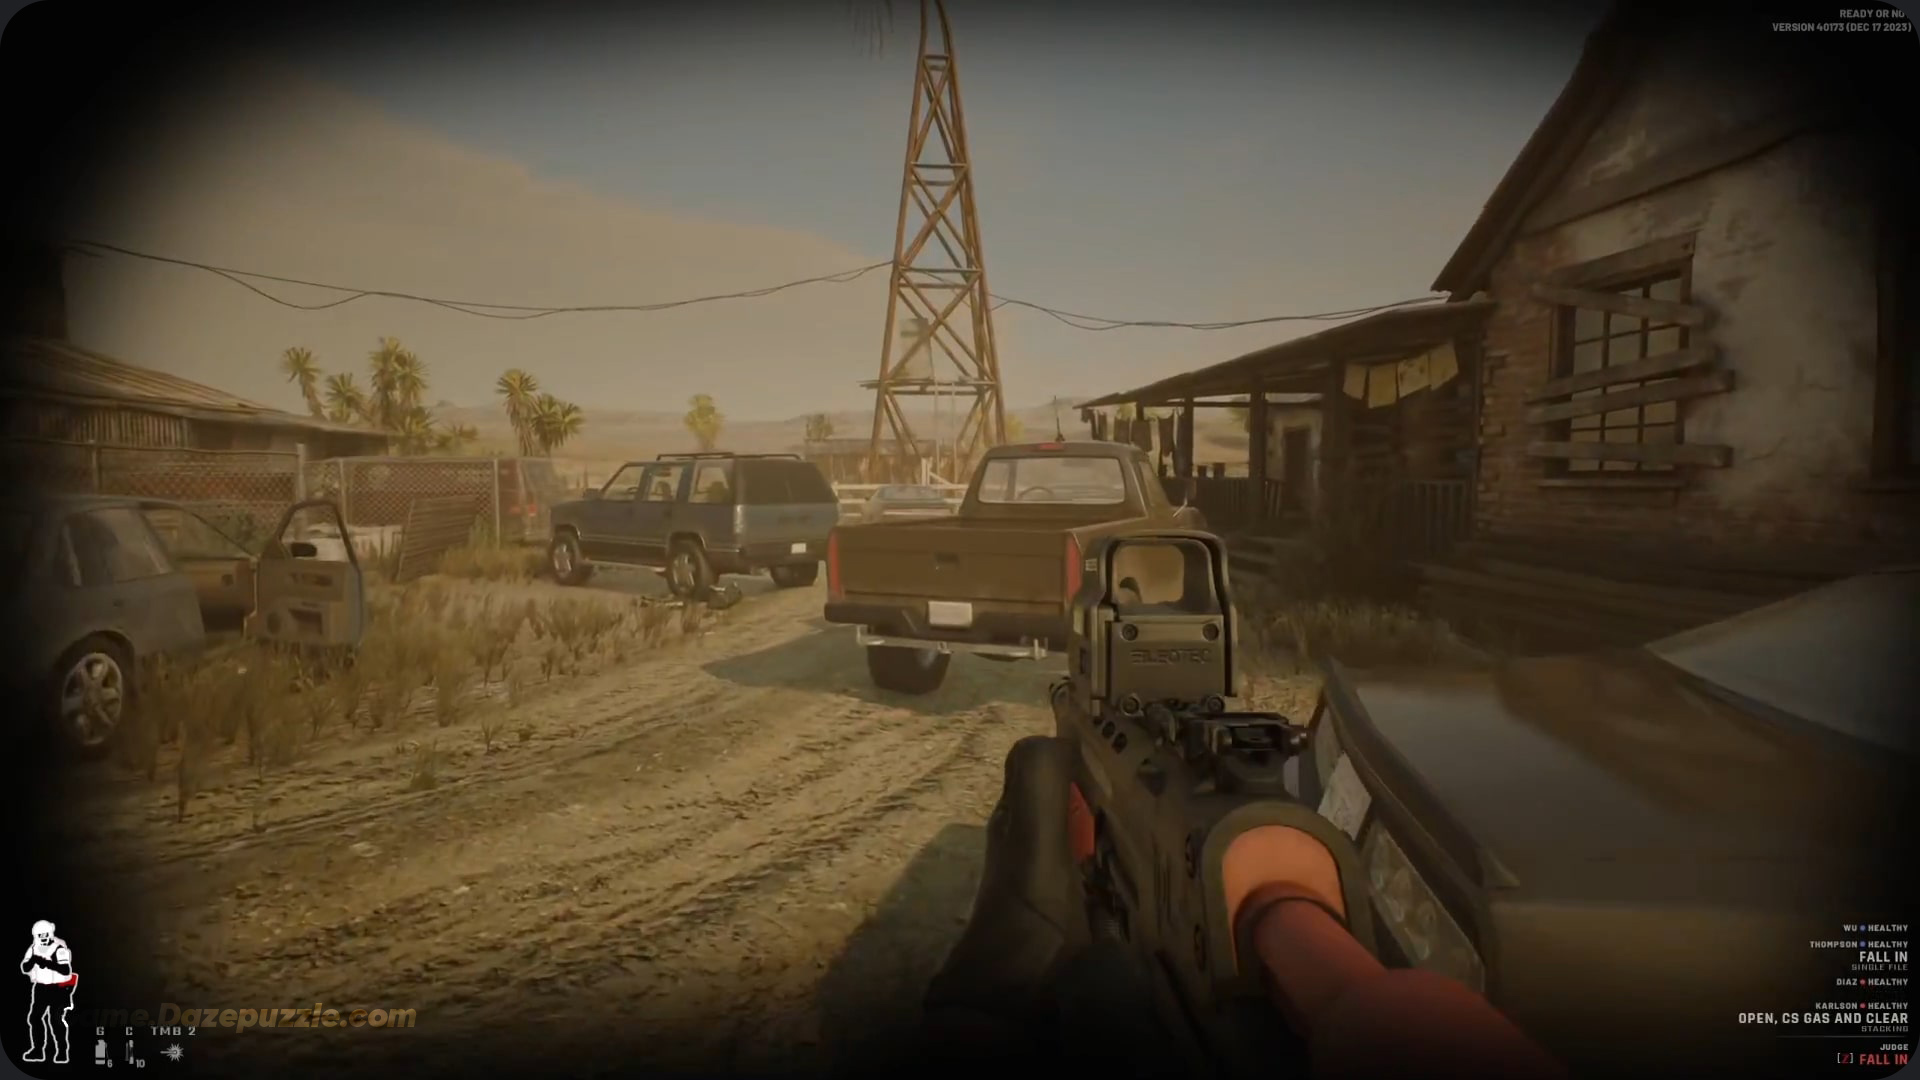
First, you have the surface area. This is an open ranch with a few small buildings. It allows for medium to long range engagements and feels like a more standard Ready or Not level. The few civilians on the map are mostly found here and are generally cooperative.
Second, you have the tunnel labyrinth. This is the true heart of the mission. It’s a dark, confusing network of tight corridors and interconnected rooms. The in-game map is just a hand drawn sketch, and it’s intentionally unreliable. You will be completely reliant on your Night Vision Goggles (NVGs) and your own navigation skills. Many rooms have three or more doors, creating a tactical nightmare where your team can be attacked from multiple angles at once.
The Perfect Loadout for Rust Belt
Your equipment choices for Rust Belt are more critical than on almost any other map. Your loadout needs to be able to handle both long sightlines on the surface and brutal, close quarters fights in the dark.
The Big Choice: Lethal vs. Non Lethal
First, you need to decide your goal. Are you just trying to complete the mission, or are you aiming for the coveted S-Rank?
Lethal Approach
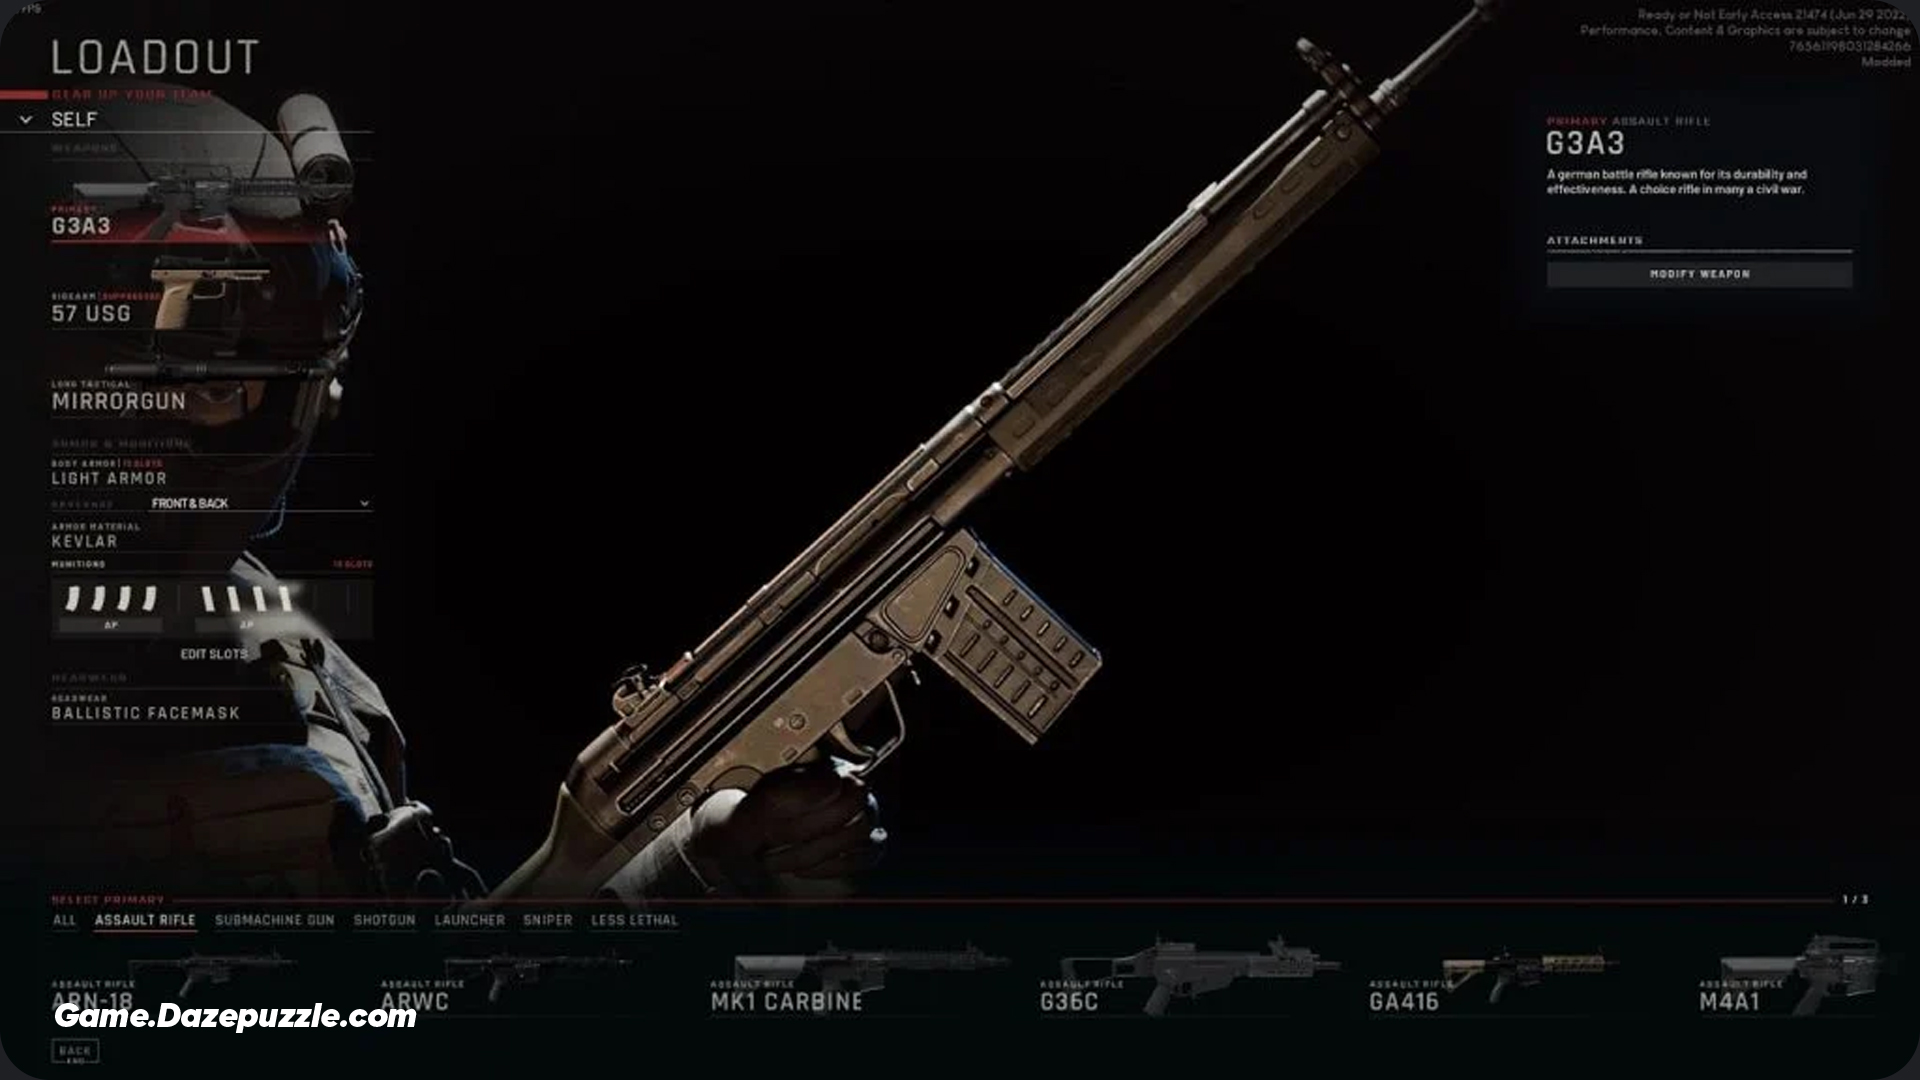
If you just want to finish the mission, a lethal loadout is perfectly fine. You can focus on neutralizing threats quickly and efficiently. Given the presence of armored enemies, you must equip all your rifles and pistols with Armor Piercing (AP) ammunition.
Non Lethal Approach
To get an S-Rank, you must follow a strict set of rules, which means you cannot kill anyone. For a full breakdown of the requirements, you can check out our general guide on how to get an S-Rank in Ready or Not. This means your entire operation must be non lethal. This path requires more patience and precision, focusing on using gas, stuns, and less lethal firearms to force arrests.
Recommended S-Rank Loadout: The Silent Professional
For an S-Rank, you’re not just a team leader; you’re a risk manager. This loadout is designed to minimize the chances of your AI teammates making a mistake that costs you the rank. The philosophy here is to “weaken” your AI’s offensive capabilities to ensure they never make a lethal mistake.
The big non lethal debate is between the Beanbag Shotgun and a Pepperball Rifle. The Beanbag Shotgun is great for stunning a suspect with a single shot, but a hit to the head is lethal and will instantly fail your S-Rank attempt. The Pepperball Rifle is better for area control and is more forgiving, but it requires a lot of ammo and affects your teammates, making gas masks mandatory for the entire squad. For this mission, we’ll build our team around the Pepperball system for maximum control.
Optimized S-Rank Team Loadout
(Note: All AI officers use VKS Pepperball rifles with no sidearm ammo, Heavy Armor, and Gas Mask + NVG)
| Role | Player’s Gear | Tactical Gear | Key Strategy |
|---|---|---|---|
| Leader (You) | Beanbag Shotgun, Taser | 4x CS Gas, Mirrorgun | Precision stuns & intel gathering. |
| Shield | Ballistic Shield | 4x CS Gas | Draws fire, prevents AI mistakes. |
| Breacher 1 | Battering Ram | 5x CS Gas | Standard non lethal entry. |
| Breacher 2 | Breaching Shotgun | 5x CS Gas | Alternate non lethal entry. |
| Support | M320 Gas Launcher | – | Long range area denial. |
Recommended Lethal Loadout
If you’re going in loud, your focus is on firepower and survivability.
- Primary Weapon: A reliable assault rifle like the G3A3 for its stopping power or the MCX for its versatility is a great choice. Make sure it’s loaded with AP ammo.
- Tactical: A Tactical Shield is extremely valuable for pushing down the narrow tunnels. Also, bring plenty of Flashbangs and Door Wedges to control the chaotic environment.
- Armor: Heavy Armor is recommended to withstand the high volume of fire in the tight corridors.
Rust Belt Walkthrough: A Step by Step Guide
This is where the rubber meets the road. We’ll walk you through the mission from insertion to extraction, pointing out key objectives and tactical advice along the way.
Phase One: Compound Infiltration
Your first job is to secure the surface area. From the spawn, it’s best to approach the main compound from the left side, as it offers more cover.
- Clear the Surface: Methodically clear the exterior buildings. You might encounter a suspect or two out here, but they are generally less concentrated than in the tunnels.
- Secure Civilians: The few civilians on the map are located on the ground floor of the main house (the same building with the tunnel entrance). They are usually compliant and easy to secure. Get them restrained early to check that objective off your list.
- Soft Objective #1: Report Confiscated Passports: Inside the main house, head to the kitchen area. On a table, you’ll find a stack of passports. Look at them and use the report function to complete the first soft objective. This is an easy step to miss if you’re rushing.
Phase Two: Entering the Labyrinth
Before you head down the ladder into the tunnels, take a breath. This is where the real mission begins. Make sure your team has their NVGs and IR lasers equipped.
The “Three Lane” Door Wedge Strategy
The tunnels can be thought of as three parallel lanes or zones. Your goal is to clear one lane completely while using Door Wedges to block off all connecting doors to the other two lanes. This is the single most important strategy for this mission.
- Enter the first section of the tunnel.
- Identify all doors leading left and right.
- Order your team to wedge the doors on the right.
- Proceed down the left path, clearing rooms one by one.
- In each new room you clear, immediately wedge any door that connects to the center or right lanes.
- Once the left lane is completely clear, regroup, remove your wedges, and repeat the process for the center lane, now wedging off the right lane.
This methodical, albeit slow, process is the only guaranteed way to prevent getting flanked and overwhelmed.
Room Clearing Technique
Use your Mirrorgun on every single door. Call out contacts to your team (or just note them mentally). Use the “slicing the pie” technique to clear corners from the doorway before you enter. A doorway is a fatal funnel spend as little time in it as possible. For an S-Rank, throw CS Gas before you enter a room to disorient suspects.
As you progress, you’ll come to a hub with a double door. After that, look for a door with a large “Dejad” painted above it. This path leads to a corridor with train tracks on the ground. Follow these tracks to the final section.
Phase Three: The Final Cavern & Extraction
The train tracks lead to a door that opens into a large, open cavern. This is the final and most dangerous area, often containing multiple entrenched suspects.
- The Final Firefight: Use your remaining grenades and tactical equipment to suppress and clear this area. The open space makes it dangerous, so use cover wisely.
- Soft Objective #2: Report Los Locos Barge: At the far end of this cavern, there’s a small, makeshift dock with a boat (barge) moored to it. This is the cartel’s escape vehicle. Approach the boat and use the report function to complete the final objective.
- Final Sweep: Once all suspects are secured and objectives are complete, do a final sweep for any dropped evidence (weapons). If the mission doesn’t end automatically, you’ve missed something.
Pro Level Tactics for a Flawless Run
Moving from “how to complete” to “how to master” requires focusing on high level concepts.
AI Squad Management
Go beyond “Move To” and “Clear.” Use the full command suite. “Stack Up” and “Breach and Clear” with different grenade types are essential. For S-Rank, a common sequence is: “Stack Up,” “Throw CS Gas,” “Breach and Clear.”
After all suspects and civilians are restrained (the “Bring Order to Chaos” objective is complete), a new command becomes available: “Search and Secure.” Issuing this command will cause your AI teammates to fan out across the entire map and automatically bag any remaining evidence (weapons). This is a massive time saver and ensures you don’t fail the mission because of a hidden pistol in a dark corner. Note: they will not complete soft objectives for you.
Solo vs. Co-op Strategy
The core tactical approach to the map’s challenges differs fundamentally between solo and co-op play. The main problem in Rust Belt is managing the sheer number of potential threat angles in the tunnels.
The challenge shifts from AI management to clear, concise human communication and role specialization. To dive deeper into team dynamics and communication protocols, be sure to read The Full Ready or Not Multiplayer Guide.
Solo Play is about Control
A solo player with AI must solve this problem through control. You use tools like door wedges and commands to physically and systematically shut down threat angles, simplifying the environment and allowing your limited squad to focus on one threat at a time. The pace is slow and methodical.
Co-op Play is about Coordination
A human co-op team solves this problem through coordination. They don’t need to wedge every door if they can post a player to watch each door. This allows for a more dynamic and faster pace. The challenge shifts from AI management to clear, concise human communication and role specialization.
The Ultimate S-Rank Checklist
Achieving an S-Rank requires a perfect run. This checklist provides a final mental review for a player to ensure all conditions are met before ending the level, preventing the frustration of an A+ score due to a small oversight.
| Category | Requirement for S-Rank |
|---|---|
| Personnel | Zero casualties (officers, civilians, or suspects). Everyone must be alive. |
| Suspects | All must be arrested. |
| Civilians | All must be rescued and secured. |
| Evidence | All dropped weapons must be collected and reported. |
| Soft Objectives | Both the Passports and the Barge must be reported. |
| Professional Conduct | No penalties for unauthorized use of force or friendly fire. |
If the mission does not end automatically, one of these conditions has not been met. Do not extract manually.
Final Debrief and Additional Intel
Success in Rust Belt rests on three pillars: methodical pace, flank control (with door wedges), and preemptive intel (with the Mirrorgun). Mastering these three principles is the difference between a catastrophic failure and a flawless S-Rank operation.
Common Issues & Easter Eggs
- Bugs: Players have reported issues with excessive fog or dust in the tunnels after certain engine updates. There is also a potential bug where hostages are executed if the player is too slow in the initial compound.
- Easter Egg: In the tunnels, players can spot a pair of blinking “eyes” in the darkness on a stalagmite, a creepy and unexplained environmental detail. Keep an eye out for it!
Thanks for keeping up with Game.Dazepuzzle.com