The first time it happens, you won’t be ready. The wind will pick up, not with the usual desert sigh, but with a low, menacing hum that vibrates in your bones. The air will thicken with a golden haze, the sun dimming as if behind a final curtain. Then, the alert will flash across your screen, a frantic, almost mocking confirmation of what your senses already know: a sandstorm is coming. And it’s coming for you.
On the merciless world of Arrakis, the environment itself is your greatest adversary. Among all its dangers, none is more iconic or defining than the colossal sandstorms that scour the landscape. This isn’t just a weather effect; it’s a fundamental gameplay mechanic that dictates exploration, base building, and even the endgame economy. It’s a force that can strip you to nothing in seconds, yet it also hides incredible opportunity within its chaotic heart.
This guide is your key to understanding how to survive sandstorm in Dune Awakening, transforming you from a terrified victim scrambling for cover into a seasoned strategist who sees the storm not as an end, but as a new beginning. We’ll break down the anatomy of the storm, teach you how to build a fortress against its fury, equip you with the right gear and skills, and finally, show you how to ride the whirlwind to power and riches.
What’s in our How to Survive Sandstorm in Dune Awakening Guide?
Understanding the Threat: The Two Faces of the Storm
To master the storm, you must first know it. In Dune: Awakening, storms aren’t a one size fits all disaster. They manifest in two distinct forms, each with a different purpose and impact on your journey. This dual system elevates environmental threats from a simple annoyance to a dynamic and strategic part of the game.
Standard Sandstorms: The Ever-Present Menace
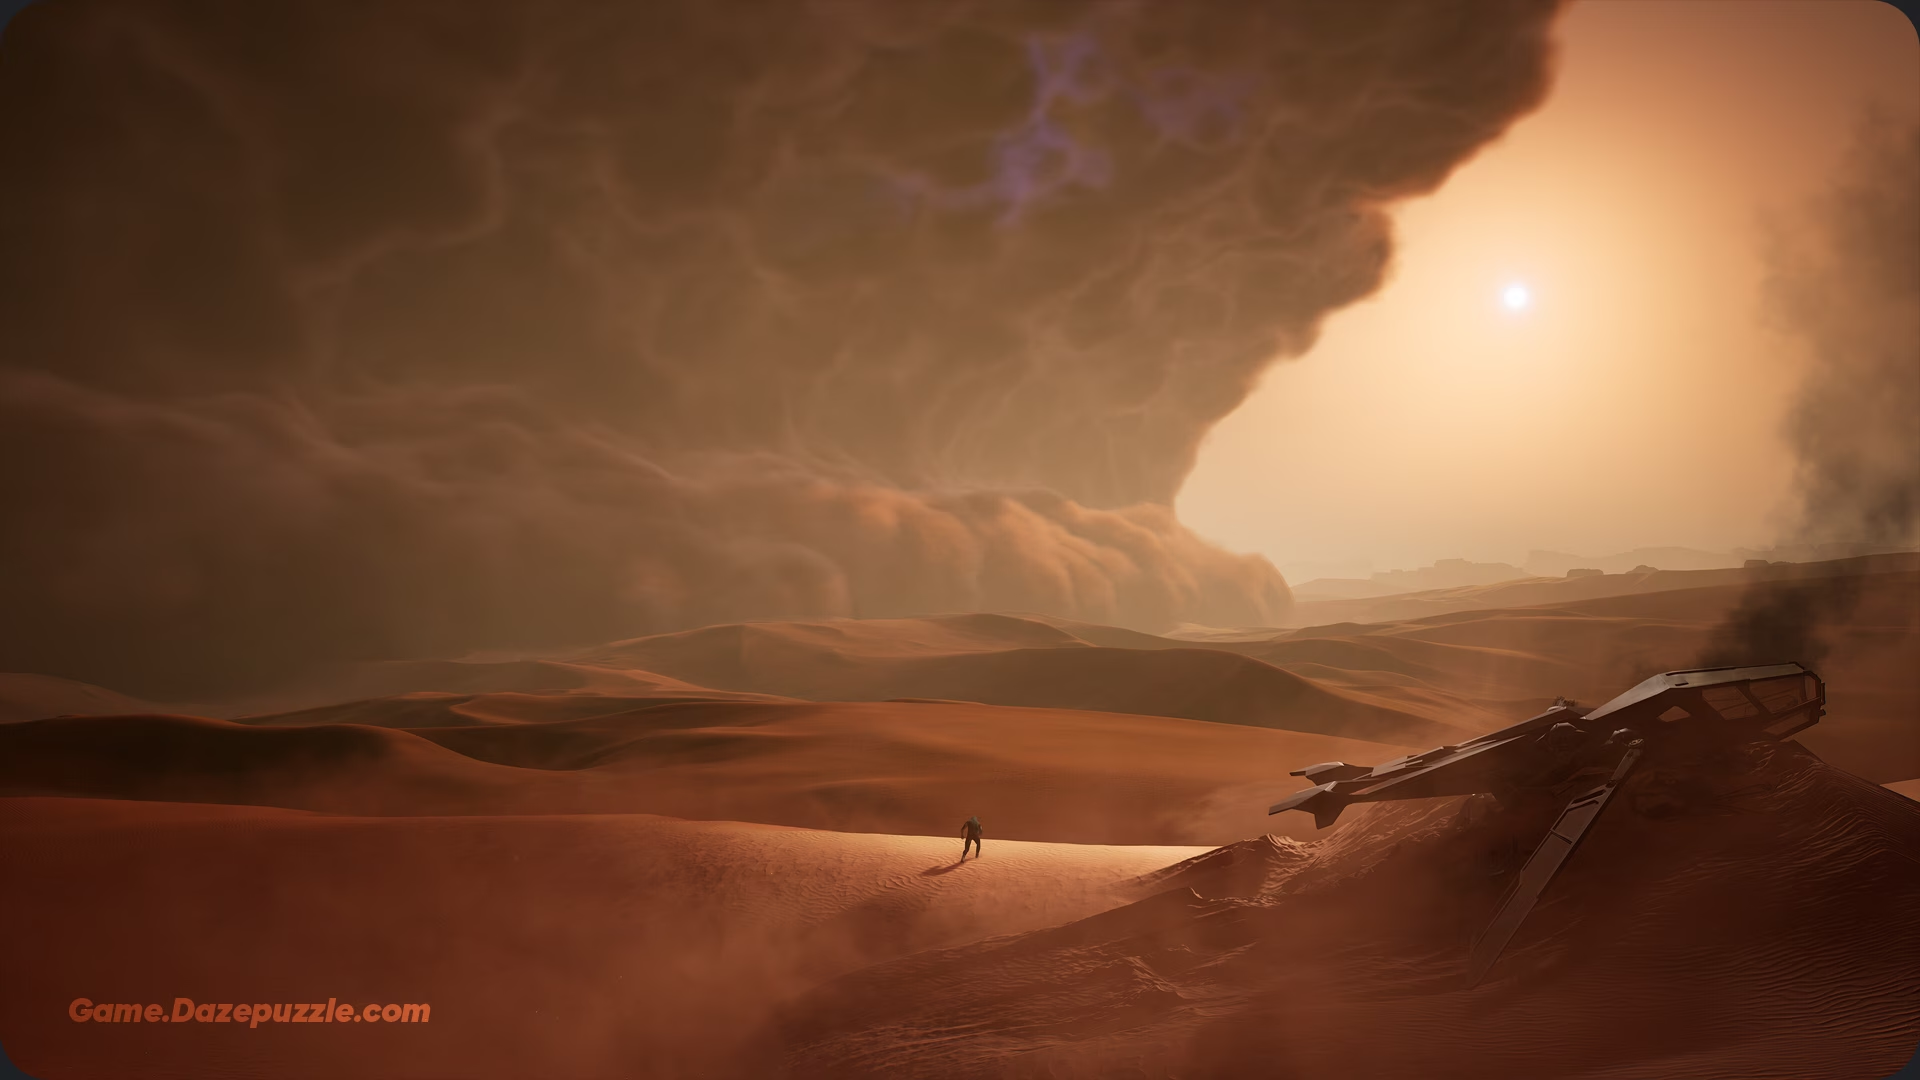
These are the most common environmental threats you’ll face on Arrakis. Think of them as localized, frequent events that can spring up with little warning and dissipate just as quickly. Visually, they appear as gigantic, rolling walls of sand and dust moving across the map. Getting caught in one without protection is lethal, as it will rapidly drain your health bar. These storms are not just a danger to you; they will also severely damage any vehicles left out in the open or in shelters that are not fully “Enclosed”.
The primary goal of these standard storms is to create constant tension, forcing you to break from your current activity, be it harvesting spice or exploring, and find shelter immediately. They typically last for about a minute, a short but intense window that puts immense pressure on your situational awareness. They can also wipe your survey data, forcing you to re-explore areas you’ve already mapped.
Coriolis Storms: The World Changers
These are an entirely different beast. Coriolis Storms are massive, planet wide cataclysms that are much rarer but strategically far more important. They are a core endgame mechanic, designed to reshape the most valuable and dangerous region of the map: the Deep Desert.
A Coriolis Storm is a weekly event whose main function is to “wipe” or reset the entire Deep Desert. At its peak, every player built structure in this zone is obliterated, and any player caught within it is killed instantly. But this destruction brings rebirth. The storm procedurally reshuffles the landscape, shifting resource nodes, burying old points of interest, and revealing new ones like fallen spaceships and hidden ecology labs. This creates a perpetually fresh and contested endgame, preventing any single group from permanently dominating the most valuable territory.
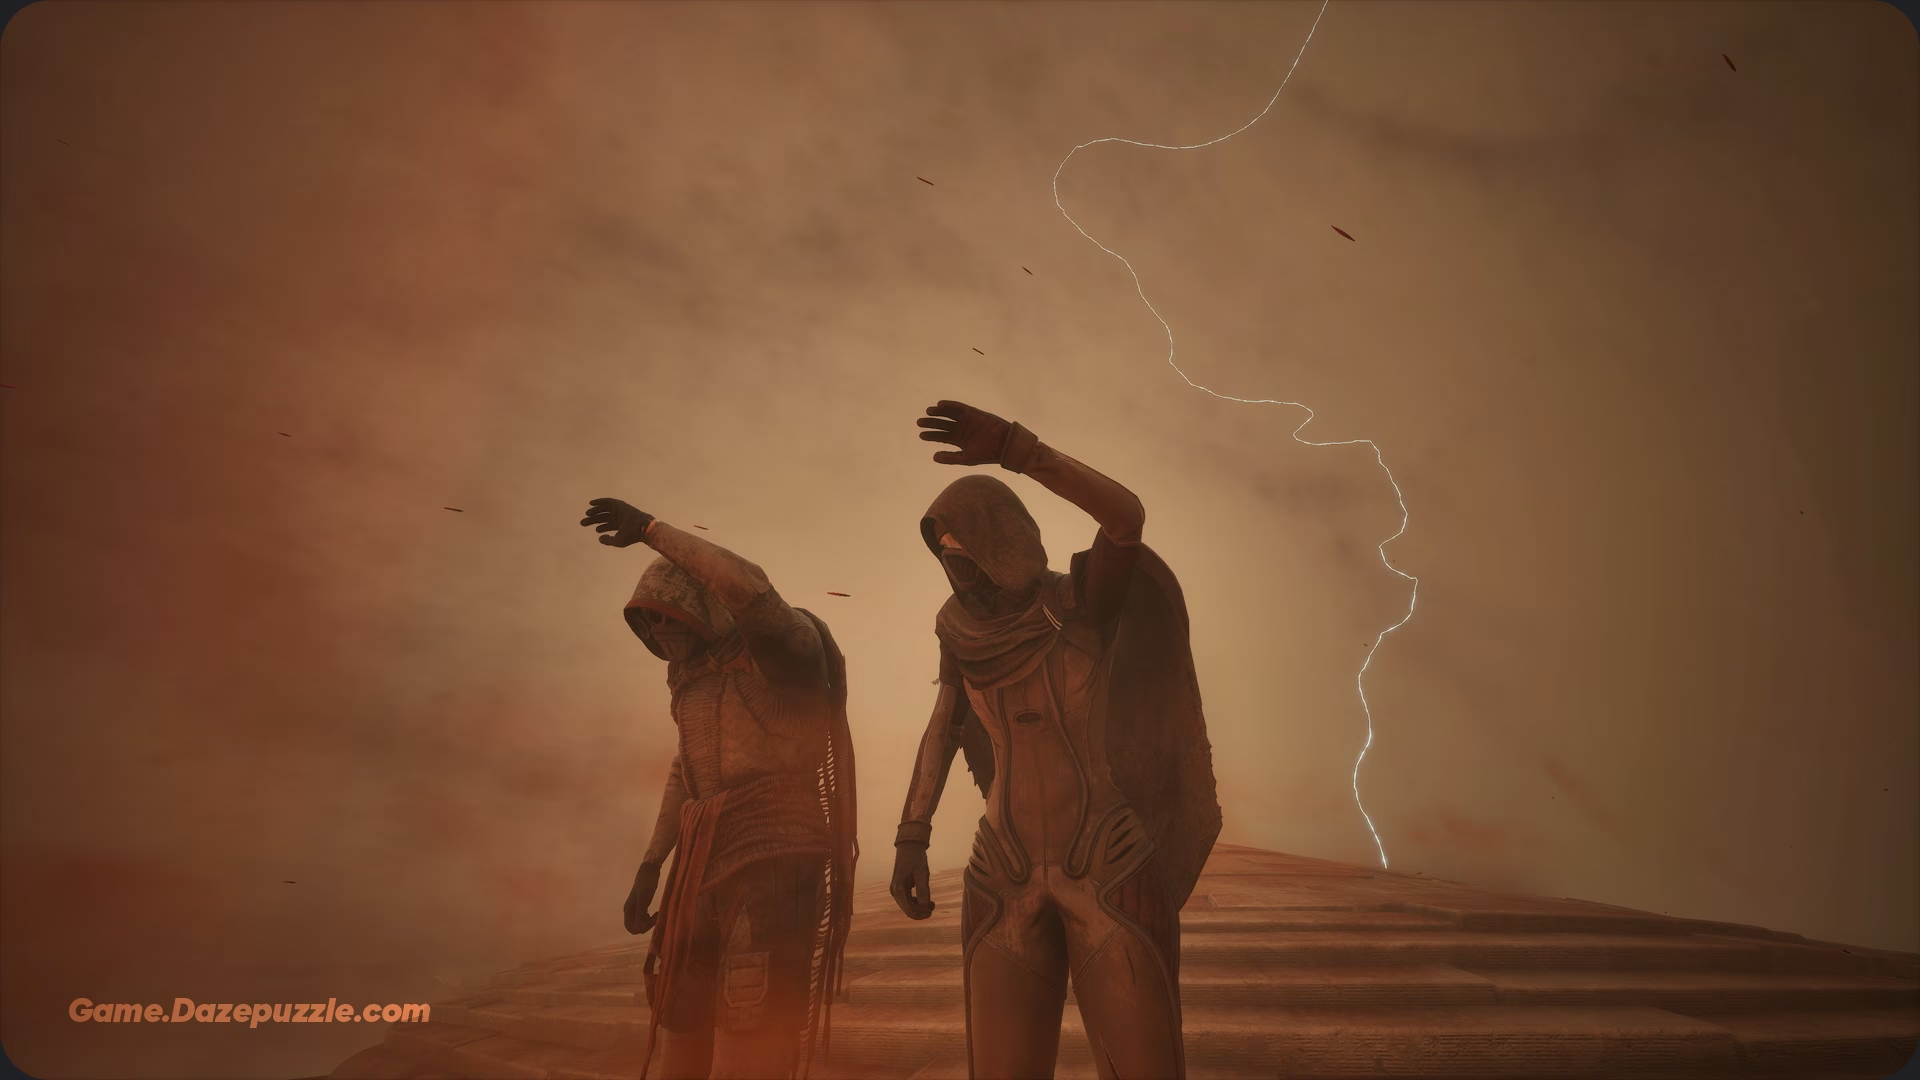
Unlike their smaller cousins, a Coriolis Storm doesn’t just appear. Its buildup takes hours, with the atmosphere across the entire map gradually changing. Even in “safe” zones, you’ll witness the air grow thick with sand, the wind howl like a dense fog, and eventually, the sky will crackle with lightning as visibility drops to near zero. This slow, atmospheric buildup serves as a powerful, world spanning warning that the reset is coming.
Shelter from the Storm: Your Bastion on Arrakis
When the fury of Arrakis descends, only one thing matters: finding shelter. Your survival strategy is split into two parts: immediate, reactive thinking out in the wild, and long term, proactive preparation through base building.
Immediate Shelter: Thinking on Your Feet
The key to surviving a sudden storm in the open is to achieve the “Sheltered” status, which will be displayed in the bottom left corner of your UI. This status completely negates the storm’s damaging effects. The good news is that the game is quite generous with what it considers a shelter. You don’t always need a full blown cave. Hiding in a small rock crevice, ducking under a large stone overhang, or even pressing yourself up against the side of another player’s base wall can be enough to save you. This flexibility makes survival possible even when you’re caught far from home.
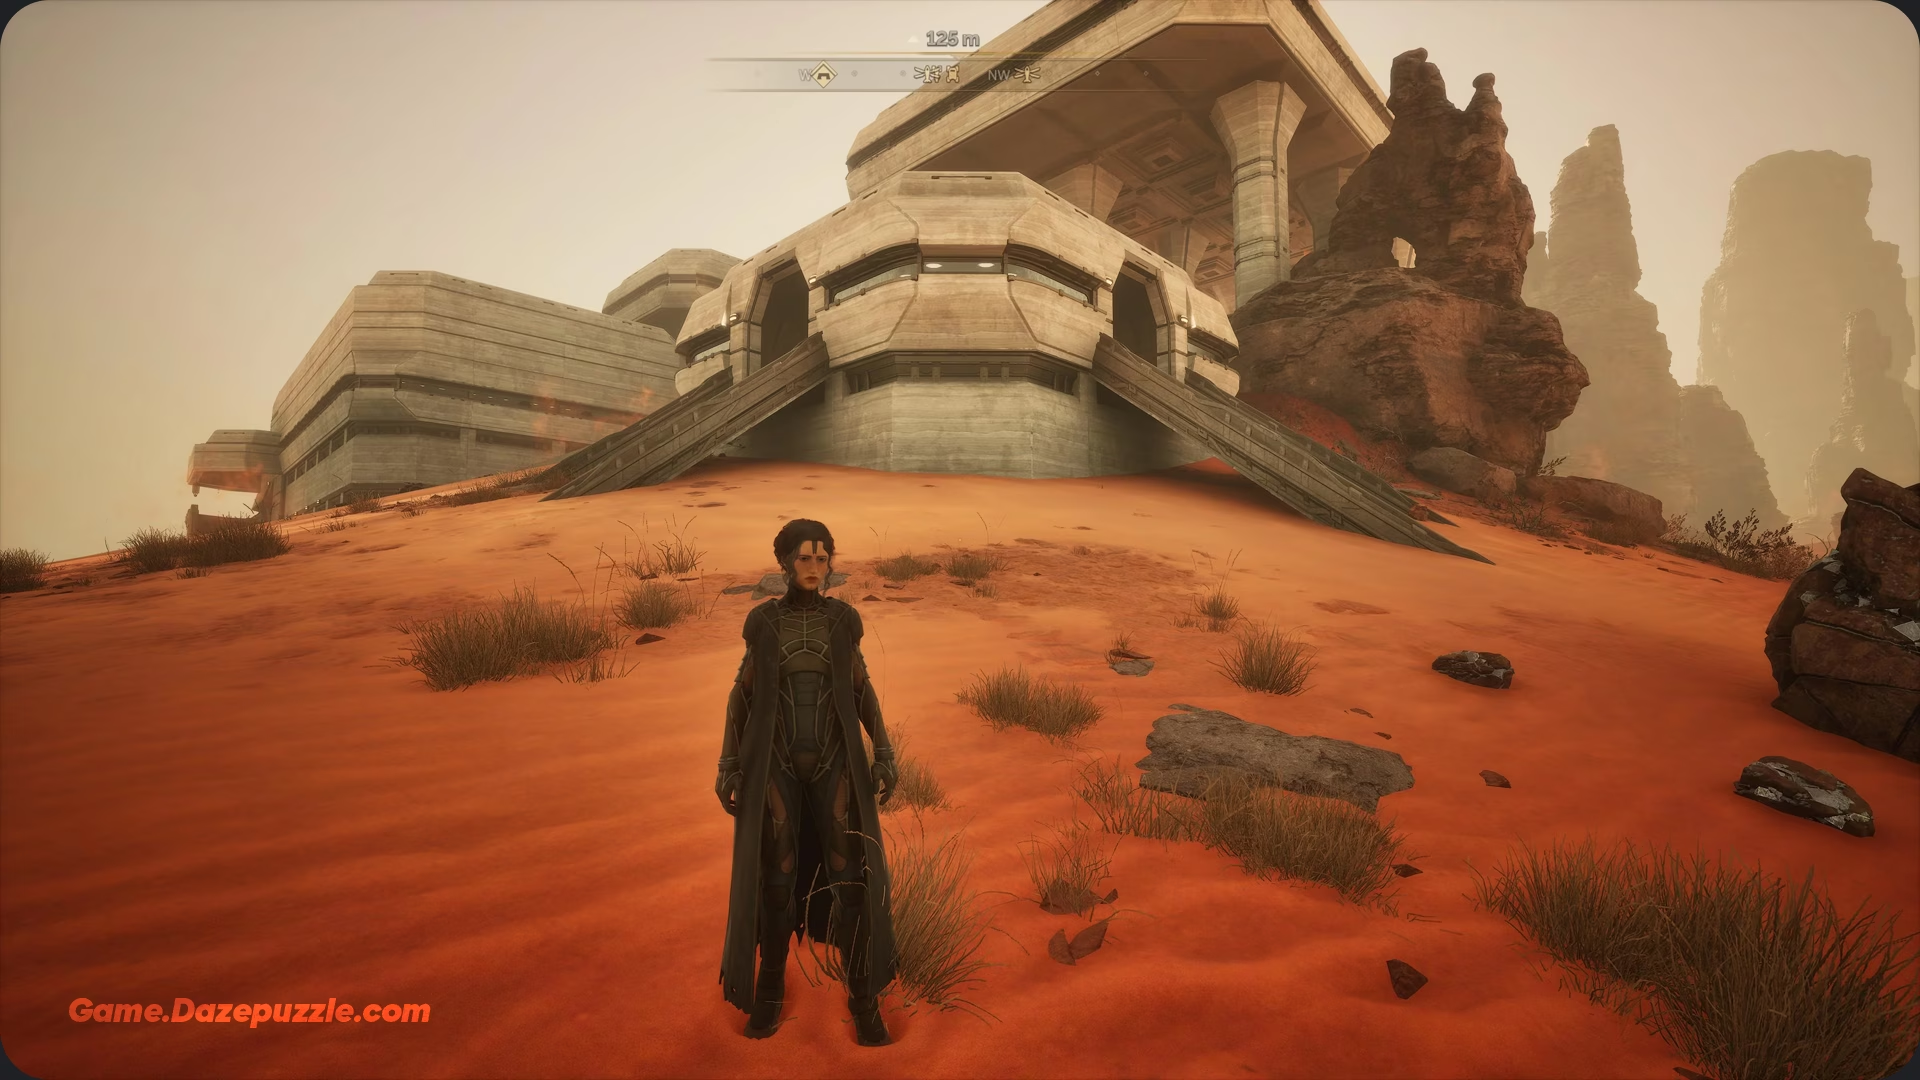
The game defines several levels of protection, each with its own benefits:
- Unsheltered: Completely exposed to the elements. You are vulnerable.
- Sheltered: Protects you from sandstorm damage. This is your minimum goal.
- Enclosed: Protects both you and your vehicles from the storm. This is what a basic, roofed base provides.
- Watersealed: The highest tier of protection. It offers full shelter while also dramatically reducing your water consumption and allowing you to learn new schematics. This is typically achieved in a well-constructed base.
Building for the Storm: Your Permanent Stronghold
While natural shelters are crucial for emergencies, your long term survival on Arrakis depends on constructing a formidable base. In Dune: Awakening, your base is first and foremost a bulwark against the planet itself. The golden rule of base building is simple but absolute: your Shield Generator is life.
A base without a powered shield will be damaged or completely destroyed by sandstorms. This shield is powered by a Generator, which in turn requires Fuel Cells to operate. Fuel Cells are crafted from oil, creating a vital gameplay loop: explore to find oil, craft fuel cells, and keep your generator running to maintain your shield and survive the storm. Refueling your generator is not a one time task; it is a constant, critical chore.
Where you build is just as important as how you build. The best locations for a base are on elevated ground, like rock plateaus and cliffs. This choice offers two massive advantages. First, it provides safety from Sandworms, the other ever present threat of Arrakis, as they cannot reach structures built on high rock foundations. Second, bases built on solid rock are reported to have greater resistance to sandstorm damage. The landscape itself is a tactical puzzle, with these elevated positions serving as a direct solution to the game’s deadliest threats.
The following table gives you a quick comparison of your shelter options to help you make split second decisions when the wind starts to howl.
For better view in mobile, rotate your phone
| Shelter Type | Player Protection | Vehicle Protection | Base Structure Protection | Additional Benefits |
| Open Sands (Unsheltered) | None | None | None | – |
| Rock Crevice / Overhang | Complete | None | N/A | Achieves “Sheltered” status |
| Simple Base (No Shield) | Complete | None | Vulnerable | Achieves “Sheltered” status |
| Simple Base (Shielded) | Complete | Complete | Complete | Achieves “Enclosed” status |
| Cave / POI Interior | Complete | Complete | N/A | Achieves “Enclosed” status |
| Watersealed Base | Complete | Complete | Complete | Reduced water use, learn schematics |
This matrix helps you weigh the risks. If you’re caught in a storm with your precious vehicle, do you dash to a nearby rock crevice and abandon your ride to the elements, or do you risk the journey back to your shielded base? This gives you the data you need to make an informed, and potentially life saving, decision.
The Survivor’s Mindset: Gear, Skills, and Preparation
True preparedness on Arrakis begins long before the first grains of sand are lifted by the wind. A skilled survivor has the right gear for the harsh conditions, the right skills for the job, and a stockpile of critical resources ready for the aftermath.
Dressing for the Occasion: Essential Gear
Your equipment is your first line of defense. The most important piece of gear you will craft is the Stillsuit. This iconic outfit is the cornerstone of your survival, primarily managing your thirst by recycling your body’s moisture. Unlocking it is a massive upgrade over the starting gear, allowing you to stay hydrated for much longer periods. It also provides a degree of heat protection, delaying the onset of Sunstroke.

Other specialized tools are vital. Early in the game, the Blood Extractor and Blood Sack are essential for water procurement. They allow you to harvest blood from fallen enemies, which can be purified into drinkable water back at your base. For repairs, a Welding Torch and Welding Wire are non-negotiable. You will need them to fix the inevitable damage storms will inflict on your vehicles and base structures.
Mastering the Environment: Key Skills
While you can eventually unlock all classes on a single character, your initial choices can significantly impact your early survival. For weathering the storm and the harsh environment, a few classes stand out:
- Planetologist: This class is specifically designed for environmental adaptation and resource gathering. It features a passive skill that improves the moisture absorption of your Stillsuit, making it a top tier choice for long term survival.
- Bene Gesserit: This class possesses passive skills that can slow the onset of heatstroke, indirectly aiding in storm survival by conserving your precious water reserves. Their unique movement abilities are also invaluable for quickly reaching shelter.
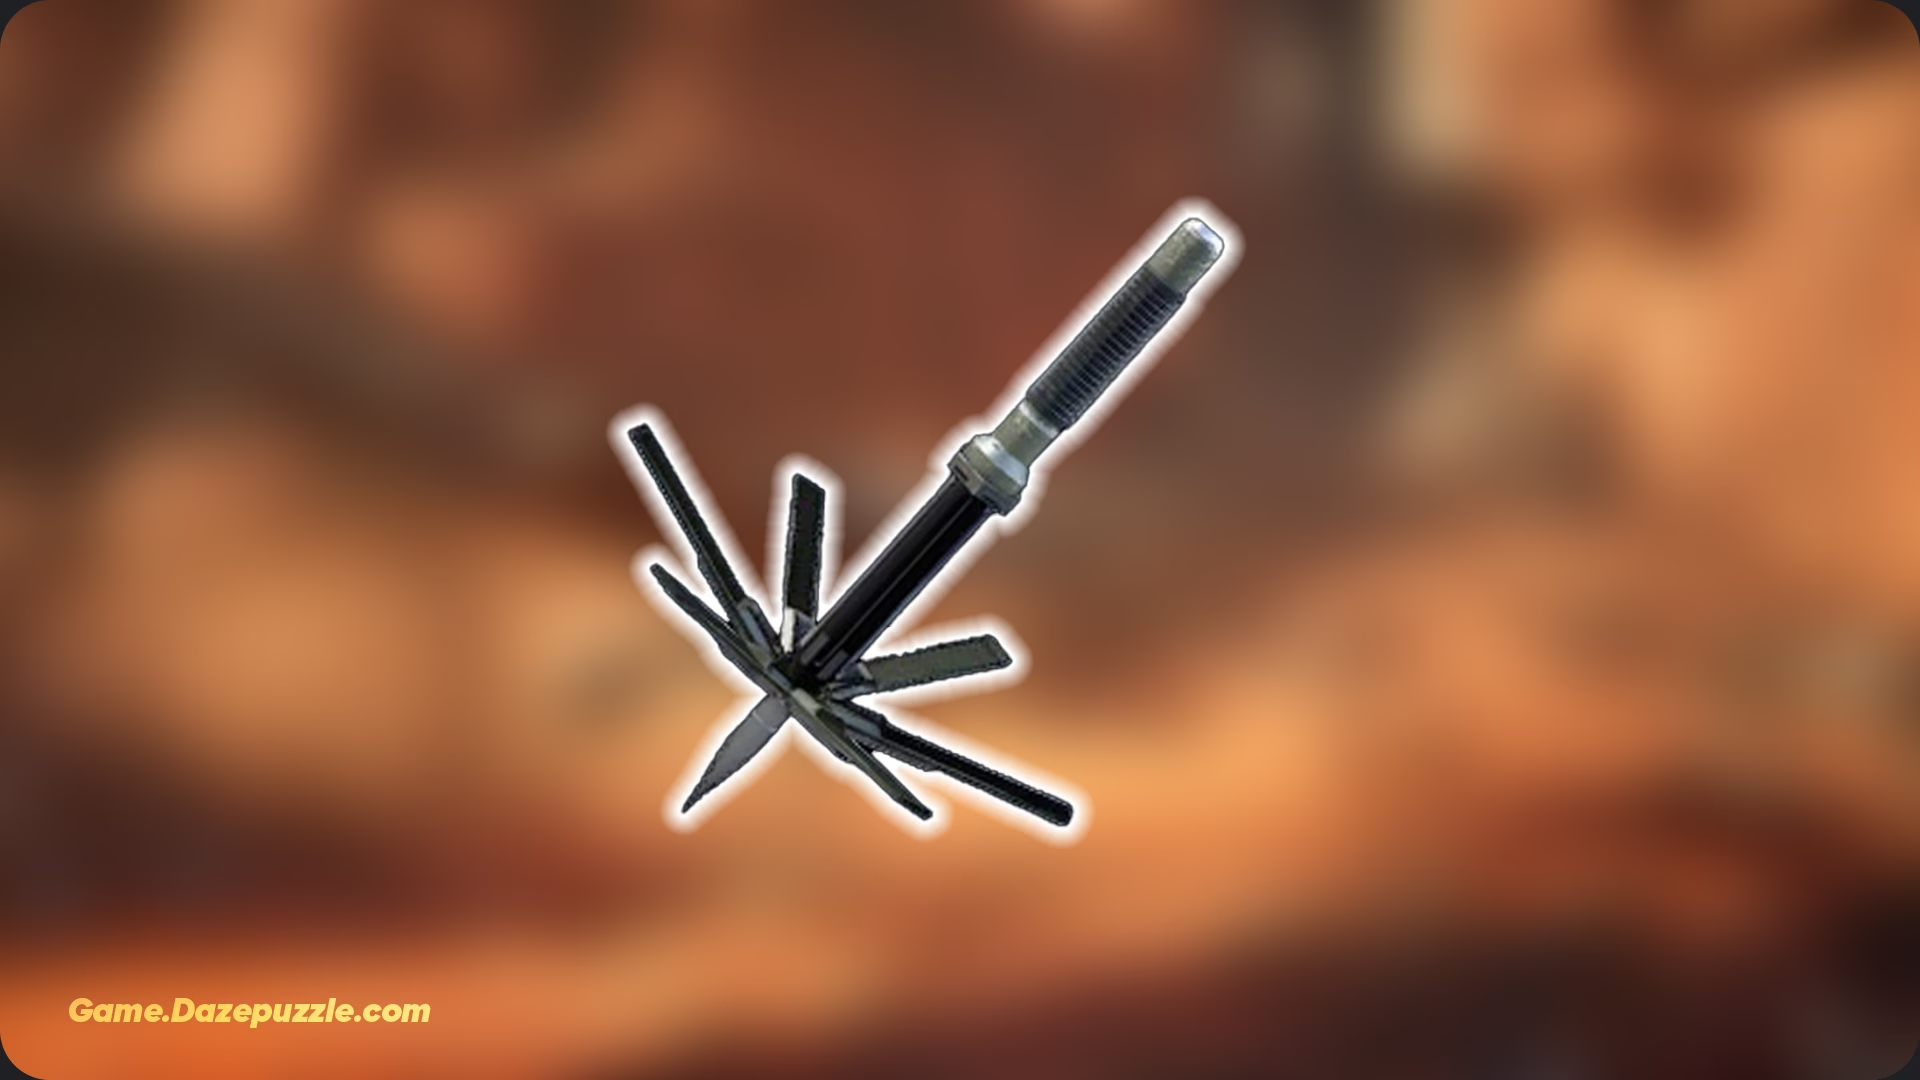
- Trooper: The Trooper’s grapple hook is an incredible mobility tool, allowing you to quickly ascend cliffs to find shelter or reach your elevated base.
A hybrid character build focusing on the passives from the Planetologist and Bene Gesserit, combined with the mobility of the Trooper’s grapple hook, creates a supreme survivor well-equipped to endure and navigate the harsh realities of Arrakis.
The Eye of the Storm: Advanced Tactics and Opportunities
For a true survivor, a storm is not just a threat; it’s an opportunity. Once you’ve mastered the basics of not dying, you can learn to leverage the chaos of the storm to your advantage. This is where you move from surviving Arrakis to dominating it.
Riding the Whirlwind: Advanced Survival Strategies
Beyond simply hiding, there are smarter ways to manage a storm. Certain vehicles, like the Buggy, can protect you while inside, though the vehicle itself will take damage. This allows you to take calculated risks, like driving along the edge of a storm to reach a destination faster, provided you have the tools to repair the damage afterward. A clever, if slightly desperate, trick for players caught in the open is to place a Respawn Beacon at your feet just before you die. When you respawn, you’ll appear right next to your loot bag, saving you a long and dangerous recovery run.
The Calm After: Exploiting the Coriolis Storm
The weekly Coriolis Storm reset of the Deep Desert is the heart of the endgame gameplay loop. This event triggers a weekly race for wealth and power. Immediately after the storm passes, the map is new. Fresh points of interest, crashed ships, and dungeons are revealed, and players race to be the first to find and plunder them.
The greatest opportunity lies in finding incredibly rare, time limited schematics and loot. A developer confirmed that some loot in the Deep Desert is unique to that one weekly cycle, meaning it may never be seen again. This creates an enormous incentive for weekly exploration and drives the high level economy. This period makes the Deep Desert, already a PvP focused zone, the most competitive and tense place to be all week. It is Funcom’s brilliant solution to endgame stagnation, ensuring the playing field is leveled each week for everyone.
The Storm as a Weapon: PvP Applications
The sandstorm is more than an environmental hazard; it’s a powerful tactical tool in Player vs. Player combat. In the PvP areas of the Deep Desert, standard sandstorms will temporarily disable base shields for several minutes, creating a window of opportunity for organized squads to assault enemy bases. The near zero visibility provides the perfect cover for an ambush or a tactical retreat.
A player being chased can use an approaching storm to break line of sight and vanish. Conversely, a group can use the storm’s arrival to mask their assault on a target. This adds a thrilling layer of psychological warfare to any conflict, forcing players to make tough decisions: do you finish the fight and risk the storm, or do you retreat to safety and cede the advantage?
Embracing the Storm
Your journey on Arrakis is one of evolution. This guide will take you from a frightened survivor hiding in rock crevices to a prepared strategist defending a shielded fortress , and finally, to an opportunistic hunter who sees the Coriolis Storm not as an ending, but as a weekly beginning.
The sandstorm is the defining feature of Arrakis and the beating heart of Dune: Awakening. It is a complex, multi-faceted mechanic that serves as a survival challenge, an atmospheric element, a PvP catalyst, and the engine of the endgame economy. True mastery of Arrakis is not achieved by avoiding the storm, but by understanding its rhythms, preparing for its fury, and capitalizing on the opportunities it leaves in its wake. The player who learns to move with the storm, not against it, is the one who will truly thrive on this merciless world, pulling power from the heart of the howling sands.
Thanks for keeping up with Game.Dazepuzzle.com