
The world of Red Dead Redemption 2 is a vast, untamed wilderness that often feels indifferent to your survival. After a long day of hunting, tracking down bounties, or just narrowly escaping the law, the gentle glow of the campfire and the familiar voices of the Van der Linde gang are a welcome sight. Your camp is more than just a place to hang your hat; it’s the living, breathing heart of your journey. It’s a sanctuary where stories are shared, plans are made, and for a brief moment, the harshness of the frontier fades away.
Investing in your camp is one of the most rewarding side activities in the entire game. It’s a journey that transforms a collection of simple tents and bedrolls into a self sufficient community. A well upgraded camp doesn’t just look better it provides tangible benefits that will make your life as Arthur Morgan significantly easier. This guide will walk you through the entire process of RDR2 camp upgrades, from taking your very first steps to crafting the best gear and making your mark on the gang’s home.
You might also like this: How to Get a Perfect Pelt Every Time
What Is in Our RDR2 Camp Upgrades
Unlocking the Camp Upgrade System: Your First Steps
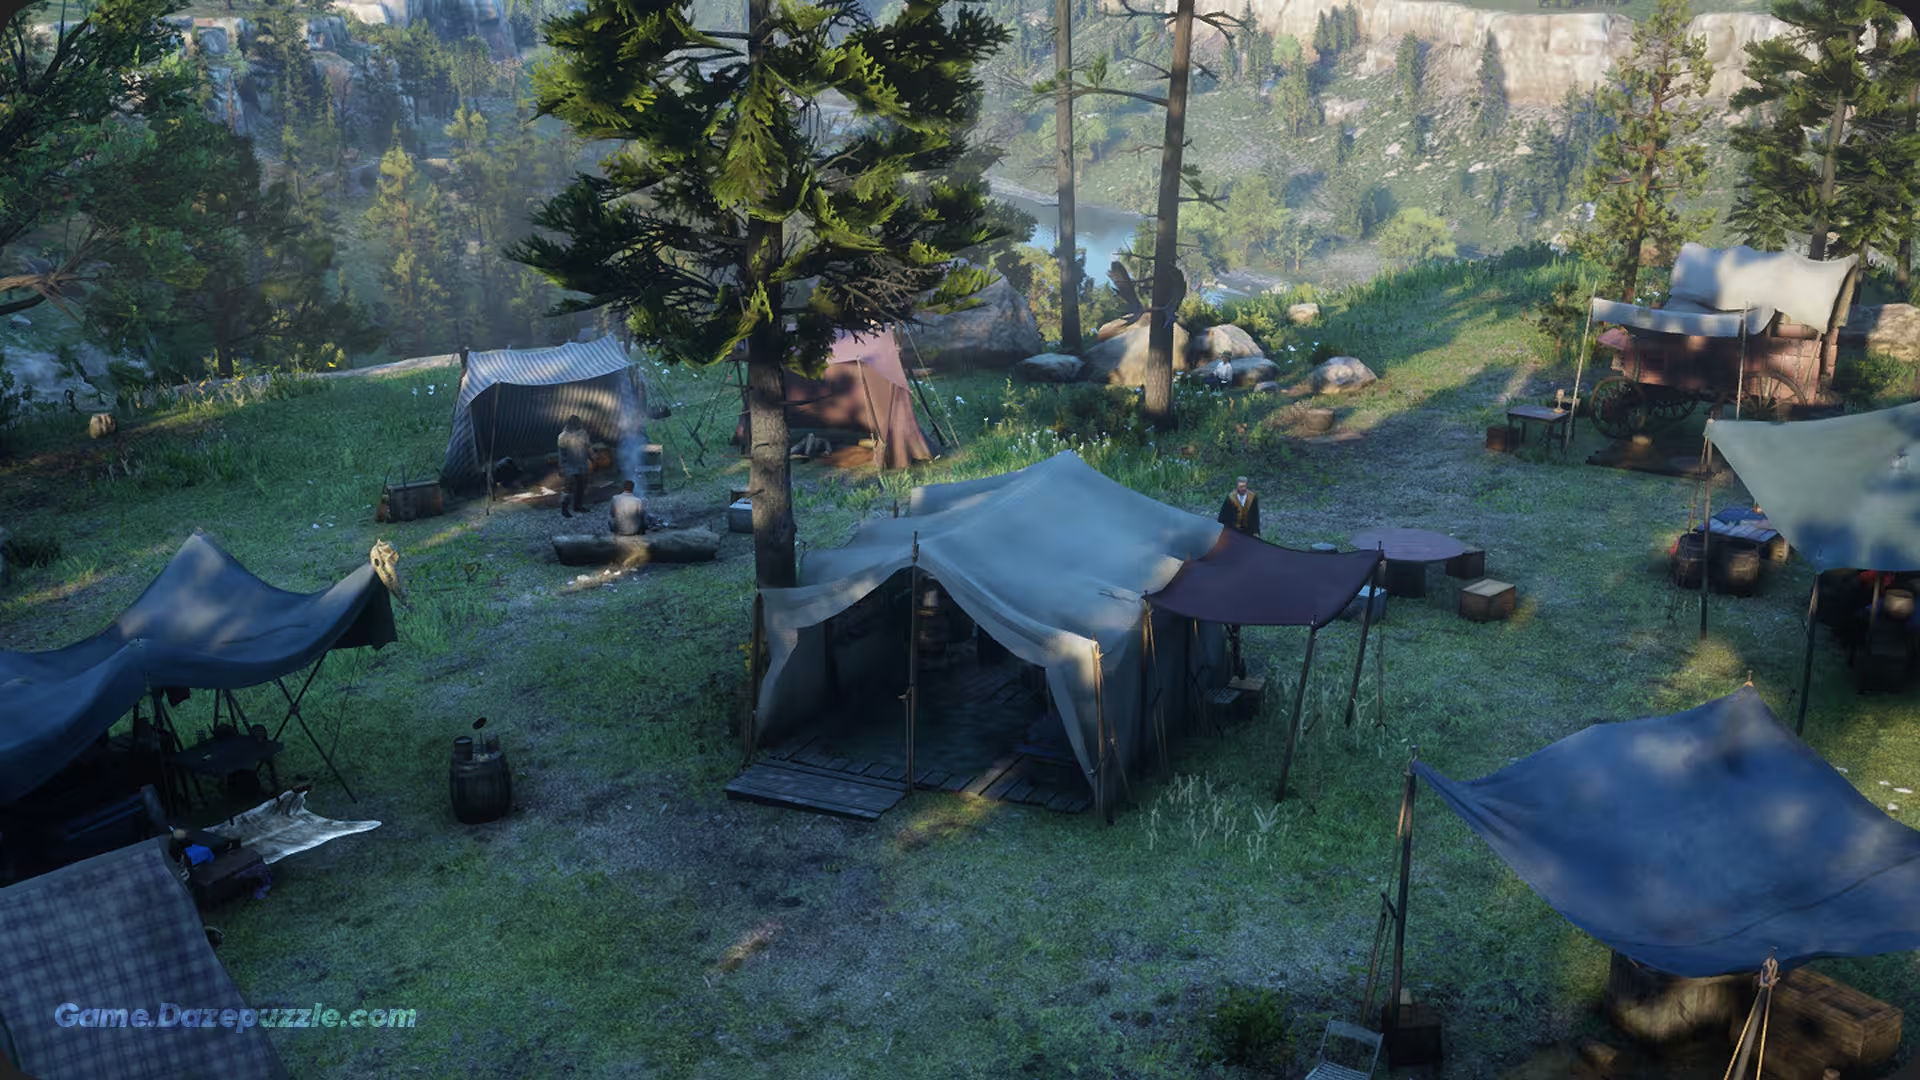
Before you can start turning the camp into a frontier paradise, you need to unlock the system itself. It isn’t available right from the snowy beginnings in Colter. The whole system opens up once you and the gang settle down at Horseshoe Overlook in Chapter 2.
The Key Mission: “Money Lending and Other Sins”
Your journey into camp improvement begins with a task from the gang’s morally questionable bookkeeper, Leopold Strauss. Sometime after completing the initial missions in Chapter 2, Strauss will offer you a mission called “Money Lending and Other Sins.” This task introduces you to the concept of debt collection, a recurring activity for Arthur. Completing this first debt collection is the trigger that officially unlocks the camp upgrade system.
The Ledger: Your Camp’s Command Center
Once you’ve finished Strauss’s initial errand, a Ledger will appear on a small desk right next to the gang’s tithing box, just behind Dutch’s tent. This book is your primary tool for upgrading the camp’s core facilities.
All purchases made in the Ledger are paid for using the gang’s money from the tithing box. You can contribute to this fund in a few ways. You can donate cash directly from your pocket, or you can place valuable items you’ve looted like pocket watches, belt buckles, and rings into the box. Donating to Pearson is another great way to help.
By giving him animal pelts, carcasses, and other provisions from your hunting trips, you not only provide food for the stew but also add to the camp’s cash box. A crucial thing to remember is that any upgrade you purchase from the Ledger is permanent. When the camp packs up and moves to a new location in later chapters, all of your improvements will come with you.
The Big Four: Essential Ledger Upgrades for Your Camp
The Ledger contains a host of upgrades, but they can be broken down into four main categories that directly impact your gameplay resources. Think of these as the foundational pillars of a well run camp.
Lodging – The Single Most Important Upgrade
If you only focus on one area to start, make it Lodging. Improving the gang’s living quarters not only boosts everyone’s mood but also unlocks the single most important quality of life feature in the game: Fast Travel.
First, you’ll purchase “First Things First” ($220). This improves Dutch’s tent. While it might seem like you’re just stroking Dutch’s ego, this upgrade inspires the rest of the gang to start contributing more of their own money to the tithing box, making all subsequent upgrades easier to afford.
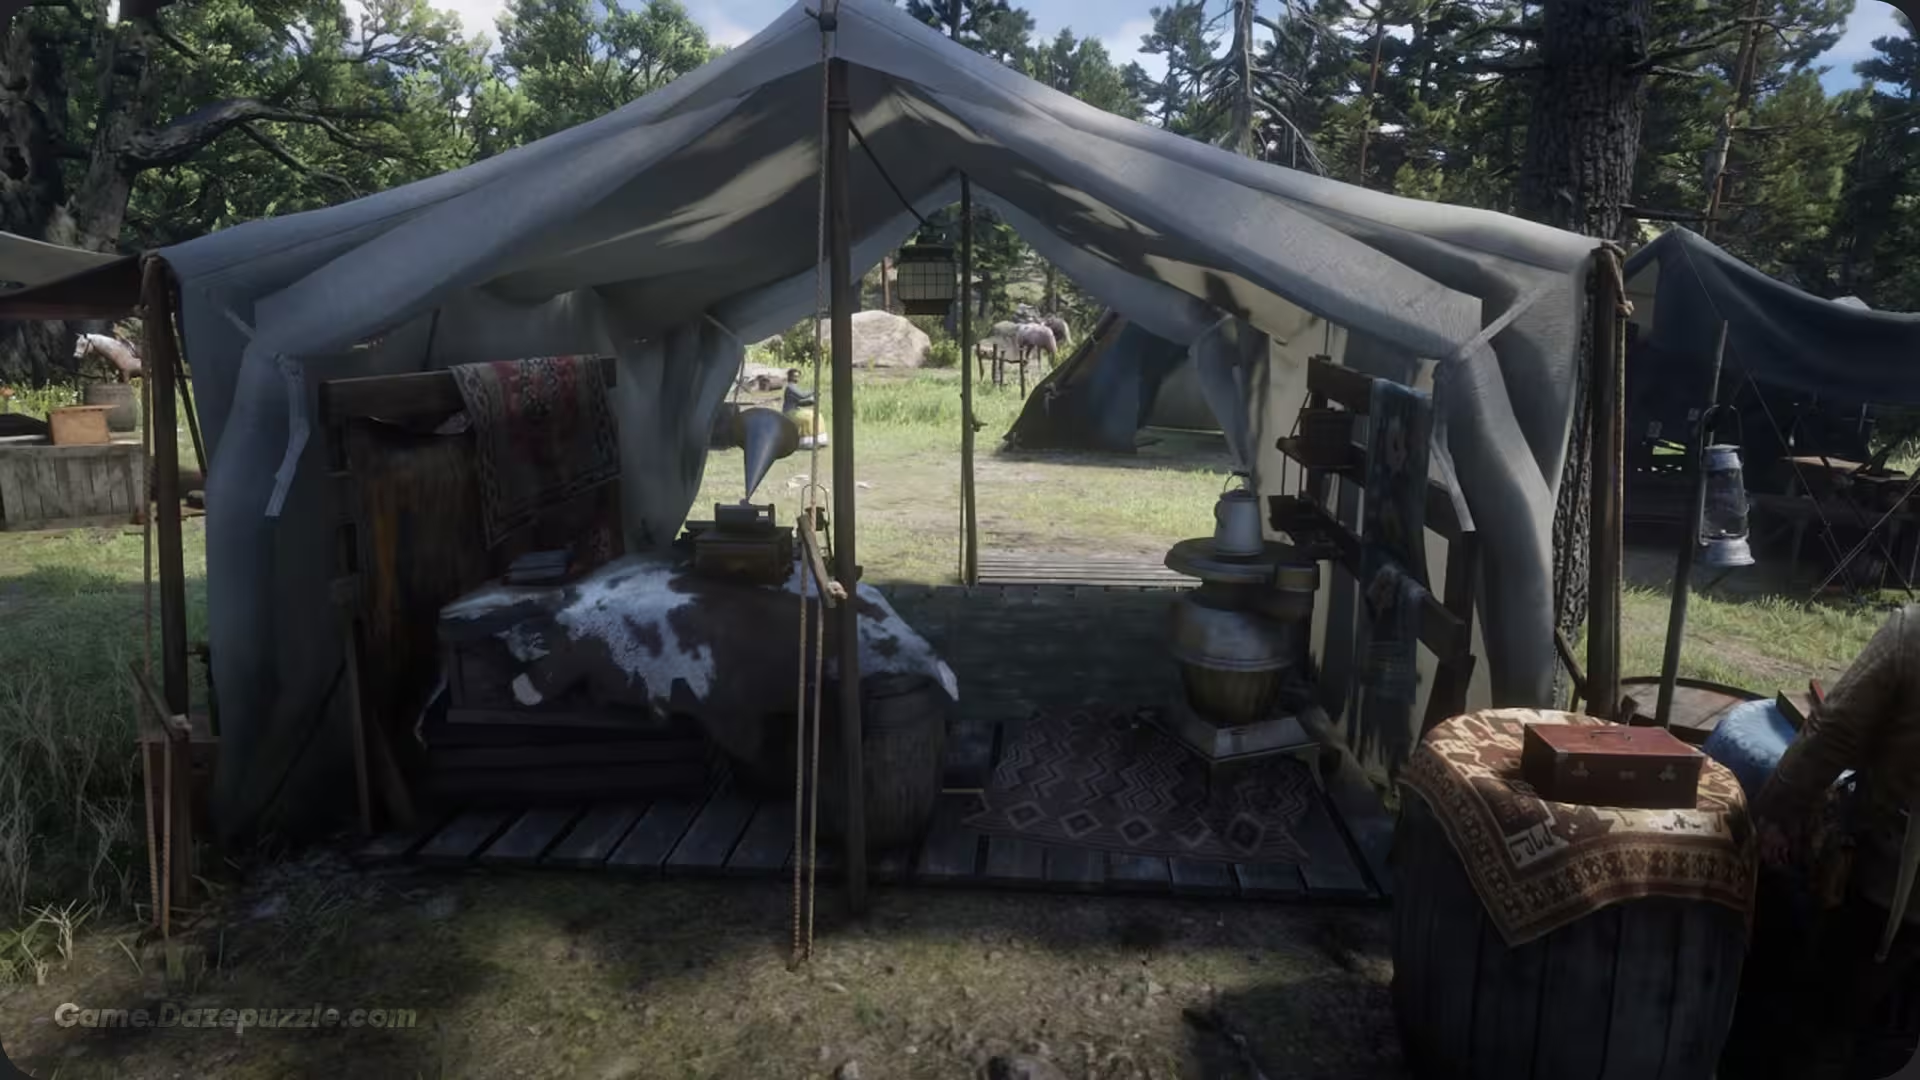
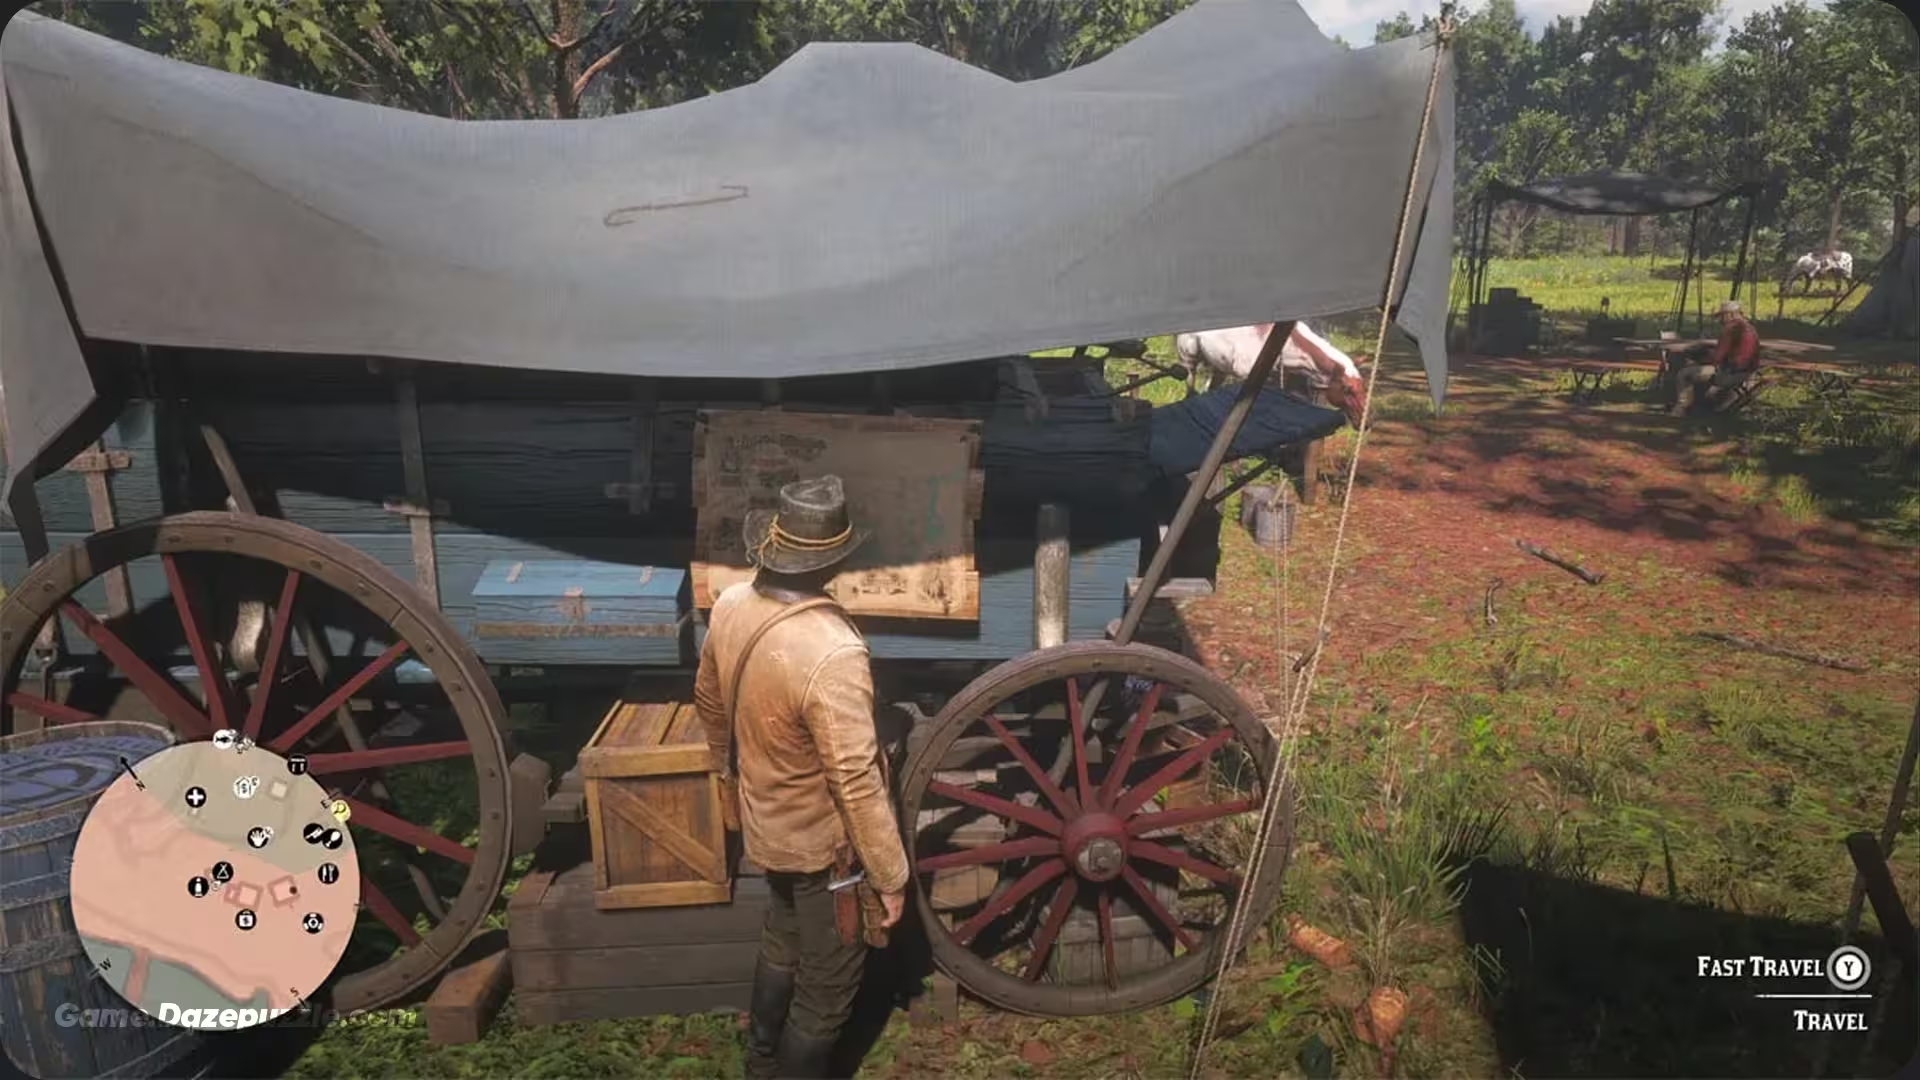
Next, and most importantly, is “Next in Line” ($325). This upgrade improves Arthur’s wagon, and hanging off the side of it will be a brand new map. This is the Fast Travel map. By interacting with it, you can instantly travel to any town or significant location you’ve previously discovered. This saves an immense amount of time and is an absolute game changer. After that, you can purchase “For Everyone!” ($300) to improve the rest of the gang’s tents, providing a nice boost to overall camp morale.
Provisions – Keeping Pearson’s Kitchen Stocked
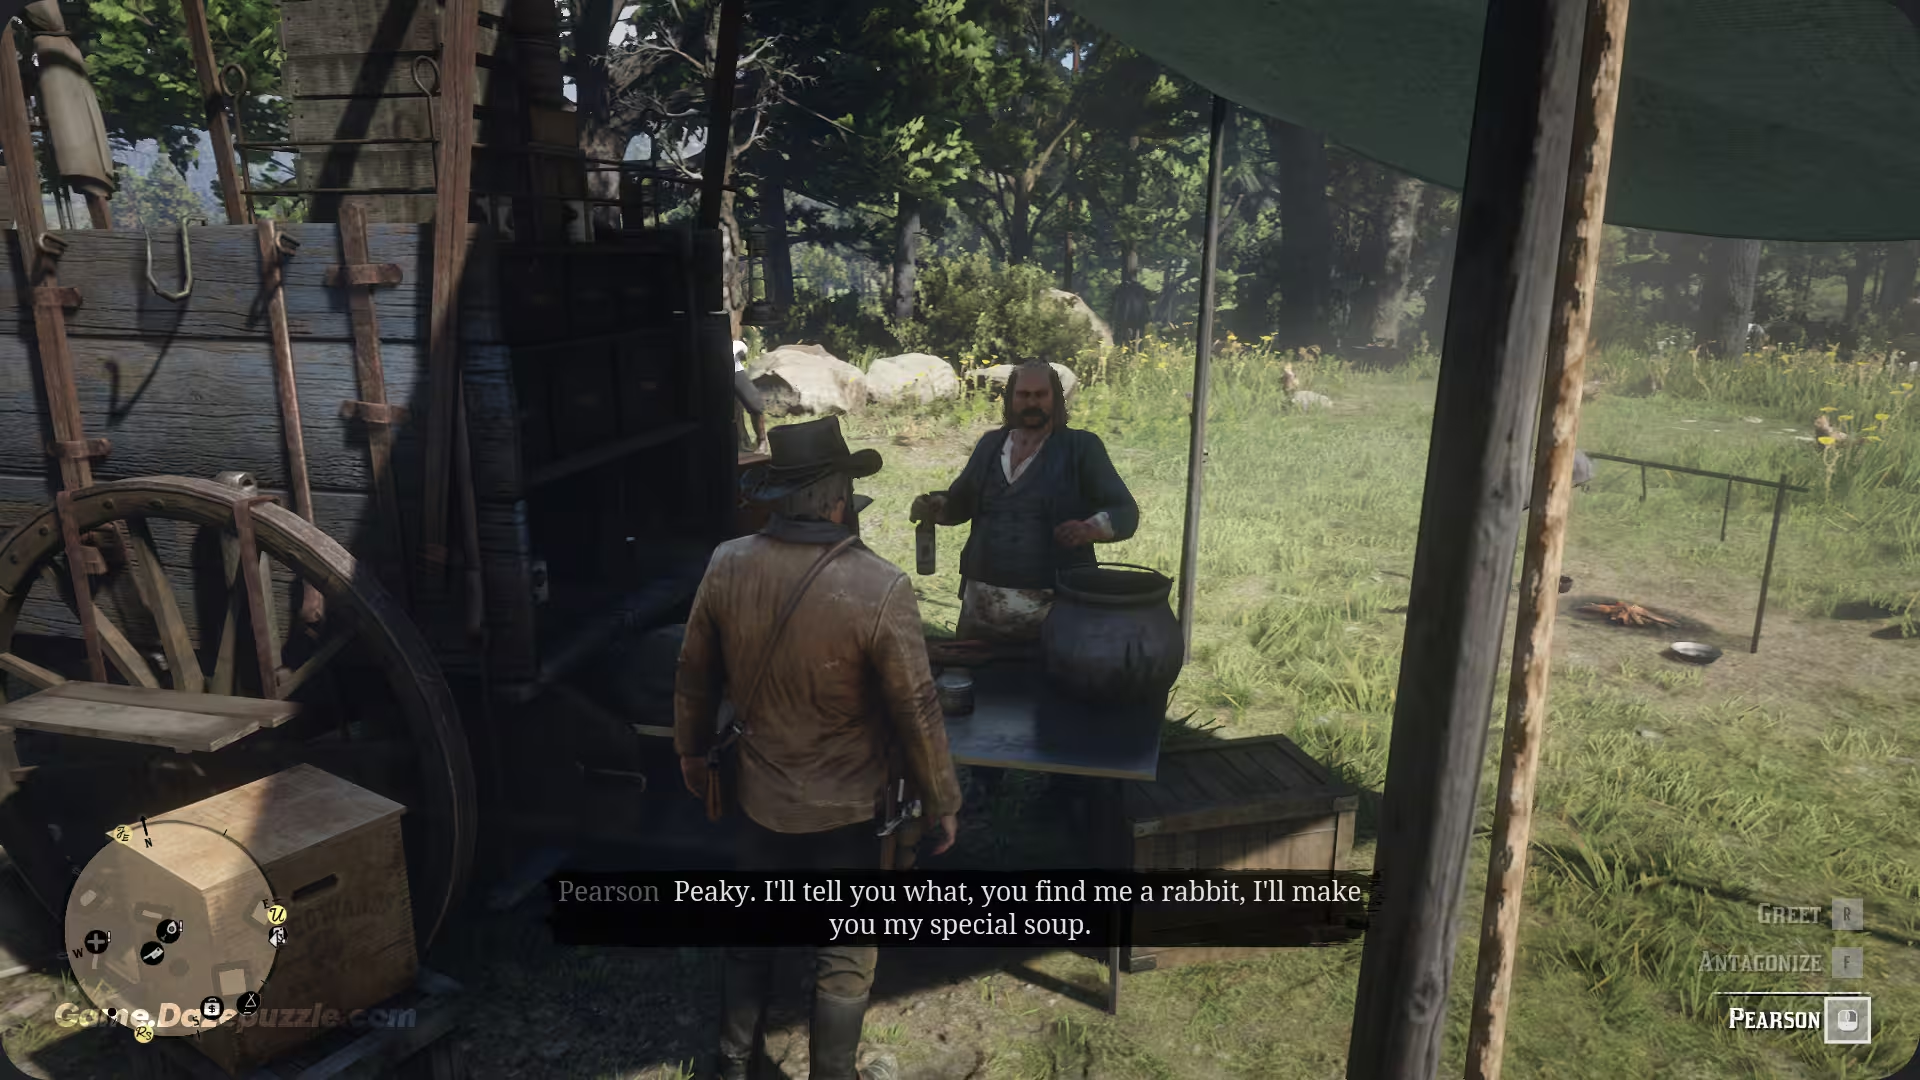
Pearson is the camp’s butcher and cook, and upgrading his wagon ensures a steady supply of food. A well fed gang is a happy gang. The upgrades add items to his wagon that you can take for free. The initial upgrade, “Less Bland” ($30), adds fresh fruit and basic canned goods. “Some Real Variety” ($45) adds coveted items like chewing tobacco and premium canned goods. The final level, “Treat Ourselves!” ($55), stocks the wagon with cocaine gum and candies for a quick kick to your Dead Eye core.
Medicine – Accessing Health Supplies from Strauss
Strauss’s wagon is the camp’s pharmacy. Keeping it stocked means you’ll always have access to tonics to get you out of a tight spot, saving you money at the general store. The first upgrade, “Sharpen The Senses” ($30), adds Snake Oil and Potent Bitters. The next level, “Something With Kick” ($50), adds premium tonics and quality liquor. The final upgrade, “The Good Stuff” ($75), ensures the wagon is always stocked with the most potent healing tonics available.
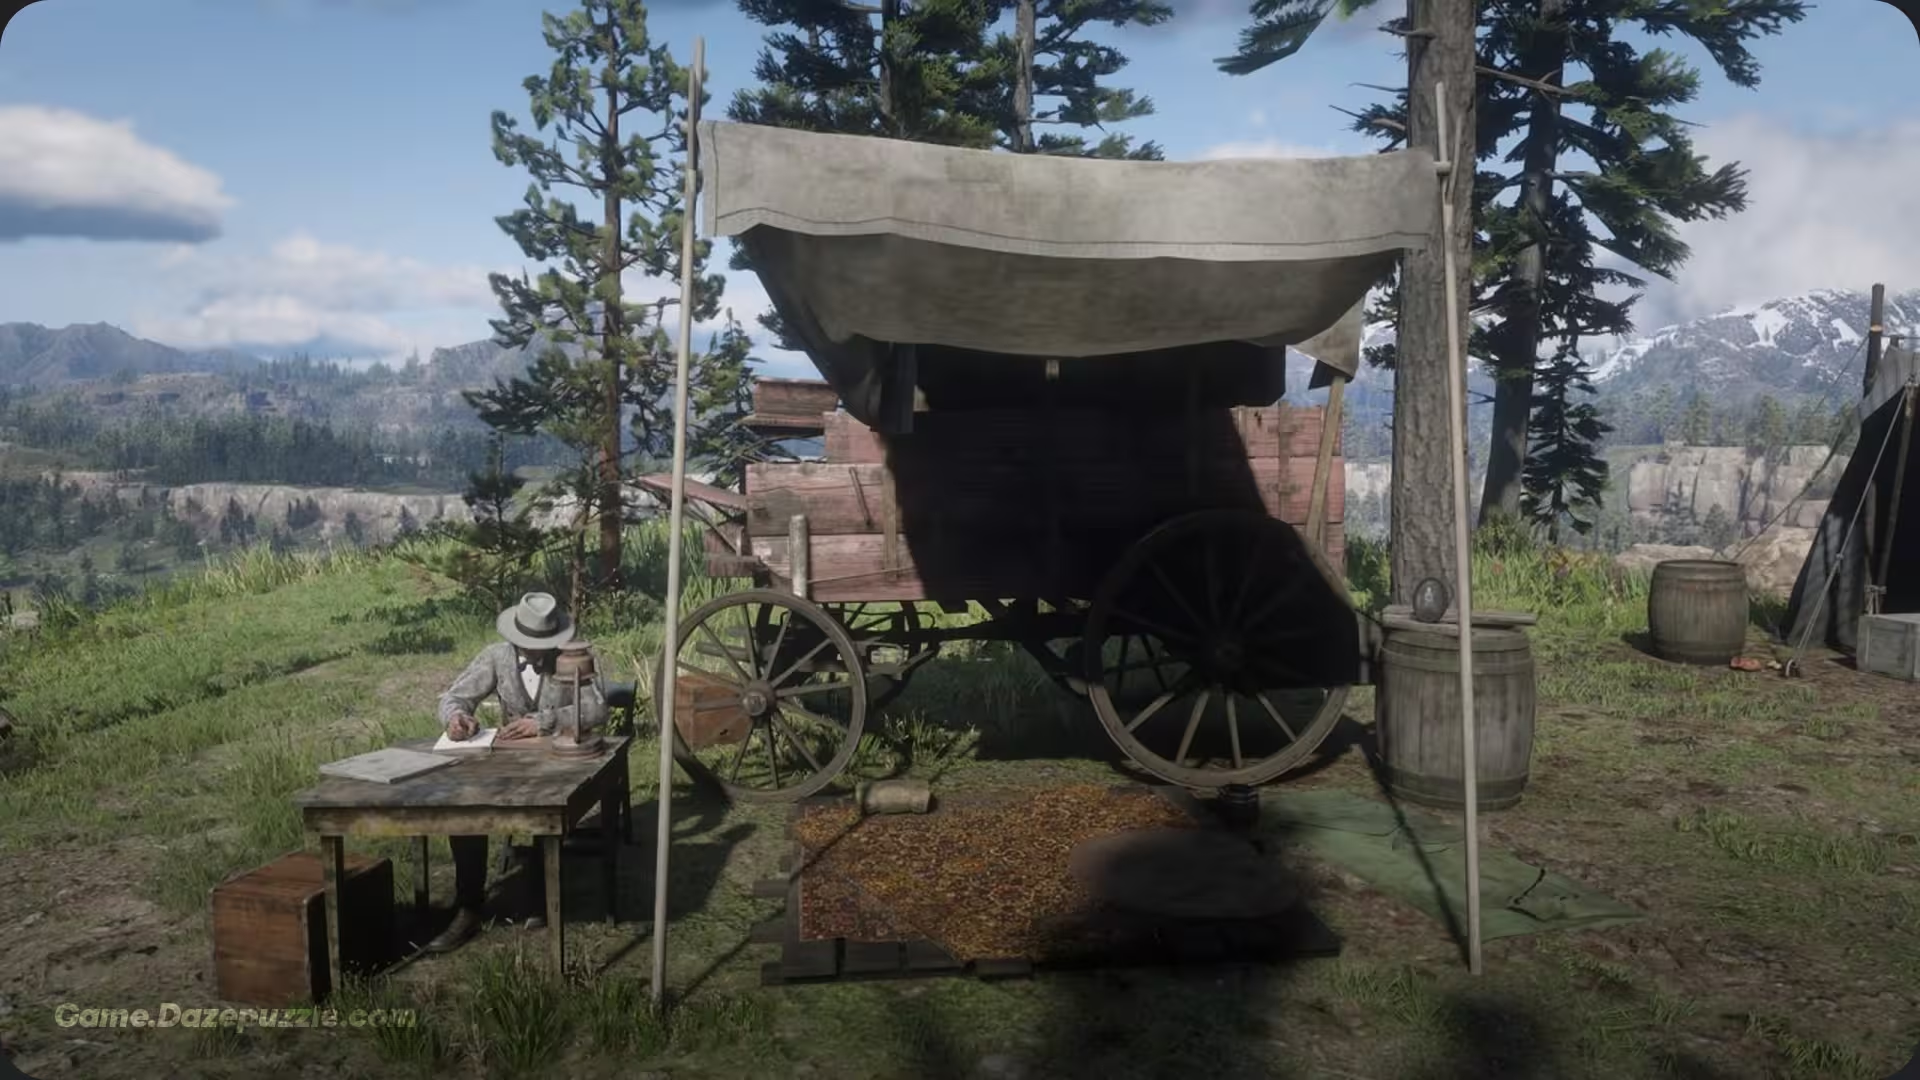
Ammunition and Arms – Fueling Arthur’s Arsenal
Constantly buying ammo can be a real drain on your wallet. Upgrading Arthur’s wagon helps offset that cost by providing a free supply of ammunition. The first upgrade, “Improve Our Offense” ($60), adds repeater ammo and standard arrows. “Some Real Firepower” ($90) is a significant step up, adding throwing knives, shotgun shells, and rifle rounds to the supply. The final upgrade, “Let’s Have Some Fun” ($110), gives you access to fire bottles and high velocity repeater ammo, perfect for when a situation calls for a bit more chaos.
Finishing the Job: Other Vital Ledger Purchases
Beyond the core four categories, there are a few other one off purchases in the Ledger that provide unique and extremely useful benefits.
Horse Station ($300)
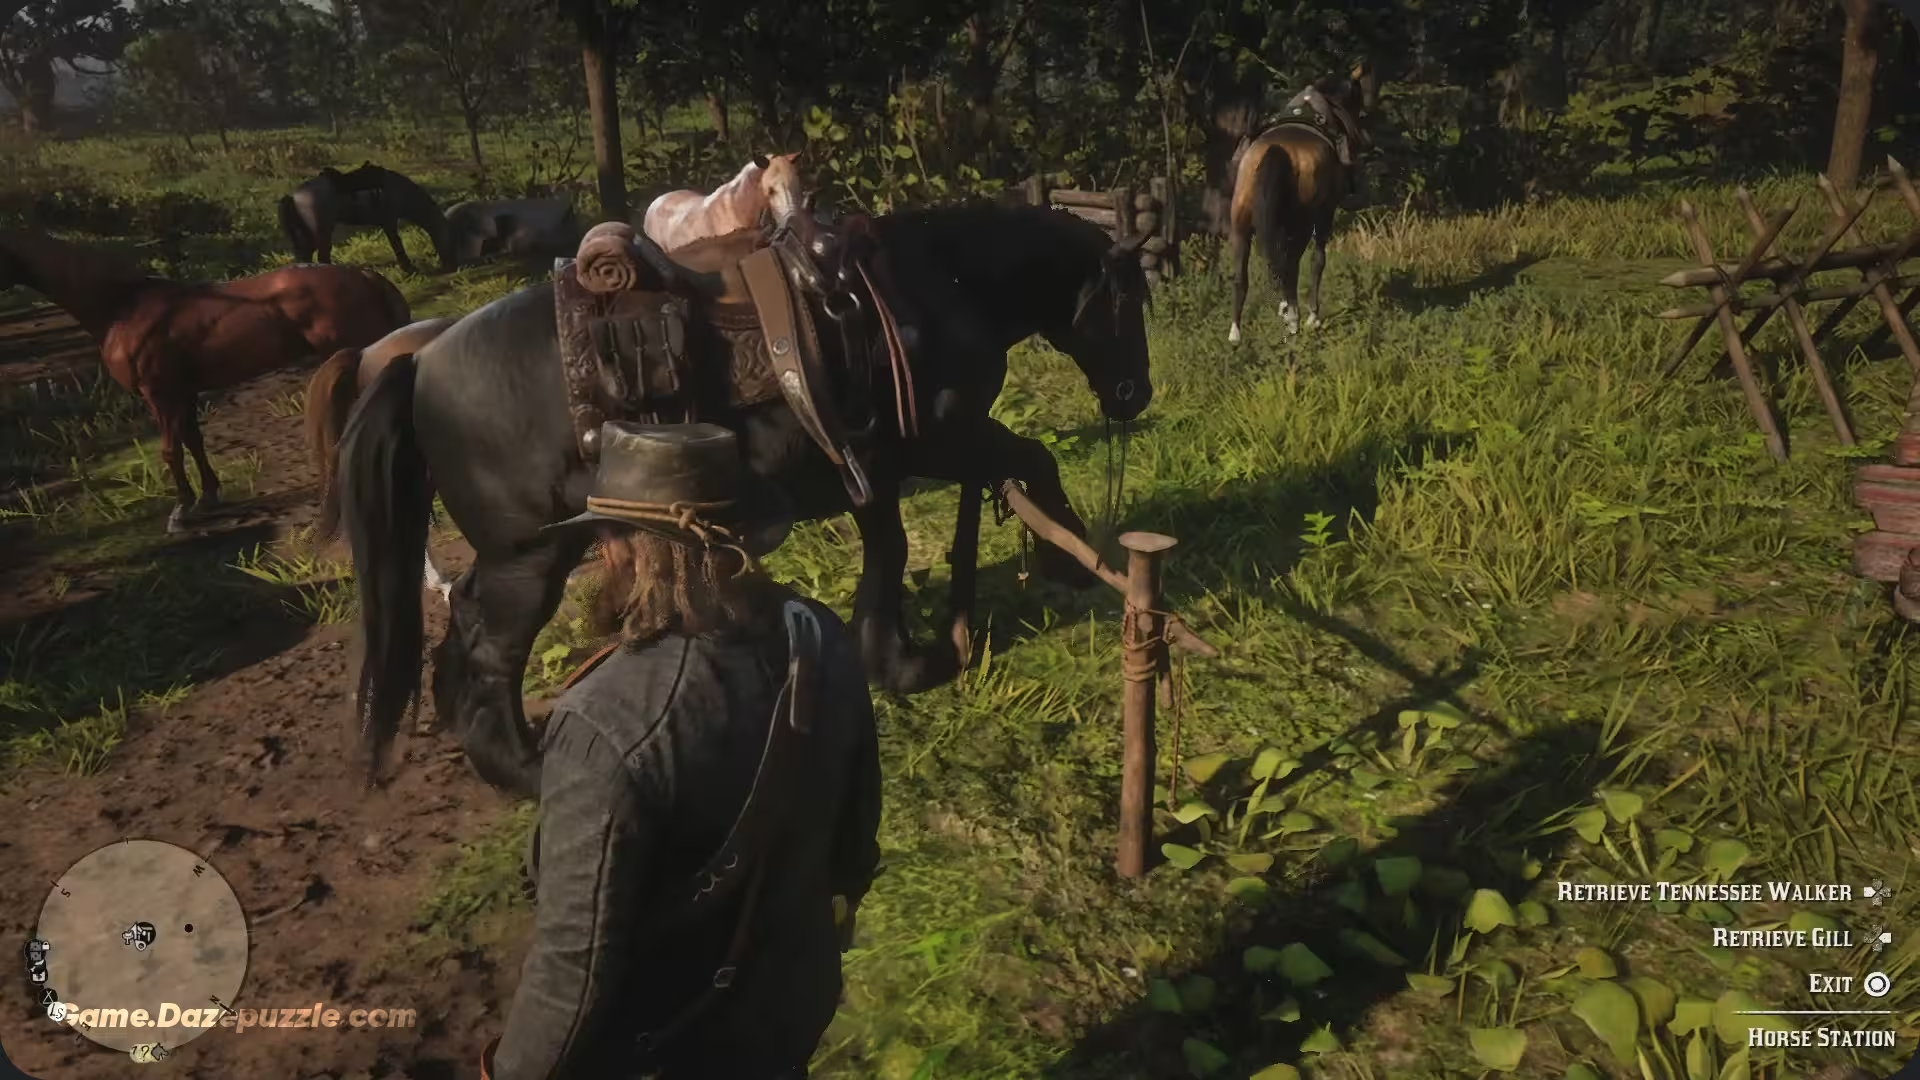
This is another incredibly useful upgrade. The Horse Station allows you to manage your owned horses without having to ride all the way back to a stable. You can call any horse you own from any stable to the camp’s hitching posts. Even more importantly, if your primary horse gets lost somewhere in the wilderness (but hasn’t died), you can use the station to magically retrieve it back to camp.
Chicken Coop ($175)
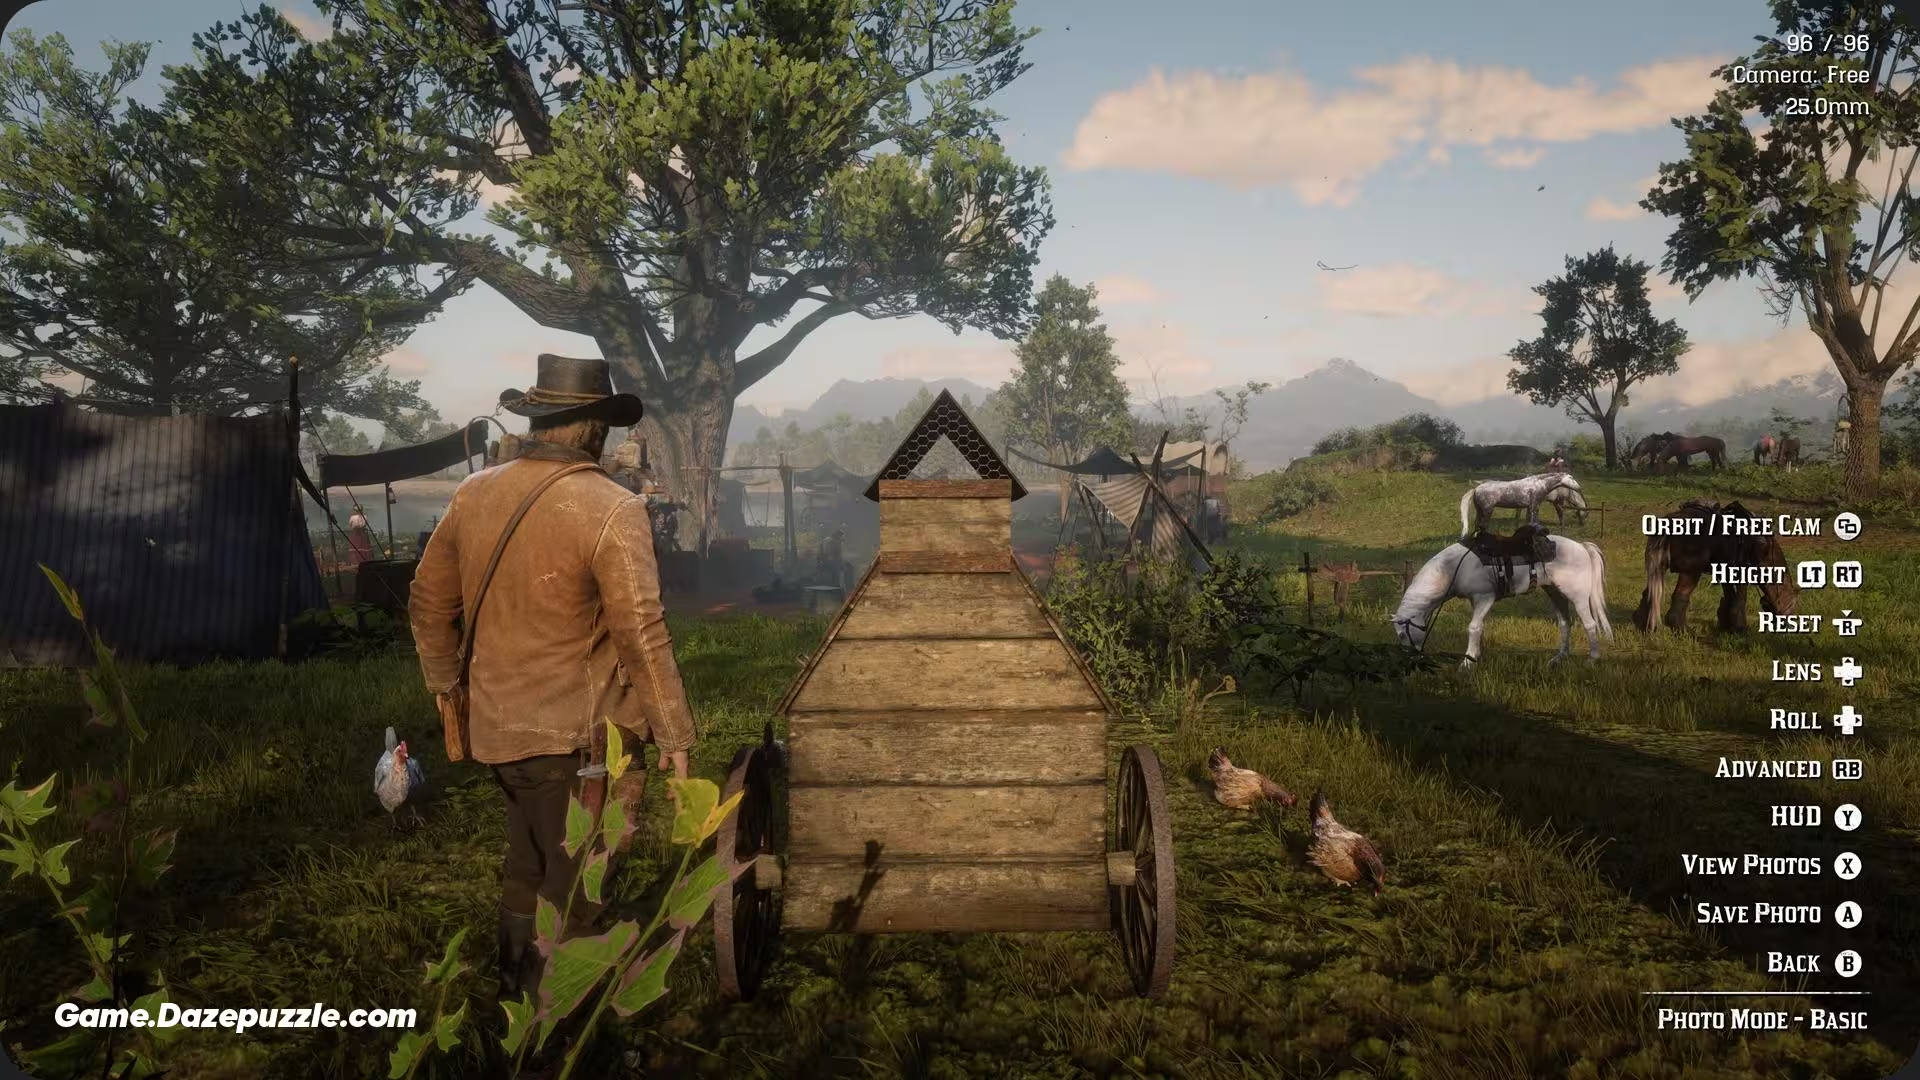
This one is simple but effective. Buying a chicken coop adds fresh eggs to the camp’s larder. Pearson will use these to improve his daily stew. A “gold” level stew, made with high quality ingredients, will completely refill your cores and fortify your Dead Eye core with a gold outer bar, making it a fantastic pre mission meal.
Leather Working Tools ($225)
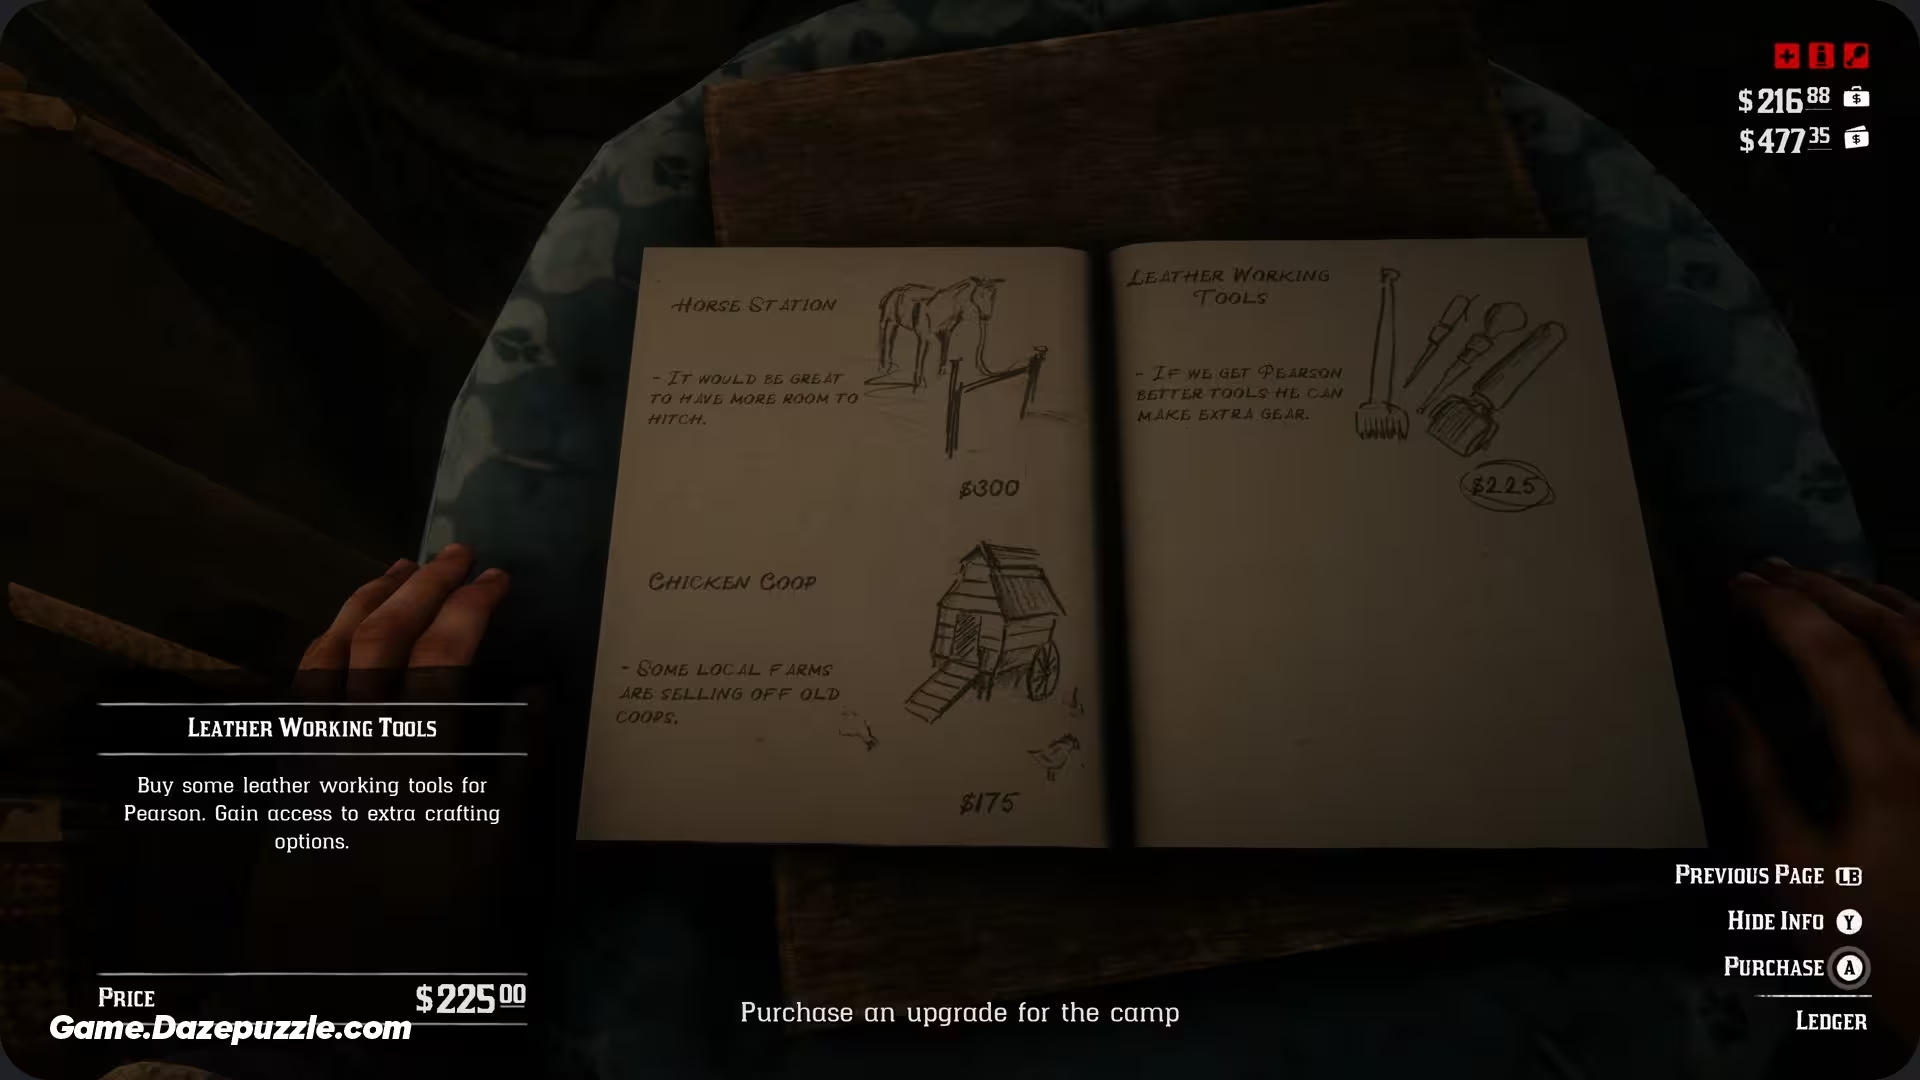
This might be the most deceptive upgrade in the Ledger. On its own, it does nothing. However, purchasing it is the gateway to unlocking the absolute best gear in the game. These tools allow Pearson to craft a huge range of items, from cosmetic camp upgrades to, most importantly, new Satchels. This is a must buy for any serious player.
Camp Boat (From Chapter 3)
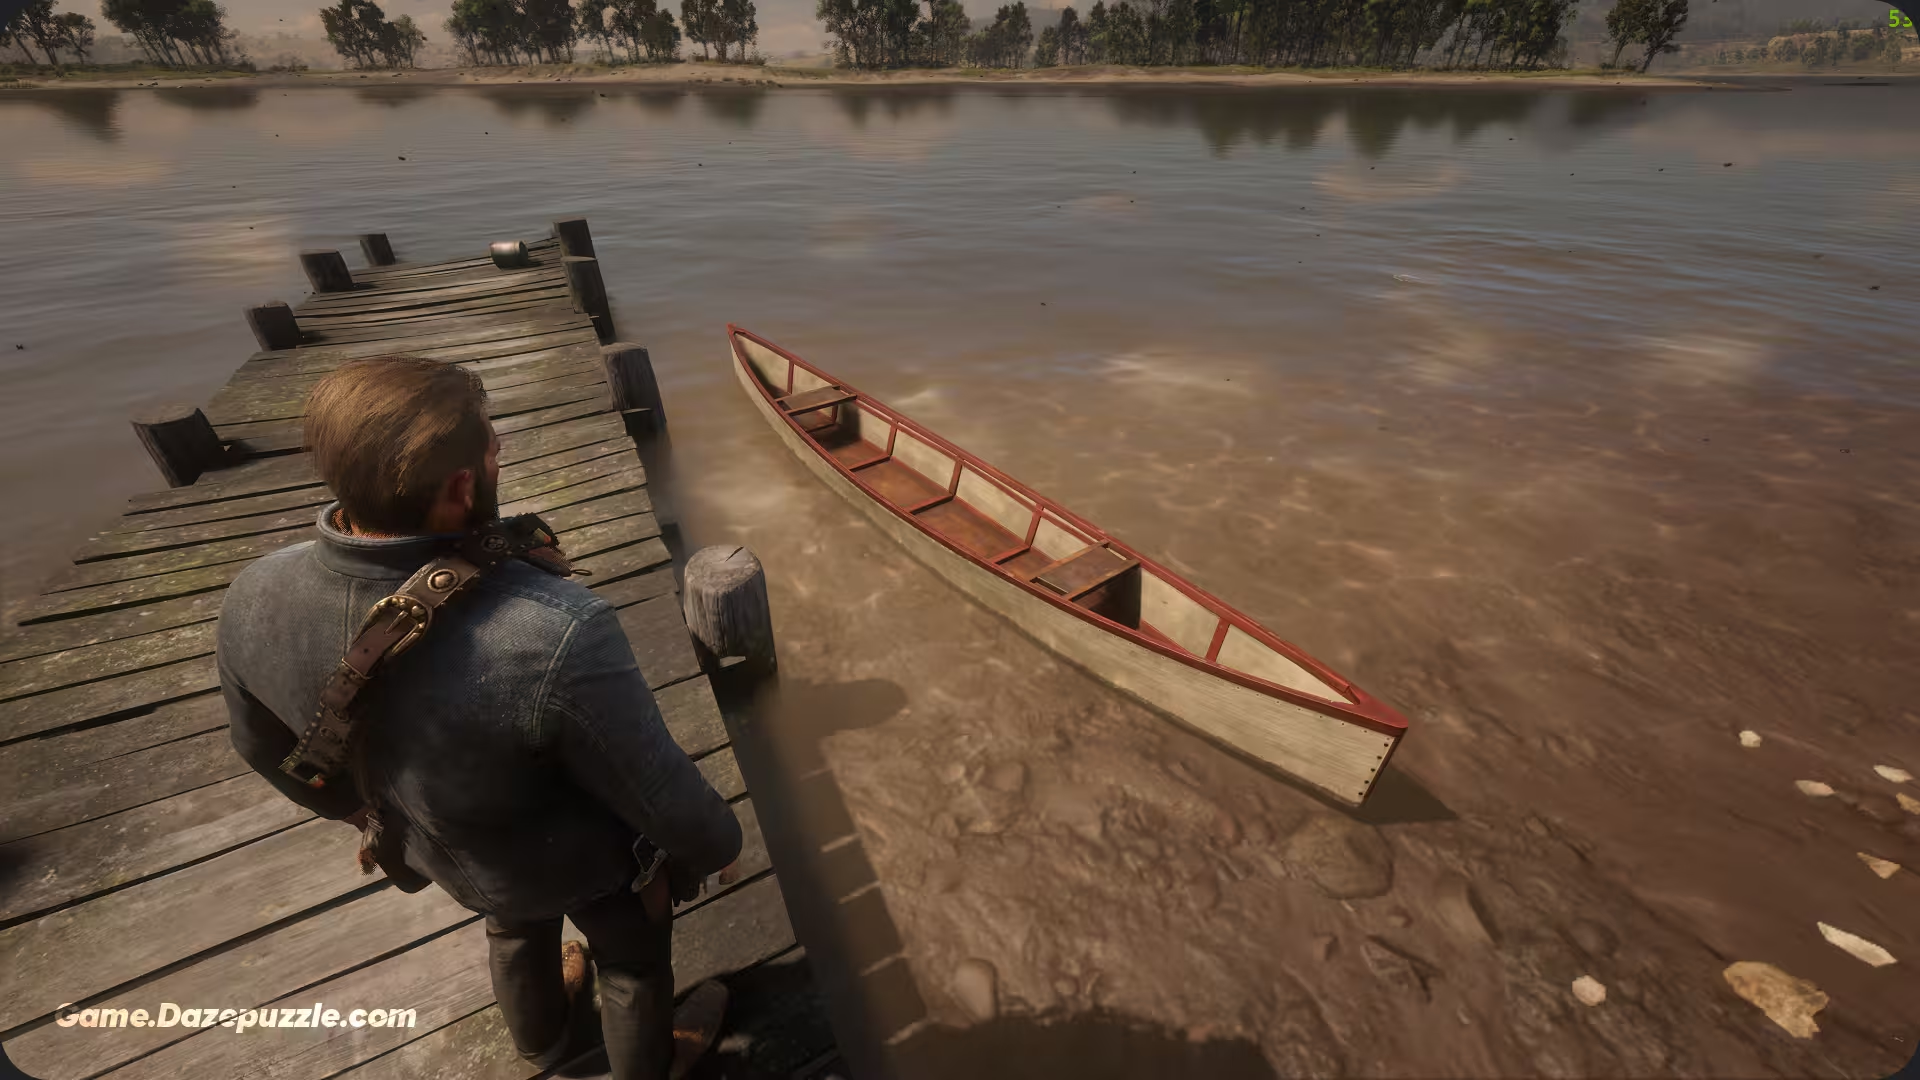
Once the gang moves to the Clemens Point camp in Chapter 3, you’ll get the option to purchase a boat for $360 (sometimes listed as $450). This provides the gang with a boat that spawns at the camp’s shoreline, giving you a new way to travel and a convenient platform for fishing trips.
Pearson’s Crafting: The Best Gear in the Game
Once you’ve bought the Leather Working Tools, a whole new world of upgrades opens up via Pearson. This is where all that time spent hunting pays off. By bringing him perfect quality pelts and other animal parts, you can craft a variety of items.
Satchel Upgrades: Your Top Crafting Priority
If you plan on looting, gathering, and stocking up, you will quickly find that Arthur’s initial satchel has very limited carrying capacity. Pearson can craft a series of new satchels that dramatically increase how many tonics, ingredients, and other items you can hold. To get the ultimate satchel the Legend of the East Satchel, which boosts the capacity for nearly every item to 99 you must first craft all the other satchels. This should be your number one crafting goal.
| Satchel Name | What It Carries | Materials Needed |
| Tonics Satchel | Tonics | 1 Perfect Deer Pelt, 1 Perfect Buck Pelt, 1 Perfect Elk Pelt |
| Ingredients Satchel | Edible Ingredients | 1 Perfect Deer Pelt, 1 Perfect Badger Pelt, 1 Perfect Squirrel Carcass |
| Kit Satchel | Kit Items | 1 Perfect Deer Pelt, 1 Perfect Elk Pelt, 1 Perfect Panther Pelt |
| Provisions Satchel | Provisions | 1 Perfect Deer Pelt, 1 Perfect Bison Pelt, 1 Perfect Raccoon Pelt |
| Materials Satchel | Crafting Materials | 1 Perfect Deer Pelt, 1 Perfect Boar Pelt, 1 Perfect Iguana Skin |
| Valuables Satchel | Valuables | 1 Perfect Deer Pelt, 1 Perfect Beaver Pelt, 1 Perfect Rabbit Pelt |
| Legend of the East Satchel | All Items (to 99) | 1 Perfect Deer Pelt, 1 Perfect Cougar Pelt, 1 Perfect Wolf Pelt |
Camp Decorations: Adding Some Frontier Flair
While they don’t offer gameplay benefits like the satchels, crafting the cosmetic camp upgrades is a fantastic way to make the camp feel more alive and personalized. These items, ranging from skull decorations to animal hide rugs, will appear around the camp, reflecting your efforts as a hunter and provider.
Arthur’s Lodging
The following upgrades will decorate Arthur’s personal tent and chest.
| Decoration | Required Materials |
| Alligator Skull | 1 Perfect Alligator Skin |
| Bighorn Ram Skull | 1 Perfect Ram Carcass |
| Cougar Pelt Covered Chest | 2 Perfect Cougar Pelts |
| Bearskin Tablecloth | 1 Perfect Bear Pelt |
| Ox Hide Rug | 2 Perfect Ox Hides |
Main Campfire & Seating Area
These items enhance the central hub of the camp where the whole gang gathers.
| Decoration | Required Materials |
| Moose Antlers | 1 Moose Antler |
| Wolf Skull | 1 Perfect Wolf Carcass |
| Snake Skin Banjo Head | 2 Perfect Snake Skins |
| Main Seating Area Covers | 1 Perfect Beaver Pelt, 1 Perfect Muskrat Pelt, 1 Perfect Fox Pelt |
| Log Covers | 2 Perfect Wolf Pelts |
| Ground Cover | 1 Perfect Ox Hide |
Scout Campfire
These upgrades are for the smaller, secondary campfire where the scouts often gather.
| Decoration | Required Materials |
| Goat Hide Ground Cover | 2 Perfect Goat Hides |
| Elk Antlers | 1 Elk Antler |
| Buck Antlers | 1 Buck Antler |
General Camp Areas
These upgrades are for various other parts of the camp, including John’s tent and Pearson’s station.
| Decoration | Location | Required Materials |
| Boar Skin Rug | John’s Tent | 4 Perfect Boar Pelts |
| Pronghorn Leather Tablecloth | Camp Tables | 2 Perfect Pronghorn Pelts |
| Pronghorn Skull | Chuckwagon | 1 Perfect Pronghorn Carcass |
The “Why”: Camp Morale and Its Hidden Benefits
So, why go through all this trouble? Beyond the practical benefits of fast travel and free ammo, all of your contributions directly impact the Camp Morale. You can see the camp’s current status by looking at the icons next to your cash and the camp funds. A white icon is good, red is bad, and grey is neutral.
Upgrading the facilities, donating money and provisions, and even doing simple camp chores like chopping wood or carrying sacks of feed all contribute to raising morale. High morale has several hidden benefits that make the camp a much more pleasant and rewarding place.
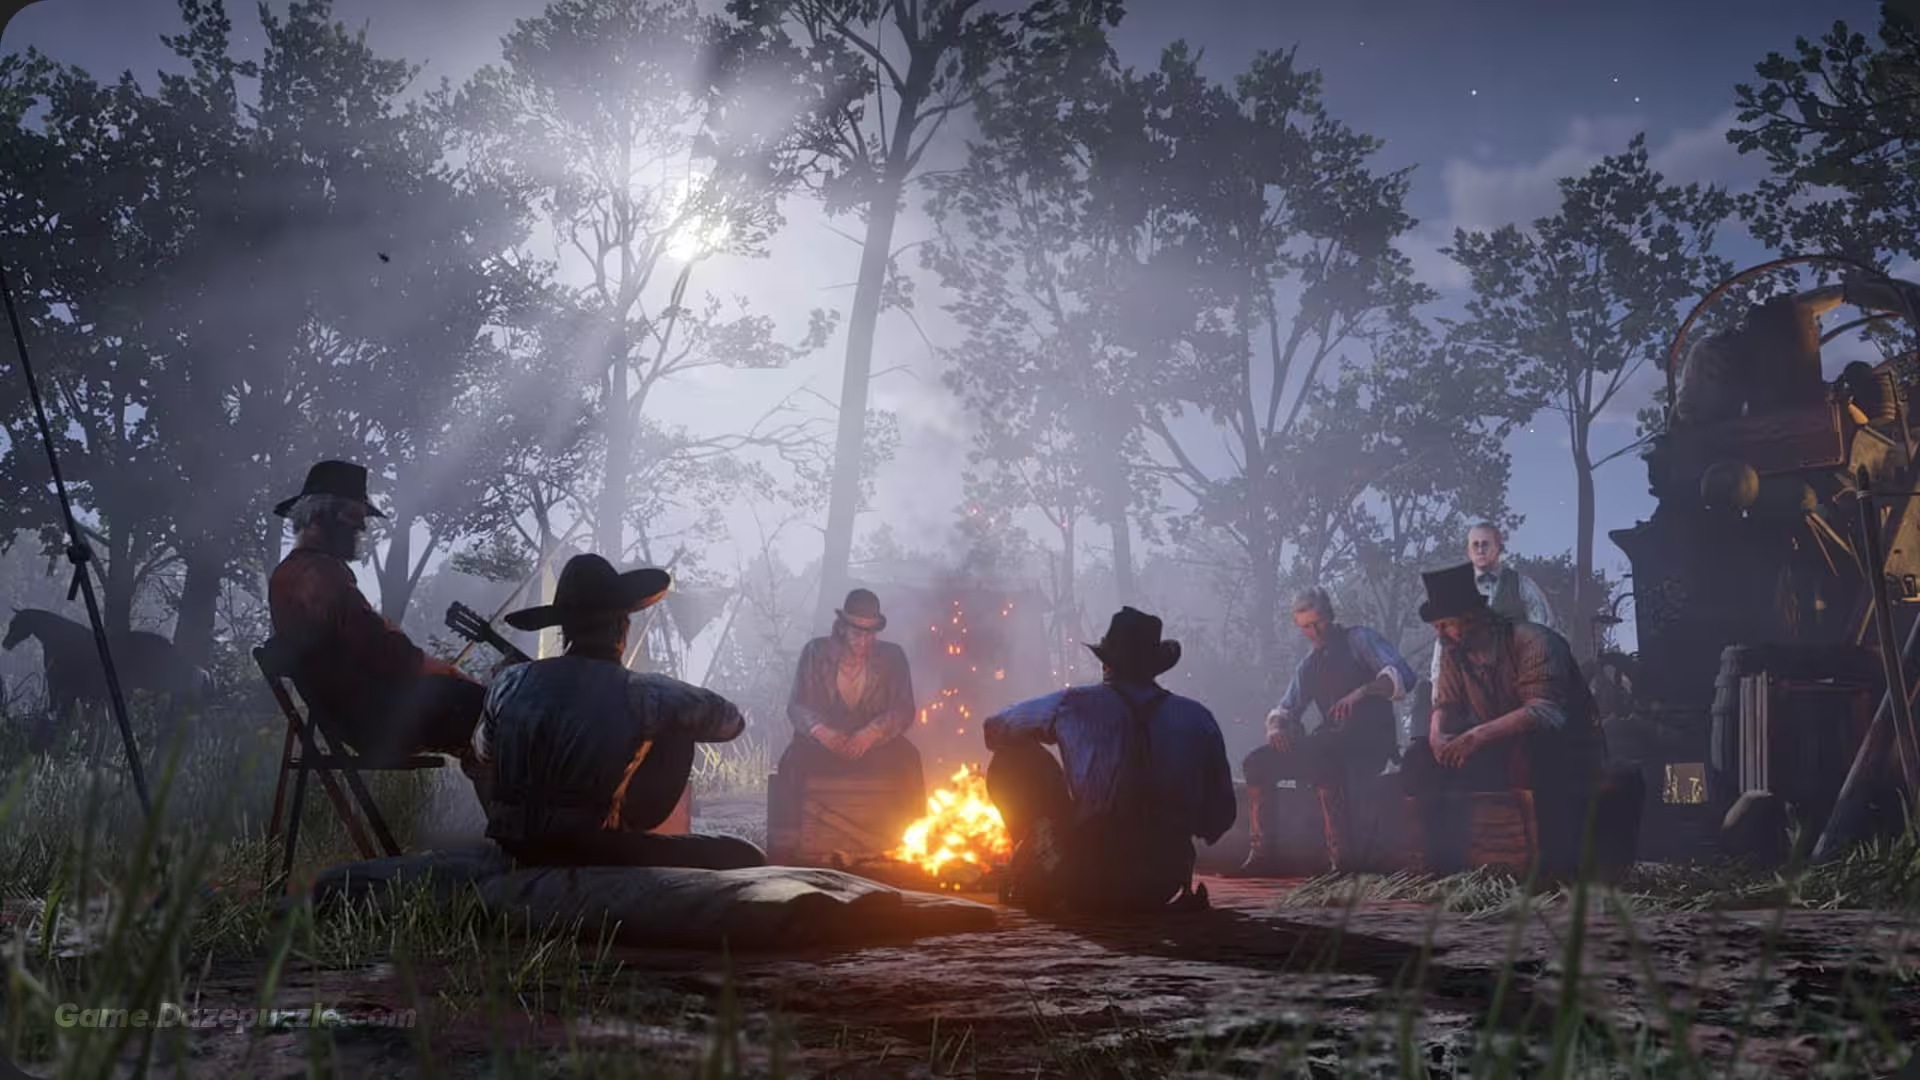
The gang members will be happier, singing songs and having more positive interactions. They will also donate more money and items to the tithing box, helping you fund further upgrades. On occasion, a grateful gang member might even approach you and give you a gift, like a potent tonic or a piece of jewelry. And as mentioned, high quality donations to Pearson result in better stew, giving you a powerful, free buff every day.
Conclusion: More Than Just a Camp
In the end, putting time and money into your RDR2 camp upgrades is an investment that pays off tenfold. It enriches the world and makes your journey through it more convenient and immersive. While you can certainly complete the game without buying a single upgrade, you’d be missing out on a core part of the experience. Focus on unlocking Fast Travel first, then get the Leather Working Tools to start your journey towards the Legend of the East Satchel. From there, you can build a camp that truly feels like a home a small bastion of hope and community in a beautiful but unforgiving world.
Red Dead Redemption 2 Steam Page
Thanks for keeping up with Game.Dazepuzzle.com