Mastering Geralt’s arsenal in The Witcher 3: Wild Hunt isn’t just about finding the sharpest blade. This Witcher 3 all weapons guide breaks down every sword, crossbow, and bomb you’ll need to survive the Northern Kingdoms. From understanding why you need two different swords to crafting legendary Witcher gear, we’ll cover the combat systems that separate veteran monster hunters from novice sellswords.
What’s in our Witcher 3 All Weapons Guide?
The Steel and Silver Foundation
Why Two Swords Matter – Steel for Humans, Silver for Monsters
Every Witcher carries two swords for good reason. Steel swords handle humans, humanoids like elves and dwarves, and regular animals like wolves or bears. Silver swords deal effective damage to monsters and supernatural creatures. Using the wrong sword can reduce your damage to almost zero, leaving you vulnerable during critical fights.
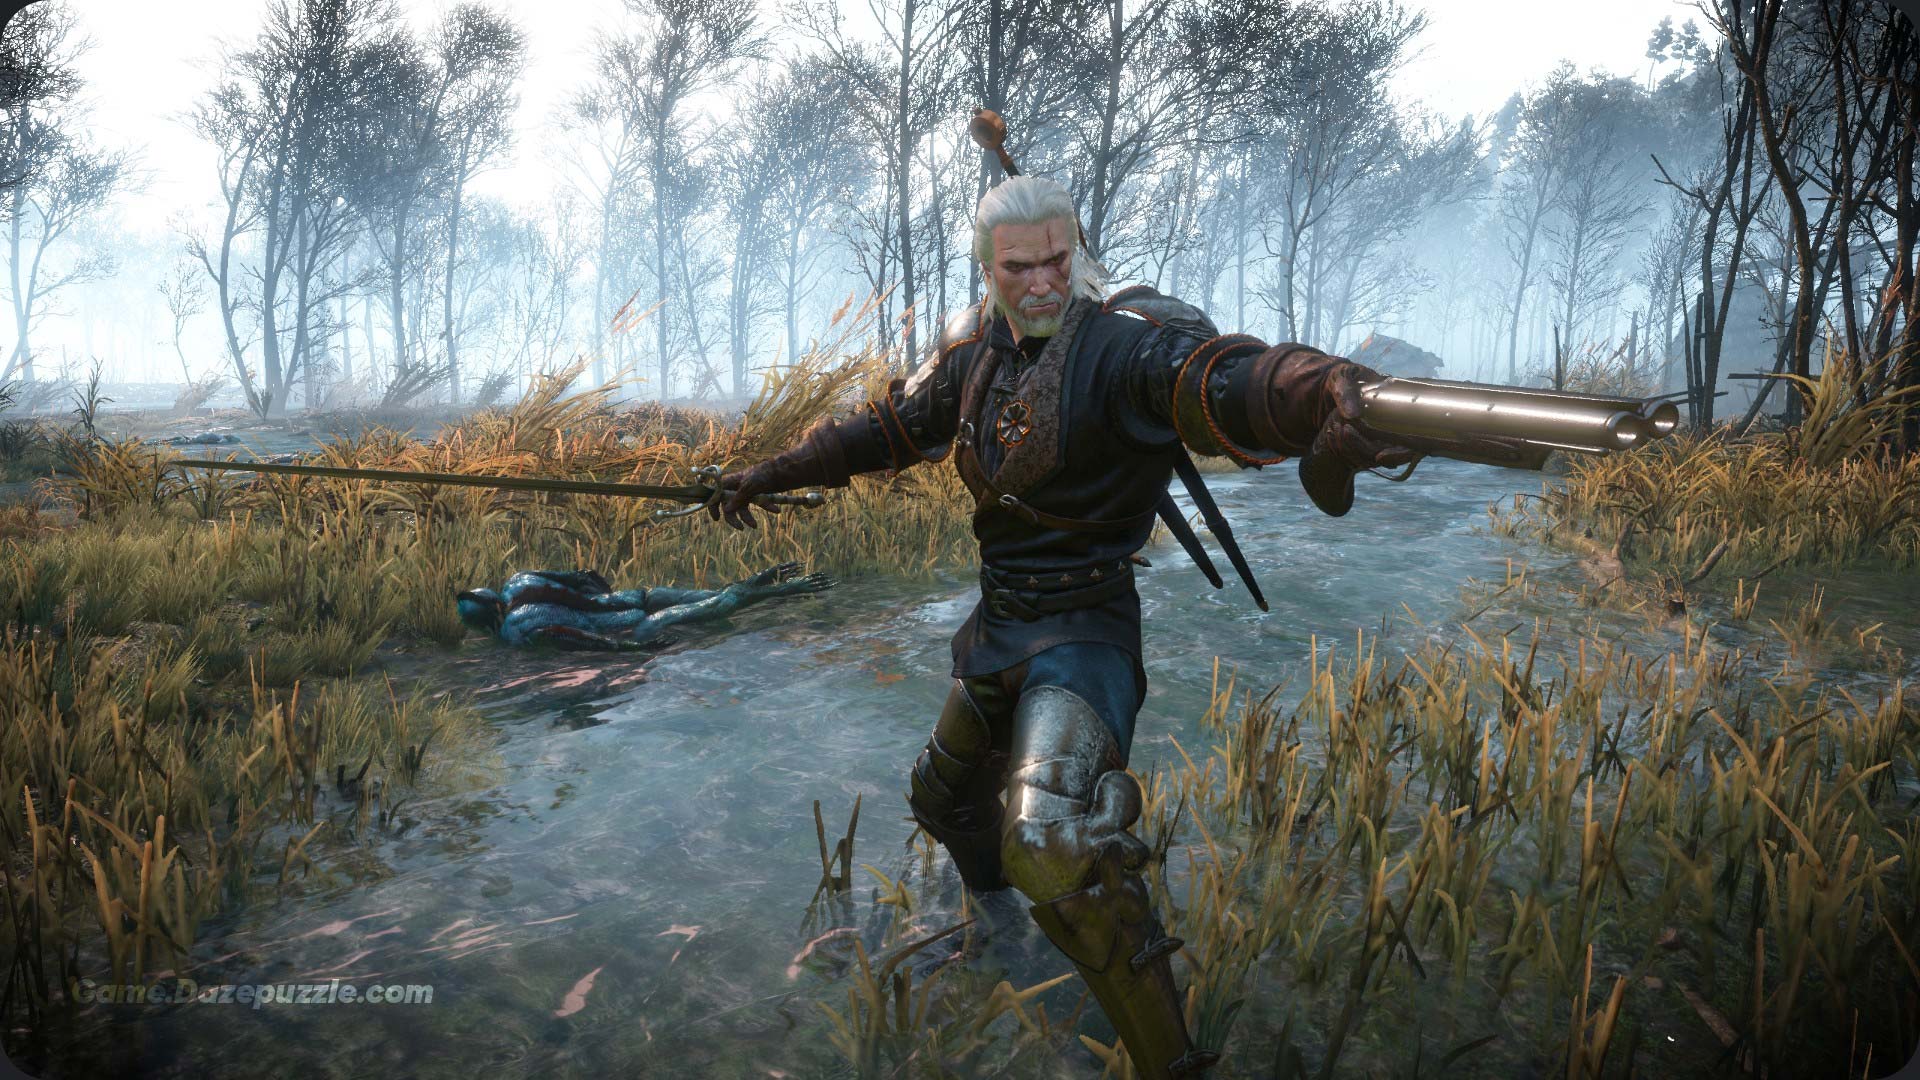
The game automatically draws the correct sword by default, but you can disable this in settings for full manual control. This dual-sword system forces you to identify enemy types before engaging, reinforcing Geralt’s identity as a prepared monster hunter who studies his prey.
Understanding Weapon Stats and Rarity System
Every weapon displays key stats that determine its effectiveness:
- Damage: Shown as a range, indicates base weapon power
- Required Level: Minimum level needed to equip the weapon
- Rarity: Color-coded from Common (white) to Master (blue), Magic (yellow), Relic (orange), and Witcher Gear (green)
- Durability: Percentage that affects damage output when low
- Upgrade Slots: Empty circles where you can socket runestones for bonuses
Witcher Gear (green) operates outside the standard rarity hierarchy. A level 17 Cat School sword almost always outperforms a random Relic sword at the same level, making green gear your primary upgrade path.
Witcher School Gear Sets – Your Path to Power
Witcher School gear represents the best equipment available at each level tier. These sets upgrade through five tiers: Basic, Enhanced, Superior, Mastercrafted, and Grandmaster (requires Blood and Wine DLC). Each school targets different playstyles.
Griffin School Weapons (Sign Focus)
Griffin gear suits players who rely heavily on Signs like Igni and Aard. This medium armor provides significant Sign Intensity bonuses while maintaining good stamina regeneration.
| Tier | Required Level | Steel Sword Damage | Silver Sword Damage | Key Bonuses |
|---|---|---|---|---|
| Basic | 11 | 92-112 | 202-246 | 5% Sign Intensity, 5% XP from humans/monsters |
| Enhanced | 18 | 141-173 | 250-306 | 10% Sign Intensity, improved XP bonuses |
| Superior | 26 | 184-224 | 331-405 | 15% Sign Intensity, 25% critical hit damage |
| Mastercrafted | 34 | 227-277 | 409-499 | 20% Sign Intensity, 25% critical hit damage |
| Grandmaster | 40 | 335-409 | 472-576 | 21% Sign Intensity, expanded Yrden traps |
Grandmaster Bonus: Wearing 6 pieces increases Yrden trap size by 40%. Standing in Yrden traps boosts stamina regeneration, Sign intensity by 100%, and reduces damage taken by 20%.
Cat School Arsenal (Speed and Critical Hits)
Cat School gear is light armor designed for agile, aggressive players who prefer dodging and fast attacks. These weapons specialize in bleeding effects and critical hit bonuses.
| Tier | Required Level | Steel Sword Damage | Silver Sword Damage | Key Bonuses |
|---|---|---|---|---|
| Basic | 17 | 162-198 | 256-312 | 5% bleeding chance, 12% Aard intensity |
| Enhanced | 23 | 206-252 | 310-378 | 10% bleeding chance, 14% Aard intensity |
| Superior | 29 | 248-304 | 364-444 | 5% critical chance, 10% bleeding chance |
| Mastercrafted | 34 | 284-348 | 409-499 | 10% critical chance, 15% bleeding chance |
| Grandmaster | 40 | 335-409 | 472-576 | 20% Aard intensity, 15% critical/bleeding |
Grandmaster Bonus: Attacks from behind deal 50% more damage and stun enemies when consuming an adrenaline point.
Bear School Armaments (Defense and Heavy Combat)
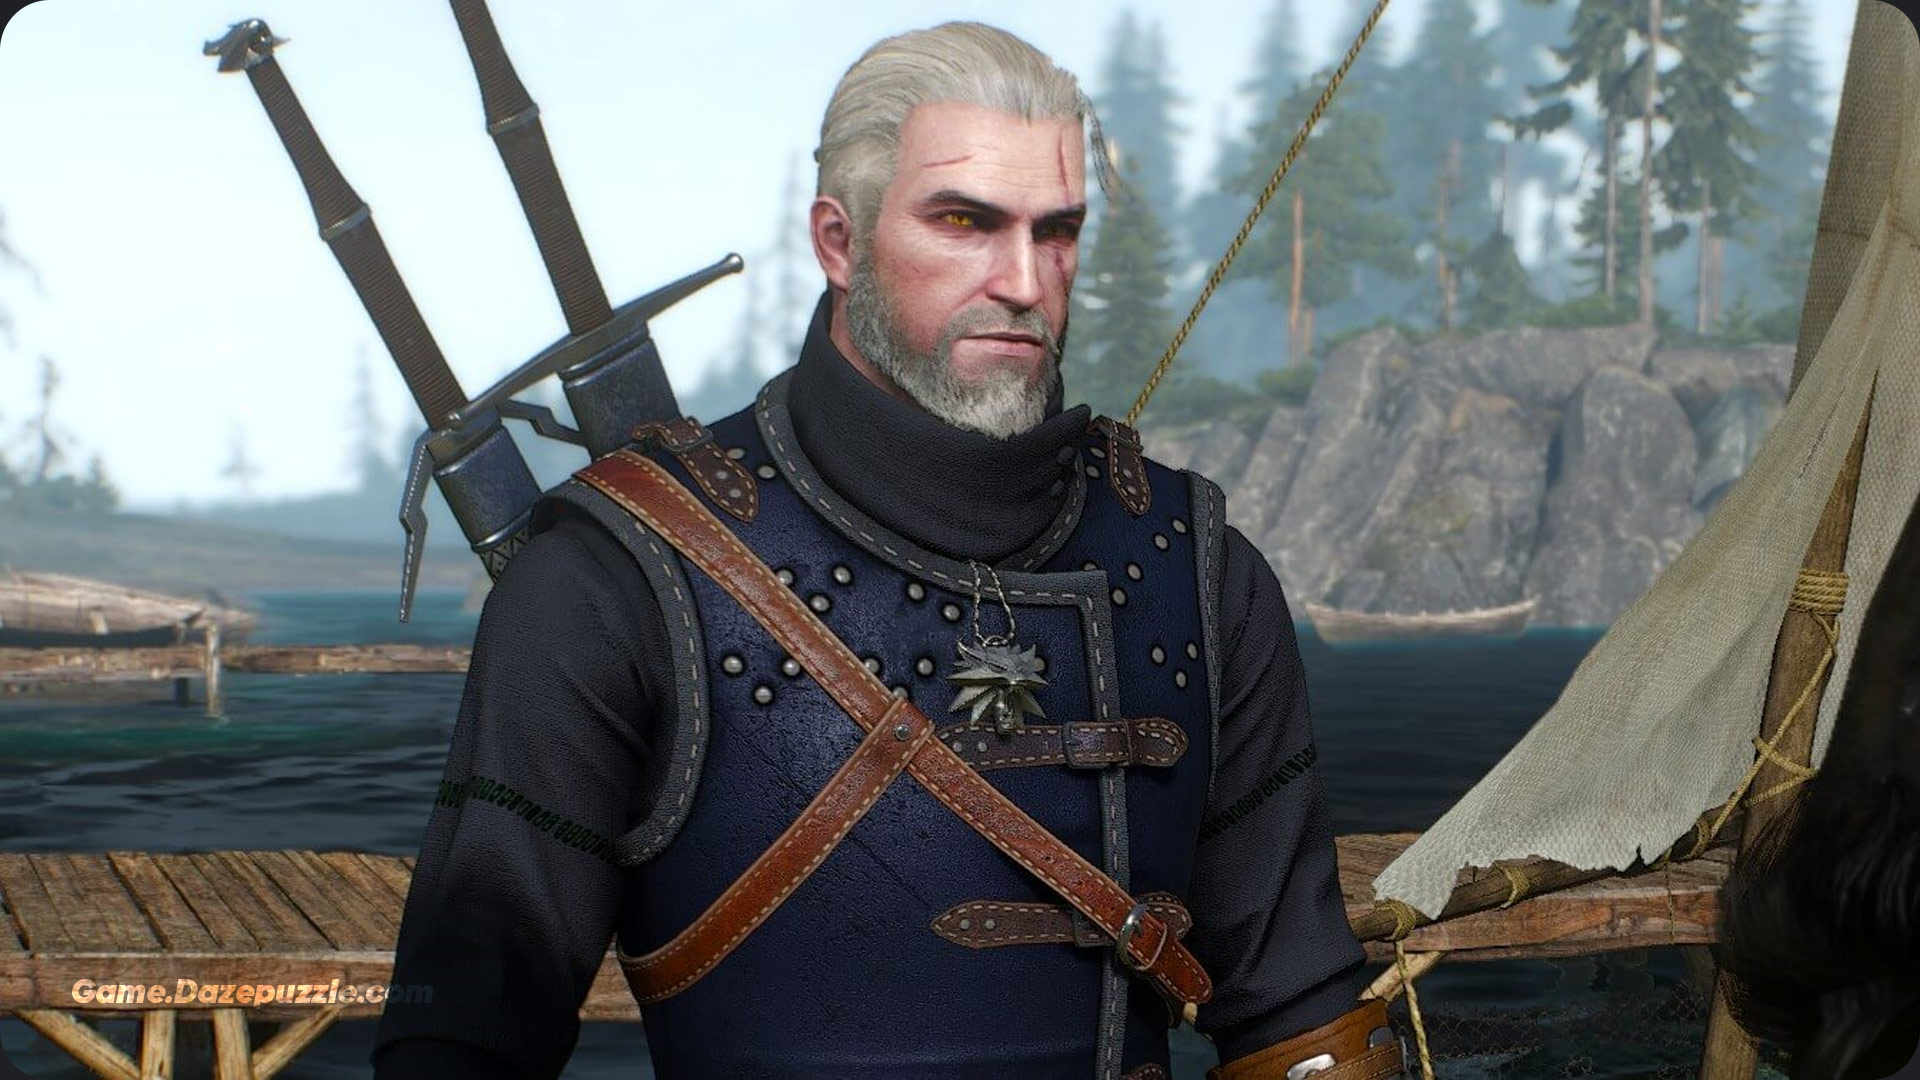
Bear School represents heavy armor for players who prefer absorbing damage while building adrenaline points. These weapons focus on critical damage and dismemberment chances.
| Tier | Required Level | Steel Sword Damage | Silver Sword Damage | Key Bonuses |
|---|---|---|---|---|
| Basic | 20 | 184-224 | 283-345 | 5% adrenaline gain, 5% critical chance |
| Enhanced | 25 | 220-268 | 328-400 | 10% adrenaline gain, 25% critical damage |
| Superior | 30 | 256-312 | 373-455 | 15% adrenaline gain, 50% critical damage |
| Mastercrafted | 34 | 284-348 | 409-499 | 20% adrenaline gain, 75% critical damage |
| Grandmaster | 40 | 335-409 | 472-576 | 21% adrenaline gain, 75% critical damage |
Grandmaster Bonus: Quen Sign damage increases by 200%, transforming the defensive sign into a powerful offensive tool.
Wolf School Equipment (Balanced Approach)
Wolf School gear offers balanced bonuses for players who combine swordplay with Signs. As Geralt’s original school, it provides versatile stats suitable for hybrid builds.
| Tier | Required Level | Steel Sword Damage | Silver Sword Damage | Key Bonuses |
|---|---|---|---|---|
| Basic | 14 | 140-172 | 229-279 | 5% Sign intensity, adrenaline gain, bleeding |
| Enhanced | 21 | 191-233 | 283-345 | 6% across all bonuses |
| Superior | 29 | 248-304 | 364-444 | 7% intensity/adrenaline, 5% critical chance |
| Mastercrafted | 34 | 284-348 | 409-499 | 10% intensity/adrenaline/critical chance |
| Grandmaster | 40 | 335-409 | 472-576 | 11% across all major bonuses |
Grandmaster Bonus: Each adrenaline point increases bleeding stack potential on enemies, amplifying sustained damage in longer fights.
If you want to learn combat mechanics in this game, read our Witcher 3 Combat Tutorial
Legendary Relic Weapons Worth Hunting
Aerondight – The Ultimate Silver Sword
Aerondight stands as the best silver sword in the game. Obtained through the “There Can Be Only One” quest in Blood and Wine, this living weapon grows stronger permanently. Each successful hit charges the sword, and fully charged attacks become automatic critical hits. Killing an enemy with a fully charged strike permanently increases the sword’s maximum damage.
This mechanic makes Aerondight a “living weapon” that scales with your playtime, ensuring it remains the best silver sword through New Game+ and beyond.

Top Steel Sword Contenders
Two steel swords compete for the top spot, each serving different combat styles:
Iris: Reward for completing Hearts of Stone’s main storyline. This unique weapon converts heavy attacks into double strikes and can release energy waves that bypass enemy defenses, though using this ability costs health.
Toussaint Knight’s Steel Sword: Found in Blood and Wine, this weapon offers the highest raw damage and critical hit stats among steel swords, perfect for fast attack builds or DPS-focused gameplay.
Other Notable Relic Weapons
| Weapon Name | Type | Key Features | Location/Method |
|---|---|---|---|
| Gesheft | Silver | High Sign intensity bonuses | Blood and Wine DLC |
| Black Unicorn | Steel | Powerful early to mid game weapon | Craftable or random drops |
| Harpy | Silver | High damage relic weapon | Crow’s Perch area diagram |
| Bloodsword | Silver | Bleeding and dismemberment focus | Mercenary camp near Oxenfurt |
| Ofieri Saber | Steel | Unique curved blade design | Hearts of Stone trader |
Ranged Combat and Utility Tools
Crossbows and Bolt Types
Crossbows serve essential roles beyond basic combat. They’re critical for underwater fights and grounding flying monsters like griffins and harpies. Different crossbow types offer various bonuses. Cat School crossbows excel at armor penetration while Bear School variants boost critical hit chances.
Bolt varieties provide tactical options:
- Broadhead Bolts: Cause bleeding damage over time
- Explosive Bolts: Deal area damage, excellent for crowd control
- Tracking Bolts: Mark enemies and cause bleeding
- Blunt Bolts: Deal knockdown damage with stun potential
Bombs – Your Alchemical Arsenal
Bombs offer consumable tactical advantages that can completely change fight dynamics. Each bomb type has three tiers (Basic, Enhanced, Superior) with improved effects and usage counts.
| Bomb Name | Primary Effect | Base Materials |
|---|---|---|
| Grapeshot | Explosive shrapnel damage | 2x Saltpeter, 2x Calcium equum |
| Samum | Temporary blindness | 1x Saltpeter, 2x Phosphorus |
| Dancing Star | Fire damage over time | 1x Saltpeter, 2x Sulfur |
| Devil’s Puffball | Poison cloud damage | 1x Saltpeter, 2x Calcium equum |
| Northern Wind | Freezing with damage vulnerability | 1x Saltpeter, 1x Dimeritium dust, 2x Aether, 1x Aloe |
| Dimeritium Bomb | Anti-magic field creation | 1x Saltpeter, 2x Dimeritium dust |
| Moon Dust | Prevents monster transformations | 1x Saltpeter, 2x Quicksilver |
Weapon Enhancement Systems
Runestones – Passive Power Boosts
Runestones socket into weapon upgrade slots, providing permanent bonuses. Available in three tiers (Lesser, Regular, Greater), these stones offer various effects:
| Runestone | Effect | Greater Tier Bonus |
|---|---|---|
| Chernobog | Attack power increase | +5% |
| Dazhbog | Burning chance | 5% |
| Devana | Bleeding chance | 5% |
| Morana | Poisoning chance | 5% |
| Perun | Adrenaline point gain | +5% |
| Svarog | Armor penetration | +30 |
Runewright Enchantments – Game Changing Effects
The Runewright system from Hearts of Stone offers powerful enchantments that occupy all three weapon slots. Notable runewords include:
Severance: Dramatically increases Whirl and Rend attack range, transforming crowd control abilities into devastating area attacks.
Preservation: Makes temporary bonuses from grindstones and armorer’s tables permanent, maximizing stat optimization.
Replenishment: Charges your sword with the last Sign used, applying that Sign’s effect to your next weapon strike.
Fully upgrading the Runewright costs 30,000 crowns but provides access to game changing enchantments that define endgame builds.
Crafting and Upgrading Your Arsenal
The crafting system creates a meaningful gameplay loop: hunt monsters for rare materials, loot bandits and chests for equipment, dismantle unwanted gear to recover crafting materials, then use these resources to forge powerful Witcher equipment.
Craftsmen have skill levels (Amateur, Journeyman, Master, Grandmaster) that determine what they can create. Unlocking Master-level craftsmen like Hattori in Novigrad and Lazare Lafargue in Toussaint requires completing specific questlines, but these aren’t optional side activities; they’re essential gates to the game’s best equipment.
Each Witcher set upgrade requires the previous tier item, which gets consumed during crafting. This creates a clear progression path where finding your first diagram starts a “Scavenger Hunt” quest that guides you to the remaining pieces.
The dismantle system often proves more economical than buying materials directly. Rare materials like Dimeritium Ingots cost significantly less when recovered from dismantled equipment than purchased from merchants.
Thanks for keeping up with Game.Dazepuzzle