Jumping into a tank without knowing the controls is like strapping on a jetpack without checking if it works first. Battlefield 6 returns to vehicle heavy warfare with eight distinct types ready to dominate land and air, but each one demands different tactics and control schemes to master. From managing tank positioning to nailing helicopter throttle control, knowing how to actually pilot these machines separates battlefield legends from respawn screen regulars. This guide covers All Battlefield 6 Vehicles with detailed breakdowns on controls, tactics, and survival tips for every ride in the game.
What You Will Read in This Guide
All Battlefield 6 Vehicles Overview Table
| Vehicle Type | Examples | Capacity | Primary Weapons | Difficulty | Best For |
|---|---|---|---|---|---|
| Main Battle Tank | M1A2 SEPv3, Leopard A4 | 4 players | 120mm Cannon, Machine Guns | Medium | Heavy assault, objective control |
| Infantry Fighting Vehicle | M3A3 Bradley, BMP-2M | 6 players | 30mm Cannon, Guided Missiles | Medium | Infantry support, versatile combat |
| Light Ground Transport | Quadbike, Flyer 60 | 5 players | Machine Gun Turret | Easy | Fast squad movement |
| Mobile Anti-Air | Gepard, GDF-009 | 2-3 players | Anti-Air Cannons | Easy | Air defense, helicopter counter |
| Attack Helicopter | AH-64 Apache, Tiger | 2 players | Rockets, Autocannon, Missiles | Hard | Ground attack, vehicle destruction |
| Transport Helicopter | Black Hawk | 6+ players | Door guns | Medium | Squad deployment, rapid insertion |
| Attack Jet | F-16, F-22, Gripen | 1 player | Autocannon, Missiles, Bombs | Very Hard | Air superiority, ground strikes |
How to Use Light Ground Transports
Light transports need zero learning curve, making them perfect for getting your squad moving immediately. Jump in the driver seat, floor it toward your objective, and pray nobody has a rocket launcher pointed your way.
Basic Controls and Tactics
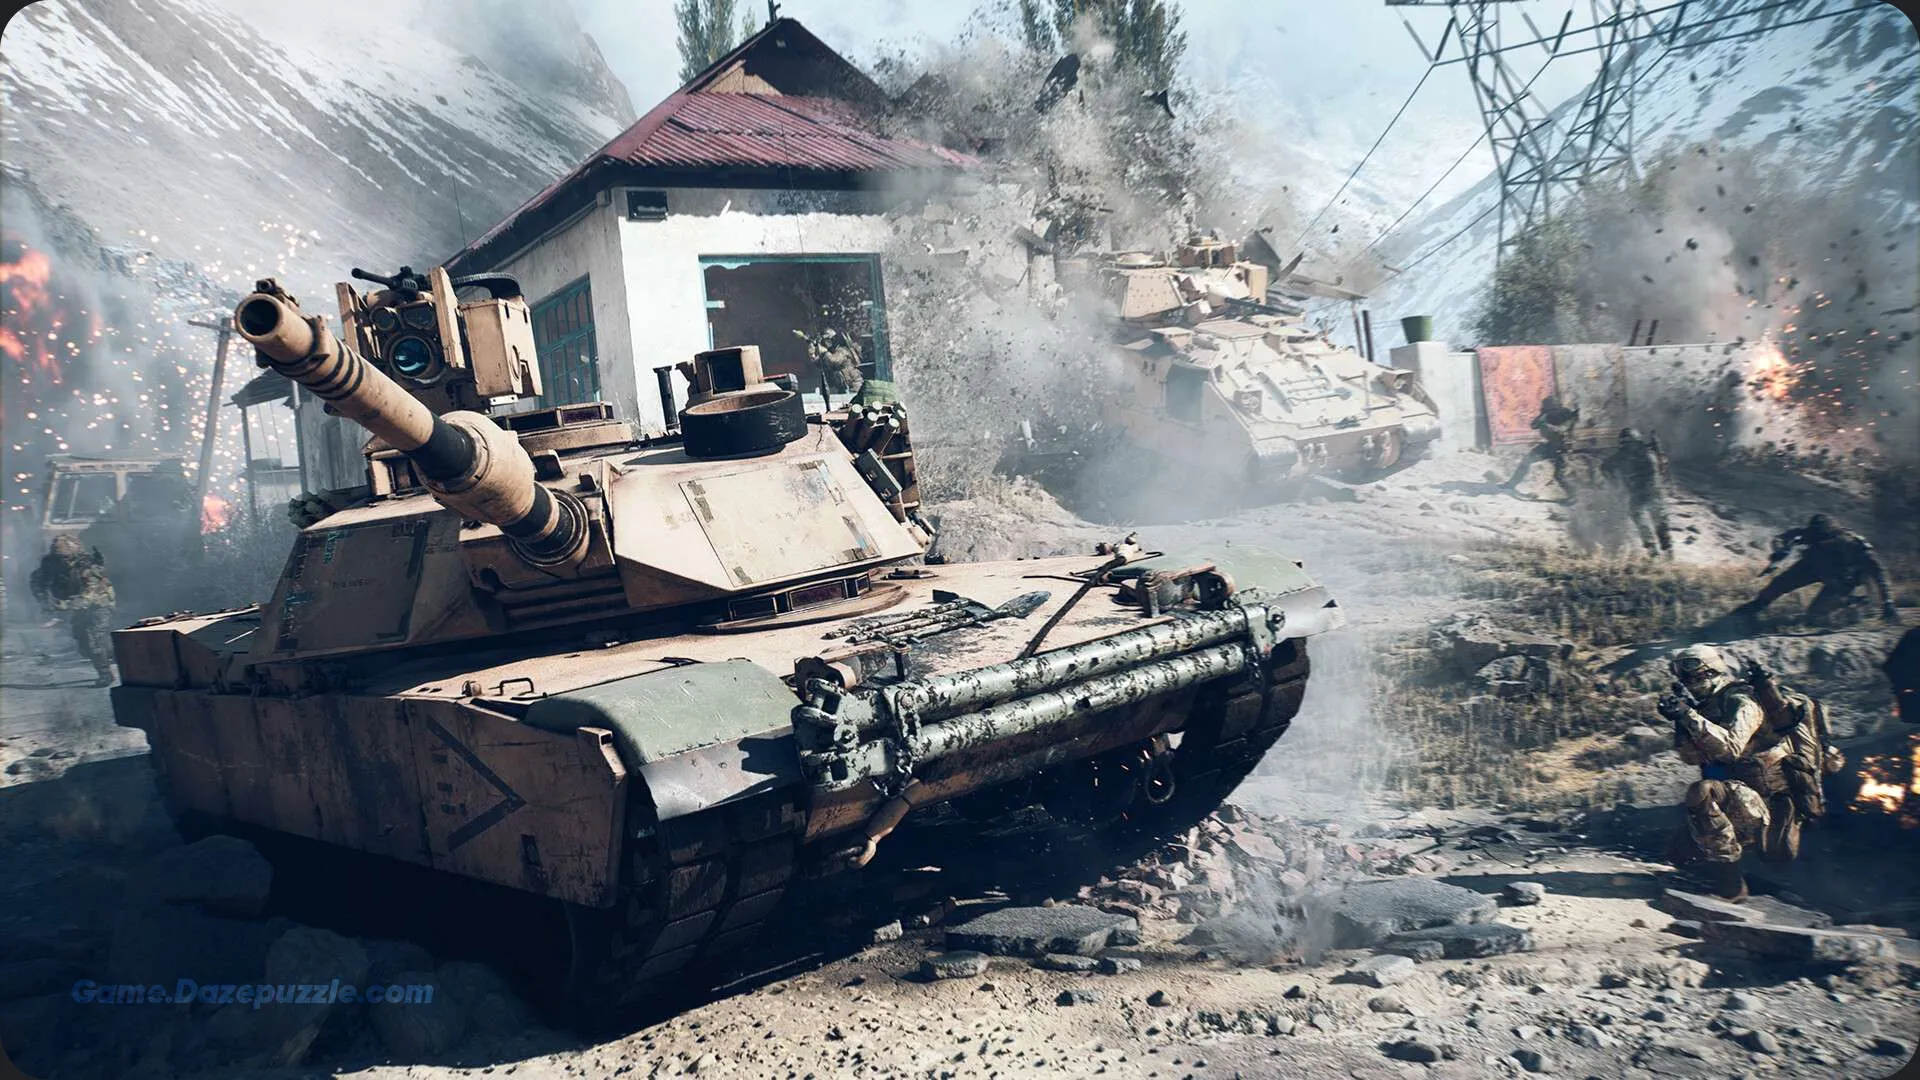
Driving works exactly like on foot movement. Left stick steers and controls speed while the right stick aims your view. The real trick comes from understanding when to bail. These vehicles explode after just a few hits, so treat every journey like a high speed delivery mission. Get in, drive fast, and get out before becoming target practice.
Your gunner controls the machine gun turret independently, letting them engage threats while you focus on driving. Communication helps here. Call out enemy positions and let your gunner know when you’re about to make sharp turns so they can keep firing. The three passenger slots mean your entire squad plus extras can move together, making coordinated captures way easier.
Smart drivers use terrain for cover during approach. Don’t drive straight up the main road where every enemy can see you coming. Take side routes, use hills and buildings to break line of sight, and stop short of objectives to let your squad dismount safely. Driving directly into contested zones just gifts the enemy a multi kill.
How to Use Infantry Fighting Vehicles in Battlefield 6
IFVs balance firepower with troop transport, but using them effectively requires understanding both driver and gunner roles. The driver operates the main cannon while the gunner provides anti infantry support and target marking.
Driver Controls and Strategy
As the IFV driver, your main weapon is the 30mm cannon. This thing shreds infantry and light vehicles but requires leading your shots against moving targets. The guided missiles need you to maintain line of sight after firing, so don’t immediately duck behind cover or the missile loses lock.
Use the radar pulse ability to reveal nearby enemies on your minimap. This intel helps your whole team and catches flankers before they plant C4 on your rear armor. When enemies start landing hits, deploy smoke launchers immediately. The thermal blocking smoke breaks lock ons and gives you precious seconds to retreat or reposition.
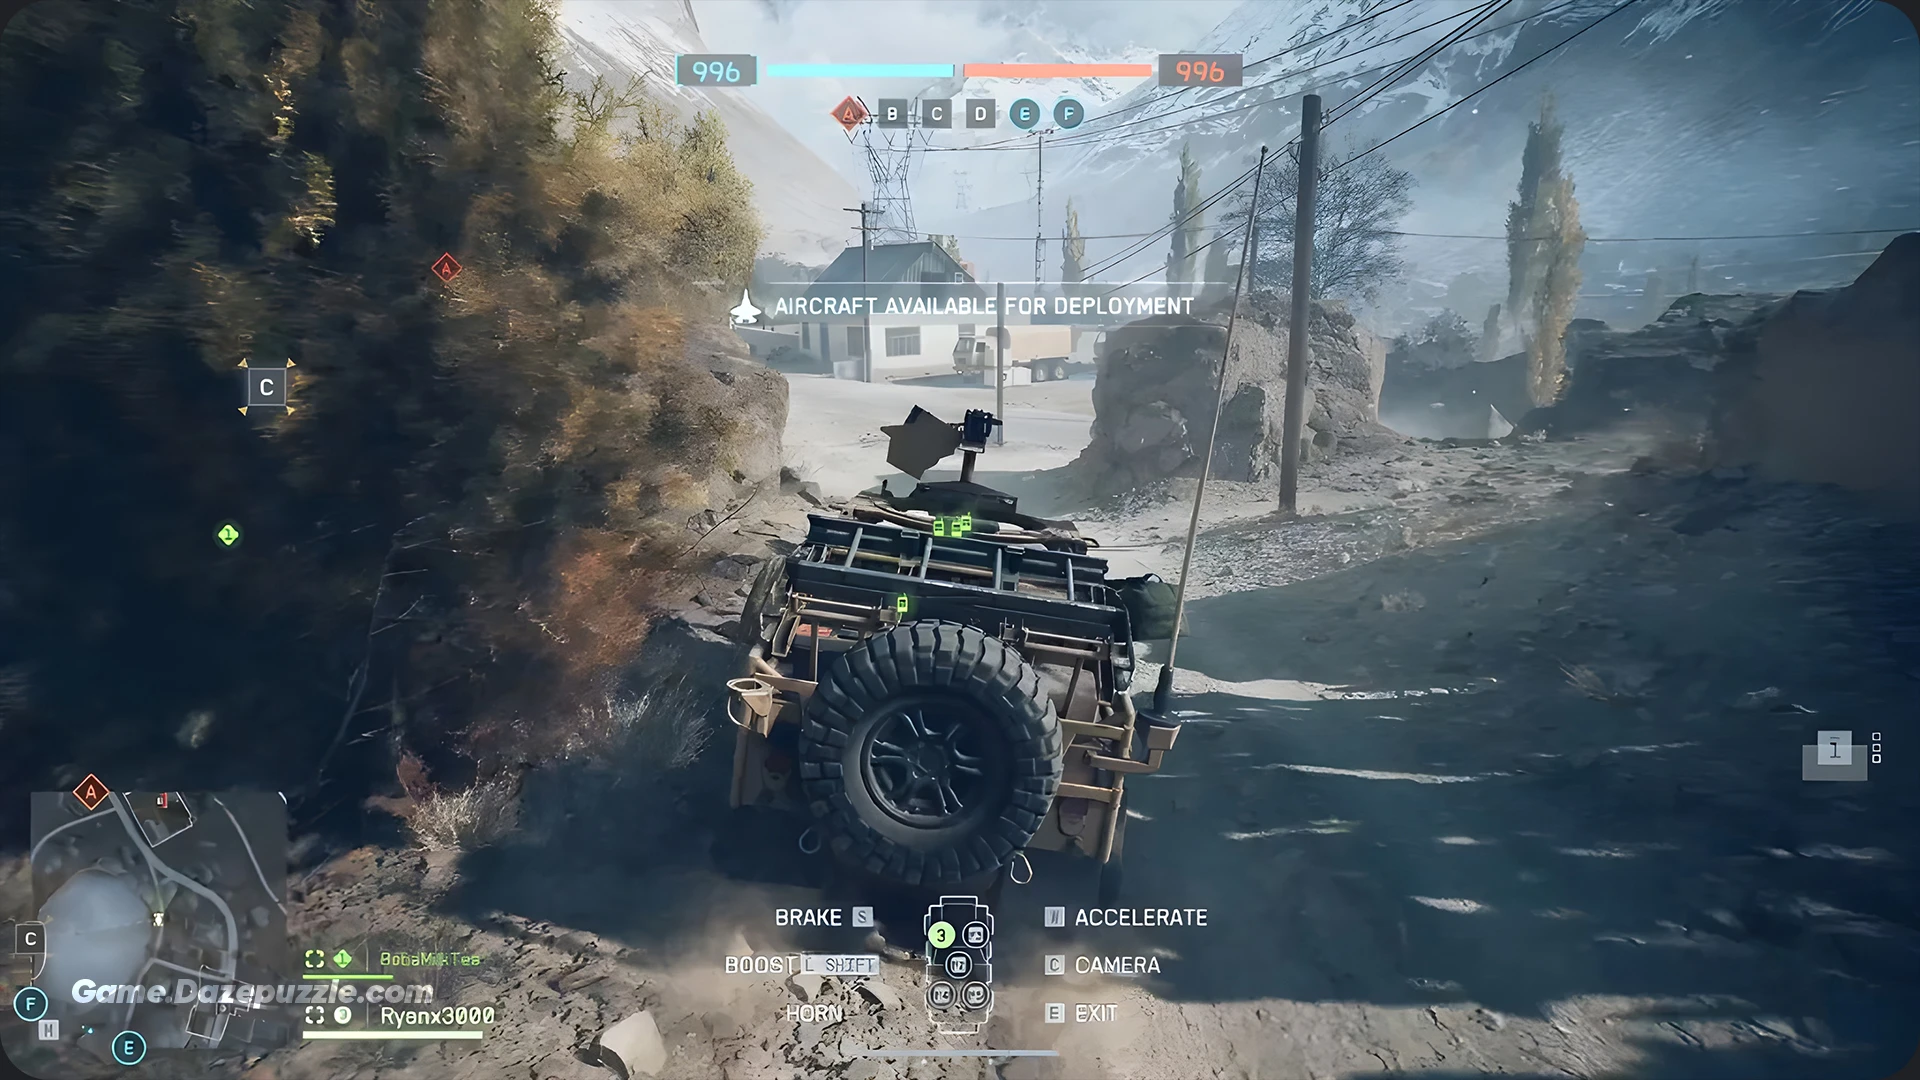
Position yourself to support infantry pushes rather than leading charges. Let your foot soldiers draw attention while you hang back slightly, picking off targets they spot. The six player capacity means you can roll with a full squad, making you a mobile spawn point and firebase combined.
Gunner Responsibilities
The gunner position mans the machine gun and target painter. Your job involves keeping infantry away from the IFV and marking priority targets for your driver. The target painter puts a big indicator on enemies that your whole team can see, turning dangerous targets into focused fire magnets.
Deploy your smoke launchers when the driver calls for them or when you see incoming rockets. Coordination between driver and gunner determines whether you dominate or become scrap metal. Talk to each other, call out threats, and work together.
How to Use Main Battle Tanks in Battlefield 6
Tanks represent the ultimate ground power, but their slow speed and size make positioning everything. One wrong move puts you in a crossfire with no escape route.
Tank Driver Fundamentals
The main 120mm cannon feels incredible when it connects but reloads slowly. Make every shot count by leading moving targets and accounting for bullet drop at range. Switch between anti armor shells for vehicles and multi purpose rounds for infantry bunched in buildings.
Your coaxial machine gun handles closer infantry threats while your main gun reloads. Use it liberally on approaching engineers trying to plant explosives. The smoke launchers save your life when multiple threats lock onto you simultaneously. Pop smoke, reverse behind cover, and let your armor regenerate.
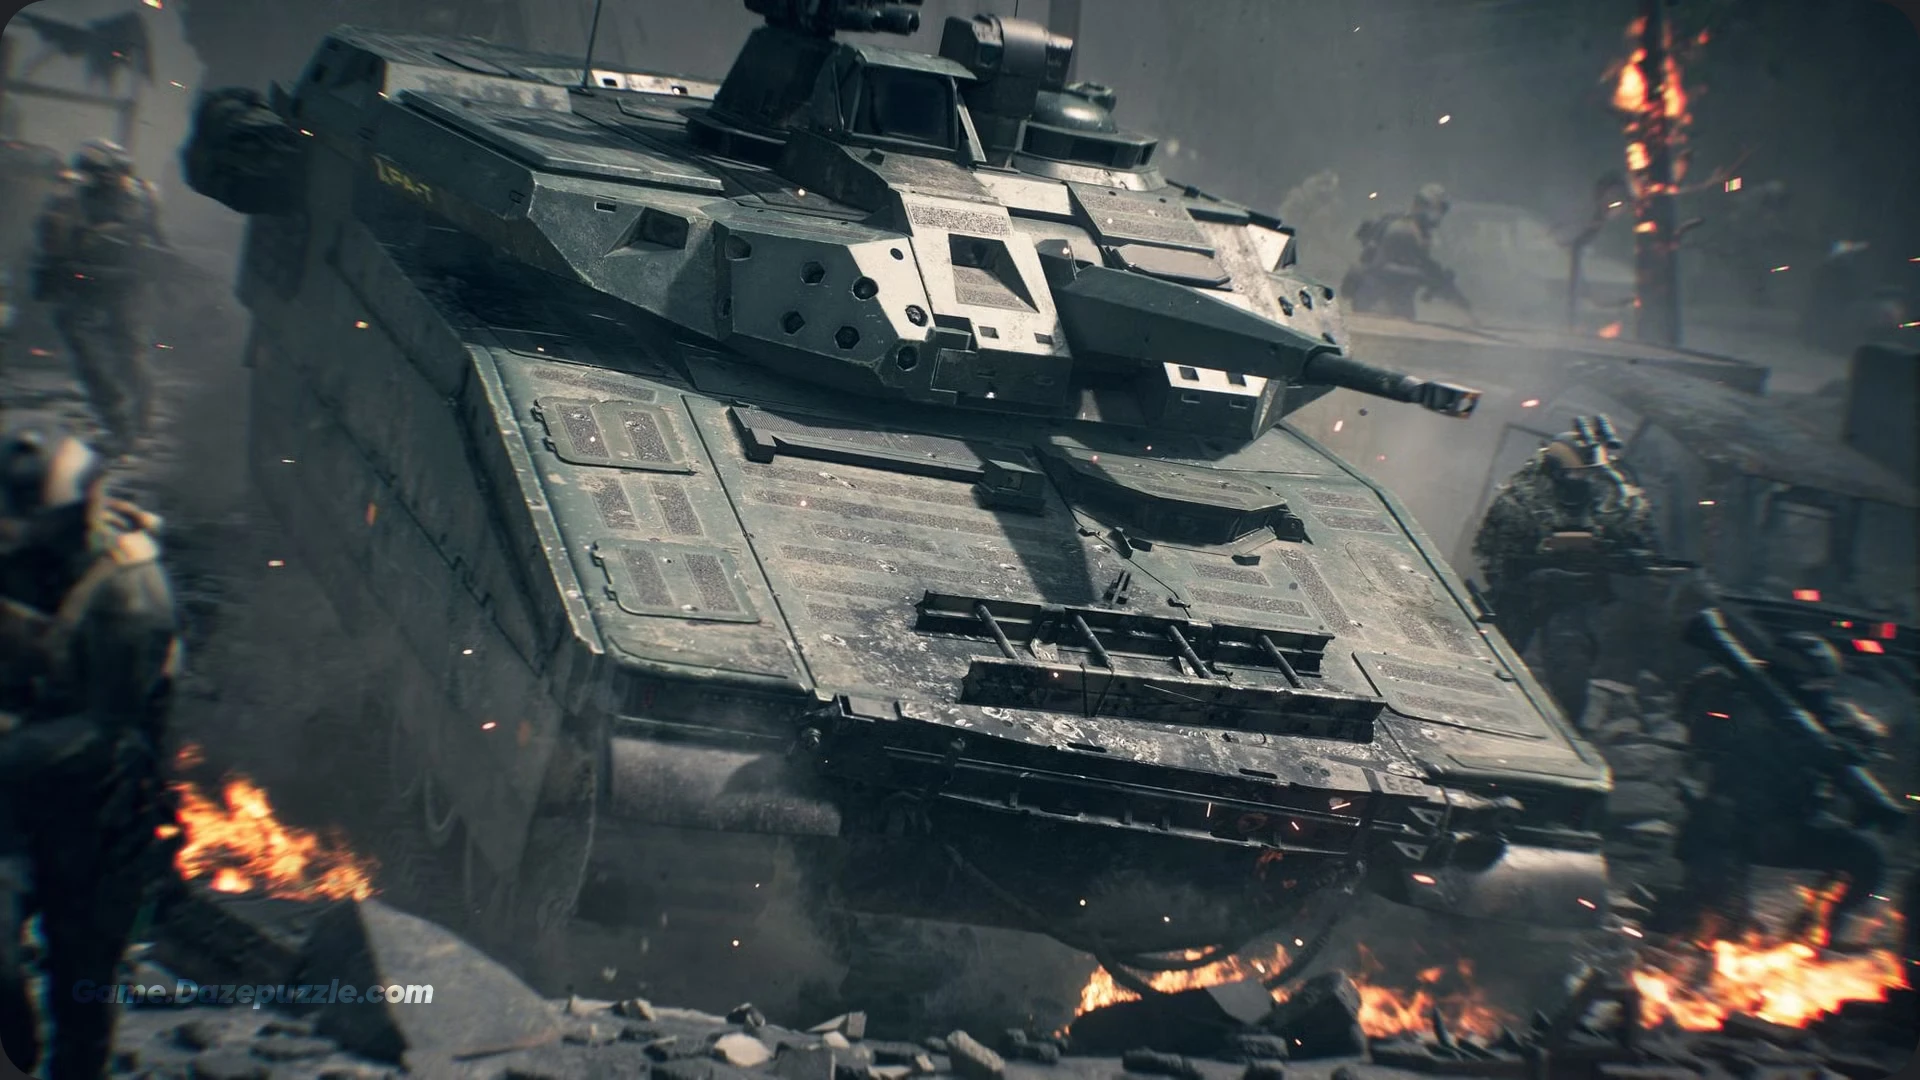
Never push forward alone. Tanks become coffins when surrounded by infantry from multiple angles. Move with friendly troops who can spot flankers and keep engineers off your back. If you hear C4 being placed, immediately deploy smoke and reverse while rotating to face the threat.
Positioning and Map Control
On Liberation Peak and Siege of Cairo, find positions with clear sightlines to multiple approaches. Park hull down when possible, meaning only your turret peeks over cover while your vulnerable hull stays protected. This drastically reduces incoming damage.
Watch your flanks constantly. The biggest tank killer isn’t another tank, it’s the engineer who snuck around and dumped C4 on your engine deck. Keep buildings and rock formations at your sides to limit angles of attack. If enemies start focusing you from multiple directions, retreat immediately. Repair, reassess, and return from a different angle.
How to Use Attack Helicopters in Battlefield 6
Helicopters demand the most practice but reward skilled pilots with total battlefield domination. The control scheme feels weird at first, especially throttle management.
Helicopter Control Basics
Here’s the crucial tip that most new pilots miss: switch to alternate button controls immediately. Default controls cram too much onto the left stick. With alternate controls, throttle moves to the triggers, making altitude control way more intuitive.
Think of throttle as altitude, not speed. Increase throttle to rise, decrease to descend. Your pitch controls actual forward and backward movement. Tilt the nose down while maintaining altitude to fly forward. This separation of altitude and direction makes helicopters click once you internalize it.

Use yaw, not roll, for most turning. Rolling too hard tips you sideways and sends you crashing. Gentle yaw turns keep you level while changing direction. Save aggressive rolls for emergency evasion when missiles are incoming.
Combat and Survival Tactics
Never hover in contested areas. Constant movement makes you harder to hit and breaks targeting from ground forces. When making attack runs, approach fast and low, unleash your payload, and get out before anti air locks on.
Only deploy flares after seeing “INCOMING” on your screen. Flares on cooldown mean certain death if another missile launches, so timing matters. After using flares, immediately break line of sight behind terrain or buildings while they recharge.
Your gunner handles the autocannon and guided missiles. Pilots focus on rockets and anti air missiles while maintaining proper positioning. Communicate with your gunner about targets and threats. A coordinated helicopter crew clears entire objectives before ground forces arrive.
Low altitude flying near terrain breaks lock ons from both ground and air threats. Learn every rock formation and building on each map. When things get hot, dive low and put solid objects between you and danger.
If you want to learn about best weaponsi in this game, read our Battlefield 6 Best Weapons and Loadouts
How to Use Transport Helicopters in Battlefield 6
Transport choppers trade firepower for carrying capacity, turning them into airborne taxis for your squad. The flying controls work identically to attack helicopters but your mission differs completely.
Insertion Tactics
Your job involves getting troops to objectives quickly and safely. Approach landing zones low and fast, using terrain to mask your approach. Don’t hover above objectives like a spotlight screaming “shoot me.” Touch down briefly, let your squad dismount, and get out immediately.
The door gunners provide covering fire but can’t save you from dedicated anti air. Time your insertions when enemy air defense is distracted or destroyed. Dropping six players behind enemy lines wins matches, but only if you survive the flight.
Use transport helicopters for rapid reinforcement of contested objectives or sneaky backcap attempts on undefended points. The element of surprise matters more than the helicopter itself.
How to Use Attack Jets in Battlefield 6
Jets require serious dedication to master. The flight model punishes mistakes hard, but skilled pilots become untouchable.
Jet Control Essentials
Pitch and roll on the right stick control your orientation. The inverted pitch takes getting used to, pushing forward tilts your nose down. Left stick handles yaw and throttle, though you’ll primarily use yaw for minor adjustments.
Throttle management separates crashes from kills. Too slow and you stall, dropping like a brick. Too fast and you can’t turn tight enough to engage targets. Find the sweet spot where you maintain speed while executing maneuvers. Afterburners give emergency speed boosts but burn out quickly.

Never fly straight up. This kills your speed and makes you an easy target. Gentle climbing turns maintain momentum while gaining altitude. If you start stalling, nose down immediately and hit afterburners to recover speed.
Air Combat and Ground Attack
Your main job involves clearing enemy aircraft. Target helicopters and jets whenever spotted, using your autocannon to shred their armor. Flares can’t stop bullets, making your cannon the most reliable weapon for dogfights.
Adjust your throttle constantly during dogfights. Slowing down tightens your turn radius, helping you get behind enemies. Speed up to break away from pursuers or close distance on fleeing targets. This constant throttle adjustment makes good pilots dominant.
For ground attacks, line up strafing runs from high altitude, dive on your target, release your payload, and pull up hard while deploying flares. Don’t stick around admiring your work. Get altitude immediately and reassess for the next run.
Use third person camera when not actively engaging targets. The wider field of view helps spot threats and navigate terrain. Switch to first person for precision shooting.
How to Use Mobile Anti-Air in Battlefield 6
Anti-air vehicles exist to make enemy pilots regret their life choices. The controls work like standard ground vehicles but your weapons lock onto aircraft automatically.
Air Defense Positioning
Set up in positions with clear sightlines to common flight paths. Near friendly objectives works best since enemy aircraft naturally attack those areas. Your presence alone forces pilots to either avoid your zone or risk getting shredded.
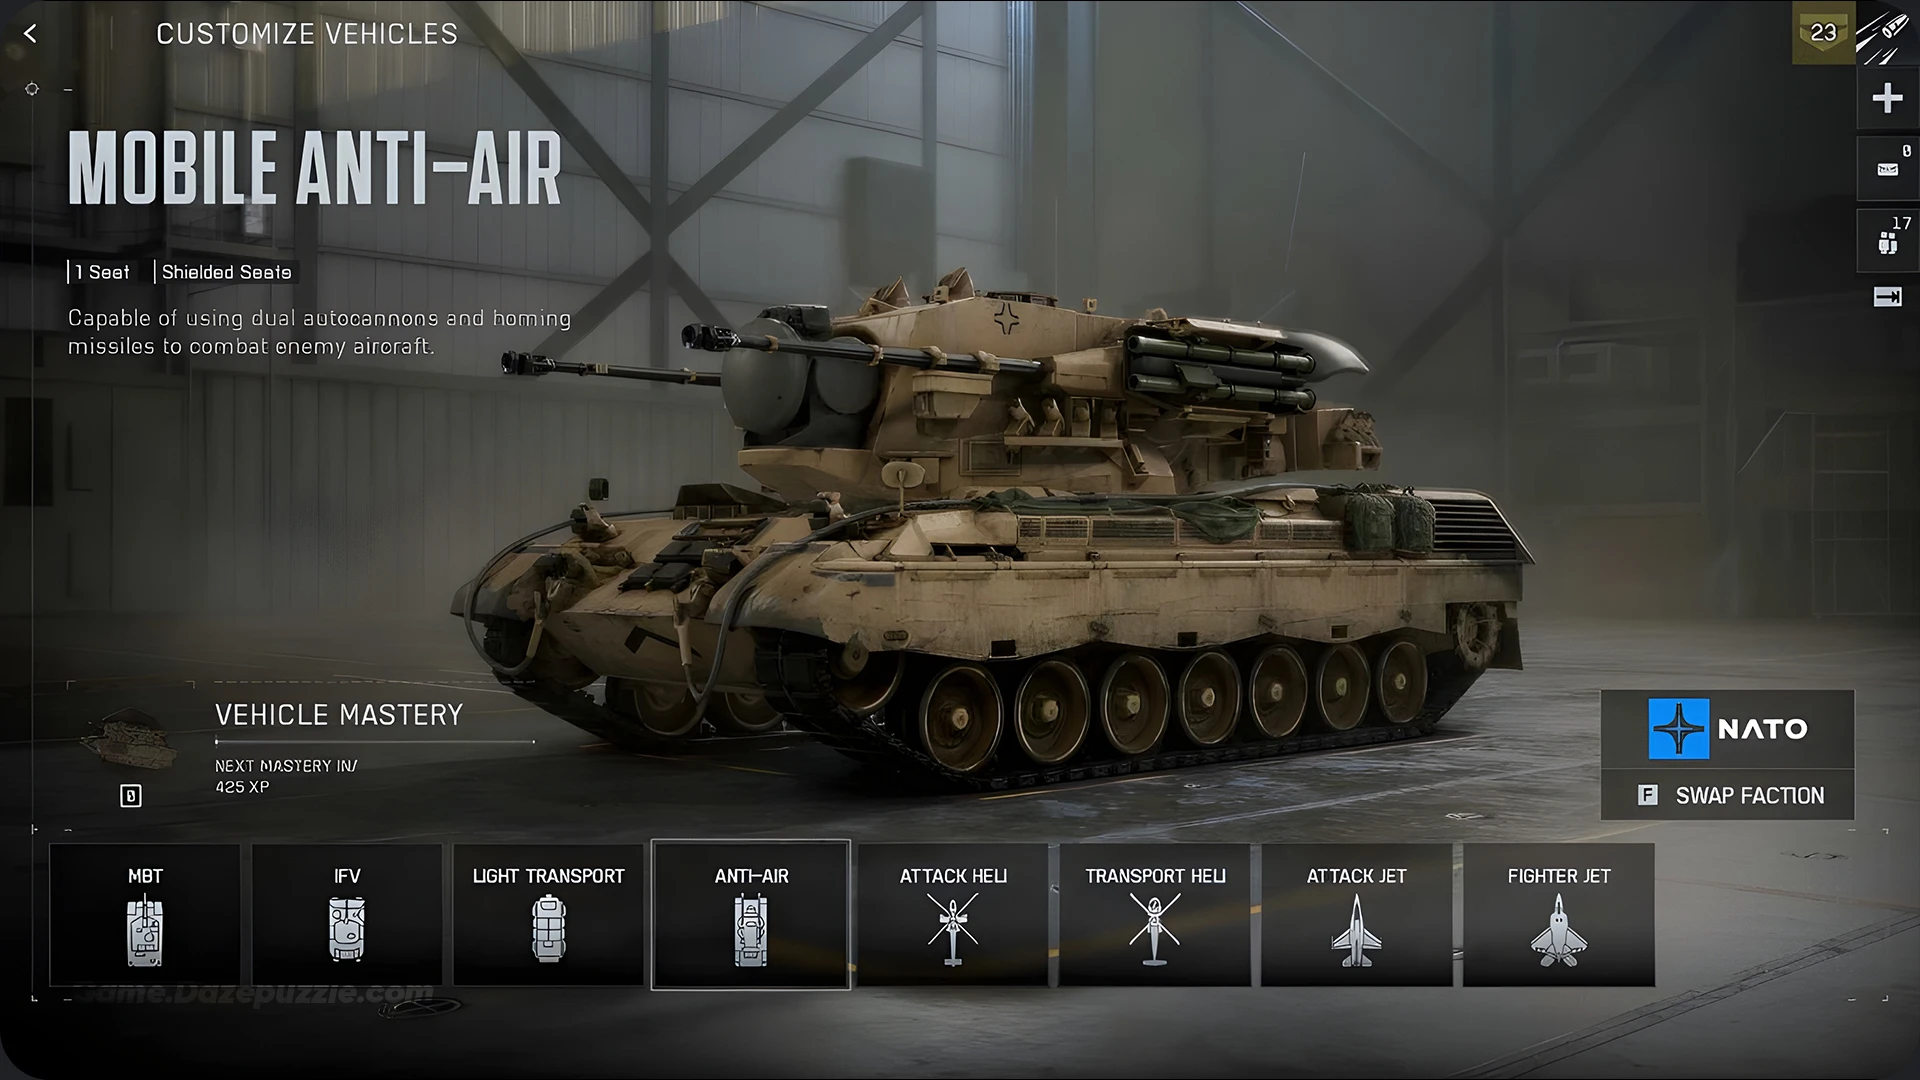
Keep moving between shots. Smart pilots remember where anti-air is positioned and will circle back with revenge on their minds. Fire a burst, relocate, repeat. Staying stationary turns you into an easy target for enemy ground vehicles.
Lock on warnings alert enemy pilots, so sometimes just acquiring lock without firing keeps them away. Your mere existence as area denial can be as valuable as actual kills. When you do fire, track the target through their evasion attempts. Many pilots panic and fly predictably when missiles launch.
All Battlefield 6 Vehicles List by Faction
NATO Arsenal
- M1A2 SEPv3 Main Battle Tank
- M3A3 Bradley Infantry Fighting Vehicle
- AH-64 Apache Attack Helicopter
- F-22 Raptor Attack Jet
- Gepard Mobile Anti-Air
- Black Hawk Transport Helicopter
- Quadbike and Flyer 60 Light Transports
Pax Armata Arsenal
- Leopard A4 Main Battle Tank
- BMP-2M Infantry Fighting Vehicle
- Tiger Attack Helicopter
- Gripen Attack Jet
- Mobile Anti-Air Platforms
- Transport Helicopters
- Light Transport Vehicles
Vehicle Mastery Tips
Start with simpler vehicles before attempting jets and attack helicopters. Light transports and IFVs let you contribute immediately while learning battlefield flow. Gradually work up to tanks, then helicopters, and finally jets as your skills improve.
Change your button layout for aircraft and helicopters to alternate controls. The default scheme actively works against you. This single settings change dramatically improves your flying experience.
Every vehicle needs a different mindset. Tanks require patience and positioning. Helicopters demand constant awareness and movement. Jets need precise throttle management and spatial reasoning. Learning these distinctions transforms you from vehicle tourist to vehicle expert.
Communication multiplies vehicle effectiveness exponentially. A tank with a squad providing support and repairs becomes nearly unkillable. Helicopter crews on voice chat coordinate perfectly. Even light transports become powerful tools when your squad works together on timing insertions.
Practice in less contested matches before trying to master vehicles in heated battles. Take a transport helicopter and just fly around empty areas, getting comfortable with throttle and pitch. Grab a tank when your team has map control and experiment with positioning. Build muscle memory in low pressure situations.
Understanding All Battlefield 6 Vehicles and how to use them properly gives you options for any situation. Maps favor different vehicle types, and team composition determines what your squad needs most. Flexibility wins matches, so dedicate time to mastering multiple vehicle types rather than specializing in just one.
Thanks for keeping up with Game.Dazepuzzle