Here is the world of Duckov, a gun toting duck in a surprisingly dangerous world, and you need a game plan. This is the ultimate Escape From Duckov guide, built to take you from a freshly hatched rookie to a seasoned survivalist. We’ve got everything you need: a full walkthrough of your first few hours, a breakdown of essential quests, and deep dives into core mechanics like fishing and selling loot. Let’s get to it.
What You Will Read Here:
Escape From Duckov Beginner’s Guide: Tips to Survive Your First Raid
Before diving deep, let’s cover the basics. This game might look cute, but it has the heart of a serious extraction shooter. Your first few raids are all about learning, not winning. Go in with minimal gear, focus on learning the map layouts, and don’t be afraid to bail early. A successful extraction, no matter how small the haul, is a win.
Keep an eye on the weather, as conditions like fog can hide you but also hide enemies. Always have a backup plan, like a simple pistol or melee weapon, in case your main gun runs out of ammo. Most importantly, treat every death as a lesson. You’ll learn where enemies spawn, which routes are safest, and what loot is actually worth the risk.
Escape From Duckov Walkthrough Part 1: The First Raids
This part of our Escape From Duckov guide will walk you through the critical opening hours of the game, from the tutorial to your first real taste of danger in Ground Zero.
The Tutorial: Escaping the Prison
The game starts with you waking up from a dream and creating your character. A mysterious voice then guides you through a prison break, which serves as the tutorial. Follow the on screen prompts to learn movement and looting. You’ll find your first weapon, a TT-33 pistol, in a donation box. The tutorial teaches you the basics of combat, aiming down sights for more accuracy, and managing your inventory. Your goal is to fight your way through a few guards and make it to the extraction point at the end of the level.
The Base: Your Hideout and First Upgrades
After the tutorial, you’ll arrive at your base, which is your central hub for everything between raids. Here, you’ll meet Jeff, the most important NPC in the early game. He’ll show you around the key areas: the warehouse for storage, the construction panel for building new facilities, the vending machine for trading, and the enhancer for upgrading your skills.
Your first priority should be to accept the Basic Construction and Startup Capital quests from Jeff. Before heading out, use the Skill Enhancement machine to unlock “Backpack Expert I” for more inventory space and “Storage Expansion Lv.1” at the warehouse to increase your stash size.
Ground Zero Map Guide: Your First Mission
Your first real mission takes you to Ground Zero. Your objectives are to get one kill for “Startup Capital” and find two pieces of wood to build a Workbench for “Basic Construction.” The map features various enemy types, including the red Rampaging Scavengers who use melee attacks and green ducks who carry shotguns.
Explore the encampments to find loot, but be cautious. After getting a kill and collecting the wood, head to an extraction point, marked by green smoke, to safely return to your base. Once back, build the Workbench at the construction panel to complete the quest and unlock crafting capabilities.

Who are the Scavengers in Escape From Duckov?
The Scavengers are the primary enemies you will encounter throughout the world of Duckov. These hostile ducks will attack you as soon as they see you. In the early stages of the game, you will mainly come across two types:
Rampaging Scavengers: These are aggressive red ducks that charge at you with melee weapons like Butcher Knives. It is best to keep your distance and take them out before they get too close.
Scavengers: These are typically green ducks equipped with shotguns and body armor. Aiming for the head or using armor-piercing bullets is an effective strategy against them.
Escape From Duckov Quest Guide (All Main Quests)
Quests are the backbone of your progression in Duckov. They unlock new gear, vendors, and base facilities. This section of the Escape From Duckov guide covers the essential early game quests you’ll get from Jeff and other NPCs.
Escape From Duckov Basic Construction Quest
This is one of the very first quests Jeff gives you, also known as “Infrastructure.” You need to head into Ground Zero, find two pieces of wood from loot piles or defeated enemies, and return to base to build a Workbench. Completing this is critical as the Workbench allows you to craft, repair items, and research blueprints.
Escape From Duckov Stop Bleeding Quest
Right after building your workbench, you’ll get this quest to learn how to use bandages to stop bleeding. This is a crucial survival mechanic, as bleeding can slowly drain your health if left untreated. Completing it also introduces you to crafting medical supplies.
Escape From Duckov Signal Tower Quest
After building the workbench, Jeff will ask you to repair a broken signal tower located northeast of your hideout in Ground Zero. You will need a Flathead Screwdriver, which can be purchased from the vending machine if you don’t find one. Fixing this tower is a major step, as it re establishes contact with outside merchants, unlocking new vendors and a new wave of quests.
Escape From Duckov A Letter from an Old Friend Quest
Once the signal tower is repaired, Jeff gives you this quest to retrieve a letter he left in a red tent on Small Hill in Ground Zero. Finding this letter progresses the main story, connecting you with an old friend who has contacts for new merchants that can set up shop in your base.
Escape From Duckov A New Hunter Quest
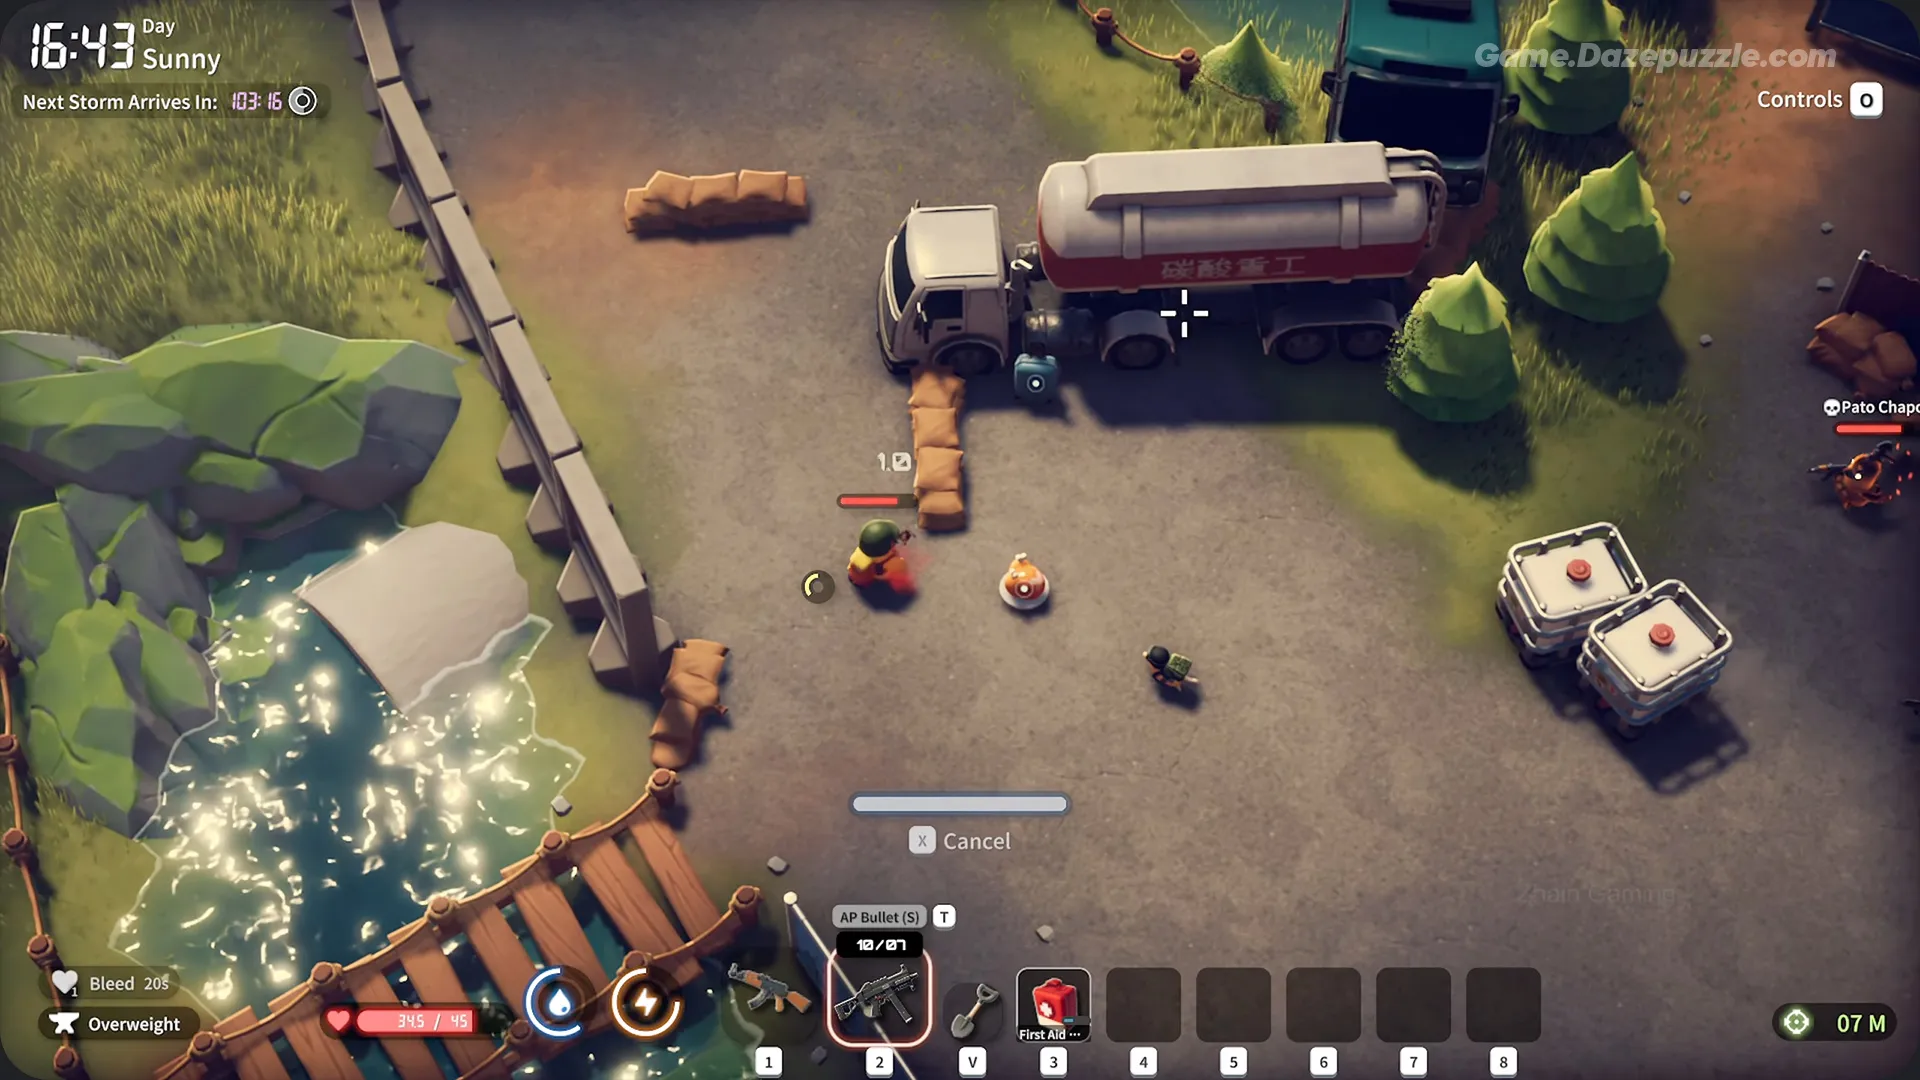
This is your first real combat focused quest. The objective is to kill two Rampage Scavengers (the aggressive red ducks with cleavers) and submit two of their Cleavers as proof. It’s a good test of your combat skills and teaches you about material submission objectives.
Escape From Duckov Supply Route Quest
After you have built the Armor Shop at your base, you can get the “Supply Route” quest. The goal is to take a Marker to a specific scavenger camp near the Forest Path in Ground Zero and mark a supply box. This mission is straightforward and gives great rewards for early game players, including Level 3 Body Armor and a SWAT helmet.
Escape From Duckov Parts Wholesale Quest
Later on, the weapons merchant will ask you to submit 5 Weapon Parts and 2 Intermediate Weapon Parts. You can get these by dismantling weapons you don’t need at your workbench. Completing this strengthens your relationship with the vendor, giving you access to better deals and unlocking the AK-74U for purchase.
Escape From Duckov Bronze Pocket Watch Quest
This quest sends you to retrieve a Bronze Watch from a tank truck in Ground Zero. You’ll first need to find a key, usually in a nearby scavenger camp. This mission starts to uncover a storyline related to hijacked cargo operations.
Escape From Duckov Cargo List Quest
After you complete the “Bronze Pocket Watch” quest, you’ll get this mission. The goal is to find the Cargo List, which is located inside a container at the Scavenger Camp in the northwest area of Ground Zero. Finding this list reveals what supplies the Scavengers have been stealing and completing the quest unlocks new weapons like the PPSh and different types of ammunition for you to purchase.
Escape From Duckov Explore the Warehouses Quest
This quest marks your first entry into the second major area, the Warehouse Area. You’ll need to successfully enter the zone and evacuate safely. It’s a milestone that introduces new enemy types, tougher challenges, and new merchants once completed.
Escape From Duckov Duck Hunt Pato Chapo Quest
This quest is a boss fight. Pato Chapo is a fast and powerful enemy in Ground Zero who deals heavy melee damage. The key is to use cover and keep your distance with mid range weapons. Defeating him rewards you with high tier loot and unlocks a new series of sniper challenges.
Escape From Duckov Sniper Initiation Quest
After defeating Pato Chapo, you’ll unlock this sniper entry exam. You must get 5 headshot kills on Mercenaries in the Warehouse Area using a specific rifle. It’s designed to test your patience and precision from long range.
Escape From Duckov Demo Ending Quest
This is the final quest of the game’s first major story arc. It requires you to complete several other key quests and then submit 10 Metal Plates and 1 Trophy. Finishing this signifies your survival and mastery of the initial challenges in Duckov’s world.
Escape From Duckov Fishing Guide
Fishing is a key side activity in the game, useful for gathering resources and completing certain quests. However, you can’t do it from the start. Here’s how to get set up.

How to Unlock Fishing in Escape From Duckov
Before you can even think about fishing, you need to craft a fishing rod. The blueprint for the rod only becomes available after you upgrade your workbench to the “Advanced Processing II” level. Focus on upgrading your base facilities first, and once that’s done, you can craft the rod using standard materials.
How to Get Bait for Fishing
A rod isn’t enough; you also need bait. The most common type is worms. You can find worms inside hidden loot containers or by using a shovel on the small dirt mounds marked as “hiding places” that you find scattered around the maps.
How to Use the Fishing Rod and Where to Fish
Once you have the rod and bait, you’re ready to fish. Equip the fishing rod in your melee weapon slot, and then place the bait into the rod’s attachment slot. With both equipped correctly, head to any of the piers or docks on the map. When you get close to a valid fishing spot, a prompt will appear on the screen, allowing you to cast your line and start fishing.
How to Sell Items in Escape From Duckov
Making money is crucial for buying new gear and upgrading your base, and selling unwanted loot is the fastest way to do it. There are two primary methods for selling items.
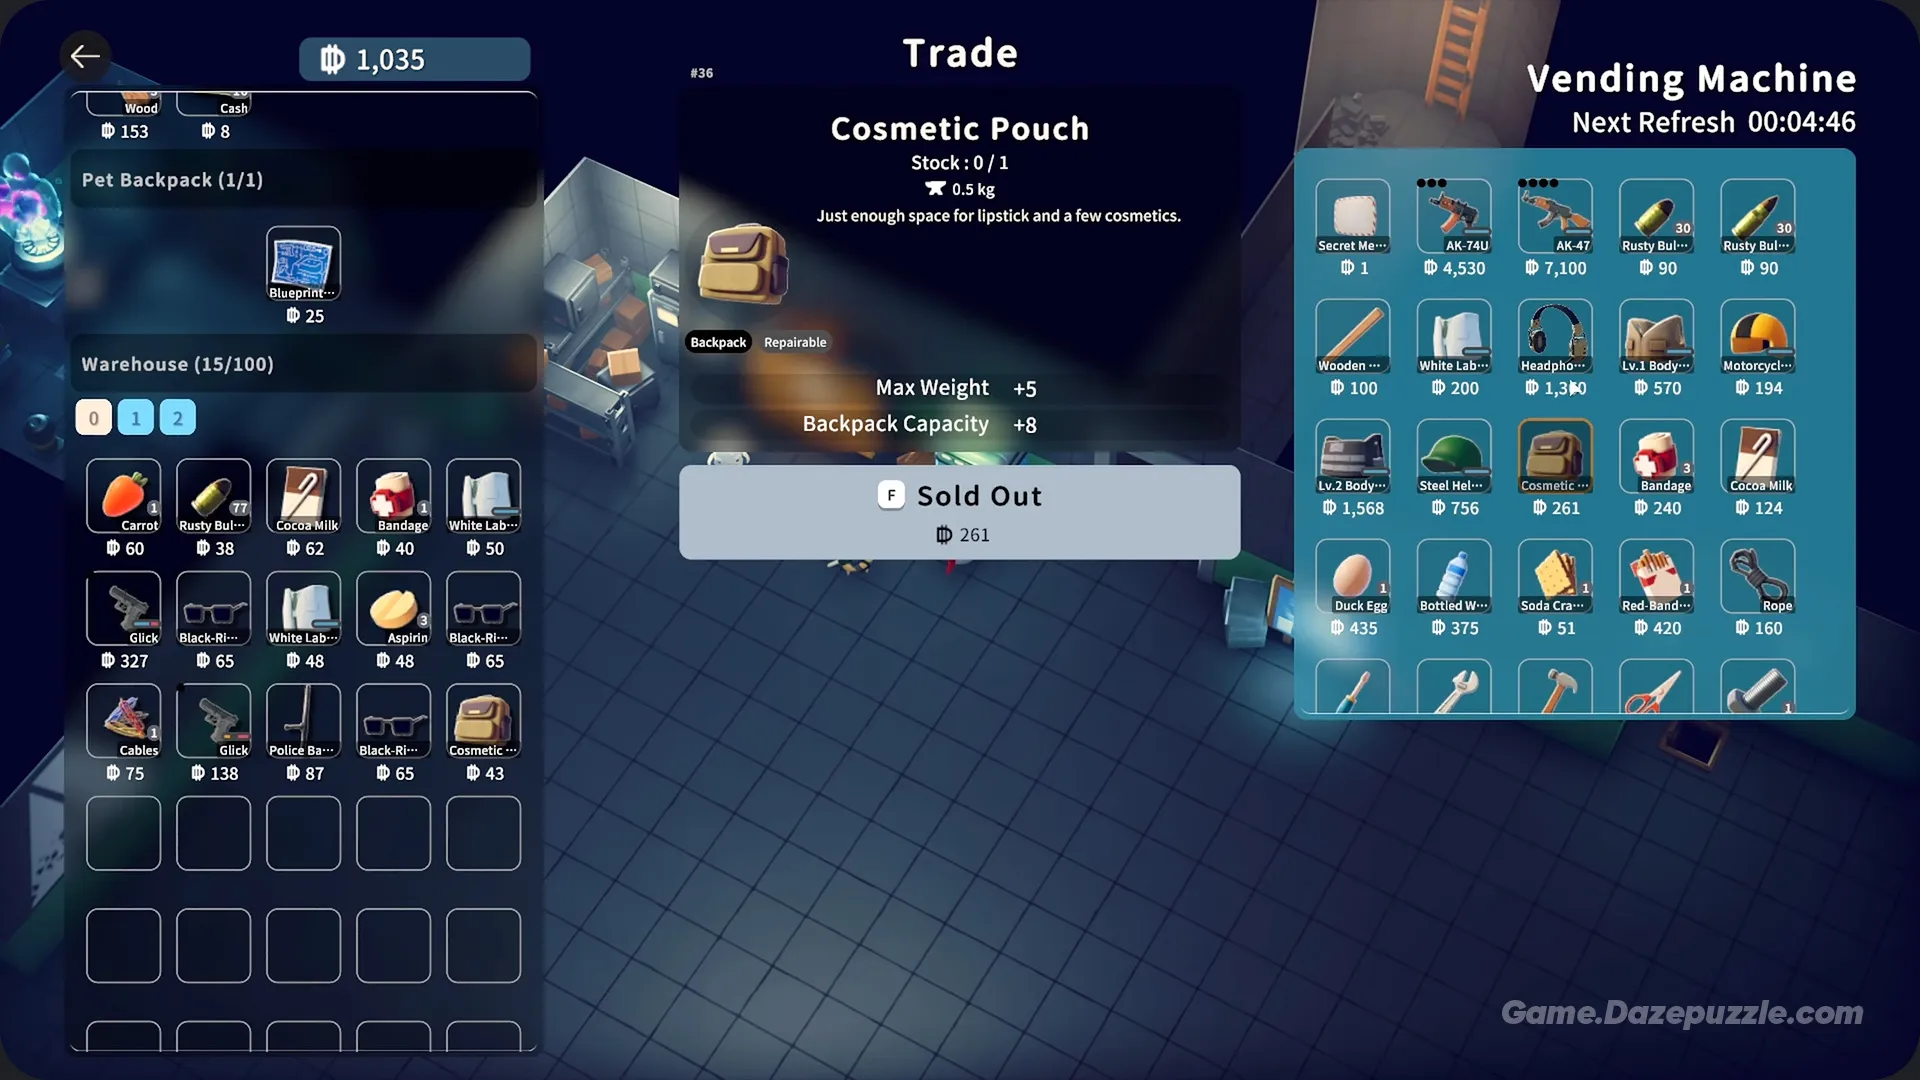
- Using the Vending Machine to Sell: The main way to sell items is through the vending machines located throughout the world and at your base. Simply interact with a machine to open the shop menu. From there, you can see all the items in your inventory and their coin value. Select any item to sell it instantly, and the coins will be added to your balance.
- How to Sell Directly From Your Inventory: You can also sell items directly from your storage. This is a great way to quickly clear out space and earn some extra cash without having to visit a specific location. However, be careful when doing this. Once an item is sold, it’s gone for good, so make sure you aren’t accidentally selling something you wanted to keep.
Escape From Duckov Pro Tips to Master the Game
Once you’ve got the basics down, it’s time to level up your game. This final section of our Escape From Duckov guide offers some more advanced tips to help you dominate.
1. Find Bigger Backpacks to Manage Inventory
Inventory management is a huge part of the game. Early on, you’ll constantly have to decide what to keep and what to leave behind. Finding or crafting bigger backpacks is a massive quality of life improvement, allowing you to carry more loot out of a raid. Just remember that weight is still a factor, so don’t overload yourself.
2. Always Carry the Right Tools (Shovels and Keys)
Certain areas and containers can only be accessed with specific tools. Always try to carry a shovel to dig up hidden spots, a crowbar for locked crates, and any keys you find to open locked doors. You never know when you’ll stumble upon a high value locked area.
3. Be Careful At Night: Tougher Enemies Emerge
Venturing out at night is tempting, but it comes with greater risks. The darkness brings out tougher, more dangerous enemies. If you decide to go on a night raid, make sure you are well armed and prepared for a serious fight.
4. Let Enemies Fight Each Other
A cool feature in Duckov is that different enemy factions will sometimes fight each other. If you hear gunfire in the distance, you have a choice. You can avoid the conflict entirely, or you can wait for them to weaken each other and then move in to clean up the survivors and take all the loot for yourself.
5. Keep Scavenging to Get New Gear
In the early game, money will be tight, and you won’t be able to afford the best gear from vendors. Your main source of new equipment will be scavenging. Pick up everything you find in a raid. Even junk can be dismantled for parts or sold for a small profit. This is the key to building your arsenal without breaking the bank.
Thanks for keeping up with Game.Dazepuzzle