Table of Contents
Necesse Complete Guide
Are you in for building your village and setting up a successful community? Necesse is designed for you! This action-adventure sandbox game set in a vast, seamless open world. It combines exploration across land and caves with crafting, combat, and settlement-building elements.
In this Necesse complete guide, we will cover every major aspects of the game and provide you the useful details for having a great experience. If you want to enrich your community quickly and build a vast community, follow the Necesse guide instructions to be prepared.
Necesse Settlement Guide
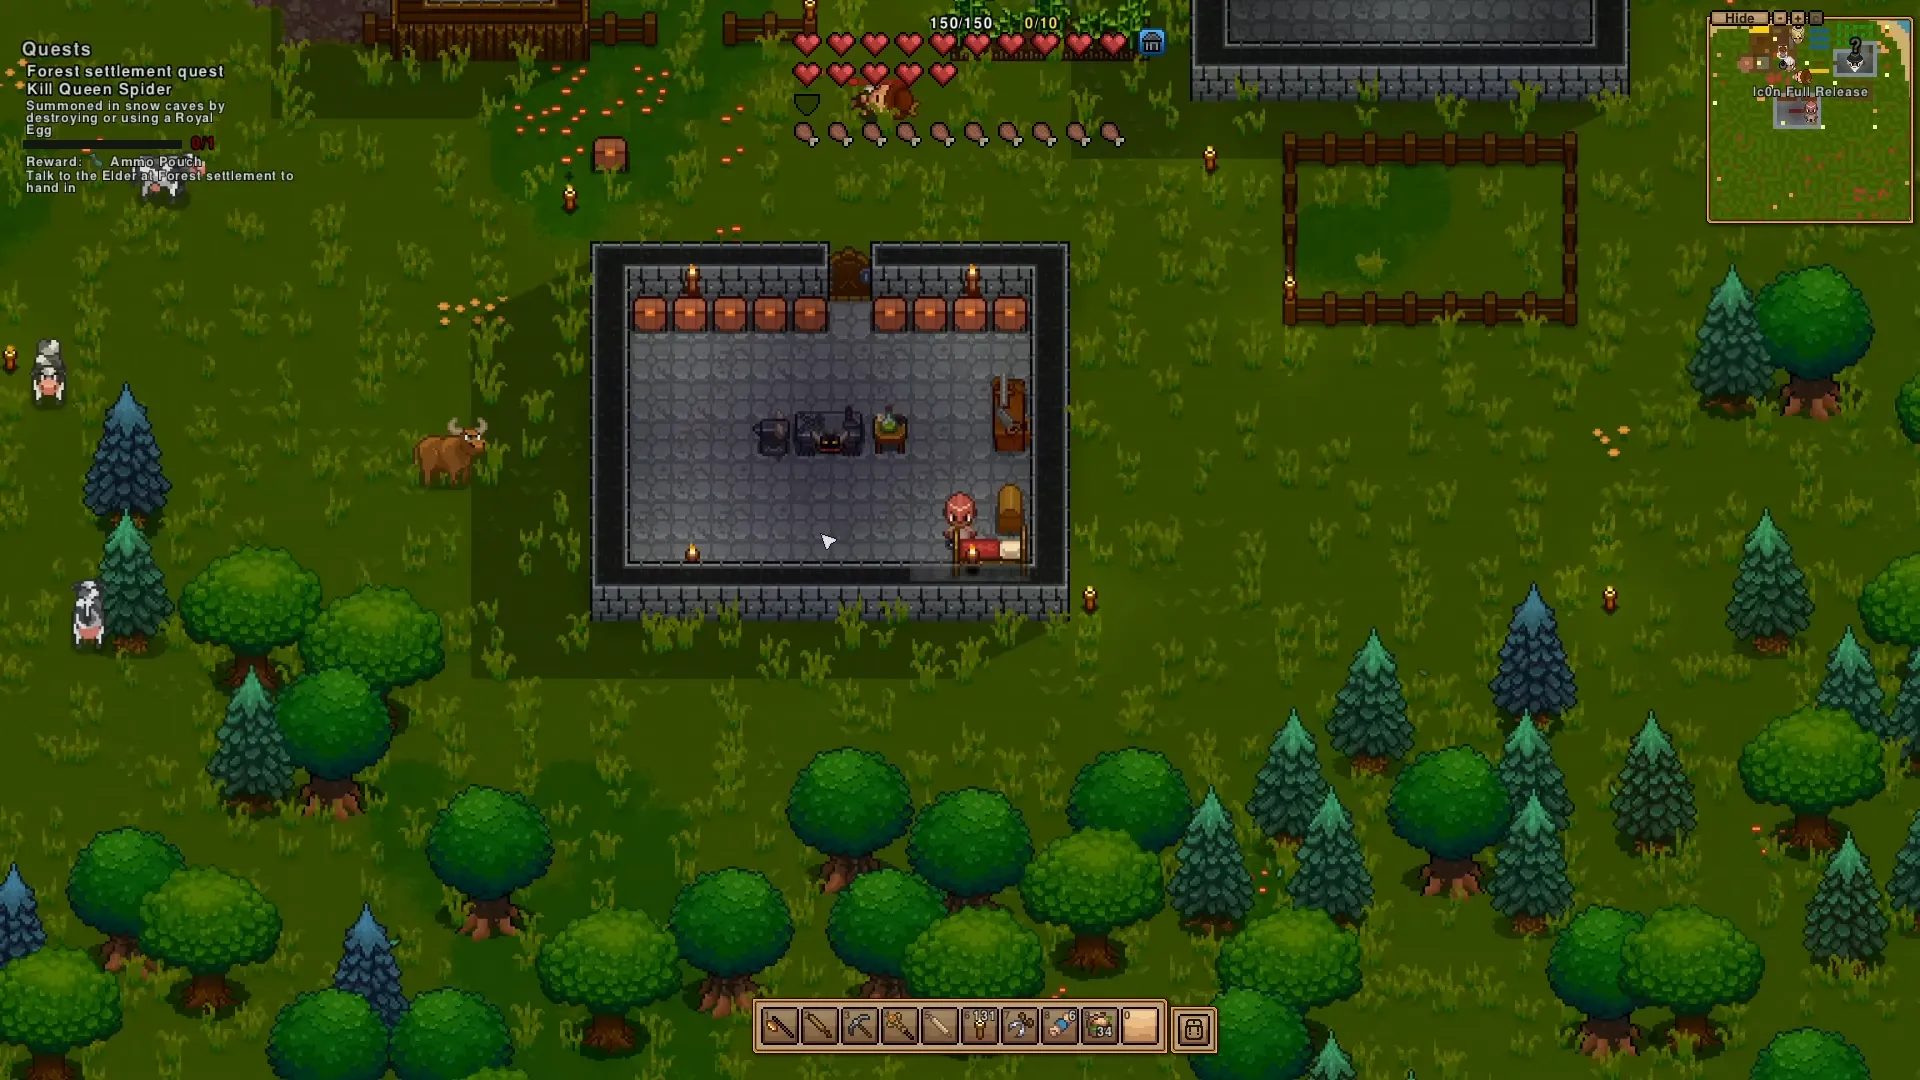
Settlements in Necesse are player-created villages that you can establish by crafting and placing a Settlement Flag. Settlers can be recruited from other villages or encountered while exploring the world.
To attract more settlers, you will need to build houses with beds. Each house must be enclosed with walls and a door, and it should include a bed, proper flooring and a light source. Otherwise settlers will lose happiness.

Settlers automatically perform their assigned jobs as long as they are within settlement boundaries. The location of the Necesse Settlement Flag does not affect this.
You can manage your settlement using the Settlement Interface which can be accessed by pressing C. This interface allows you to control and automate settler tasks within your village. In Necesse settlement guide section, the explanation for major aspects of the settlement building process will be examind.
Layout and Location
The best Necesse settlement layout totally depends on your playstyle. But we advice you to divide the locations of work zones. In other words, it is better to assign work zones in order to manage them easily and organize the zones based on your priority.
There is no limitation for Necesse settlement location. In fact, when you first start the game, you will spawn beside a house belonging to the Elder. Inside, you will find a storage box. Open it to retrieve a Necesse Settlement Flag. Place the flag anywhere on the island to establish and name your first settlement.
You can access the Necesse settlement expansion menu in the settings tab. However be advised that settlements will be expanded by using resources and money. Settlements have a standard size of 80 x 80 tiles.
Expansion
Settlement boundaries are not centered directly around the Settlement Flag. Instead, the world map is divided into fixed 16 x 16 tile regions, and the settlement area is aligned with the region containing the flag. For example, a settlement measuring 80 x 80 tiles covers 5 x 5 regions, extending two regions in every direction from the central region where the flag is placed.
Design and Defense
As with the layout, you can customize Necesse settlement design based on your preferences. However, we suggests that pay careful attention to the floors. Whether for visual appeal, better organization, or enhanced functionality, floors help turn a simple base into a well-structured and efficient settlement.
The Necesse settlements defense zone is completely contained within my base walls, ensuring that villagers never leave the safety of the area. The base has a single entrance an inconvenience early on but by late game, teleportation makes movement much easier.

During raids, it is better to block off the entrance using two stone walls kept in a chest near the door. For combat, player should rely on ranged weapons and summon as melee combat is nearly impossible against large enemy groups. Most ranged weapons have greater reach than enemy attacks so keeping your distance is key to surviving and winning battles.
Area
As we mentioned earlier in the Necesse complete guide article, here is no pre-established Necesse settlement area in the game and you can freely choose the location of the settlement.
But Necesse complete guide advise you to put settlements near rivers that could be easily crossed known as bridging points. Other favorable locations included valley junctions or gaps through hills as these spots offered excellent connectivity between different settlements and promoted increased trade and communication.
Villagers
Necesse Settlements Villagers appear across Forest, Snow, Plains, and Desert biomes, where Settler NPCs live independently working during the day and defending against monsters at night. Players can visit these villages to trade with NPCs, especially if certain types are missing from their own settlements.
Be cautious when assisting in battles, as villagers are affected by friendly fire. Attacking or destroying their homes, crops, or tiles will turn all nearby villagers hostile until you either die or leave their range, after which they return to being passive.

Villagers can also be recruited into your settlement once specific conditions are met, such as defeating bosses.
Each village features a Ladder Down leading to the caves of its respective biome which is handy for players who haven not yet built their own ladder access points while exploring.
Necesse Classes
Necesse does not include specific classes or special traits. Instead, various equipment and buff items grant bonuses that enhance specific combat styles allowing players to tailor their build based on their preferred way of fighting.
However, there are different build determined by equipment. Players can easily switch to a completely different playstyle by changing their gear set. As you progress through quests, your build can evolve or shift depending on the situation. For this reason, it is best not to discard equipment that does not fit your current build, as it may prove useful later on.
For more information about the Necesse builds, please check our article titled Necesse best builds.
Necesse Summons
Necesse summons are creatures that aid you in battle, fighting alongside you.
Summoning in Necesse can be done infinitely, as it doesn’t consume any charges. To remove active summons, simply right-click their buff icon.

Summons follow the player until an enemy—monster or human—comes within range and can be reached. They will then attack the enemy until it is defeated or moves out of range. You can right-click an enemy to mark it with a red X making your summons prioritize that target. Right-clicking anywhere else removes this preference.
If summons become stuck behind obstacles, they can phase through or teleport to return to the player.
There are two types of summons:
- Slot-based summons: Use summon slots, take no damage, and remain active until the player dies or exits the game.
- Generally, summons can only attack when a path to the target exists. Some, like spiders, follow the shortest ground path, while others, such as cryo flakes, can fly directly through obstacles to reach their target.
Necesse Progression Guide
Progression in Necesse centers around completing the quests assigned by the Elder, which guide you through establishing a settlement and defeating biome bosses to unlock new crafting tiers and equipment. Begin by placing a Settlement Flag, then work through biome quests to face bosses such as the Evil’s Protector and Ancient Vulture. If you want to have more information about the bosses, please check our All Necesse Bosses article.
Afterward, you will advance to their deep versions and explore new areas like the Pirate Island. As you reach the mid and late game, defeating bosses becomes essential for unlocking advanced workstations and crafting stronger gear, while the post-game focuses on taking down difficult Incursions for high-level rewards and challenge.

Mods for Necesse
At the time of writing this article, there are lots of Necesse mods in the web which most of them are accessible through the steam workshop. Necesse complete guide article advise to have backup of your saves since the modding process is in the early development. Here is the link of steam workshop for Necesse. It is vital to note that downloading mods from untrusted or unofficial is not recommended.
Cheats: Mastering Necesse With Some Help
Enabling cheats in Necesse gives the server owner and admins access to advanced commands that extend beyond the standard gameplay experience. These include options to change the time, spawn items, apply buffs to players, and perform various other administrative or creative actions.
Keep in mind that enabling cheats is not reversible and it disable all the achievements. Follow the below steps on your own server:
Enabling Cheats as a Server Owner
- Connect to your server as an Owner.
- Press
ENTERto open the Chat box. - Enter the
"allowcheats” command in Chat twice.
Necesse Trainer
Since the process of enabling cheats are somehow complex, you can use Necesse trainer which serves the same role as cheats. As always, we recommend you to download the trainer file from trusted sources.
Thanks for staying with Game.Dazepuzzle.