Combat in The Rogue Prince of Persia revolves around a smart weapon system where your primary weapons generate energy for powerful tools, while critical hit conditions and weapon synergies matter more than raw damage numbers. Success depends on understanding weapon categories (fast, medium, heavy), mastering the energy loop between weapons and tools, and building loadouts that complement your playstyle through strategic medallion combinations. Let’s Jump in our The Rogue Prince of Persia Weapons Guide.
Quick Reference: Weapon Essentials
- Energy System: Primary weapons generate energy, tools consume it
- Critical Conditions: Each weapon has unique conditions for landing critical hits
- Weapon Categories: Fast (agility-focused), Medium (balanced), Heavy (high damage)
- Top Tier Weapons: Corrupted Axe, Poisoned Claws, Double Daggers
- Build Synergy: Weapon choice should align with your medallion strategy
- Awakening Runs: Consistent critical conditions become crucial in higher difficulties
Table of Contents
Combat Basics: Weapons vs Tools
The foundation of combat lies in understanding the relationship between your primary weapons and tools. Primary weapons are your bread and butter for close combat and energy generation. Every successful hit builds up energy that powers your ranged tools.

Tools like the Composite Bow, Chakram, and Grappling Hook consume this energy but offer tactical advantages. The Composite Bow excels at picking off dangerous enemies from range, while the Chakram damages multiple enemies in its path. The Grappling Hook pulls distant enemies close and stuns them.
This creates a combat flow where aggressive melee fighting fuels your tactical options. Players who hang back and rely only on tools will quickly find themselves out of energy and overwhelmed.
Fast Weapons: Hit and Run Masters
Fast weapons prioritize speed and mobility over raw damage output. They’re perfect for players who like to stay mobile and exploit openings quickly.
If you’re new to this game, our The Rogue Prince of Persia Beginner Guide can help you
Double Daggers
The Double Daggers shine in the hands of agile players. Their critical condition triggers after every dodge, making them incredibly reliable for maintaining high damage output. This makes them exceptional for the hit-and-run playstyle where you’re constantly moving and dodging.
The weapon’s fast attack speed means you can land multiple hits before enemies can respond, and the guaranteed critical after dodging ensures consistent damage spikes.
Corrupted Axe
Despite being categorized with fast weapons, the Corrupted Axe offers unique advantages. Its critical condition is easy to maintain, making it one of the most reliable weapons in the game. This consistency makes it a top-tier choice for experienced players.
Medium Weapons: The Balanced Choice
Medium weapons offer the sweet spot between speed and power, making them versatile choices for most situations.
Royal Sword
The Royal Sword becomes a powerhouse when fighting groups of enemies. Its critical condition triggers after killing an enemy, creating a snowball effect where each kill makes the next enemy easier to defeat. This makes it excellent for clearing rooms full of weaker enemies.
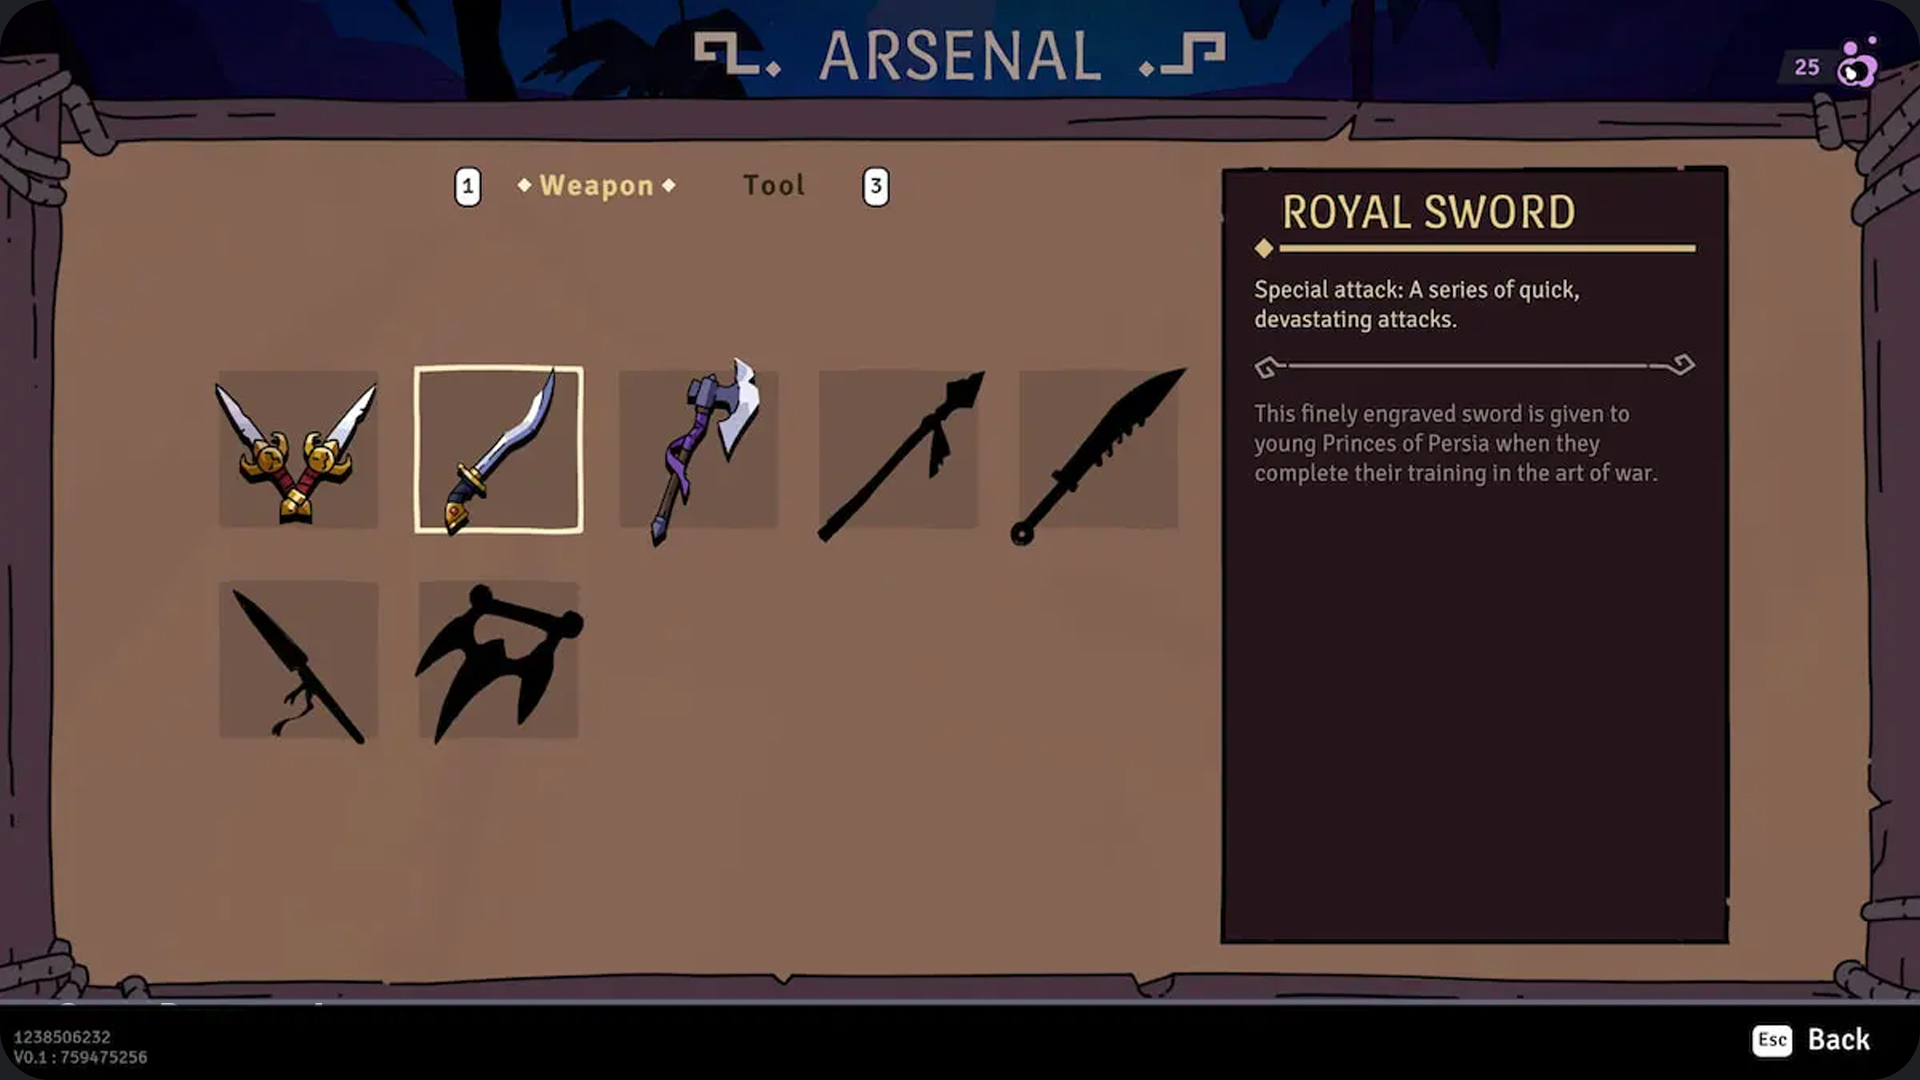
The balanced attack speed means you’re not too slow against agile enemies, but you still pack enough punch to handle tougher foes effectively.
Broadsword
The Broadsword specializes in breaking through enemy defenses. Its critical condition activates against shielded enemies, making it the go-to weapon when facing defensive formations. While slower than the Royal Sword, its ability to crack tough defensive lines is invaluable.
Heavy Weapons: Slow but Devastating
Heavy weapons trade speed for devastating damage output. They require patience and timing but can end fights quickly when used correctly.
Tabar
The Tabar delivers massive damage with each swing, and its final combo hit stuns enemies. This makes it ideal for boss fights where you have small windows to attack. The stunning effect also provides breathing room after your combo.
The high damage per hit means you can make the most of brief openings, though you need to be more careful about positioning since you can’t attack as frequently.
Top Weapon Picks for Different Playstyles
S-Tier: The Elite Choices
Corrupted Axe, Poisoned Claws, and Double Daggers represent the cream of the crop. These weapons excel because they can consistently trigger their critical conditions and synergize well with powerful medallion combinations.
The Corrupted Axe offers reliability above all else. The Poisoned Claws work beautifully in elemental builds focusing on poison and fire combinations. Double Daggers reward skilled movement and dodging.
A-Tier: Solid All-Around Options
Royal Sword and Berserker’s Axes are powerful weapons that work well in most situations. They might lack the specialization of S-tier weapons, but they’re flexible enough to handle various challenges.
The Royal Sword’s group-clearing ability makes it fantastic for most of the game, though it can struggle against solo bosses. Berserker’s Axes offer good damage output with reasonable speed.
B-Tier: Situational Powerhouses
Broadsword and Tabar shine in specific situations but lack the versatility needed for consistent performance. The Broadsword dominates against shielded enemies but feels average otherwise. The Tabar excels in boss fights but struggles with groups of fast enemies.
Building Your Perfect Loadout
Your weapon choice should align with your overall build strategy. There are three main archetypes to consider.
Elemental Builds
Focus on combining poison and fire effects for explosive damage. Poisoned Claws work perfectly here, especially when paired with medallions like Toxic Vault and Flaming Kick. This build excels at area damage and crowd control.
Critical Hit Builds
Aim for near-100% critical hit rates by choosing weapons with easy critical conditions. Corrupted Axe and Double Daggers are perfect foundations, especially when combined with the Corrupted Slasher medallion for massive damage spikes.
Acrobatic Builds
Transform the Prince’s acrobatic moves into primary weapons. The triple combination of Slicing Kick, Slicing Vault, and Slicing Dive medallions turns your movement abilities into devastating attacks. This build rewards skillful movement and positioning.
If you want to learn beating the bosses easily, read our The Rogue Prince of Persia Bosses
Energy Management Tips
Remember that your weapon choice affects energy generation. Faster weapons generate energy more quickly, giving you more frequent access to tools. Slower weapons generate less energy but hit harder, so choose tools that make the most impact when used.
The key to mastering weapons in The Rogue Prince of Persia isn’t finding the single “best” weapon, but developing a fluid combat style where your movements, attacks, and equipment synergies work together seamlessly. Practice with different combinations until you find the flow that feels natural to your playstyle.
The Rogue Prince of Persia Official Website
Thanks for keeping up with Game.Dazepuzzle