Welcome to the second chapter of Total Chaos, “Decay.” You are now deep inside Fort Oasis, and the area is falling apart. This guide will give you a simple, step by step path to get through the decay and find your way back to the surface.
If this is your first time here, you might want to start with our main Total Chaos Walkthrough hub. It covers everything from the beginning. But for now, we will talk about Total Chaos Walkthrough Chapter 2.
Your main goal is to escape this underground nightmare. To do this, you must find the Blue Block Key in the Storage Room. This key unlocks the final section. Then, you must get the Surface Gate Key from a dangerous monster puzzle room to finally reach the elevator.
What You’ll Read Here
Start in Millers Storage
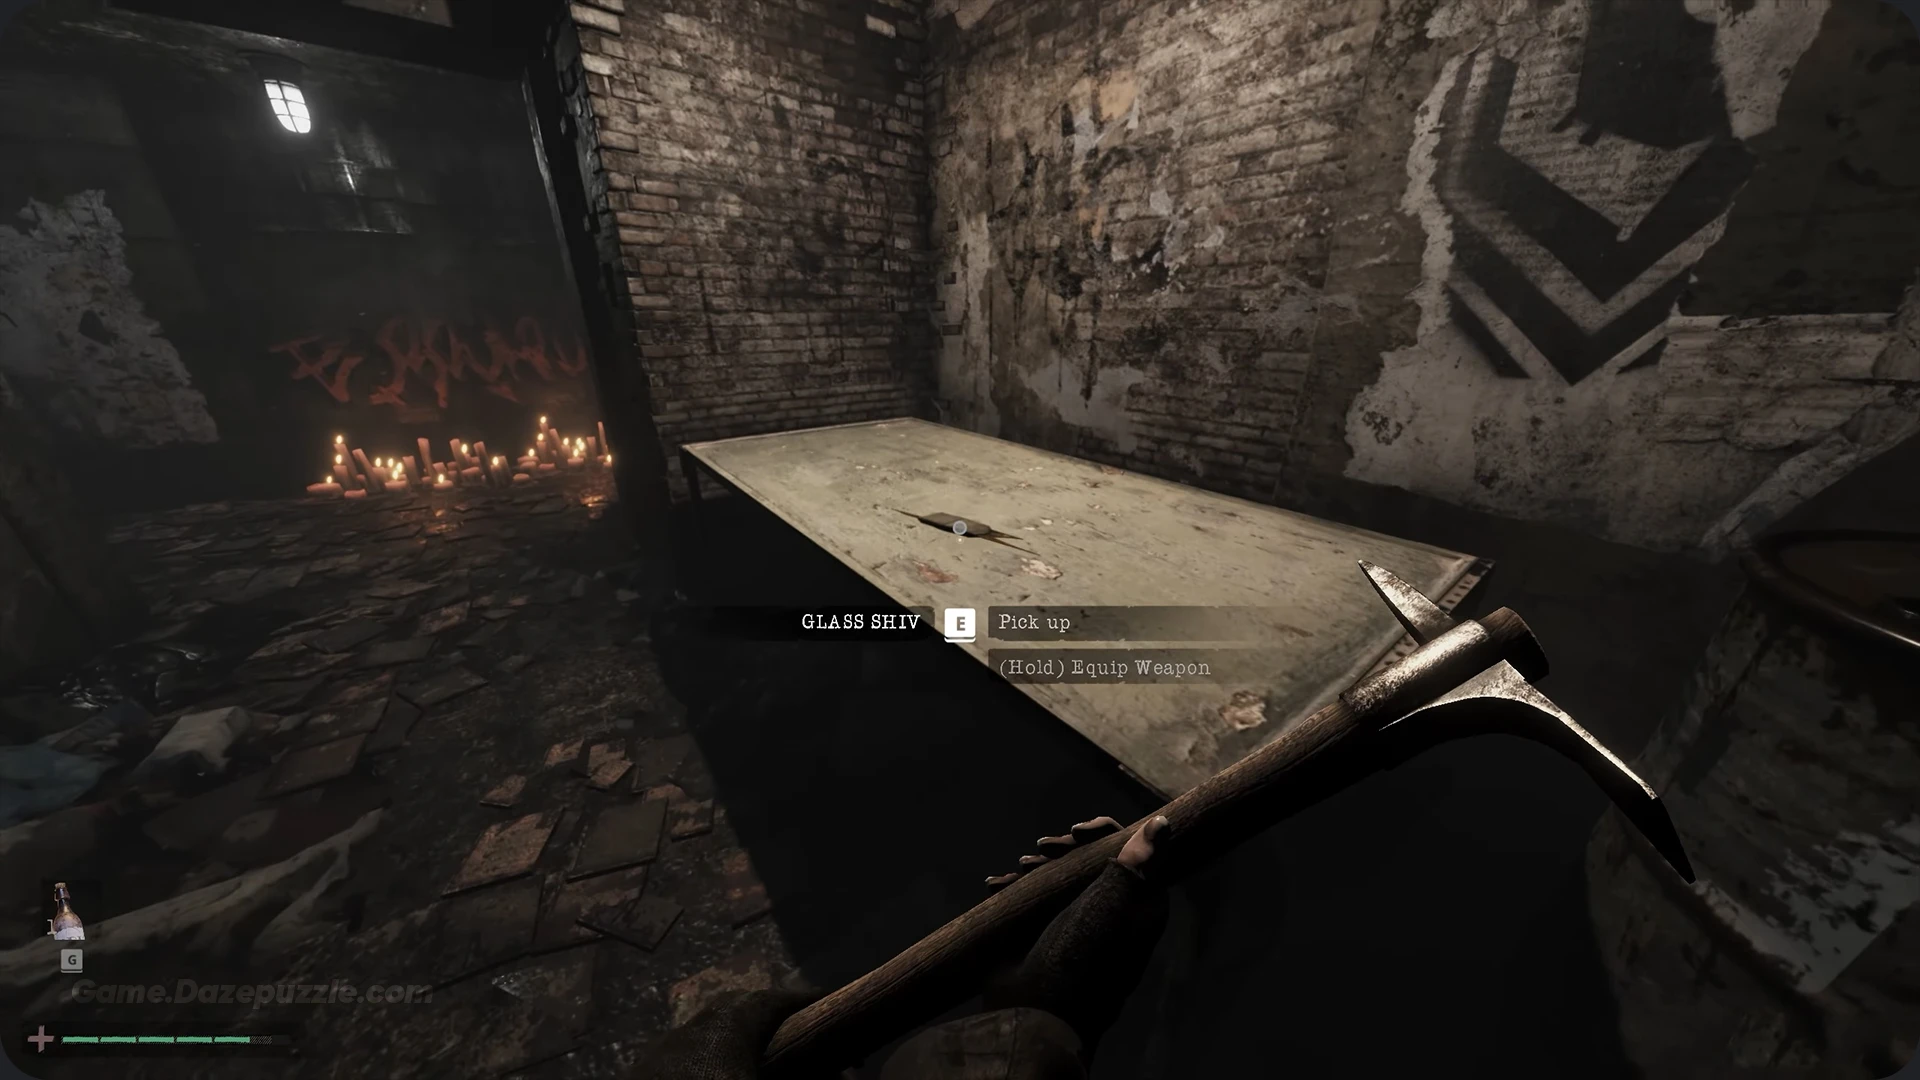
The chapter begins in a small, safe room. Go forward and use the save point. Grab the throwables and the Lead Pipe from the barred door to open it. Head down the corridor, deal with the first monster, and drop down into a new area. Pick up the Glass Shiv and prepare to fight three more monsters.
After the fight, you’ll enter a large, candle lit courtyard with three paths. The left path is a dead end. Go straight ahead first to find another save point and a Crafting Bench. Save your game.
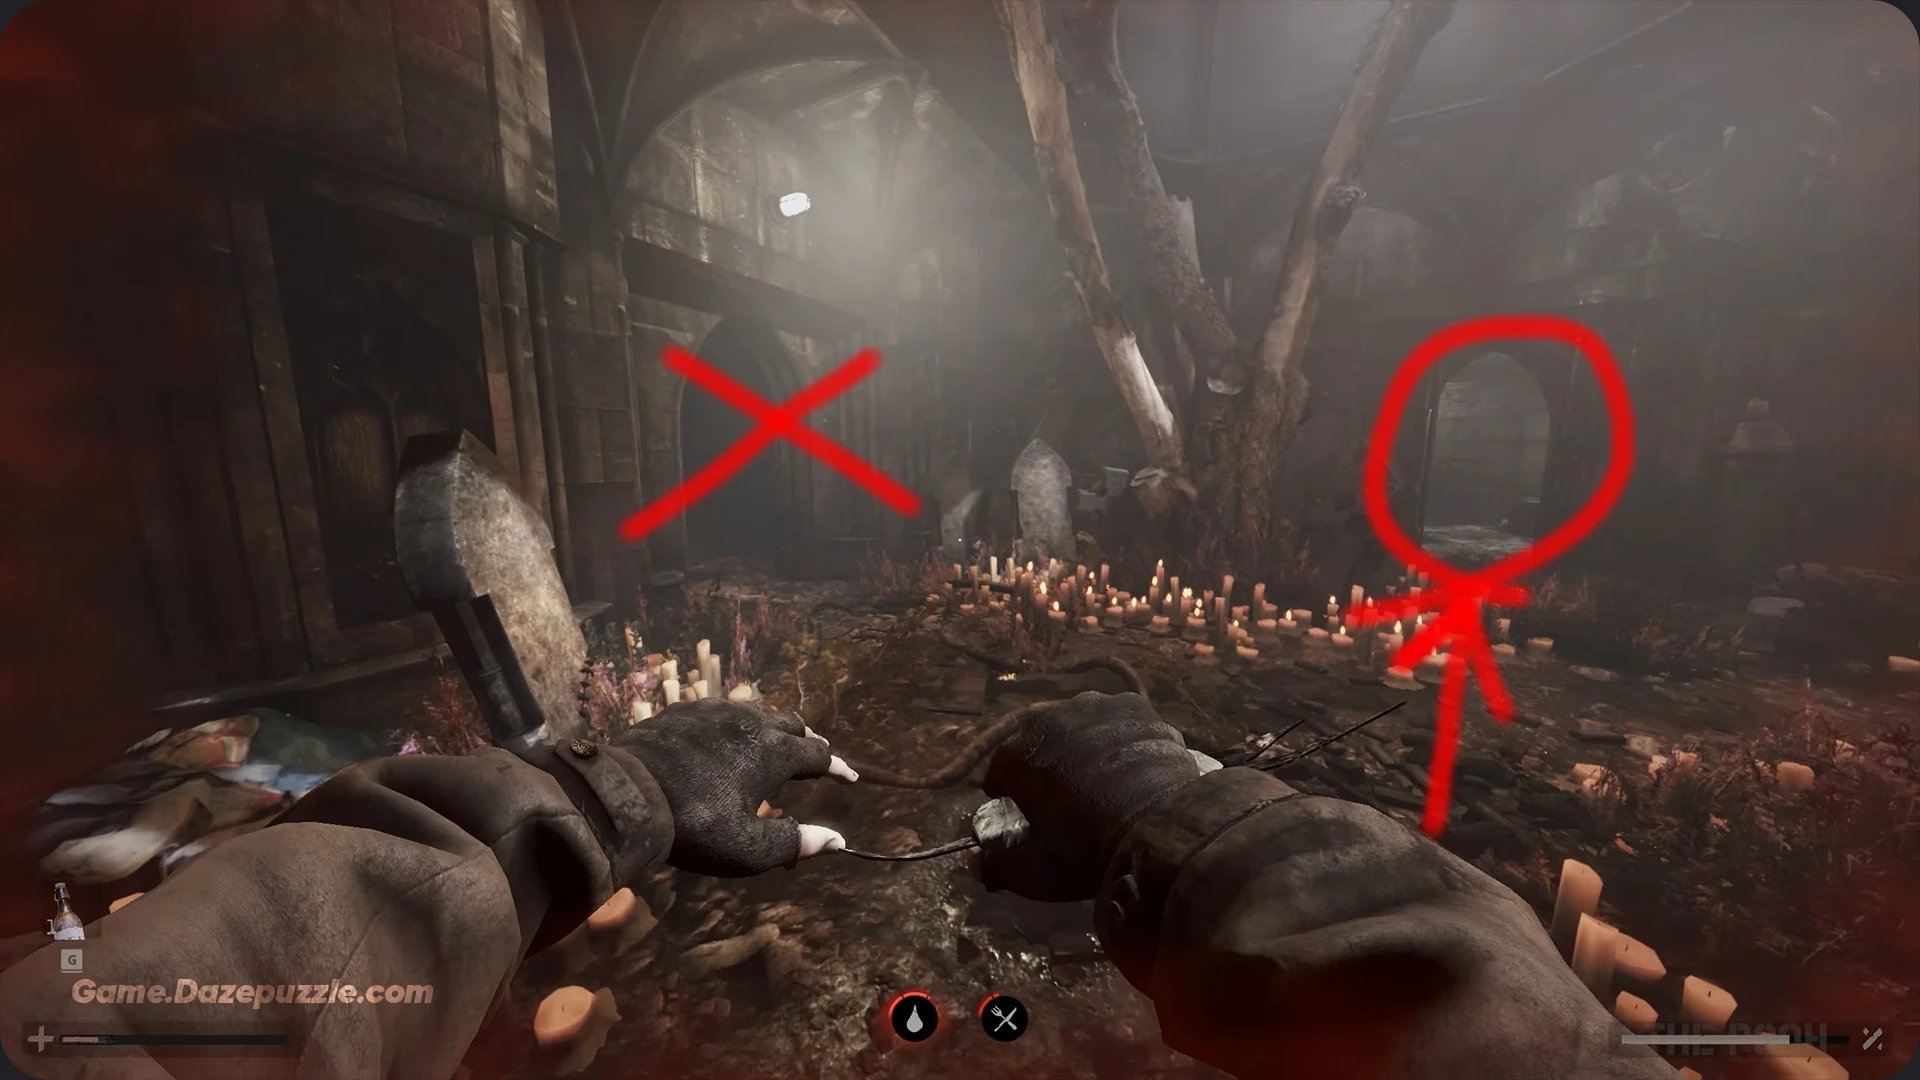
Go back to the courtyard and take the path on the right, breaking the wooden beams. In the next room, you’ll see a large metal shutter that requires the Blue Block Key. You can’t open this yet, so turn left and follow the path into the tunnels.

Navigate the Utility Tunnels
Keep moving down the passages. You’ll eventually break some wooden beams and enter the Utility Tunnels. In the first big room, look for a large steel gate. Opening it creates a useful shortcut back to the first courtyard and Crafting Bench.
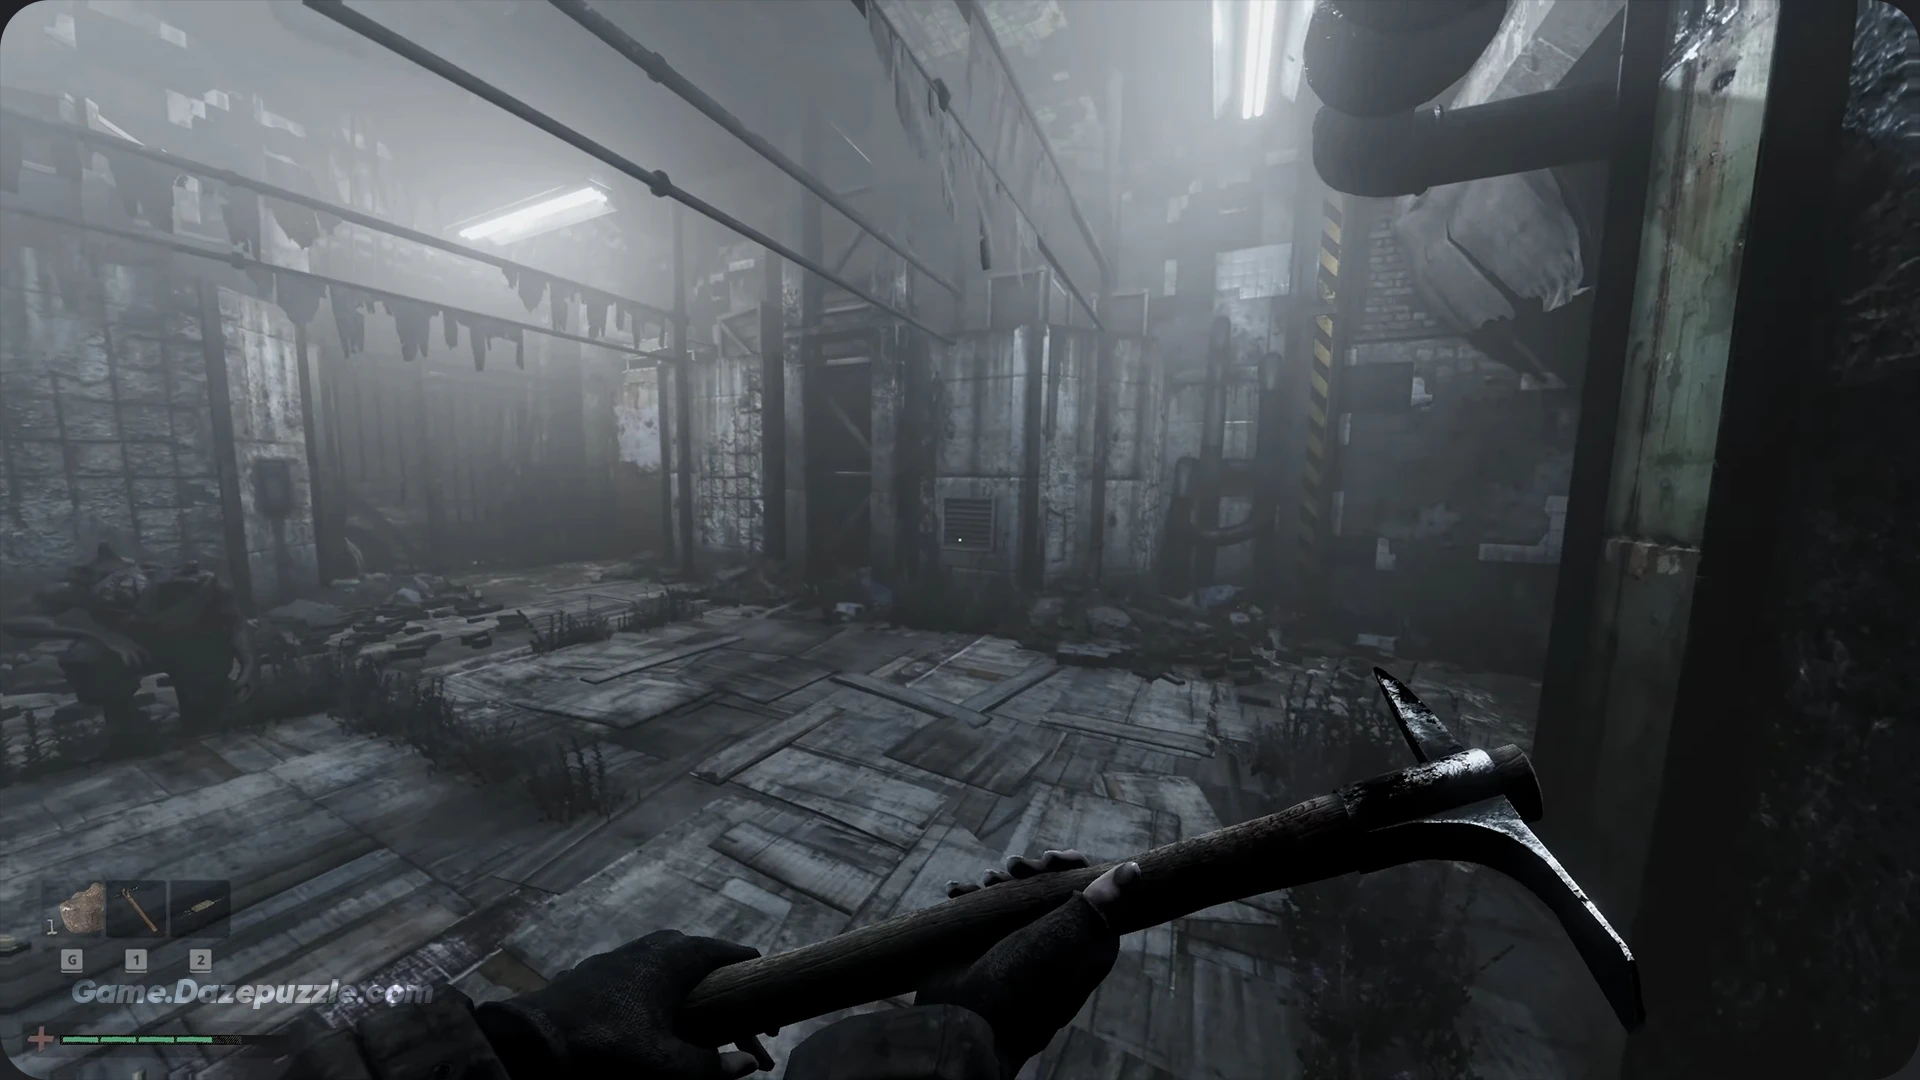
In this same shortcut tunnel, you will see a locked switch on the wall. This requires the Millers Key and leads to the shotgun, which we’ll find later.
Go back to the room where you opened the shortcut and continue down the main path. Grab the Wrench from a shelf and be ready for a Nightmare monster to ambush you in a narrow passage. Just past this ambush is another save point and Crafting Bench.
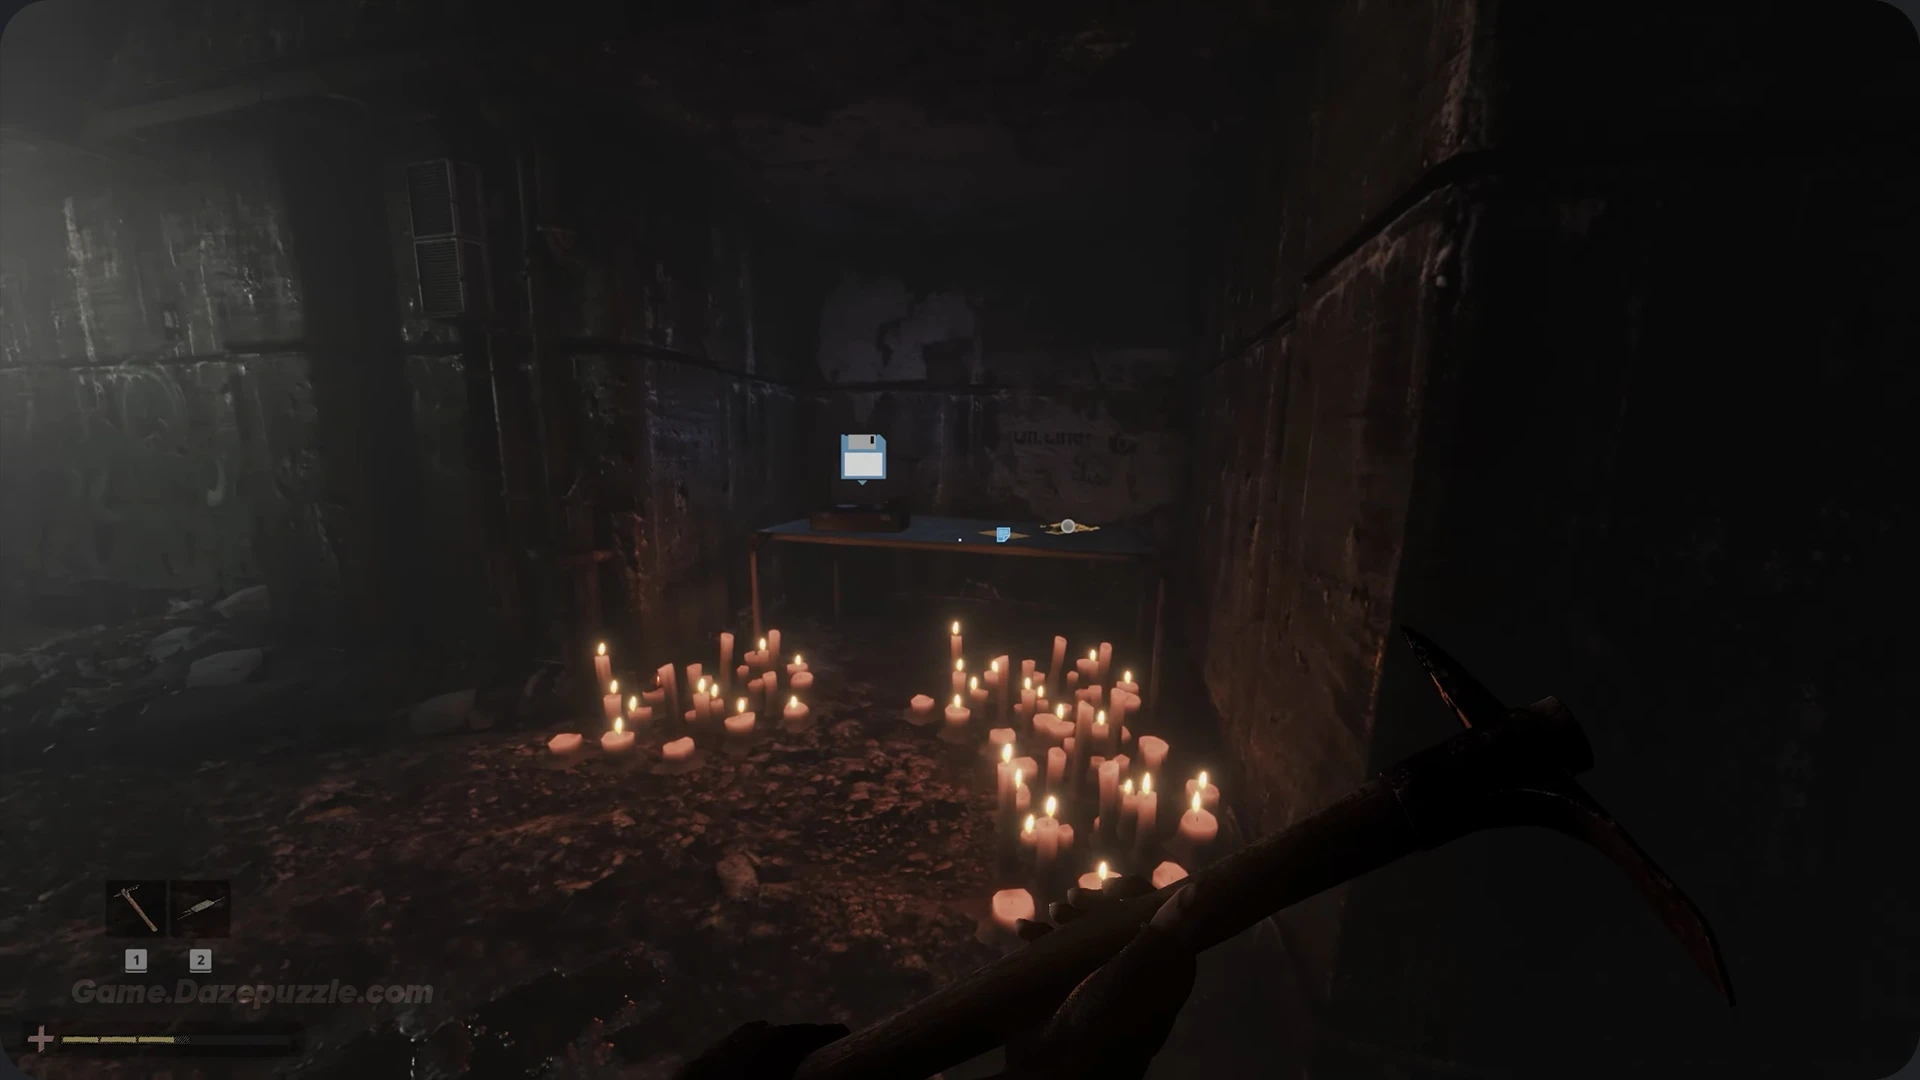
Survive the Garbage Disposal
After saving, push forward into the Garbage Disposal area. Grab the Scissor from a shelf and keep moving. After passing a jail cell, you will eventually come to a hole in the ground. Drop down this hole to enter the spider infested tunnels.
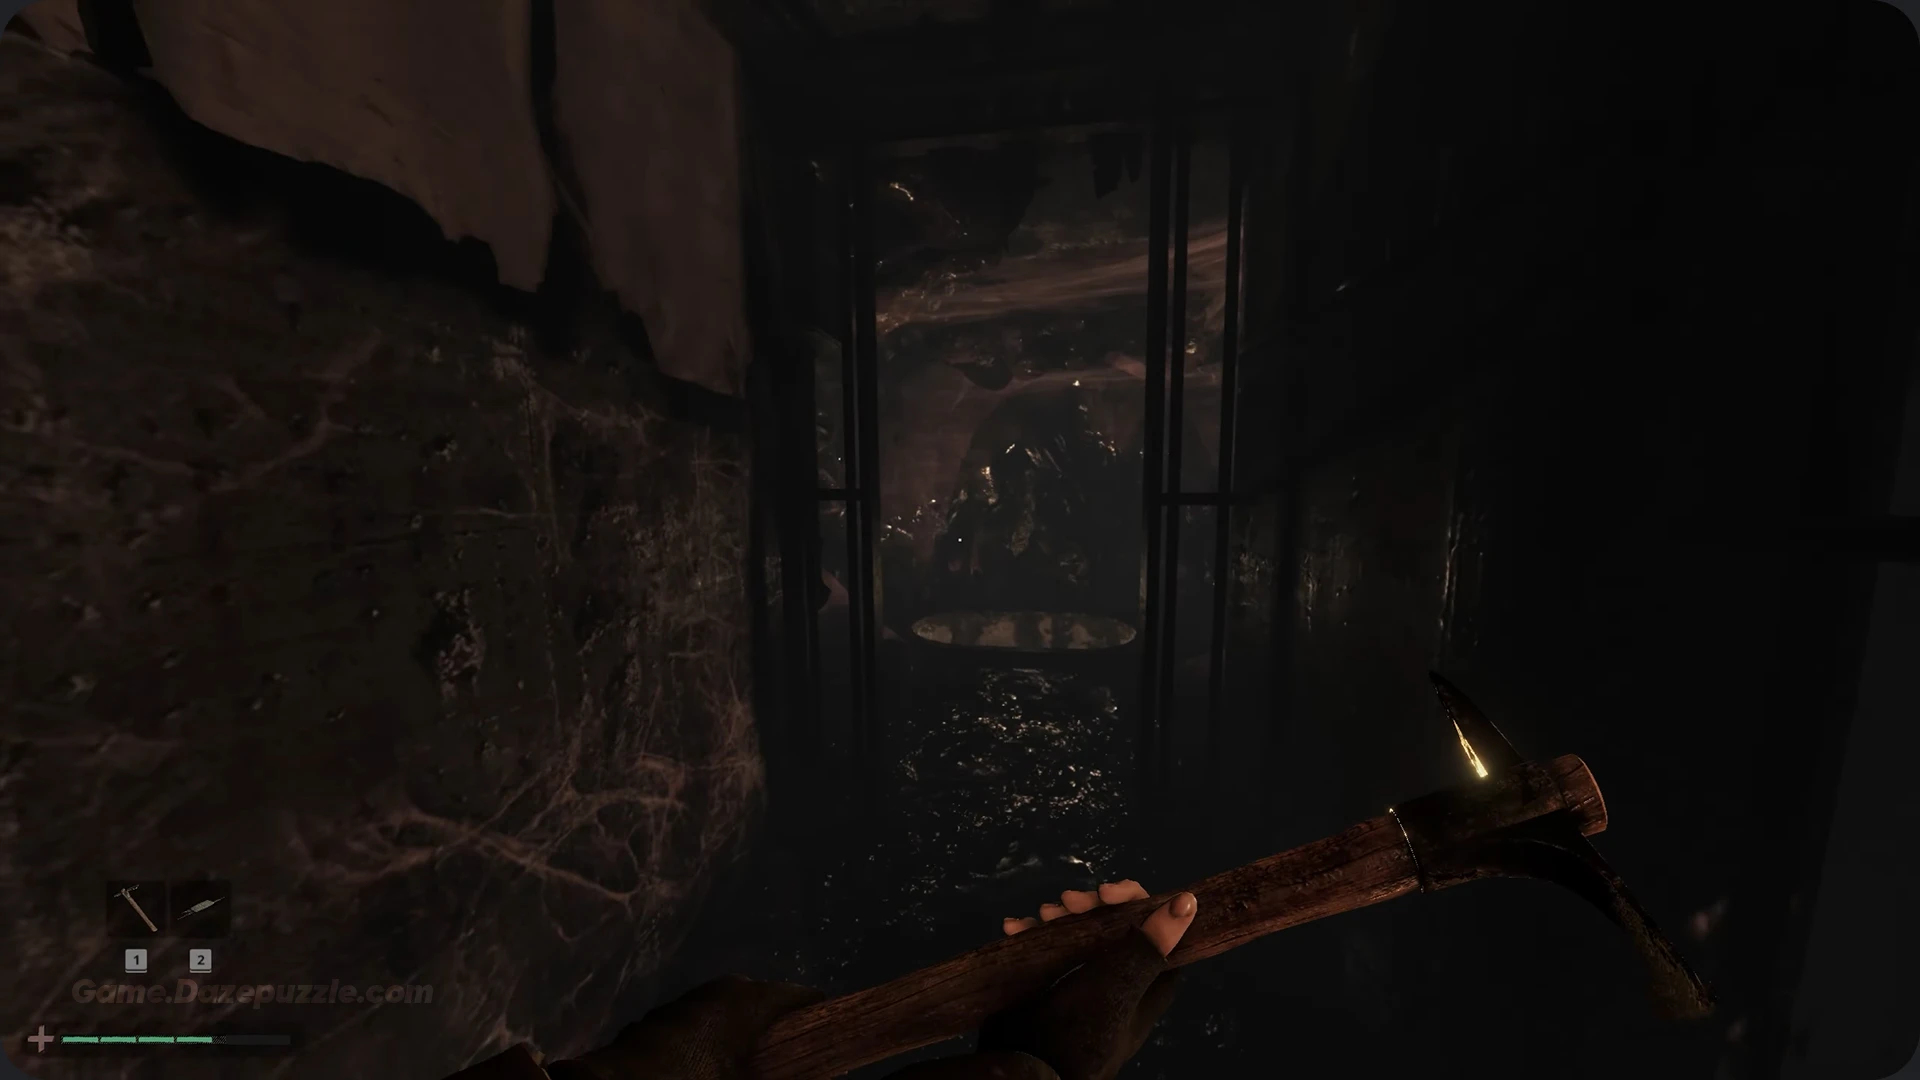
How to Find the Millers Key in Total Chaos Chapter 2
This part is optional, but you need it to get the Shotgun. From where you first dropped into the spider tunnels, defeat the first spiders and go right. Look for a lit doorway, go through, and pull the switch on the wall. From this switch, stick to the left hand path. It will lead you to a small room containing the Millers Key.
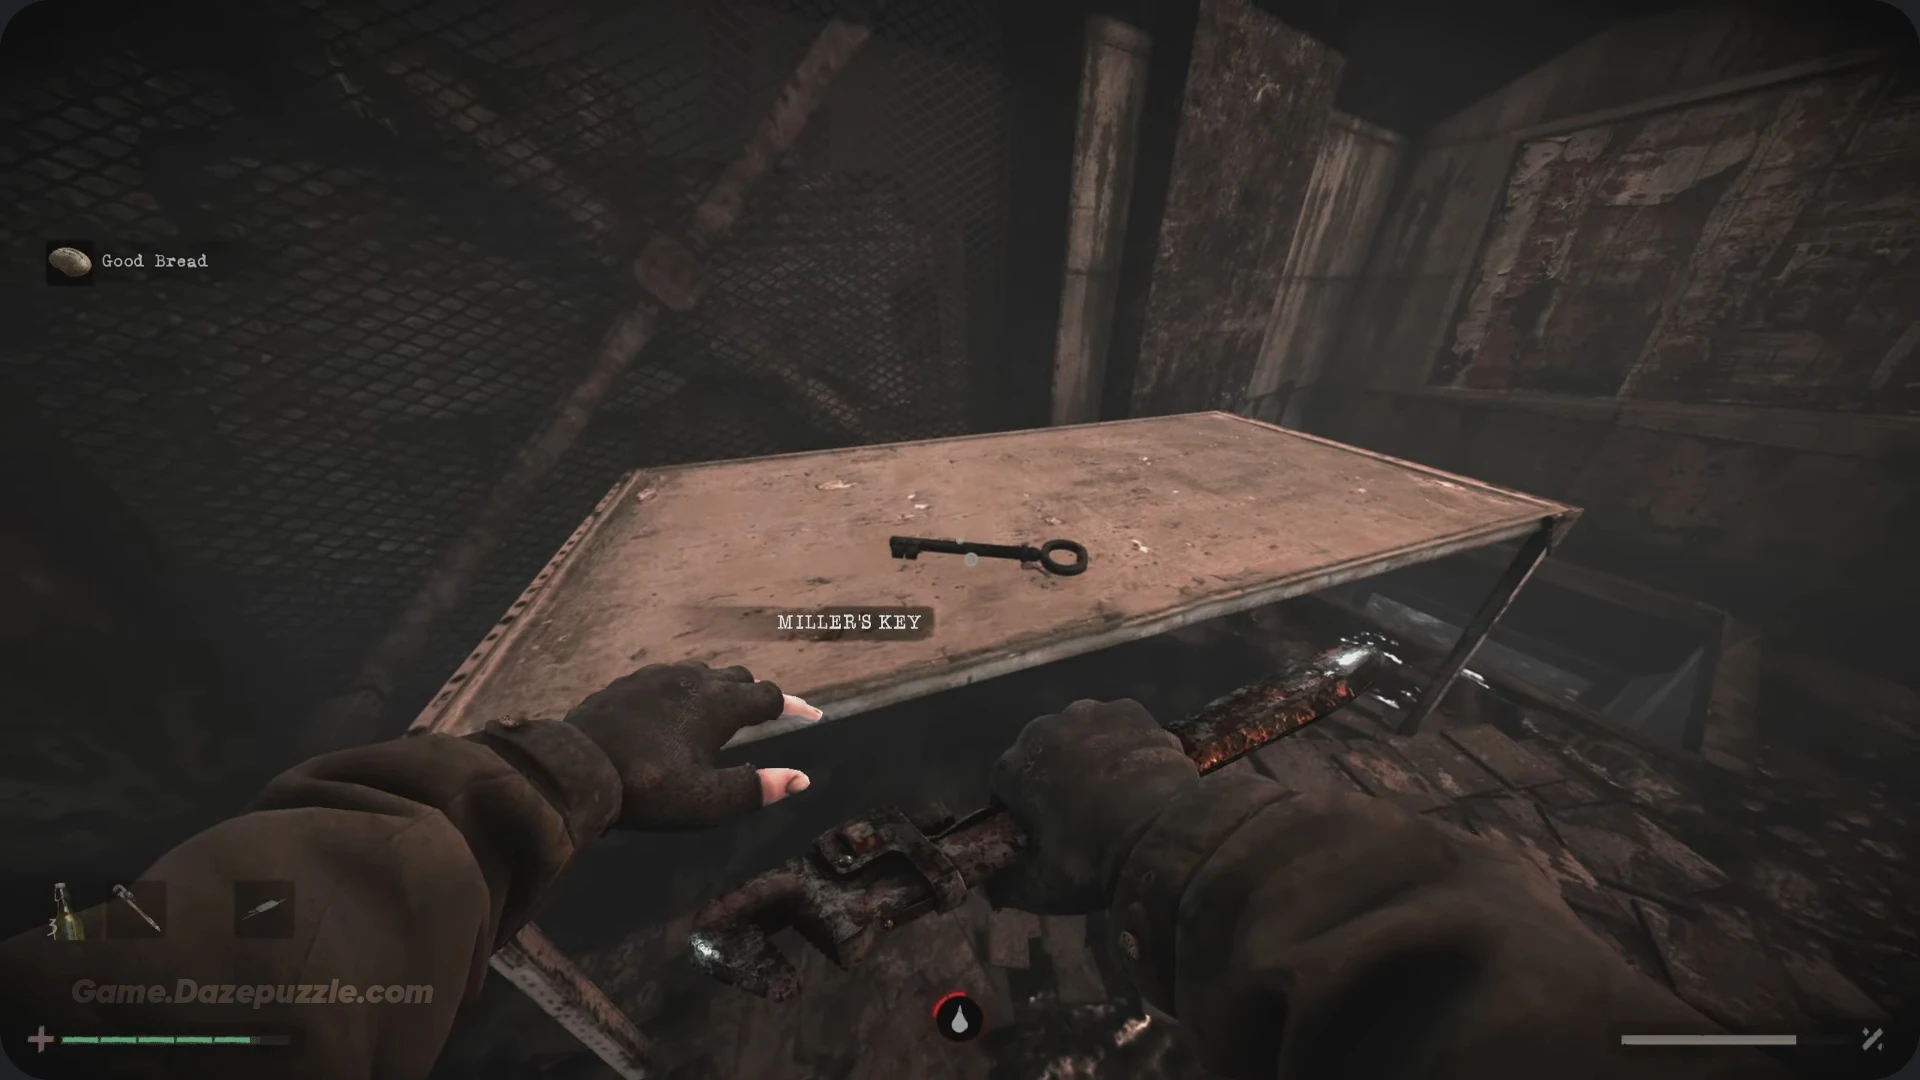
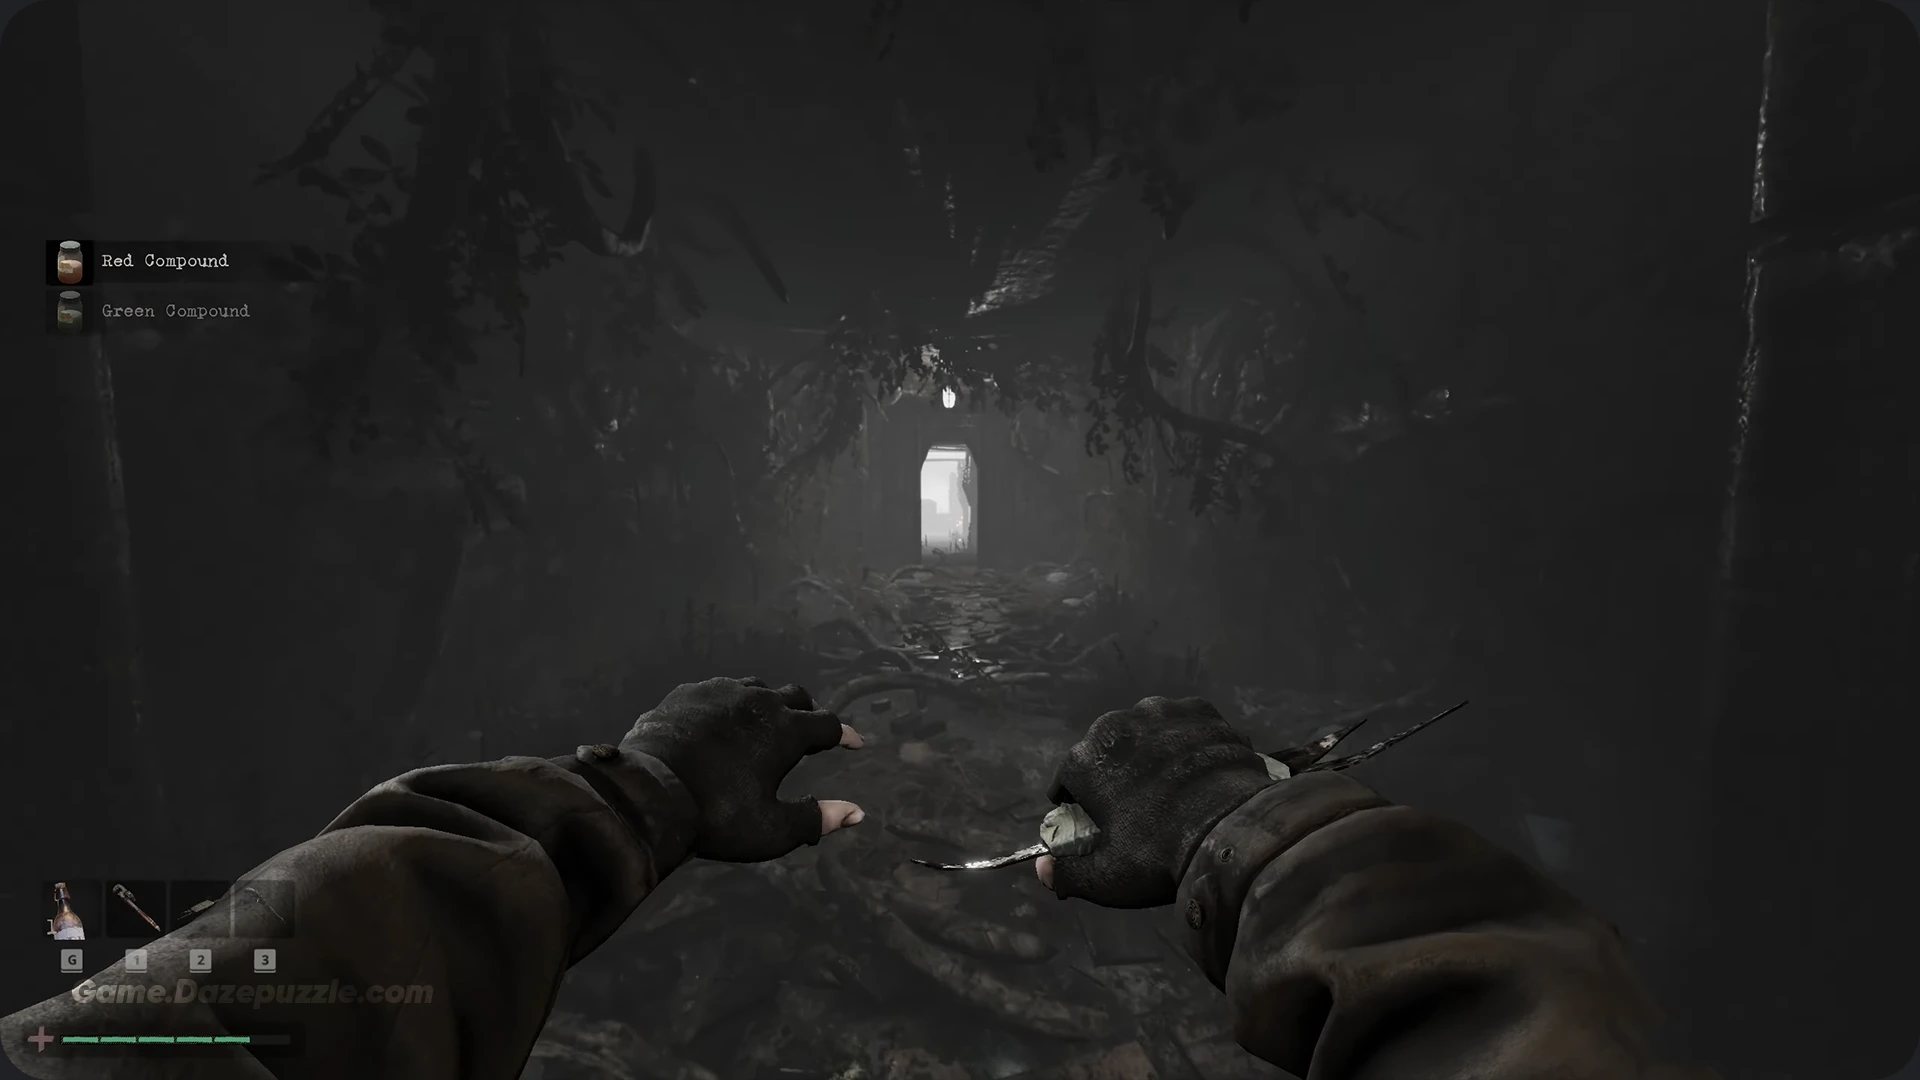
Now, go back to where you dropped in and follow the main path. You’ll fight your way to a room where two Brute monsters ambush you. The path on the left leads up to the Graveyard.
Graveyard (Outer Area)
Follow the path up to a save point. Use it, then continue forward to step outside into the large, foggy Graveyard. Follow the path, open a shutter, and you will reach a spot where the path splits.

How to Get the PO8 Pistol
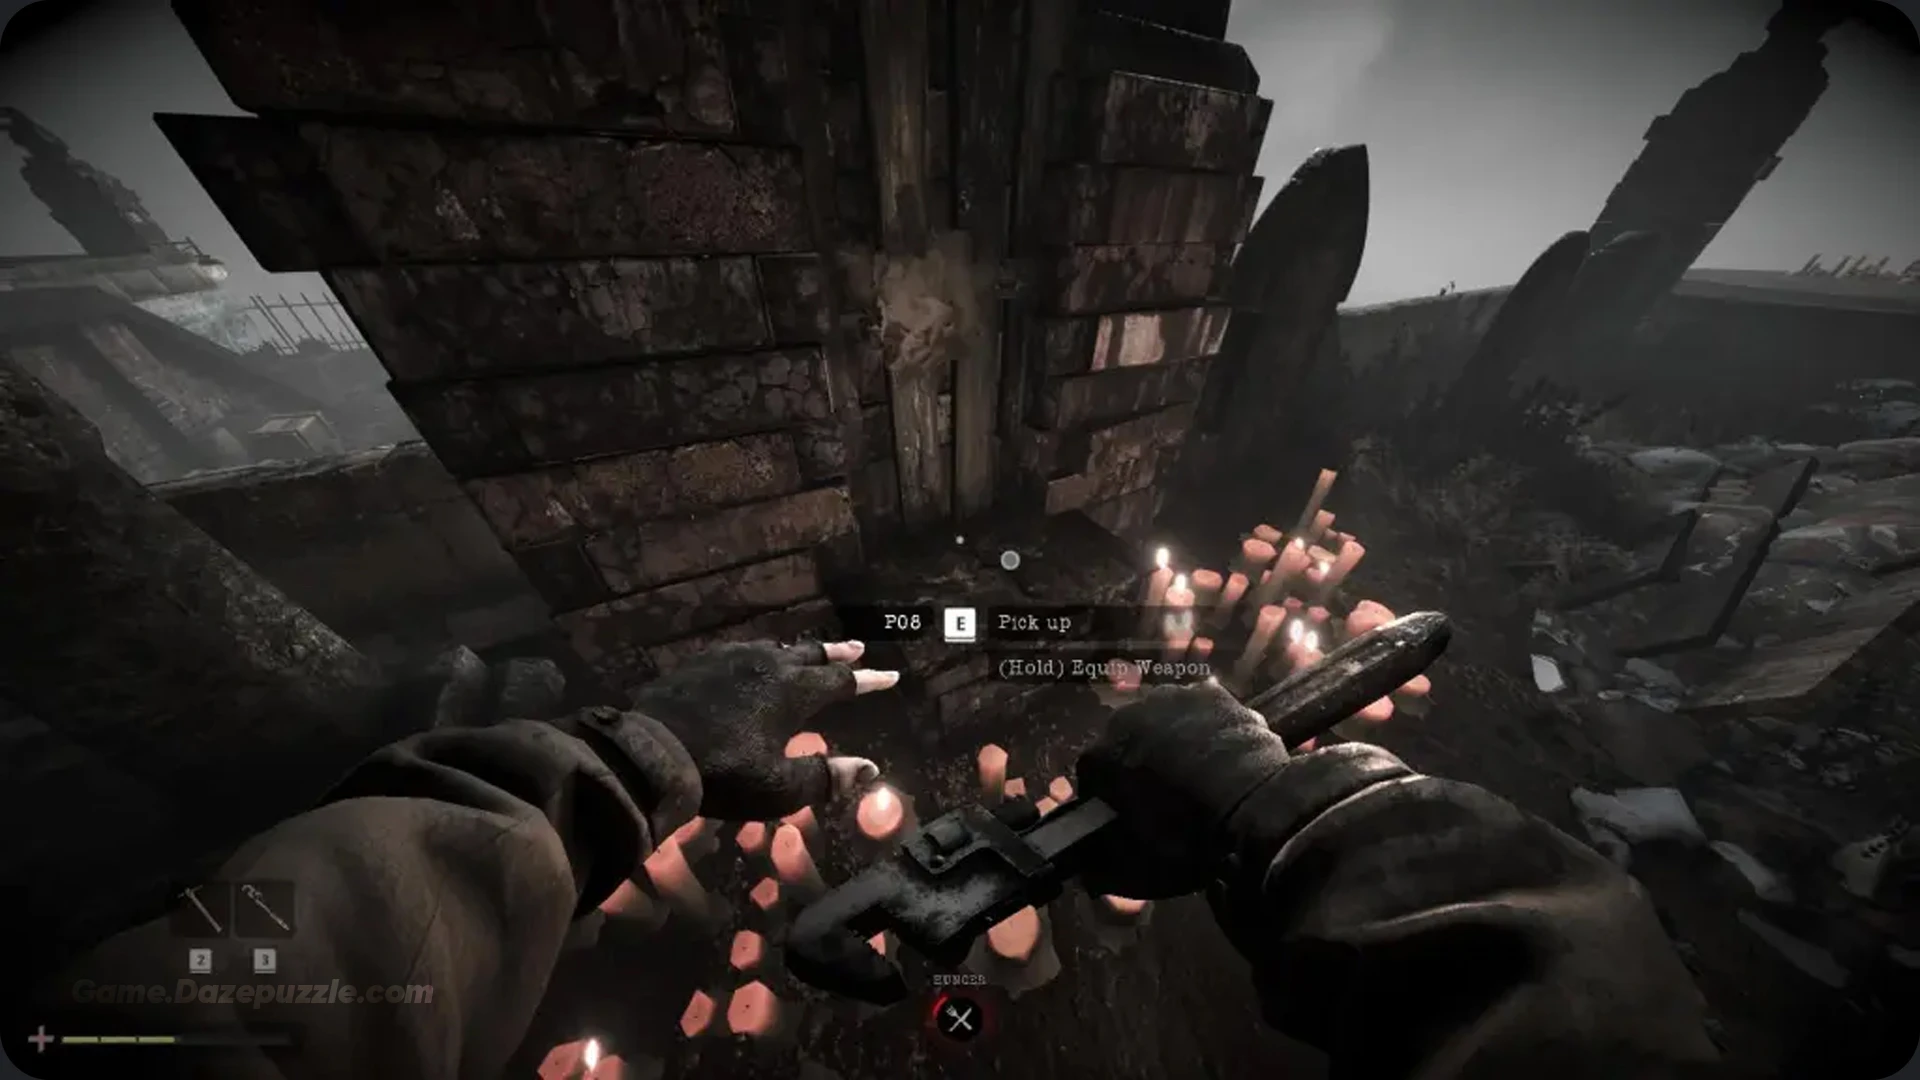
The path to the left is optional and very dangerous, but it leads to a new pistol. A “Screamer,” a powerful invisible enemy, guards this area. Do not try to fight it. Your goal is to sprint. Run straight to the first spot lit by candles to find The Splitter blueprint.
Then, sprint to the next candle lit spot to find the PO8 Pistol. Grab it and immediately sprint back to the stairs. The Screamer will not follow you.
Find the Blue Block Key
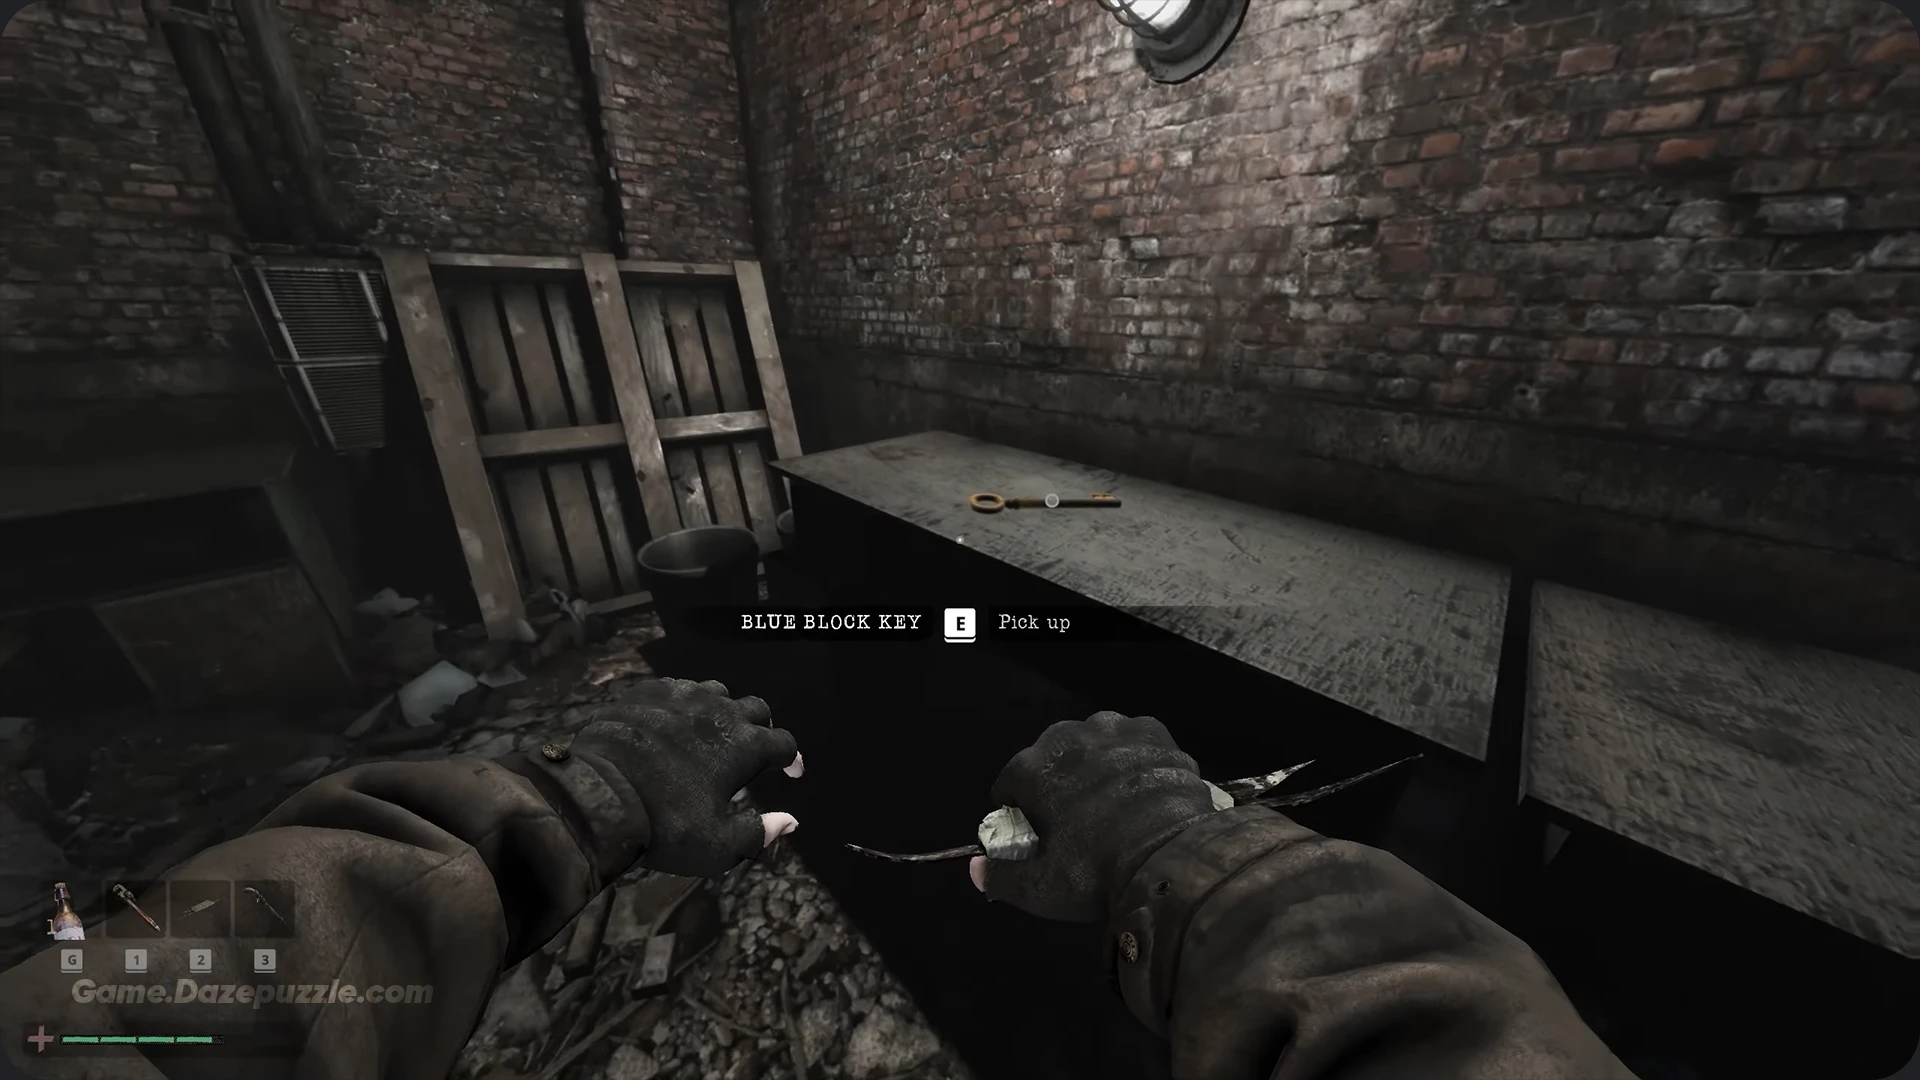
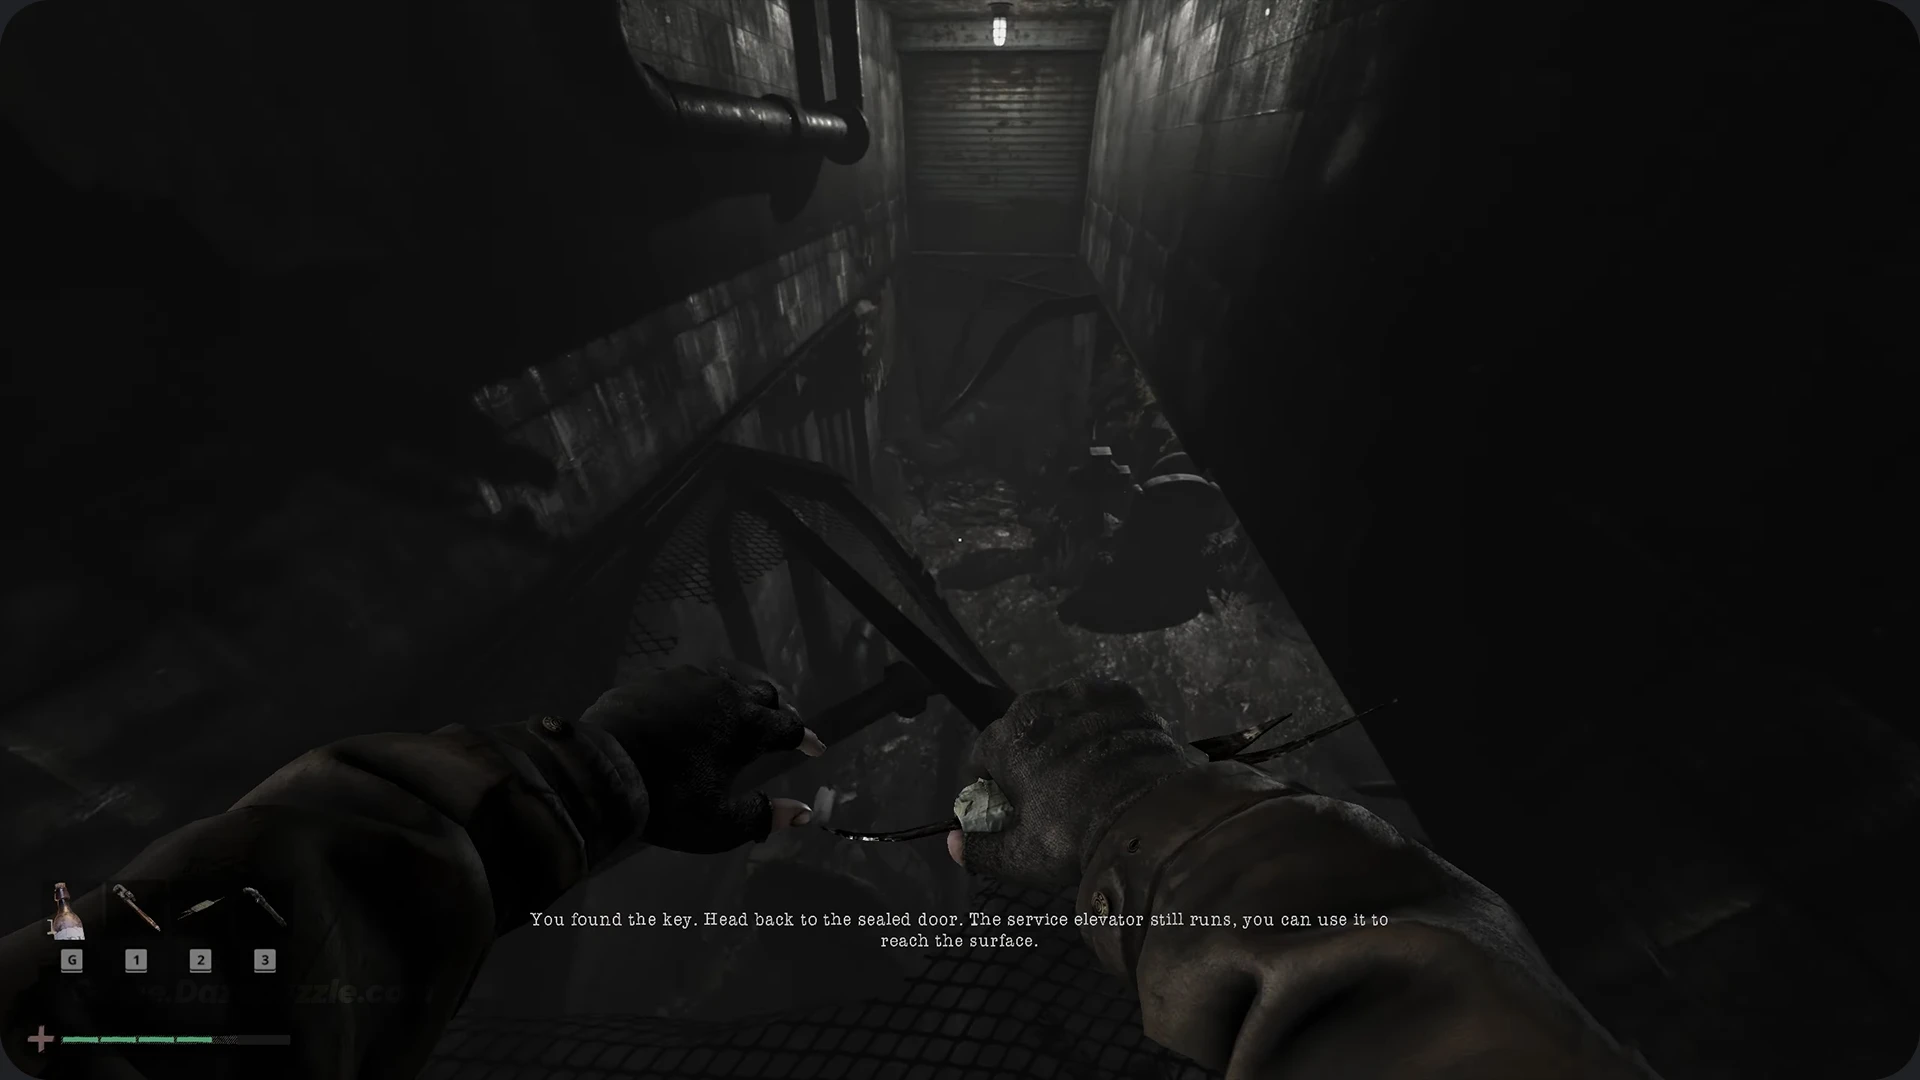
Now, go back to where the path split and take the main path to the right. This leads to the Storage Room. Follow the long, straight corridor, do not drop down any broken walkways. Keep going until you reach a save point at the very end. The Blue Block Key is on the table here.
Graveyard Puzzle (Inner Area)
After you get the key, backtrack a bit and drop down the broken walkway you passed earlier. This leads to a large tomb area with a shadow puzzle.
The Ornamental Pole Puzzle
First, find the correct symbol etched on one of the tombstones in the area. Remember it. Go through the door on the left side of the puzzle room. As you follow the passage, pick up the Rusty Cog from the wall. Continue until you find a Crafting Bench and grab the Ornament Tape from the ground nearby.

Use the bench to craft the Metal Ornament. Return to the puzzle room. Install the Metal Ornament in the empty slot and insert the Rusty Cog into the gears on the wall. Now, interact with the handles on the poles to rotate them. Your goal is to make the shadows on the screen match the symbol from the tombstone. When it’s correct, a gate on the left will unlock, letting you get back up to the save point.

How to Find The Shotgun in Total Chaos Chapter 2
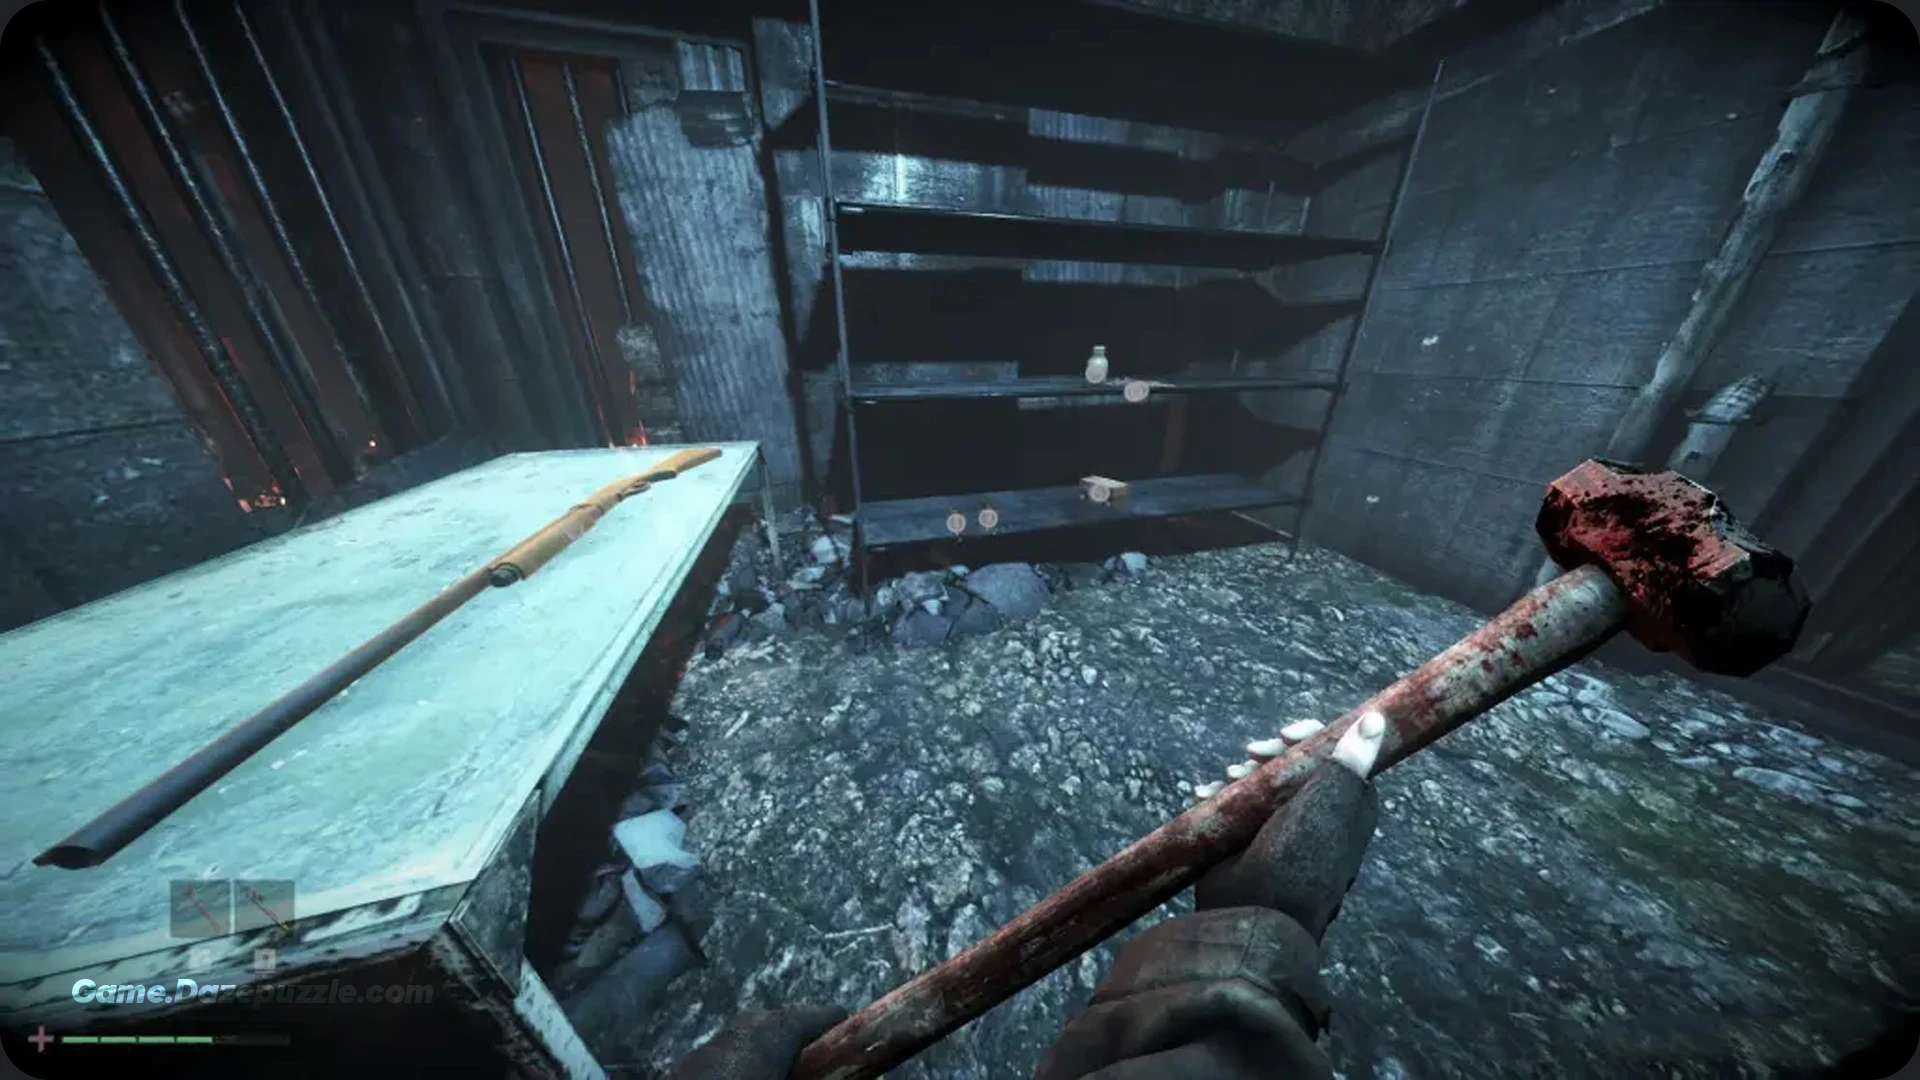
This is the perfect time to get the Shotgun. You must have the Millers Key from the Garbage Disposal area. Run all the way back to the Utility Tunnels shortcut. Use the Millers Key on the locked switch on the wall. The cage will open, and the Shotgun is inside on a table.
Getting Through the Blue Block
Head back to the Graveyard entrance area. Use your Blue Block Key to unlock the large gate labeled “Blue Block Access.” Fight your way through the new tunnels. You are now in the Blue Block. This area is a maze, but you can just follow the “Blue Block” signs on the walls. They will point you in the correct direction.
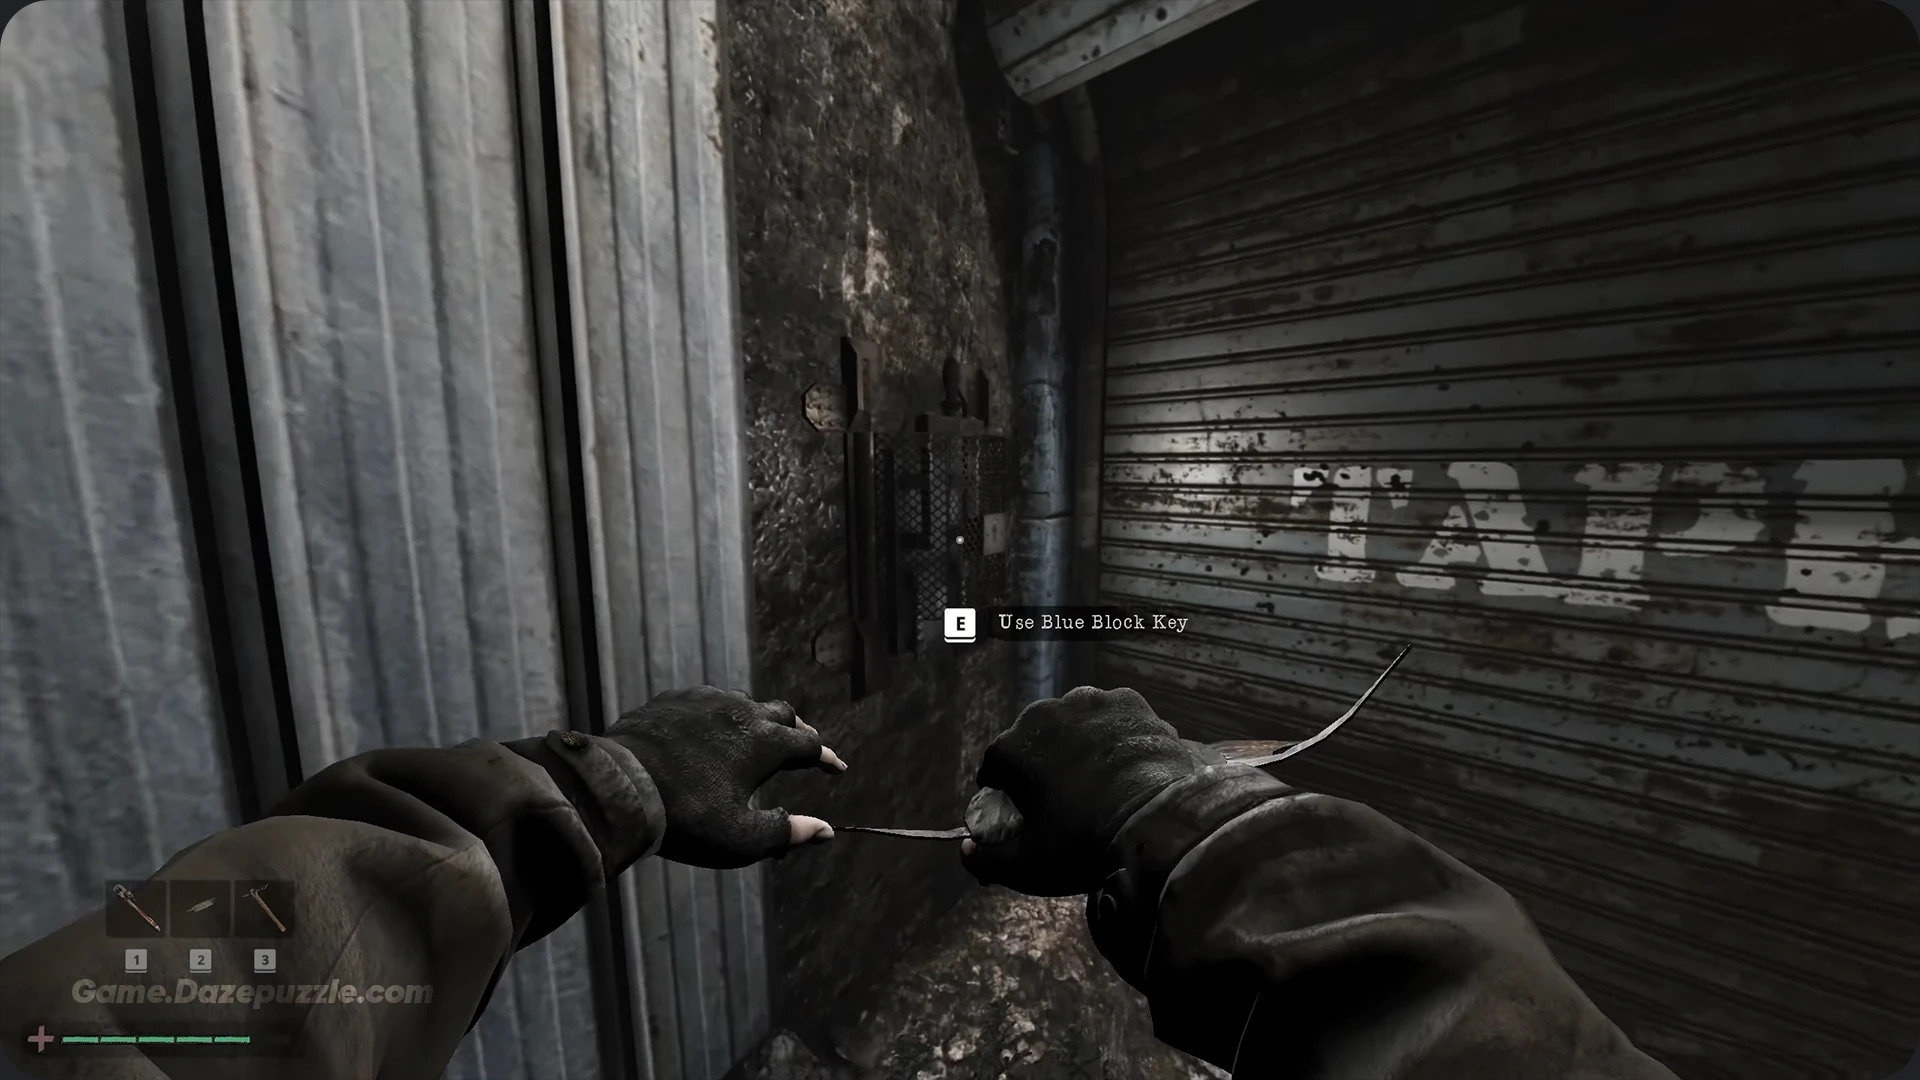
Keep following the signs until you reach a final shutter. Open it and go inside to a room with red lights. Use the save point here.
How to Reach the Surface Area
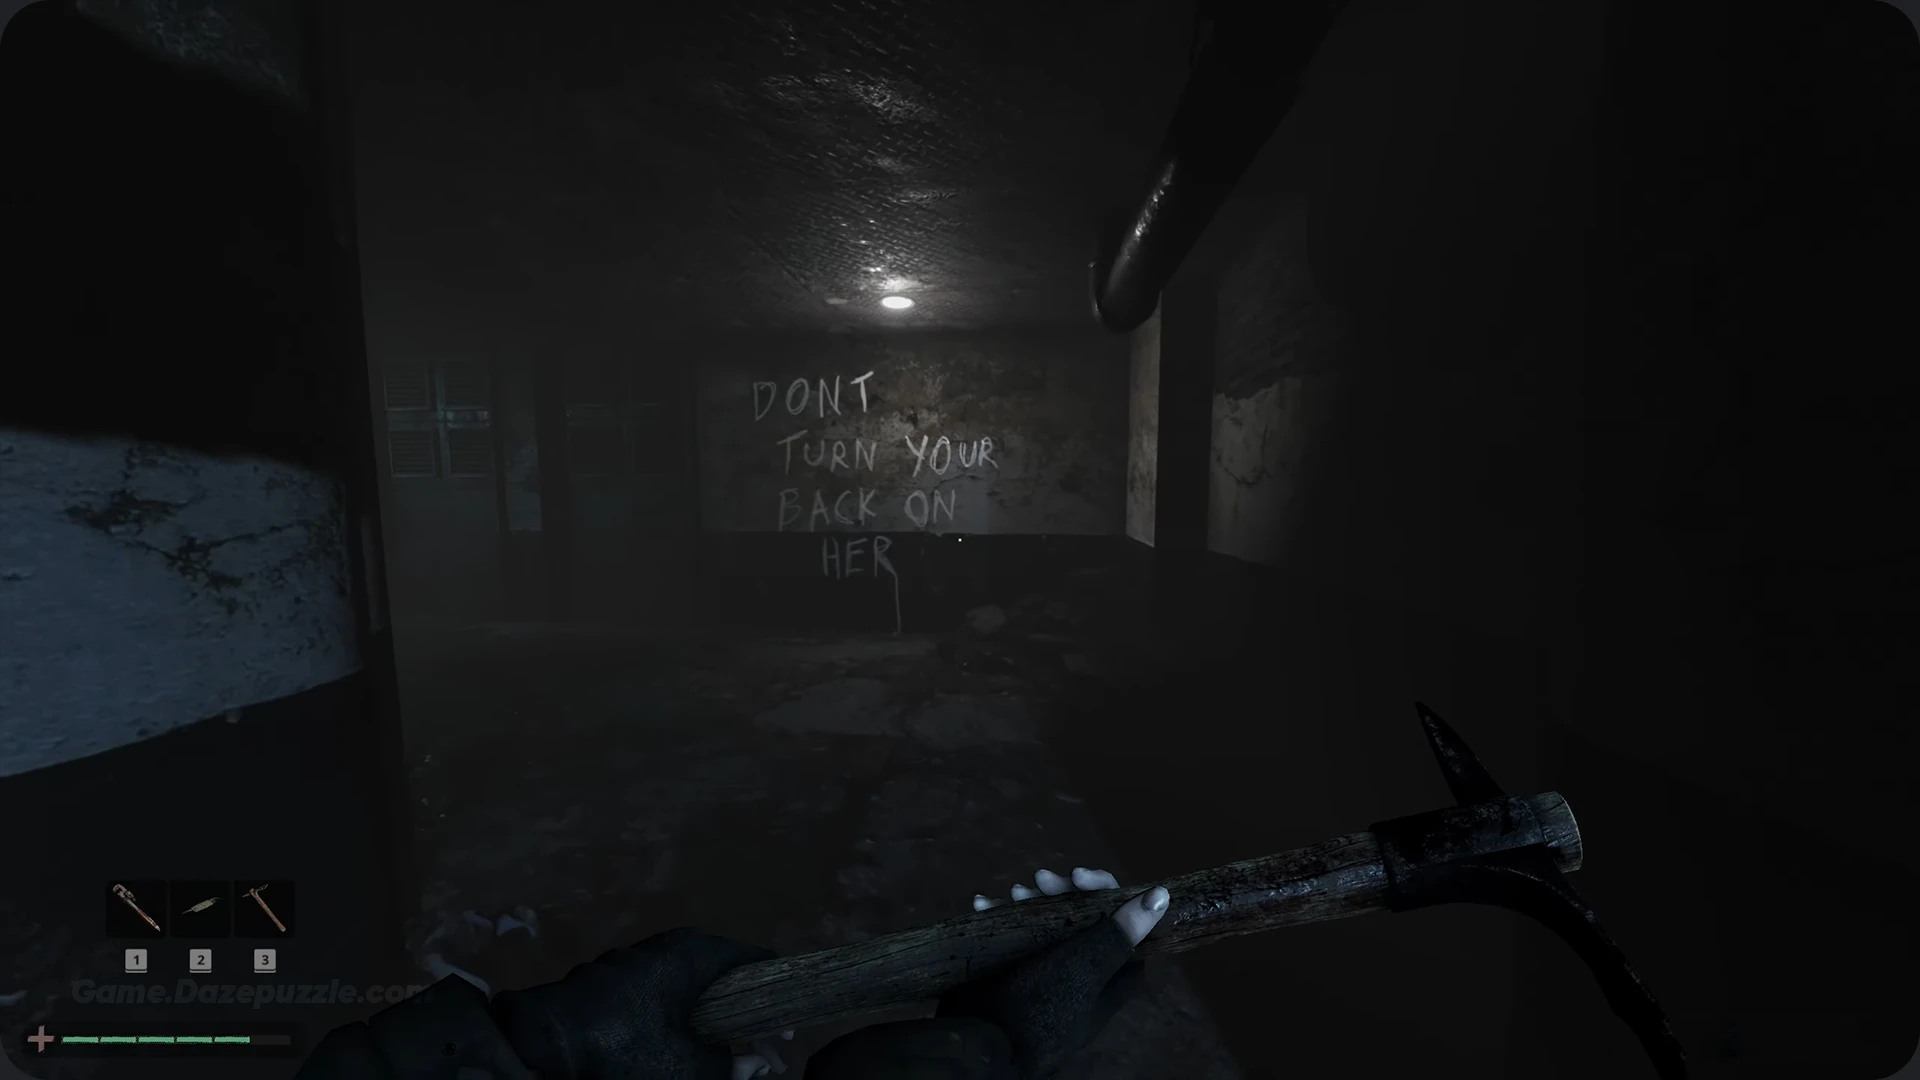
Head through the open door on the right. You will see steam blocking the path. Use the valve on the nearby door to turn it off. As you walk forward, read the writing on the wall: “DON’T TURN YOUR BACK ON HER”. This is the most important clue for this section.
The “Don’t Look Away” Monster Puzzle
Take a few steps forward and turn left. You will see a monster standing still. This monster only moves when you are not looking at it. If it touches you, you’re finished. You cannot kill it.
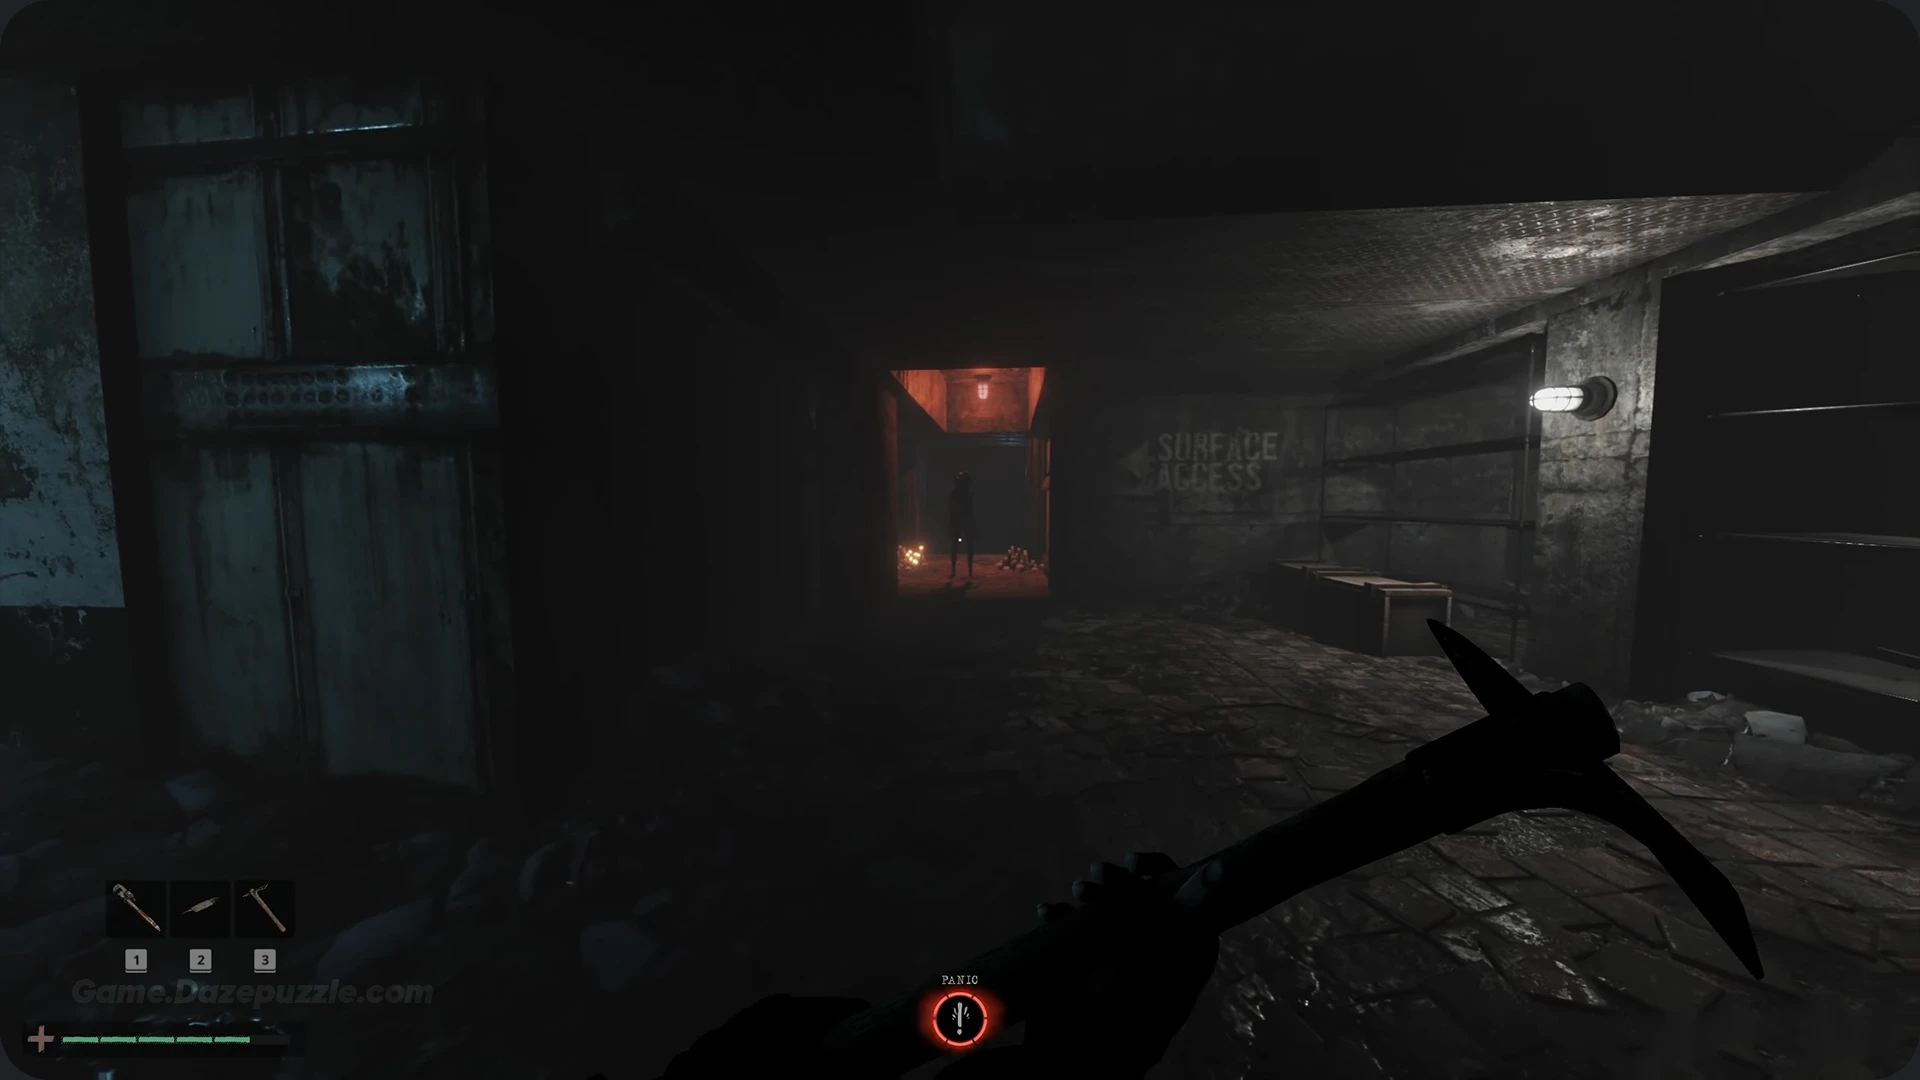
Your goal is to get the key from a side room and then escape through the shutter behind the monster.
- While facing the monster, start walking backward down the hall to your right.
- At the end of the hall, quickly turn right, sprint to the wooden crate, break it, and immediately spin around to look at the monster again.
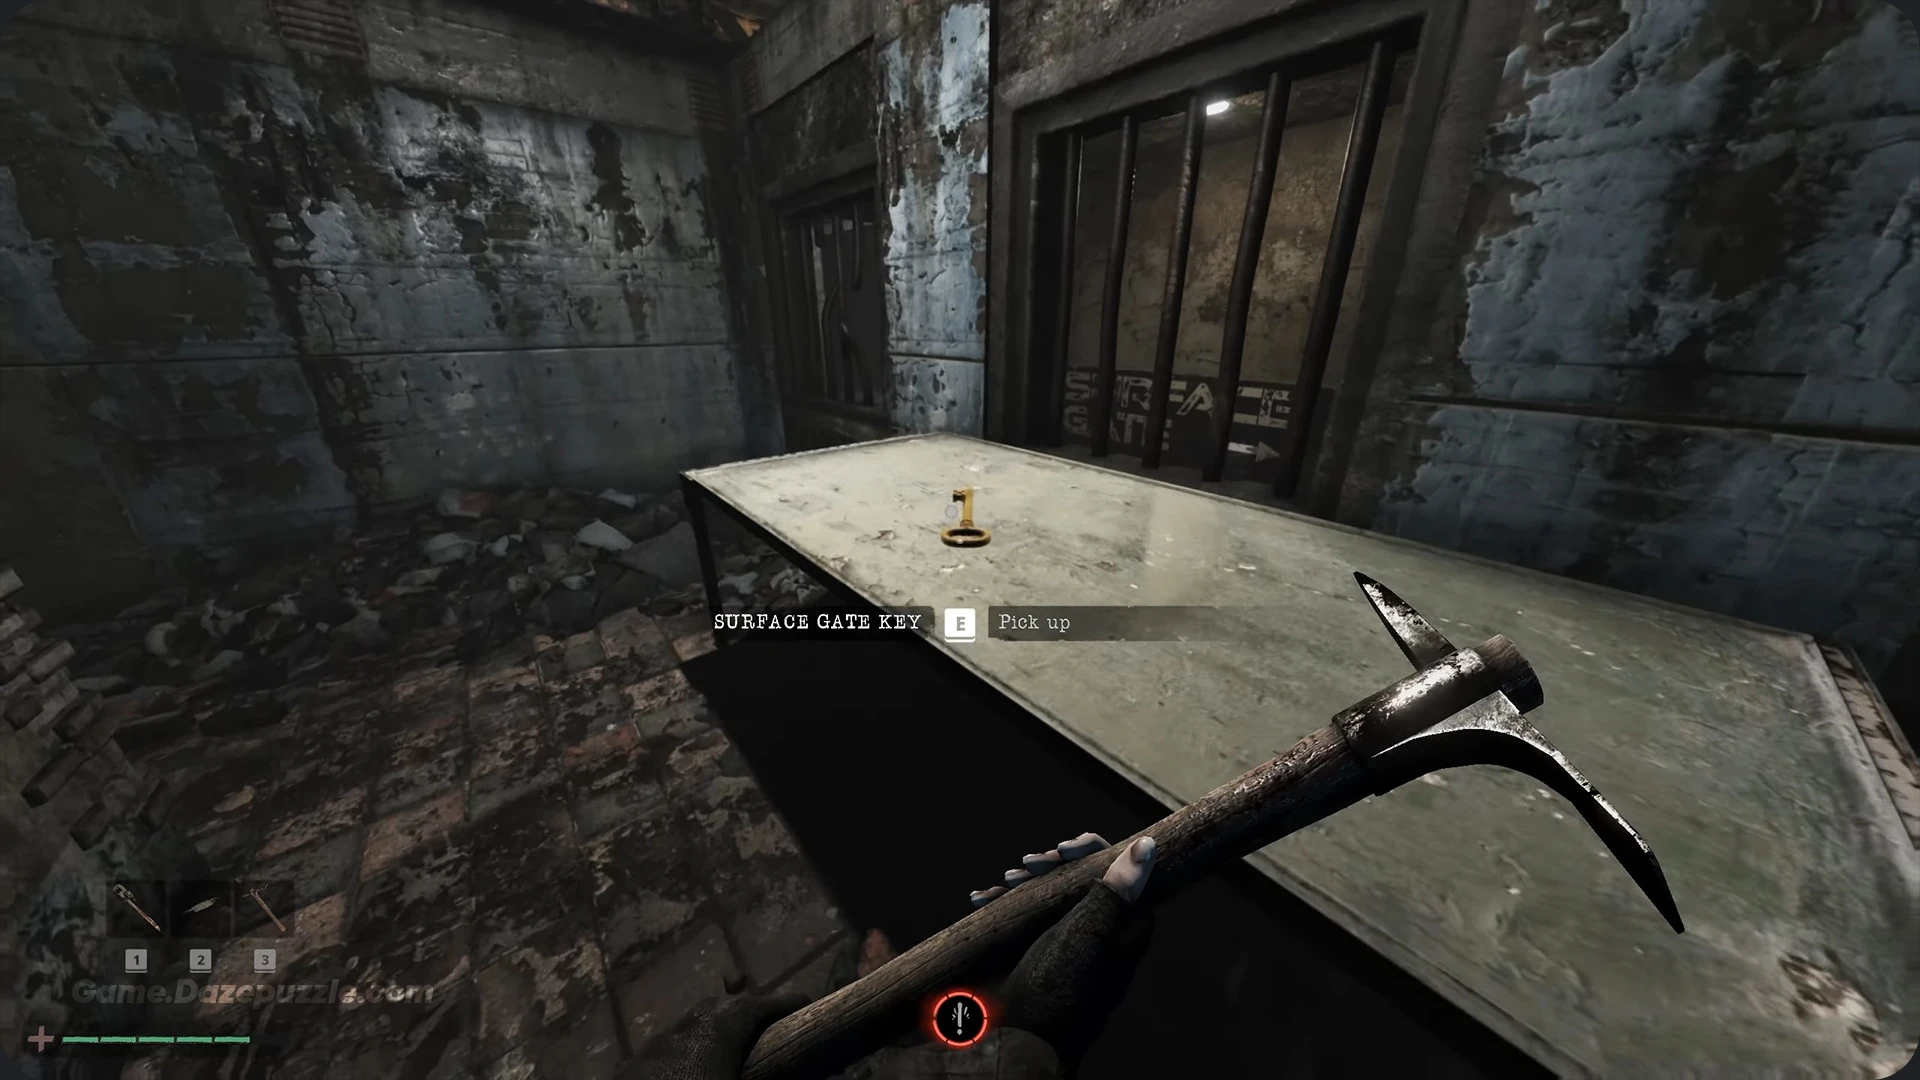
- Walk backward again, into the small room on your left. Back up to the table (while still looking at the monster) and grab the Surface Gate Key.
- This is the tricky part. Back yourself into a corner. Quickly turn, sprint to your right to run around the central pillar, and immediately spin around again to face the monster.
- Walk backward out of this room and back into the main hallway.
- While still facing the monster, back up to the locked gate on your left. Use the Surface Gate Key to unlock it. Go inside, quickly pull the switch, and immediately turn around to face the monster.
- The shutter in the main hall (the one that was behind the monster) is now open. Back all the way down the hall and go through it. Once inside, pull the switch to close the shutter, trapping the monster. You are now safe.
Escaping to the Surface
You made it. The hard part is over. Continue along the peaceful corridor to find one last save point. Follow the path to the end to find an elevator. Walk inside and interact with the panel to finish the chapter.

Thanks for staying with Game.Dazepuzzle