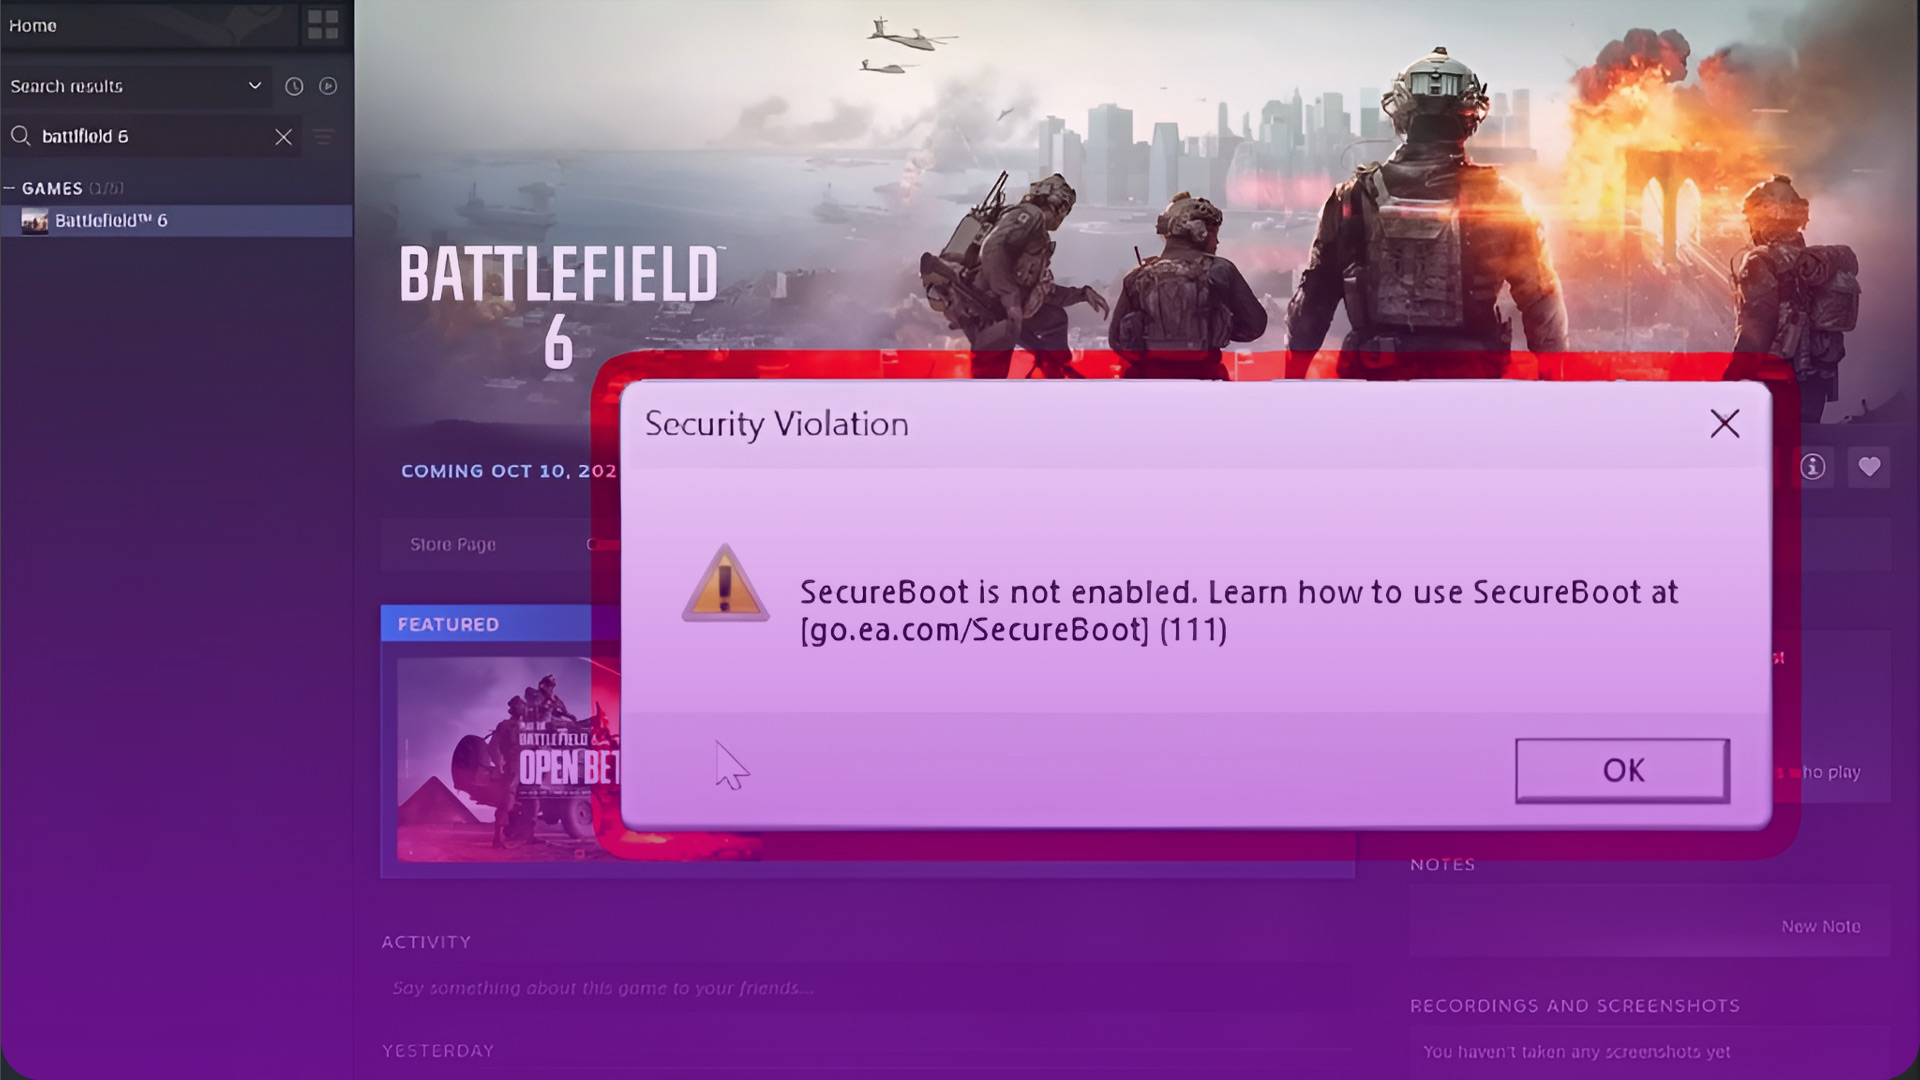
You’re grounded by a cryptic error message: ‘Secure Boot is Not Enabled’. You are definitely not alone in this. The good news is that this problem is completely fixable. This isn’t just a random bug, it’s a strategic move by game developers in the war against cheaters. EA’s new “Javelin Anticheat” system requires a super secure environment to work effectively, and that’s where Secure Boot comes in.
Your Quick Fix Action Plan
Before you dive into your system settings, let’s figure out exactly what needs to be done. This checklist will tell you your mission objectives.
| Requirement | How to Check | Required Status | Action Needed |
|---|---|---|---|
| Partition Style | Disk Management | GPT | If MBR, proceed to Section 2. |
| BIOS Mode | msinfo32 | UEFI | If Legacy, proceed to Section 3. |
| TPM 2.0 | tpm.msc | Ready for use | If not ready, you’ll enable it in the BIOS (See Section 4). |
| Secure Boot | msinfo32 | On | If Off, proceed to Section 4 & 5. |
Step 1: Diagnose Your System (1-Minute Check)
First, let’s run a quick diagnosis in Windows to see what’s wrong.
- Check BIOS Mode & Secure Boot: Press Windows Key + R, type
msinfo32, and hit Enter. Look forBIOS Mode(needs to be UEFI) andSecure Boot State(needs to be On). - Check Partition Style: If BIOS Mode was “Legacy,” check your drive. Right click the Start button, select Disk Management. Right click your main drive (e.g., “Disk 0”) -> Properties -> Volumes tab. The
Partition stylemust be GPT. - Check TPM: Press Windows Key + R, type
tpm.msc, and hit Enter. The status should be “The TPM is ready for use.”

Once you know what’s wrong, proceed to the required step below.
Step 2: Convert Drive to GPT (Only If Your Drive is MBR)
CRITICAL: BACK UP YOUR DATA BEFORE THIS STEP.
- Open Command Prompt as Administrator. (Search
cmdin Start Menu, right click, “Run as administrator”). - Validate: Type
mbr2gpt /validate /allowFullOSand press Enter. If it says successful, proceed. - Convert: Type
mbr2gpt /convert /allowFullOSand press Enter.
Your PC will not boot correctly until you complete Step 3. This is normal.
Step 3: Change BIOS Settings (UEFI & Secure Boot)
Now, let’s fix the settings in your PC’s firmware.
- Enter BIOS/UEFI: Restart your PC and press the key to enter setup (usually Del, F2, or F12).
- Disable CSM: Go to the ‘Boot’ tab. Find the option named “CSM Support” or “Legacy Support” and set it to Disabled. This is essential.
- Enable Secure Boot & TPM: Look for a ‘Security’ or ‘Boot’ tab.
- Find the Secure Boot option and set it to Enabled.
- Find the TPM option (may be called
TPM,fTPMfor AMD, orPTTfor Intel) and ensure it is Enabled.
- Save and Exit: Press F10 (or find the “Save & Exit” option) to save your changes and restart.
Step 4: Troubleshooting Common Issues
If you run into trouble, these quick fixes should solve it.
- Problem: My BIOS says Secure Boot is “Enabled” but Windows says it’s “Off.”
- The Fix: This is a common bug. In your BIOS’s Secure Boot menu, find an option like “Key Management” or “Restore Factory Keys” and select it. This forces the keys to install correctly. Save and exit.
- Problem: The Secure Boot option is “greyed out.”
- The Fix: This means CSM is still enabled. Go back and ensure CSM Support is Disabled, then save and reboot. The option should now be clickable.
- Problem: I get a black screen after changing settings!
- The Fix: Don’t panic. Power off and unplug your PC. Open the case, find the small, coin-like battery on the motherboard, and remove it for a few minutes. Put it back in. This resets the BIOS to default, and your display will work again.
You should now be able to launch the game.
The best part? Fixing this for Battlefield 6 also gets your rig ready for other major titles like the next Call of Duty, which will use the exact same security requirements. You’re not just fixing an error, you’re future proofing your gaming PC.
Thanks for keeping up with Game.dazepuzzle.com