This Gears of War Reloaded Walkthrough covers everything you need to dominate the campaign from start to finish. Whether you’re hunting for all 33 COG Tags, struggling with boss fights like General RAAM, or trying to master the Active Reload system, this guide breaks down each chapter with tactical advice, weapon strategies, and collectible locations. From surviving the deadly Kryll in darkness to executing perfect Gnasher maneuvers in multiplayer, you’ll learn the essential skills to conquer both single player and versus modes across all 19 remastered maps.
Quick Reference Guide
| Category | Key Points |
|---|---|
| Core Mechanics | Active Reload timing, Cover system mastery, Crimson Omen health indicator |
| Essential Weapons | Lancer (chainsaw bayonet), Gnasher (close combat king), Longshot (headshot only), Hammer of Dawn (outdoor areas) |
| Major Bosses | Berserker (lure to sunlight), Corpser (shoot belly), General RAAM (disperse Kryll first) |
| Collectibles | 33 COG Tags total across 5 Acts |
| Difficulty Tips | Stay in cover, master wall-bouncing, control power weapons |
What’s in our Gears of War Reloaded Walkthrough?
Know Your Battlefield
The world of Sera is brutal, and understanding the basics can mean the difference between life and death. Fourteen years after Emergence Day, humanity is on the brink of extinction, and Delta Squad represents the last hope against the Locust Horde.
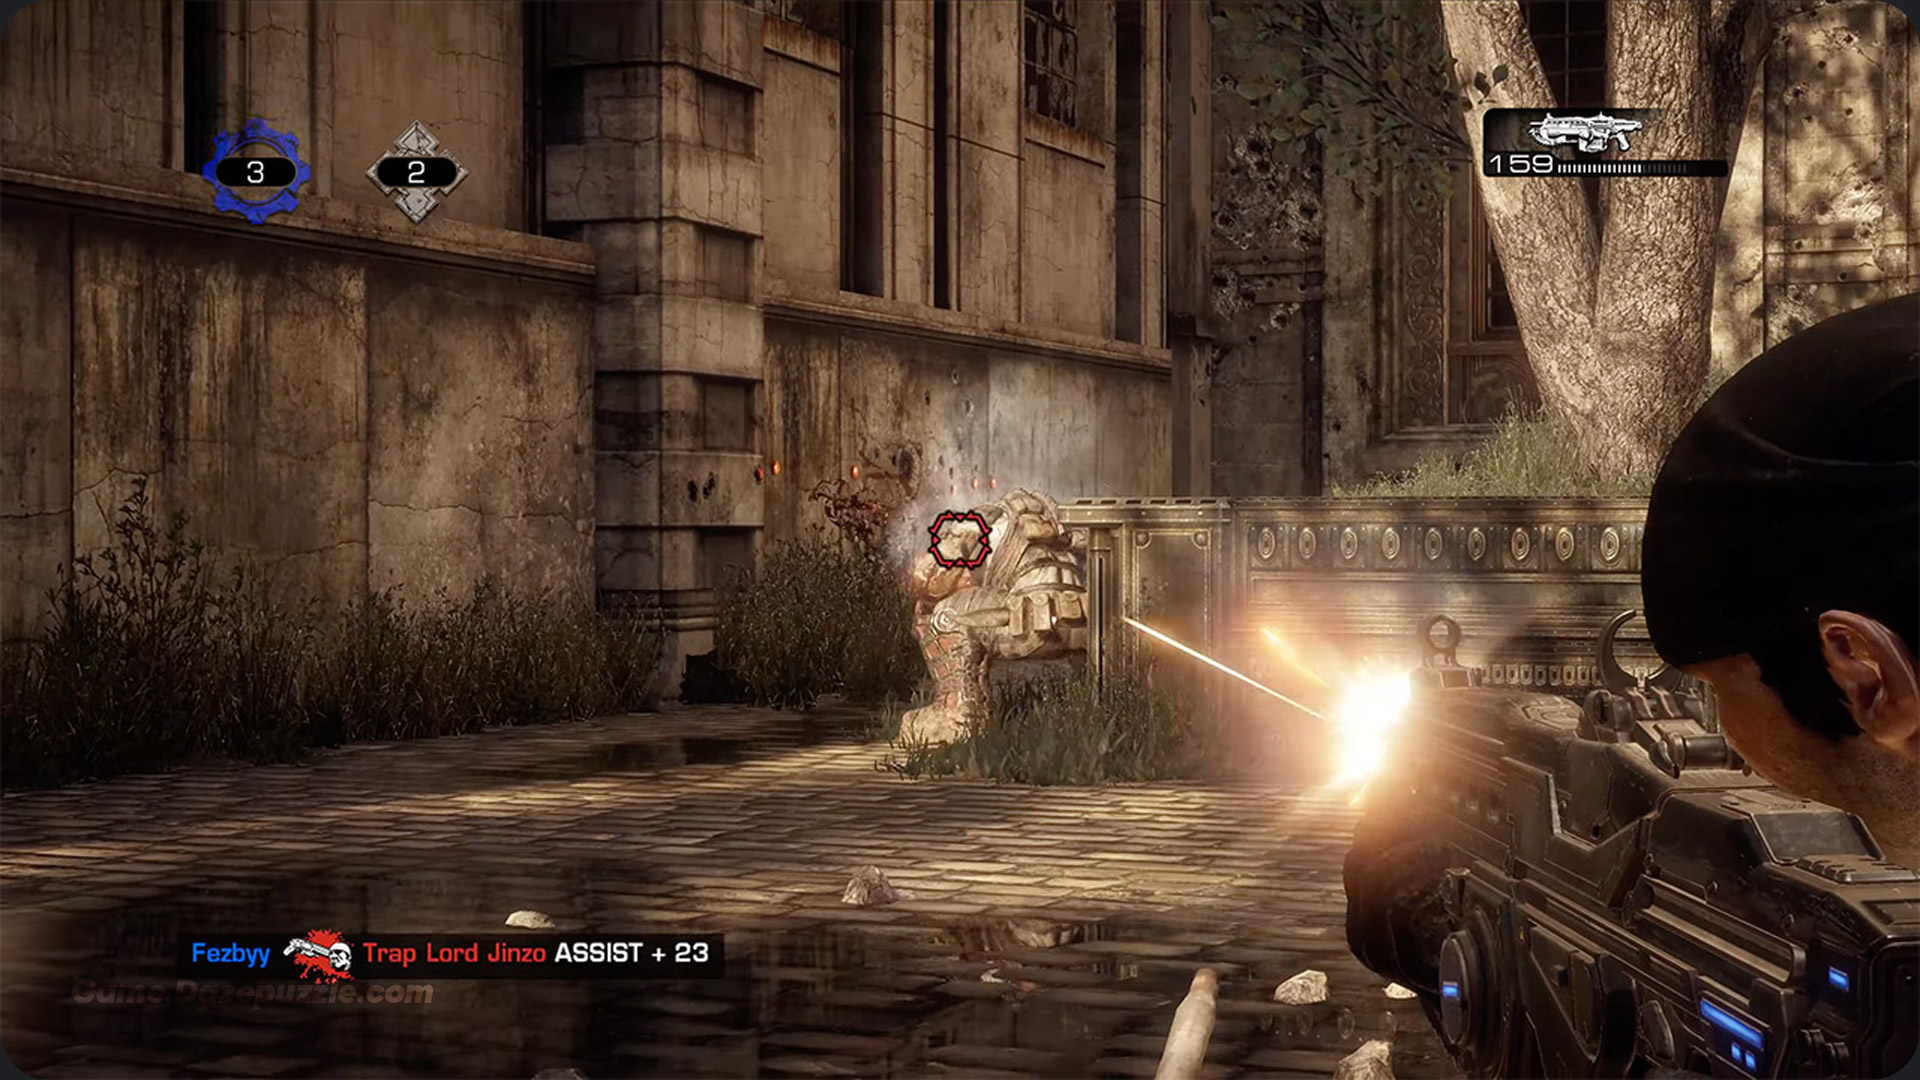
Marcus Fenix leads this desperate mission to detonate a Lightmass Bomb deep in enemy tunnels. His squad includes Dom Santiago (his loyal best friend), Damon Baird (the cynical tech specialist), and Augustus “Cole Train” Cole (former thrashball star turned Gear).
Master the Core Systems
The cover system is your lifeline. Every wall, pillar, and barrier can save your life. Learn to roadie run between cover points and always watch for flanking enemies.
Active Reload transforms average weapons into powerhouses. Time your reload perfectly to boost damage and reduce reload time. This skill separates beginners from veterans.
Watch the Crimson Omen; this blood-red symbol indicates your health status. When it appears, find cover immediately and let your health regenerate.
Weapon Mastery Guide
Each weapon serves a specific purpose, and knowing when to use what can turn impossible fights into easy victories.
Close Combat Champions
The Lancer assault rifle with its chainsaw bayonet is iconic for good reason. Use the chainsaw for instant kills on most enemies, but be careful, you’re vulnerable during the animation.
Gnasher shotgun rules close-quarters combat. One shot at point-blank range drops most enemies, making it essential for tight spaces and multiplayer dominance.
Long Range Solutions
Longshot sniper rifle only kills with headshots, demanding precision but offering devastating results. Perfect for taking out dangerous enemies from safety.
Hammerburst delivers high damage in semi-automatic bursts. It’s the Locust standard weapon and excels at medium to long range.
Power Weapons
Torque Bow fires explosive arrows that eliminate almost any enemy with a charged shot. Master the timing for maximum effectiveness.
Hammer of Dawn orbital laser works only outdoors but absolutely destroys anything in its path. Save it for bosses and overwhelming enemy groups.
What You’re Up Against
Standard Threats
Drones form the backbone of Locust forces. Use cover and flanking tactics; they’re smart enough to coordinate attacks.
Theron Guards carry Torque Bows and represent elite opposition. They’re vulnerable immediately after firing, so time your counter attacks perfectly.

Wretches attack in swarms and move incredibly fast. The Lancer’s chainsaw cuts through groups efficiently, but watch for luminescent variants that explode on death.
Environmental Hazards
Kryll are your worst nightmare in dark areas. These bat-like creatures kill instantly if you leave light sources. Shoot propane tanks to create safe paths and always stay illuminated.
Boss Battle Strategies
Berserker hunts by sound since she’s completely blind. Make noise to lure her into breaking through doors, then guide her to sunlight where the Hammer of Dawn can finish her.
Corpser requires patience and precision. Target its vulnerable belly to force retreat, then use environmental kills like collapsing bridges.
General RAAM combines multiple threats into one terrifying encounter. Kryll protect him, so use explosive weapons (Torque Bow or grenades) to scatter his shield, then immediately switch to precision weapons like the Longshot for headshots.
Chapter by Chapter Breakdown
Act 1: Ashes (12 COG Tags)
Your journey begins with Marcus’s prison break and first encounters with Locusts. The highlight is facing your first Berserker, a massive, blind creature that teaches you the importance of environmental strategy.
Key chapters include:
- 14 Years After E-Day: Tutorial basics and first COG Tag locations
- Trial by Fire: Perfect for practicing the Clusterluck achievement with grenade kills
- China Shop: Master Berserker tactics here
Act 2: Nightfall (6 COG Tags)
Darkness becomes your enemy as Kryll are introduced. Every step requires careful planning around light sources.
Critical survival tips:
- Shoot propane tanks to create illuminated paths
- Never venture into complete darkness
- Use the UV turret sections to clear large areas
Act 3: Belly of the Beast (6 COG Tags)
Descent into Locust tunnels culminates with the massive Corpser boss fight. Underground environments test your close-quarters combat skills.
Notable challenges:
- Tight corridors favor shotgun gameplay
- Environmental puzzles require observation
- Corpser fight demands precision timing
Act 4: The Long Road Home (3 COG Tags)
Return to Marcus’s family estate reveals crucial backstory while testing your skills against familiar enemies in new environments.
Don’t miss:
- COG Tag in Fenix mansion library (destroy the center table)
- Emotional story moments that explain Marcus’s past
- Varied combat scenarios from indoor fights to outdoor battles
Act 5: Desperation (6 COG Tags)
The climactic act includes the “Lost Chapters” with Brumak battles and concludes with the legendary General RAAM fight aboard the speeding train.
Final battle preparation:
- Stock up on Torque Bow ammo for Kryll dispersal
- Practice Longshot headshots on earlier enemies
- Stay in illuminated areas constantly
Achievement Hunter’s Paradise
Essential Unlocks
“For the Fallen” requires all 33 COG Tags use our location guide above for systematic collection.
“Clusterluck” needs 3 simultaneous kills, 10 times total. The first emergence hole in “Trial by Fire” offers perfect grenade opportunities to throw a frag, restart checkpoint, repeat.
“Zen and the Art of Reloading” demands 25 Active Reloads plus 5 perfect streaks. Practice makes perfect, and this skill benefits your entire playthrough.
The Ultimate Challenge
“Seriously…” requires 10,000 multiplayer kills in Versus modes. This represents hundreds of hours but showcases true dedication to Gears mastery.

Multiplayer Domination
Core Game Modes
Warzone and Execution offer classic one life per round intensity, while Team Deathmatch and King of the Hill provide more forgiving respawn-based action.
Advanced Techniques
Wall-bouncing and the “Gnasher dance” define high level play. Master these movement techniques to dominate close-quarters engagements.
Right-hand advantage gives you better angles when looking around cover from the right side due to camera positioning.
Power weapon control changes match flow entirely. Boomshot and Longshot spawns become critical strategic objectives.
Map Knowledge
All 19 remastered maps from the original game and DLC packs offer unique tactical opportunities. Learn weapon spawns, cover positions, and flanking routes for each environment.
Classic favorites like Gridlock and Canals showcase different playstyles from wide open battles to tight corridor fights.
Thanks for keeping up with Game.Dazepuzzle