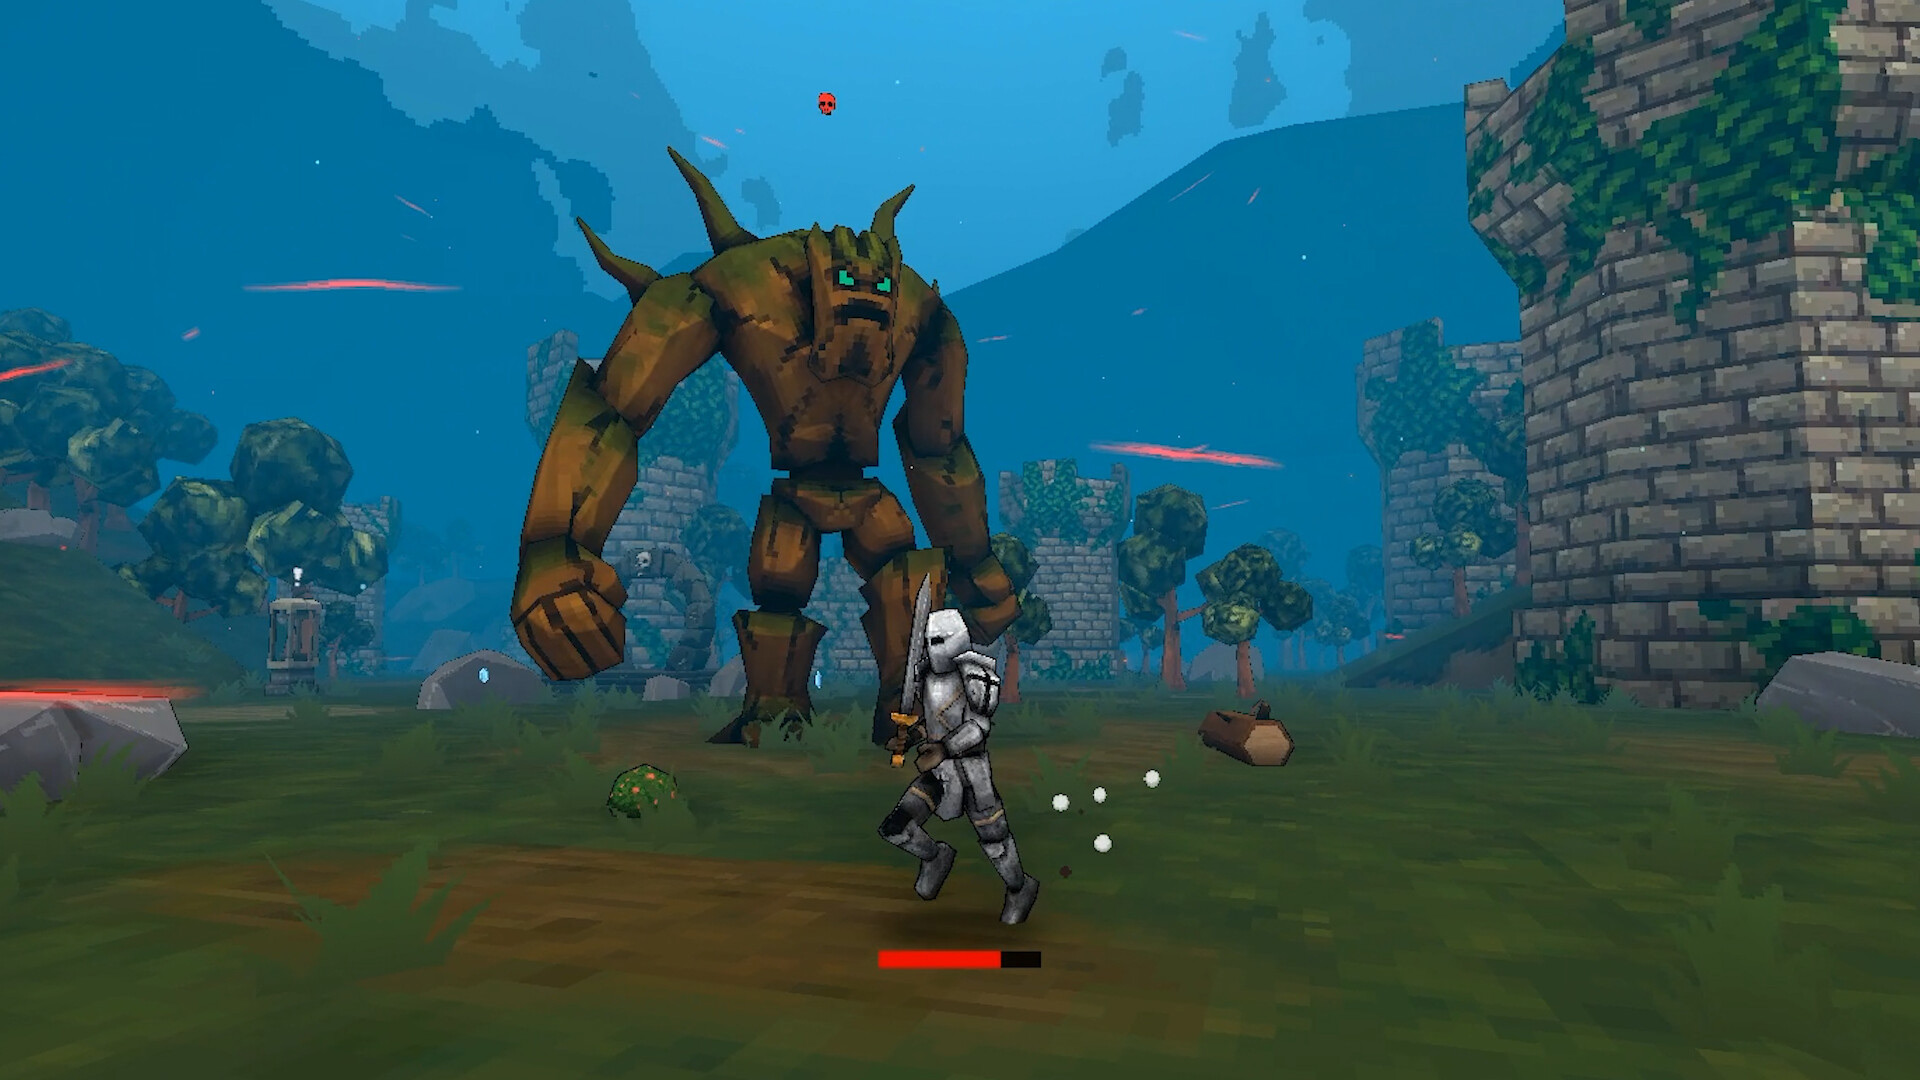
Chasing down every single trophy in Megabonk can feel like trying to survive the final swarm with nothing but your starting weapon. It’s a chaotic, challenging, and incredibly rewarding journey. This Megabonk Achievement Guide is your Megabonk roadmap to 100% completion, breaking down every task from simple unlocks to the secret character quests and god-tier challenges. Whether you’re a new player trying to find your footing or a seasoned veteran hunting those last few elusive trophies, we’ve got the strategies you need to conquer the bonk.
What’s in our Megabonk Achievement Guide?
Complete Achievements in Megabonk Guide
Here is a list of all 100 achievements in a single table for easy reference.
| Achievement | How to Unlock |
|---|---|
| Aegis | Block 500 damage with Armor as Sir Oofie. |
| Amog | Poison 50,000 enemies with Modly Cheese. |
| Anvil | Complete 3 Challenges. |
| Armor Tome | Kill 5,000 enemies as Sir Oofie. |
| Athena | Get the Thorns Tome to level 9. |
| Attraction Tome | Use Shrine of Succ 8 times. |
| Aura | Don’t take any damage for 2 minutes. |
| Axe | Kill 2,000 enemies using the Sword. |
| Bananarang | Find the hidden Banana. |
| Bandit | Find and defeat Bandit in the Desert. |
| Banish | Complete 40 quests. |
| Battery | Upgrade Cooldown Tome to Level 5. |
| Birdo | Kill 100 enemies using the Tornado weapon while carried by a tornado on Desert. |
| Black Hole | Get Knockback Tome to Level 10. |
| Blood Magic | Get the Bloody Tome to Level 12. |
| Blood Tome | Kill 12,500 enemies. |
| Bloody Cleaver | Reach Level 50 as Vlad. |
| Bob (Dead) | Survive the Final Swarm for 2 minutes. |
| Boombox | Find and activate all the Megabonk boombox in Forest. |
| Boss Buster | Defeat a Stage Boss in under 30 seconds. |
| Brass Knuckles | Kill 5,000 enemies with the Sword. |
| Bush | Find and defeat Bush in the Forest. |
| Cactus | Kill 100 cactus enemies with Thorns damage. |
| Calcium | Kill 1,000 Skeletons. |
| Cannon | Kill 5,000 enemies using Rockets. |
| Chaos Tome | Charge every Charge Shrine on a Tier 3 run across all 3 stages without leaving the charge zone. |
| Chonkplate | Get Max HP to 500. |
| CL4NK | Complete Forest Tier 1. |
| Corrupted Sword | Get Cursed Tome to Level 20 in under 10 minutes. |
| Cursed Doll | Die 10 times. |
| Cursed Gloves | Get the Cursed Tome to level 10. |
| Cursed Tome | Beat the Stage Boss in under 5 minutes. |
| Demonic Blade | Heal for 350 HP using Lifesteal. |
| Demonic Blood | Increase Max HP with Blood Magic 400 times. |
| Demonic Soul | Reach Level 30 as Calcium. |
| Desert | Teleport to the 2nd stage on Forest Tier 2 as CL4NK. |
| Dexecutioner | Kill 20,000 enemies using the sword. |
| Dice | Get Luck Tome to Level 12. |
| Dicehead | Complete 100 quests to get Megabonk Dicehead. |
| Dragon’s Breath | Kill 1,000 Megabonk Wisp as Fox on Desert. |
| Dragonfire | Kill 4,000 enemies using Fire damage. |
| Duration Tome | Upgrade Axe to level 10. |
| Eagle Claw | Kill 10,000 enemies as Birdo. |
| Echo Shard | Upgrade XP Tome to Level 8. |
| Energy Core | Defeat the Final Boss 2 times. |
| Forbidden Juice | Crit 100 times. |
| Frostwalker | Freeze 1,000 enemies with the Ice Cube. |
| Gamer Goggles | Defeat a Stage Boss with less than 10% HP left. |
| Gas Mask | Kill 5,000 enemies using amog. |
| Ghost | Survive the Final Swarm for 60s. |
| Golden Sneakers | Break 150 pots. |
| Grandma’s Secret Tonic | Kill 3,000 enemies using the Sniper Rifle. |
| Hero Sword | Defeat a Stage Boss without picking up any items, powerups or using shrines. |
| Holy Book | Kill a first Stage Boss without taking any damage that run. |
| Ice Crystal | Kill 50 enemies with the Frostwalker. |
| Idle Juice | Kill 500 enemies while standing still. |
| Joe’s Dagger | Kill 10,000 enemies using the Dexecutioner. |
| Katana | 5% chance to find upon breaking a Tumbleweed on Desert Stage 1. |
| Kevin | Obtain 3 Leeching Crystal in a run. |
| Key | Purchase 25 chests. |
| Leeching Crystal | Upgrade Regen Tome to Level 8. |
| Lightning Orb | Kill 3,000 enemies using Lightning damage. |
| Luck Tome | 0.01% chance to drop when killing an enemy. |
| Megachad | Get the Damage Tome to Level 7. |
| Mines | Kill 7,500 enemies using Rockets. |
| Monke | Find and release Monke in the Forest. |
| Ninja | Complete Desert Tier 1. |
| Noelle | Use a Microwave to duplicate Ice Crystal 3 times in a row. |
| Ogre | Kill 15,000 Goblins. |
| Poison Flask | Kill Scorpionussy on Desert 3 times. |
| Poison Gloves | Use a Microwave to duplicate Moldy Cheese 3 times in a row. |
| Quantity Tome | Fire 5,000 projectiles. |
| Refresh | Complete 20 quests. |
| Revolver | Kill 7,500 enemies. |
| Robinette | Complete Forest Tier 2. |
| Rockets | Kill 15,000 enemies as CL4NK. |
| Shattered Knowledge | Upgrade Attraction Tome to Level 8. |
| Shotgun | 5% chance to find upon breaking a Tumbleweed on Desert Stage 2. |
| Sir Chadwell | Complete Forest Tier 3. |
| Skip | Complete 30 quests. |
| Skuleg | Obtain 40% Difficulty. |
| Sniper | Get Precision Tome to Level 10. |
| Soul Harvester | Survive the Final Swarm for 6 minutes. |
| Space Noodle | Complete Desert Tier 2 as Tony McZoom. |
| Spaceman | Complete 6 challenges. |
| Speedboi | Complete a stage with at least 2 Boss Curse activated. |
| Sucky Magnet | Complete every single Charge Shrine on the map. |
| Tactical Glasses | Defeat a Miniboss in 25s. |
| Thorns Tome | Block 250 attacks with Aegis. |
| Toggler | Buy 40 unlocks. |
| Tome Slots | Complete 60 quests. |
| Tony McZoom | Complete 2 challenges. |
| Tornado | Charge a total of 5 Charge Shrines during Sandstorms on Desert. |
| Toxic Barrel | Kill 2,000 enemies using Poison damage. |
| Turbo Skates | Upgrade both Cooldown and Agility Tome to level 5 in a run. |
| Turbo Socks | Upgrade Agility Tome to Level 5. |
| Vlad | Complete Desert Tier 2. |
| Weapon Slots | Complete 50 quests. |
| Wireless Dagger | Get the Lightning Staff to Level 15. |
| XP Tome | Break 20 pots in a single run. |
Core Mechanics for Trophy Hunters
Before you can effectively hunt achievements, you need to grasp how Megabonk blends two distinct genres: the horde survival of Vampire Survivors and the 3D exploration of Risk of Rain 2. Every run presents a strategic choice: do you stay put and farm XP, or explore the map for shrines, chests, and the stage boss? The right answer depends entirely on the achievement you’re chasing.

The Basics of a Run
Each stage is on a timer. When it hits zero, the “Final Swarm” begins, an endless wave of tough enemies. Your primary goal is to find and defeat the stage boss before the timer runs out to activate the teleporter and advance. This progression is gated by Tiers, meaning achievements like completing Forest Tier 3 are long-term goals that require a solid understanding of the game.
Avoiding the Dilution Trap
Megabonk has over 240 quests that unlock new items, weapons, and powerful Tomes. However, unlocking everything carelessly can backfire. This is known as the “Dilution Trap,” where flooding your item pool with weak or niche unlocks makes it harder to get the powerful items you need for a strong build.
The smart strategy is to focus on unlocking key items and characters first. Your main priority should be acquiring two crucial meta-upgrades: Banish (unlocked at 40 quests), which lets you remove an item from the pool for a single run, and Toggler (unlocked by buying 40 items), which lets you permanently disable items for all future runs. Once you have these, you can safely unlock everything else.
The Holy Trinity
To break through the game’s tougher difficulty spikes, especially the notorious “Tier 2 Wall,” players have discovered a powerful synergy known as the “Holy Trinity.” This strategy revolves around three specific Tomes that create an explosive feedback loop of power.
How Curse, XP, and Luck Tomes Create a God Run
- Curse Tome: This increases the number of enemies that spawn. While it makes the game harder, it also dramatically increases the amount of potential XP and gold on the map.
- XP Gain Tome: This multiplies the experience you get from each XP orb, synergizing perfectly with the Curse Tome to fuel ridiculously fast level-ups.
- Luck Tome: This increases your chances of being offered higher-rarity (and more powerful) upgrades each time you level up.
Together, these three Tomes allow your power to scale exponentially, turning a difficult run into a god run where you can effortlessly melt bosses and survive the final swarm.
Advanced Builds for the Toughest Challenges
For achievements like Soul Harvester or Megabonk Chaos Tome, you’ll need more than just good luck. Here are a couple of powerful community tested builds.
The Aura Build for Easy Farming
This build focuses on Aura weapons and stacking Attack Size and Cooldown Reduction upgrades. The goal is to create a massive, permanent field of damage around your character, making it ideal for achievements like Idle Juice and for safely farming XP and gold without needing to move.
The Invincible Build for Surviving the Final Swarm
This strategy is all about defense. You’ll want to prioritize stats like Evasion, Armor, and Lifesteal. The goal is to become so tanky that most attacks miss, and any damage you do take is instantly healed back. This is the Megabonk Guide go-to build for surviving the Final Swarm and unlocking Bob (Dead) and Soul Harvester.
Thanks for keeping up with Game.Dazepuzzle