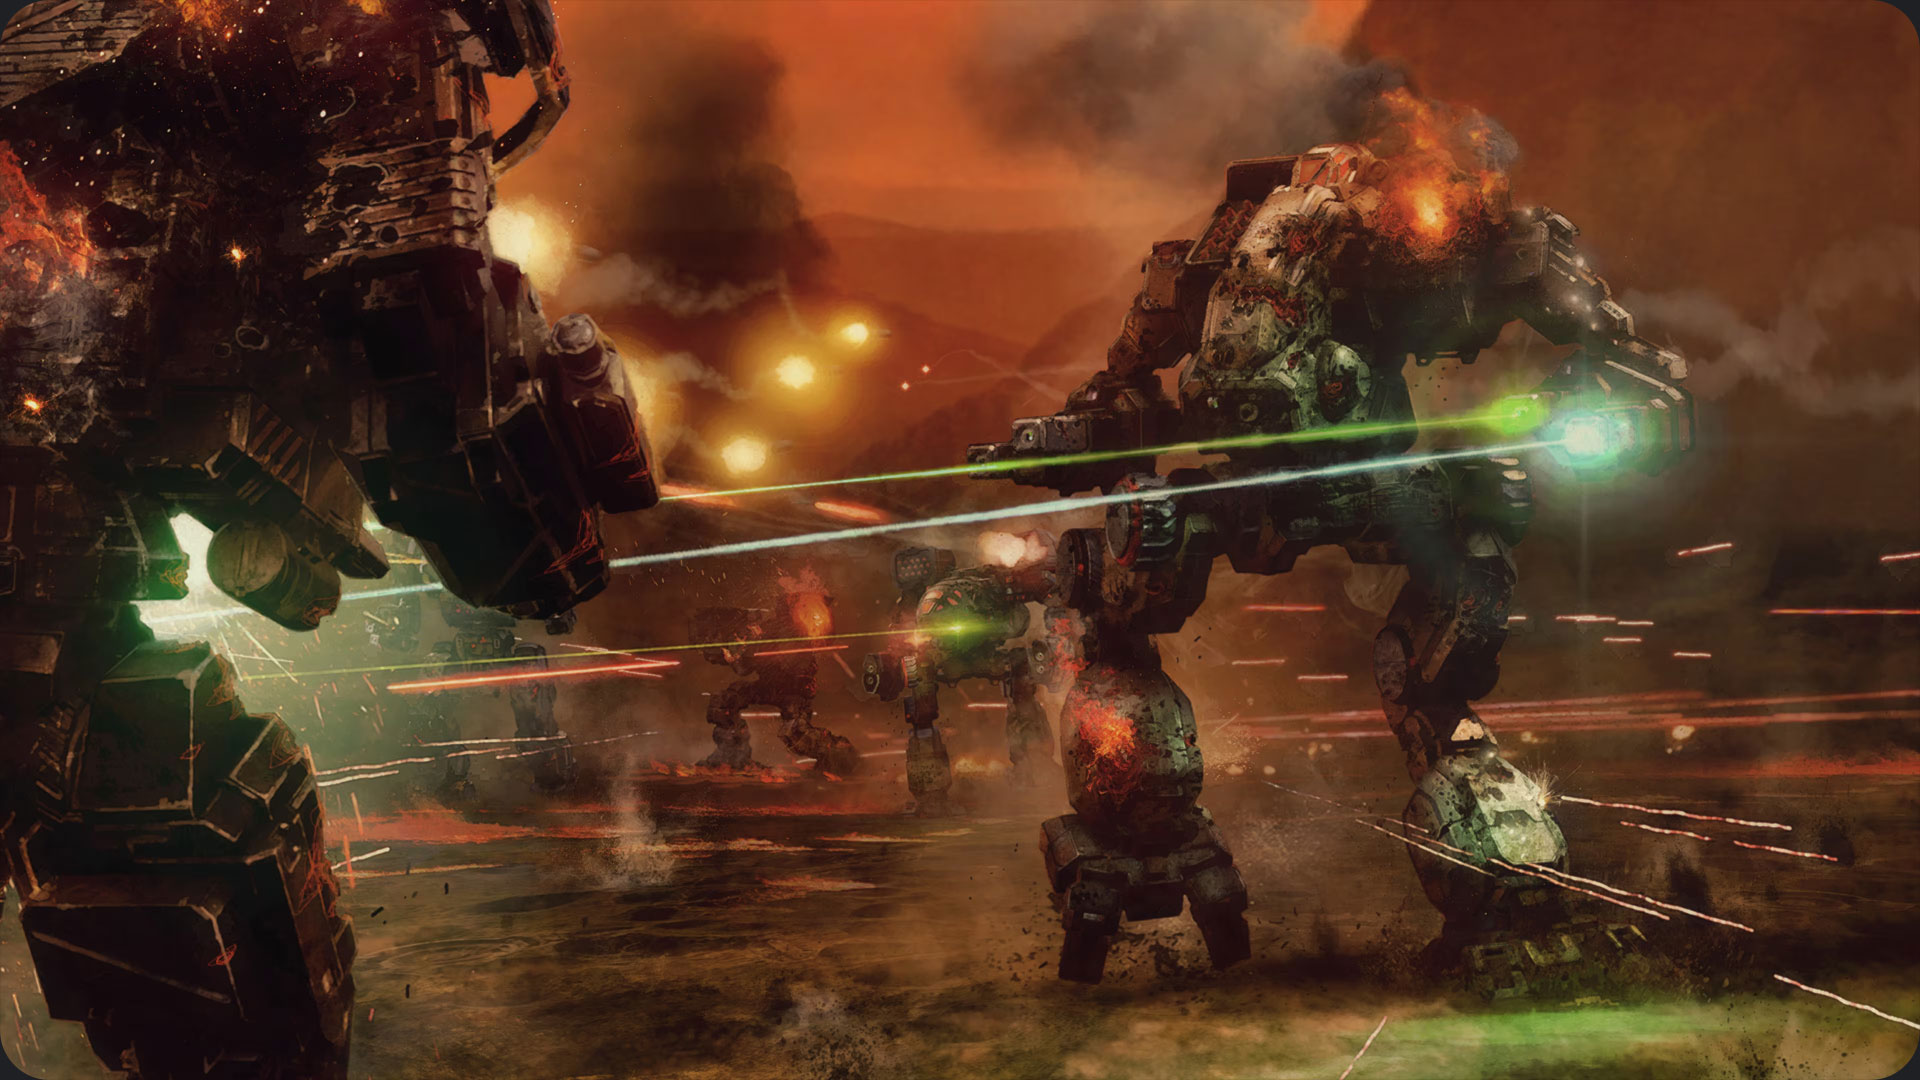
Welcome to the year 3050, mercenary. If you’re jumping into the cockpit for the first time with the new expansion, this Shadow of Kerensky beginner guide is your new best friend. Here’s the deal in one paragraph: master your ‘Mech’s movement and, more importantly, its heat, because an overheated ‘Mech is a dead ‘Mech. In the MechBay, always max out your armor before you even think about guns. In combat, use your lance commands to focus fire on single targets it’s the fastest way to thin the enemy herd. When negotiating contracts, salvage is king; it’s how you get the best gear. And finally, get ready for the Clans. Their tech is better than yours, so your new job is to survive their onslaught, steal their high tech toys, and use them to blow up their friends.
Quick Start Checklist
For those who just want the critical info and want it now, here’s your cheat sheet.
- Combat Basics: Heat is your worst enemy. Never, ever let your ‘Mech shut down. Keep moving and twist your torso after firing to spread incoming damage across your armor.
- MechLab Rule #1: Armor first. A ‘Mech that gets cored in the first salvo deals zero damage. Max it out before adding weapons.
- Field Command: Use your lance commands! Tapping F1 then F1 tells your AI teammates to attack your target. Do this. Always.
- Contract Negotiation: Focus your negotiation points on Salvage. Getting better ‘Mechs and weapons is way more valuable than a quick cash payout.
- The Clan Threat: Clan technology is superior. Your primary goal is to survive, salvage their advanced gear, and turn it against them.
What is in our Shadow of Kerensky beginner guide
Welcome to 3050, Merc. It’s About to Get Hot.
The Shadow of Kerensky expansion throws you into the deep end of a massive conflict: the Clan Invasion. These aren’t the scrappy pirates or rival mercs you might be used to. The Clans are a technologically superior force, and they hit harder and from further away.
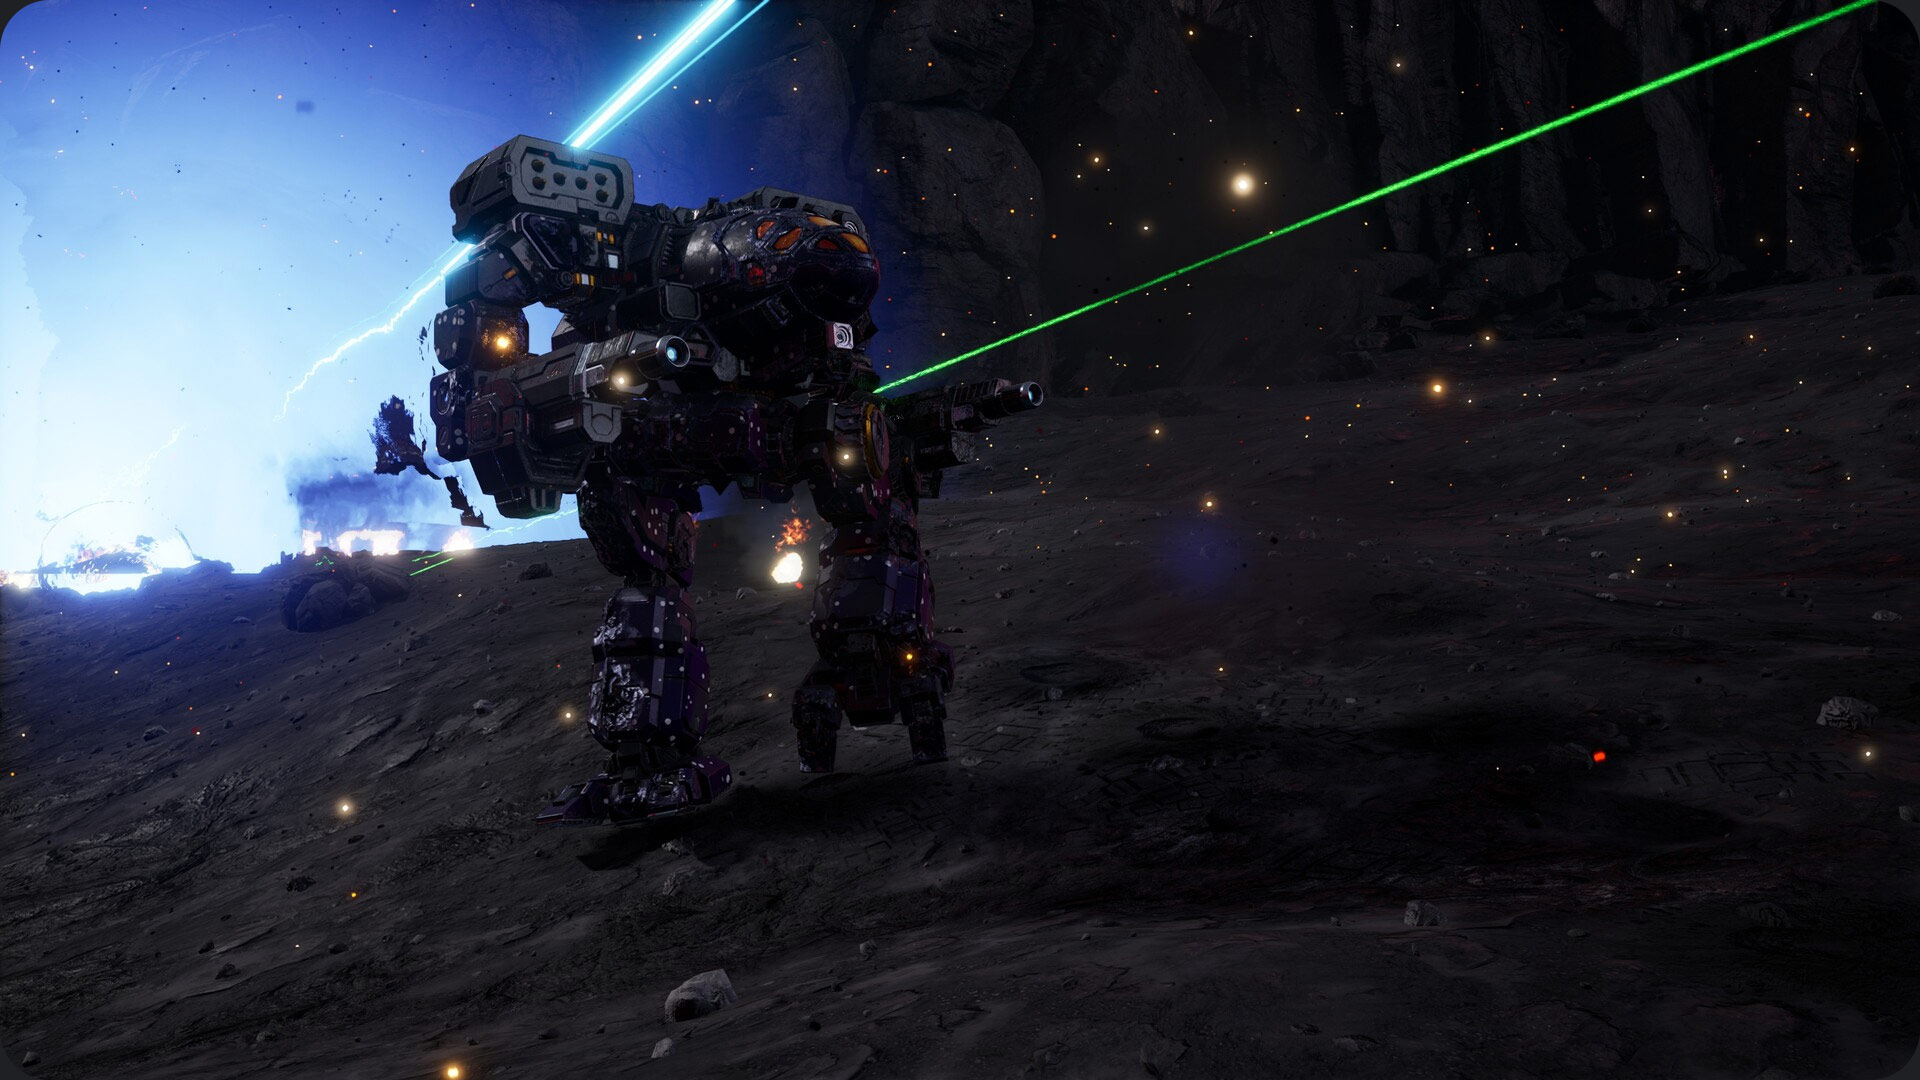
This guide is built to get you ready for that fight. We’ll cover the core mechanics that will keep you alive and the strategic thinking that will make you rich.
The Cockpit Is Not Your Average FPS
First things first: piloting a BattleMech feels different. It’s not like running around in a standard shooter. This is a walking tank, and it handles like one.
Walking the Walk (Throttle vs. WASD)
Your W and S keys don’t just move you forward and back; they control your ‘Mech’s throttle. Tapping W makes you accelerate, and you’ll keep moving at that speed until you hit S to slow down or reverse. You can enable “Throttle Decay” in the options if you prefer a more traditional feel, but learning the throttle system gives you more precise control over your heavy machine.
The Golden Rule: Thou Shalt Not Overheat
Heat is the single most important resource you manage in a fight. Firing weapons generates heat. If your heat gauge maxes out, your ‘Mech performs an emergency shutdown, leaving you completely helpless for a few critical seconds. This is how you die.
To manage this, use “chainfire” (the backspace key by default). This fires your grouped weapons one after another instead of all at once, giving your heat sinks a chance to catch up.
The MechWarrior Two Step (Torso Twisting)
After you fire at an enemy, twist your ‘Mech’s torso away from them. This forces their return fire to hit your side armor or arms instead of your vulnerable center torso. It’s like side strafing, but for a 100 ton metal monster that definitely skipped its ballet lessons. This simple move will dramatically increase your survivability.
The MechBay: Where Battles Are Won
Your success in a mission is often decided before you even deploy. The MechBay is where you turn a hunk of metal into a finely tuned killing machine.
Armor First, Always.
This is the most important rule of ‘Mech customization. Before you mount a single laser or missile pod, max out your armor. A ‘Mech with one less medium laser that survives the fight is infinitely more useful than a glass cannon that gets obliterated in the opening exchange. A good rule of thumb is to have a 3 to 1 or 4 to 1 armor ratio between your front and rear torso.
Building Your First Brawler
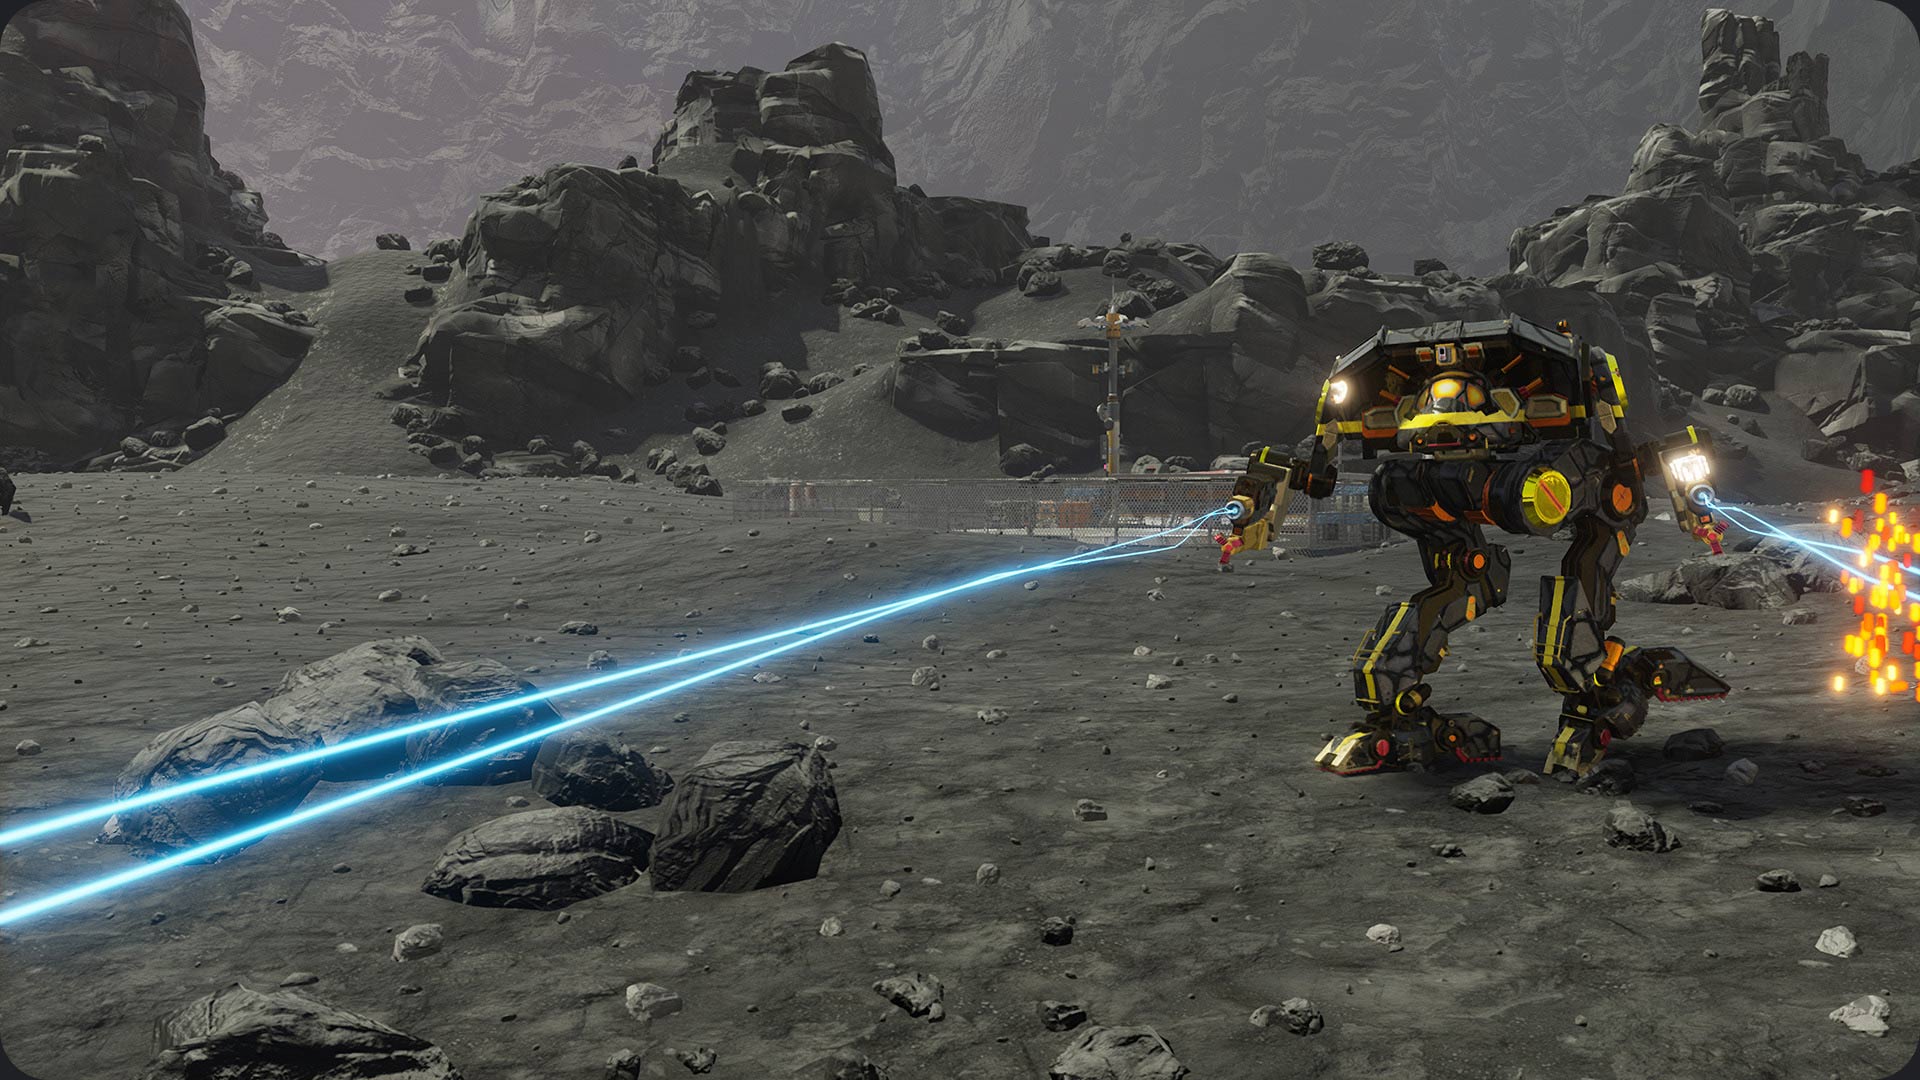
Don’t get overwhelmed by options. A fantastic starting build for many medium or heavy ‘Mechs is a classic “brawler” setup. Combine one large ballistic weapon, like an AC/5 or AC/10, with a handful of medium lasers. This gives you a good punch at medium range and forces you to learn how to manage both ammo and heat.
Reading the Fine Print (Don’t Trust “Firepower”)
Ignore the “Firepower” stat the game shows you. It’s a misleading number that includes melee damage and doesn’t account for heat efficiency. A ‘Mech that can consistently fire its weapons without overheating is far more dangerous than one with a high firepower score that has to shut down every 30 seconds. Also, unless you have a specific plan, extra Jump Jets are usually dead weight. Shave them off for more armor or heat sinks.
Commanding Your Lance Like a Pro
You’re not just a pilot; you’re a commander. Your AI lancemates can be surprisingly effective if you give them clear directions.
The Magic Bullet: Focus Fire
The most important command you have is “Attack My Target.” By default, you press F1, then F1 again. This orders all three of your lancemates to concentrate all their firepower on the single enemy you have targeted. A lone ‘Mech, even a heavy one, will melt under the combined fire of four ‘Mechs.
Surgical Strikes: Taking ‘Mechs Apart
Where you shoot an enemy matters. Aim for specific components to gain an advantage.
- Legs: Destroying one leg slows a ‘Mech down. Destroying both instantly kills it. This is a great way for lighter ‘Mechs to take down bigger threats.
- Center Torso: This is the fastest way to kill a ‘Mech, but it’s also usually the most heavily armored spot.
- Arms: See an enemy with a nasty Gauss Rifle or PPC? Blow the arm holding it right off. Disarming an opponent is often just as good as killing them.
Getting Paid: How to Run a Merc Company
Being a great pilot is only half the job. You also need to be a smart business owner.
The Art of the Deal: Salvage is King
When you take a contract, you get negotiation points to spend on cash, damage insurance, or salvage rights. The overwhelming best choice is to put as many points as you can into salvage. The money you save by grabbing a high tier weapon or a whole enemy ‘Mech from the battlefield is worth far more than the upfront cash bonus. This is how you build your arsenal.
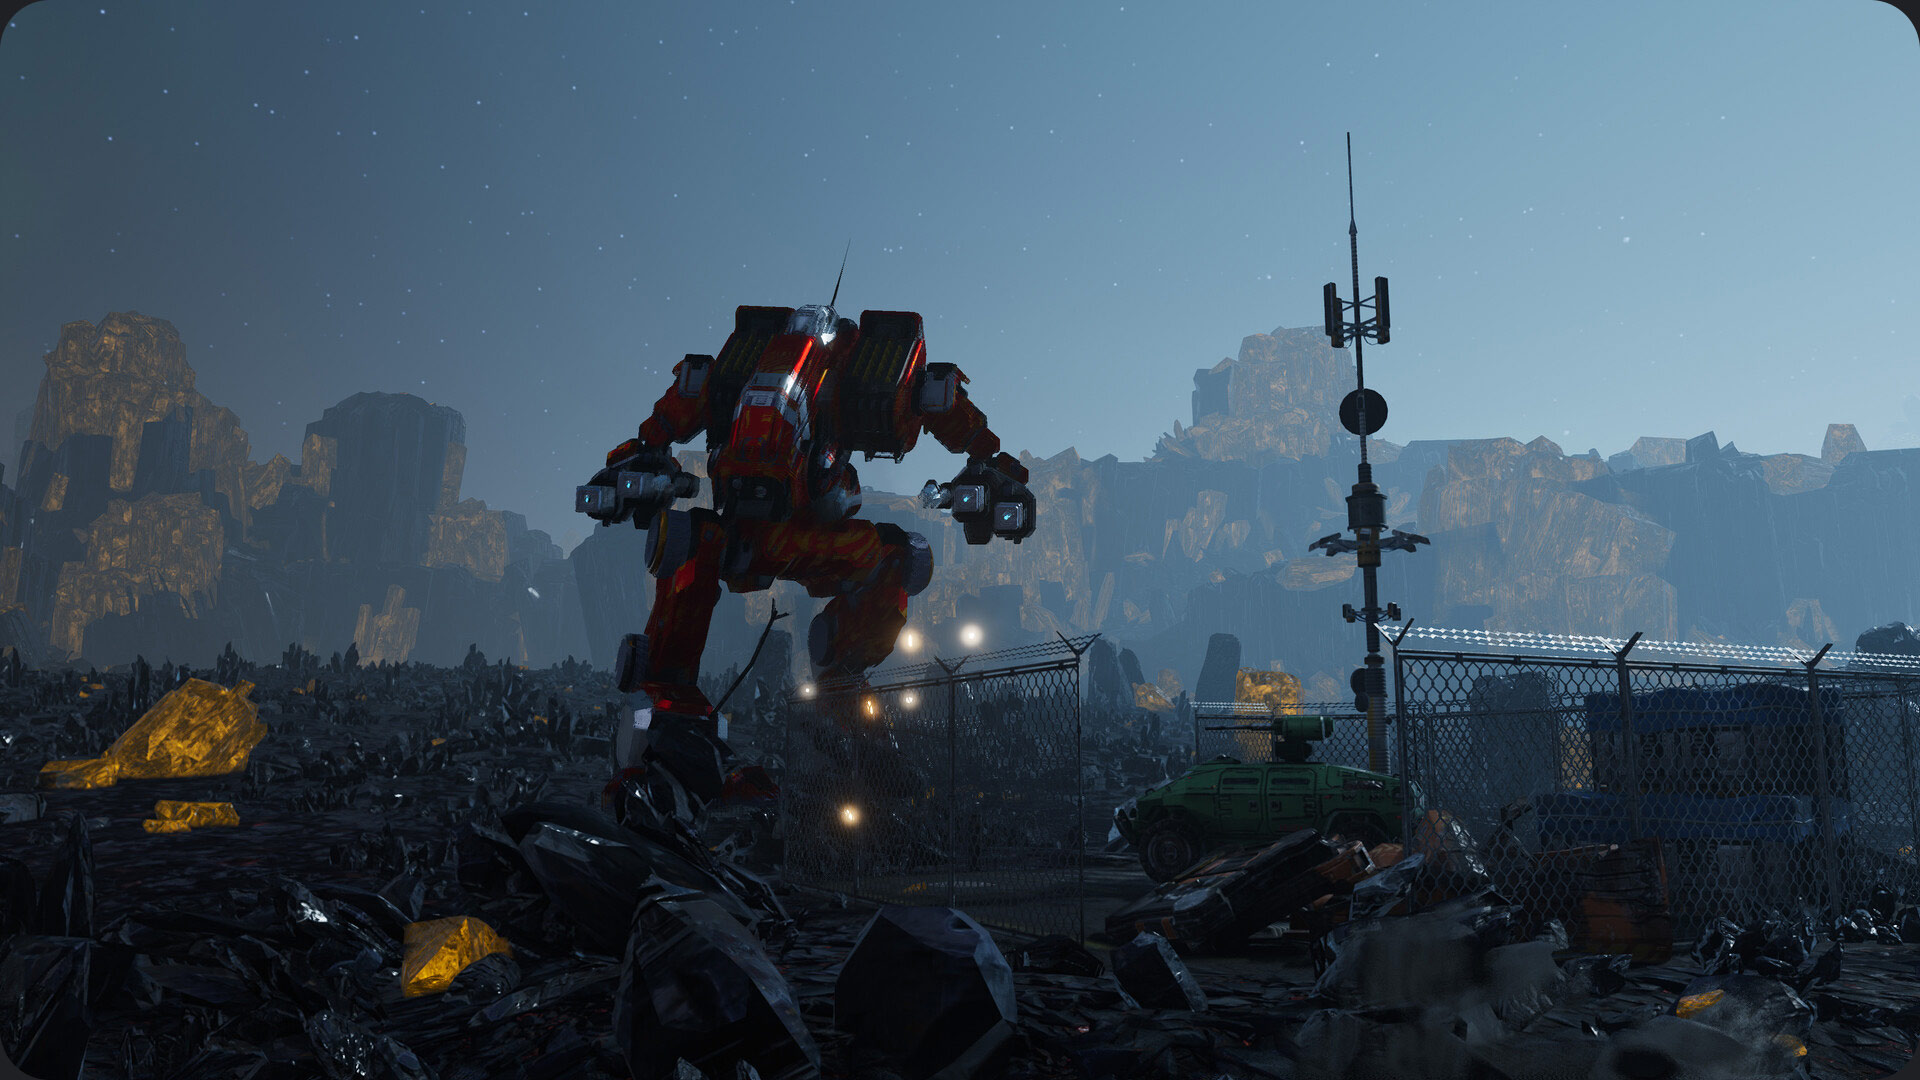
So, About These Clan Guys…
The Shadow of Kerensky DLC introduces a whole new enemy that plays by different rules.
They’re Not from Around Here
The Clans wield technology that is flat out better than anything in the Inner Sphere. Their lasers have longer range, their missiles are more powerful, and their ‘Mechs are faster. Expect to be challenged in ways you haven’t been before. They will engage you from distances you’re not used to, so cover is more important than ever.
If You Can’t Beat ‘Em, Salvage ‘Em
This is the new core gameplay loop. Your Inner Sphere tech will feel underpowered at first. The key to victory is surviving your early encounters, prioritizing salvaging their superior Clan weapons and equipment, and then mounting that tech on your own ‘Mechs. A classic Inner Sphere chassis armed with Clan lasers and heat sinks is a truly terrifying machine.
You’re no longer just a mercenary fighting for cash; you’re a scavenger on the front lines of a technological war, and every piece of salvaged Clan tech is a victory. Good luck out there, pilot.
MechWarrior 5: Mercenaries Official Website
Thanks for keeping up with Game.Dazepuzzle