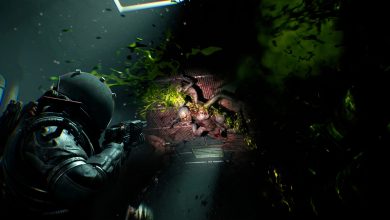
Welcome to the ultimate SWORN beginner guide, where we’ll arm you with everything you need to know to survive the corrupted lands of Camelot. In this action roguelike, you are a soulforged knight on a mission to reclaim a fallen kingdom from a twisted King Arthur. You will die a lot. But every death is a chance to return to your base, spend permanent resources like Grail Water on crucial upgrades (like more health!), and grow stronger for your next attempt. Your goal isn’t to win on your first try; it’s to master the cycle of combat, collect Blessings from the Fae Lords to create powerful synergies, and choose the right character to match your playstyle.
| Your Core Mission | How to Succeed | Upgrade Priority | Combat 101 | Building Your Power |
|---|---|---|---|---|
| Get stronger, not “win” the game. | Die, collect Grail Water, spend it on permanent upgrades, repeat. | The Life Tree. Always. More health is everything at the start. | Your dodge makes you invincible for a moment. Use it. A lot. | Focus on Blessings from one or two Fae Lords to create powerful synergies. |
What is in our SWORN Beginner Guide
Welcome to Camelot… It’s Seen Better Days
So, Arthur and his knights got corrupted by some evil force and turned into monsters. Classic Tuesday in a fantasy world. Now it’s your job to clean up the mess.
What’s a Roguelike? (And Why Dying is a Good Thing)
SWORN is a roguelike, which means it’s built on a simple loop: Fight, Die, Upgrade, Repeat. Each time you enter Camelot, the layout and enemies change. When you die, you lose all the temporary powers (called Blessings) you collected during that run.
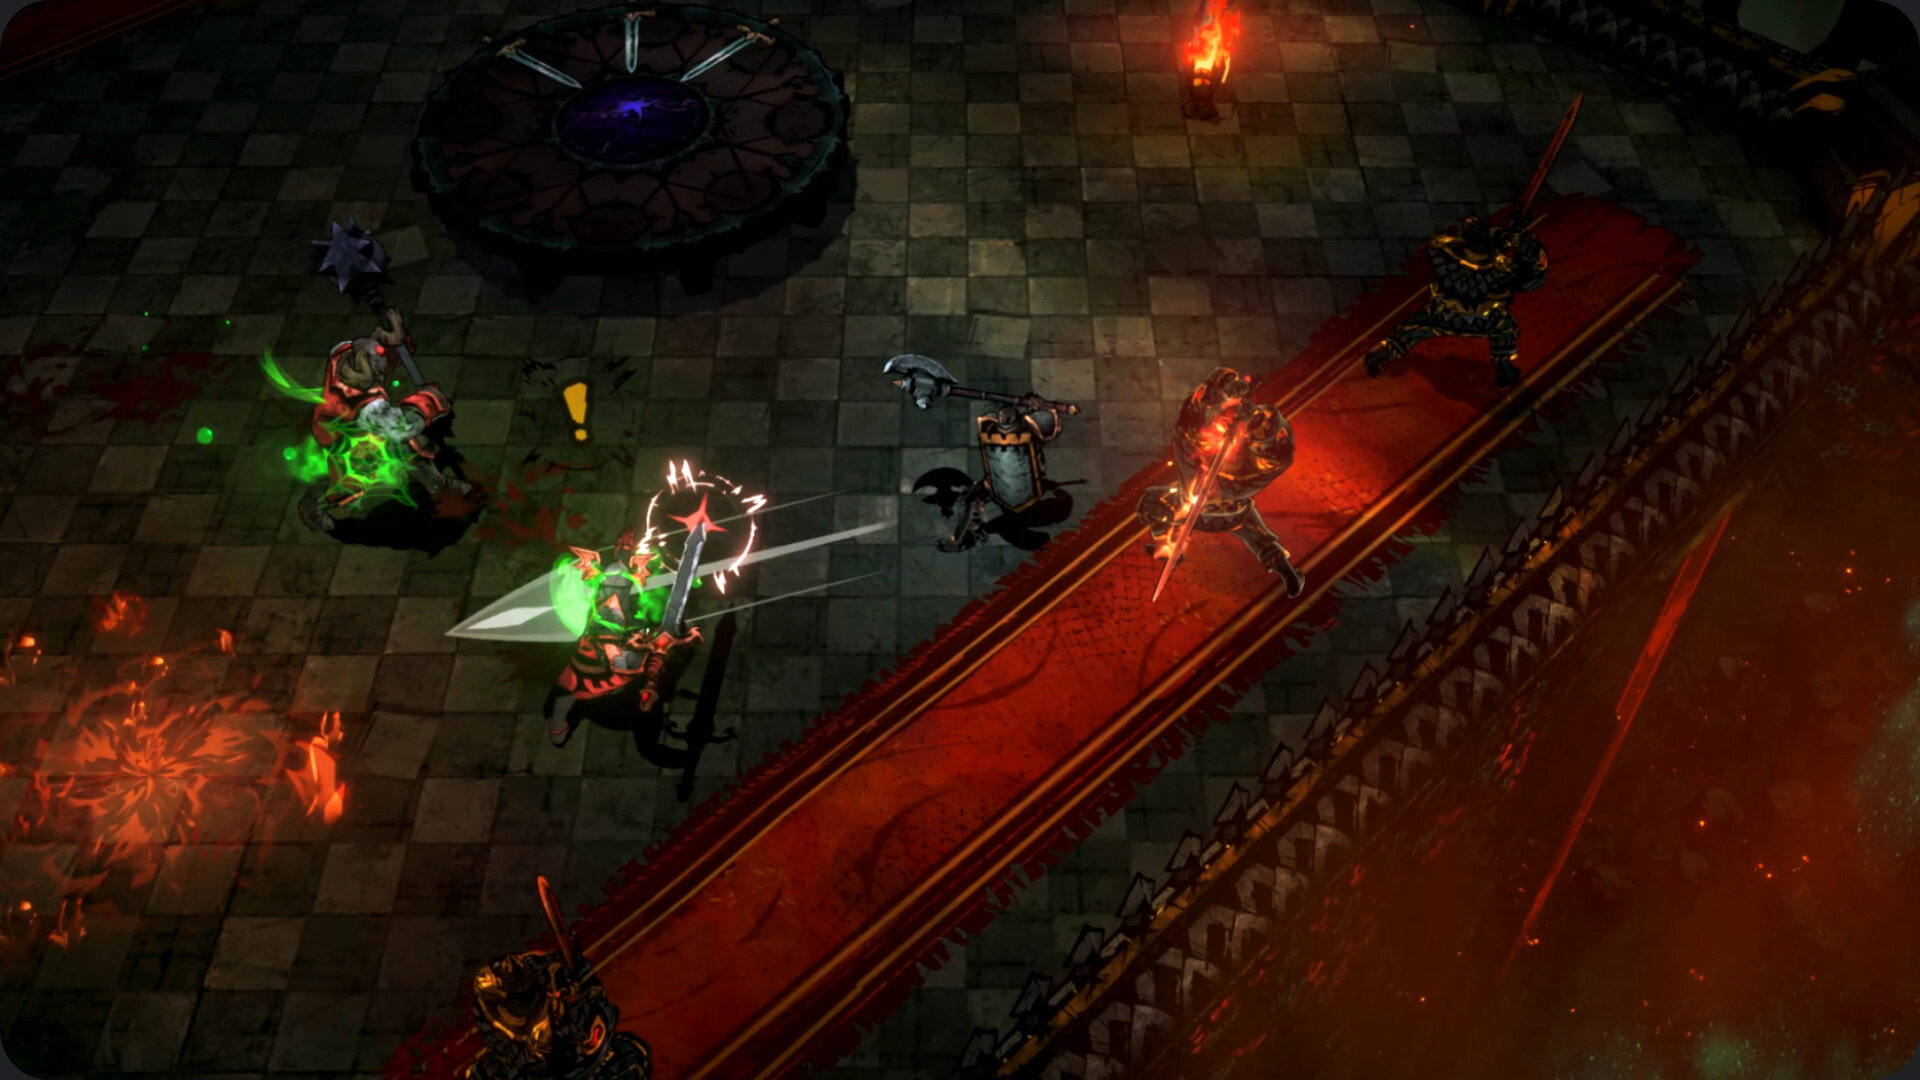
But here’s the secret: death is progress. Every failed run lets you return to your hub, The Beacon of Avalore, with permanent resources you’ve gathered. Spending these resources makes you permanently stronger, giving you a better shot on your next life. Think of each death as cashing in your experience points.
Your Home Base: The Beacon of Avalore
This safe haven is where the real progress happens. Between runs, you’ll spend your hard earned loot here to become a certified monster slaying machine.
The Only Currencies That Matter: Grail Water & Crystal Shards
You’ll find a few different resources in Camelot, but for your first few hours, only two really matter:
- Grail Water: This shiny blue liquid is your number one priority. It’s used to buy permanent upgrades from The Source skill tree.
- Crystal Shards: These are used to unlock new weapons, spells, and even entire skill trees.
Gold is a temporary currency you find during a run. It’s useful for buying things from shops inside Camelot, but it disappears when you die, so don’t get too attached to it.
The Source: Your Permanent Upgrade Menu
The Source is your skill tree, and how you spend your Grail Water here will determine how quickly you progress. To avoid a world of pain, follow this simple investment plan.
- The Life Tree (Absolute First Priority): Your first and only stop for your initial runs. More health means you survive longer. Surviving longer means you enter more rooms. More rooms mean more resources. It’s a direct feedback loop that speeds up your entire progression. Get the max HP upgrade first.
- The Treasure Tree (Second Priority): Once you have a few health upgrades and feel a bit tankier, start putting points here. This tree increases your chances of finding permanent resources like Grail Water, which makes getting other upgrades faster.
- The War Tree (Third Priority): Your main goal here is the upgrade that gives you an extra Dash. An extra dodge is a game changer for survivability and movement in hectic fights.
Choose Your Champion
You have four unique knights to choose from, each with their own weapons and playstyle. While you should eventually try them all, some are much more beginner friendly than others.
Best Starting Characters (No Shame in Picking Easy Mode)
Picking a forgiving character at the start lets you focus on learning enemy patterns instead of fumbling with complex mechanics.
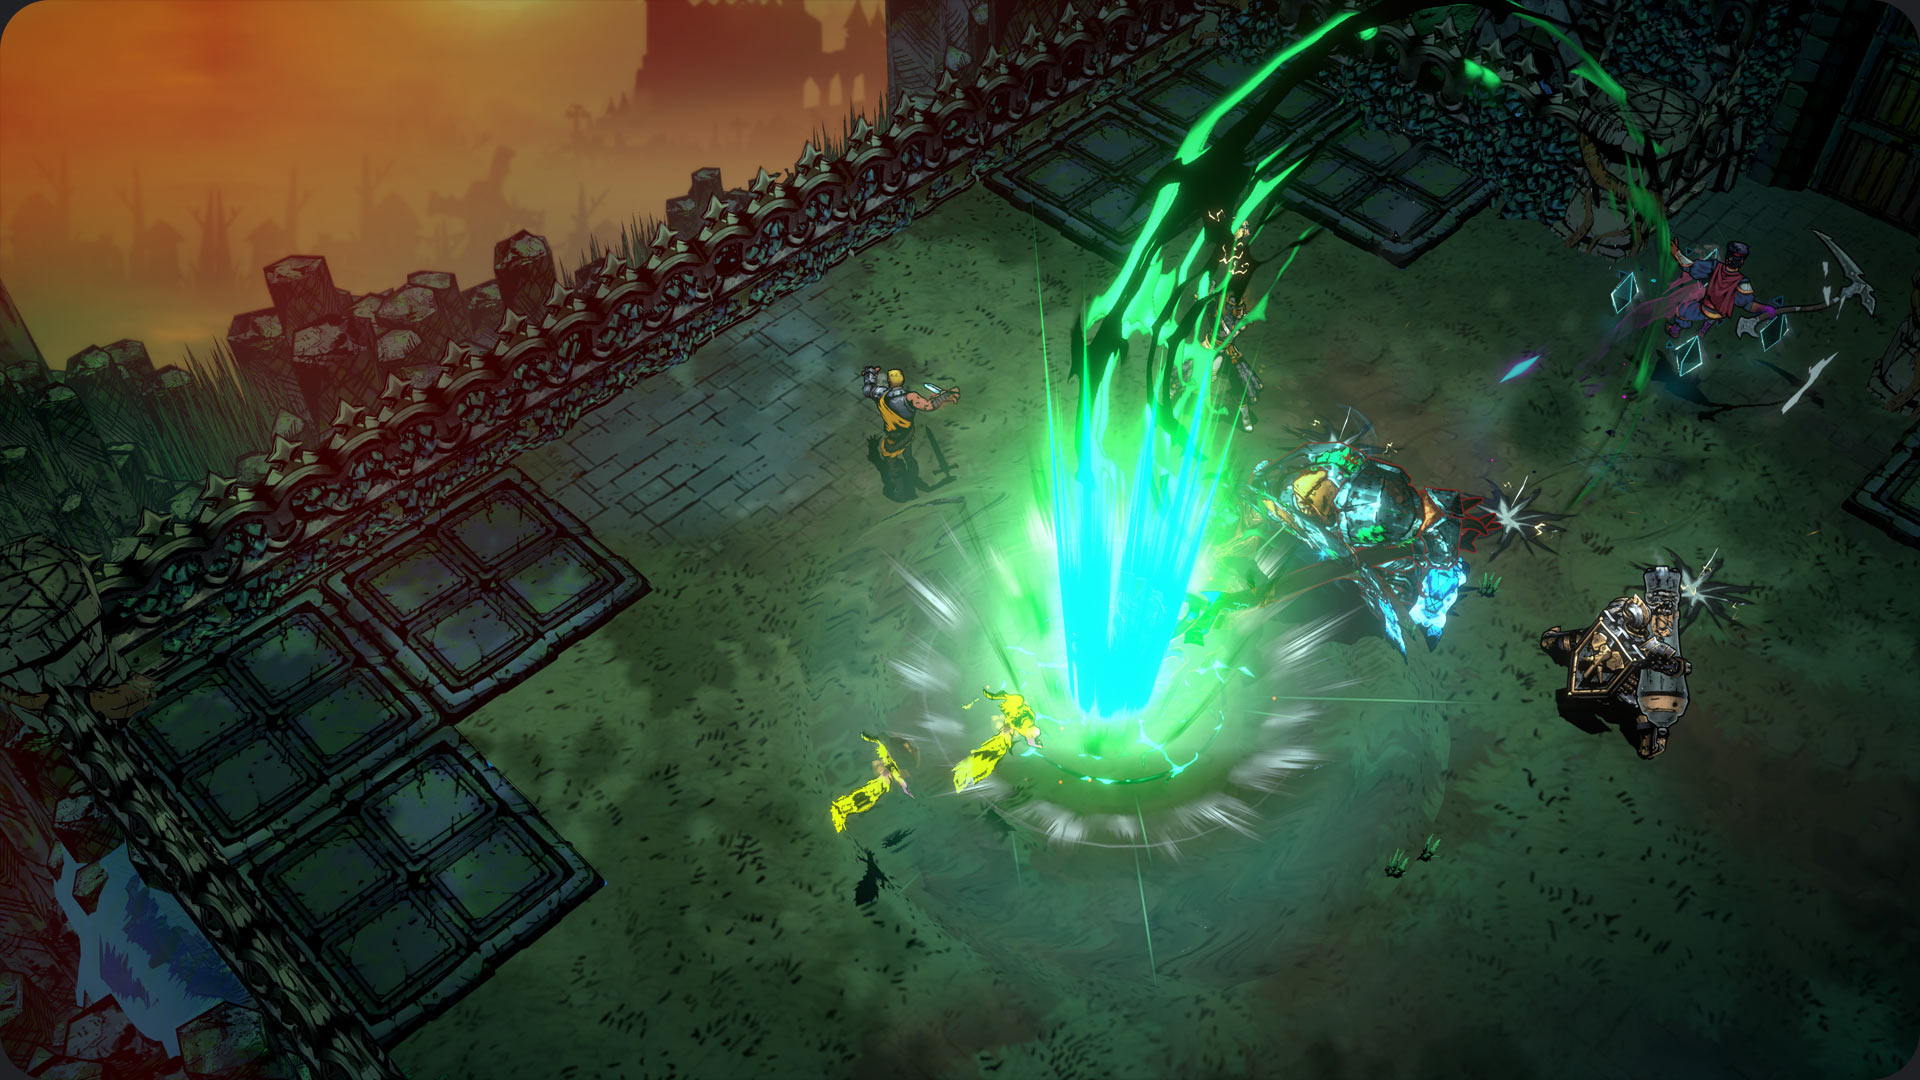
Easiest to Learn: Vigilante with the Sword
This is your starting character, and he’s a perfect all rounder. His sword is straightforward, and his kit has no weird gimmicks. He’s the best choice for learning the absolute fundamentals of combat.
The Safe & Strategic Pick: Monk with Crystal Turrets
This spell lets you drop two automated turrets that shoot enemies for you. This is amazing for beginners because it draws enemy attention and gives you breathing room to focus on dodging and learning attack patterns.
The “Oops I Messed Up” Pick: Rook with the Halberd
The Rook is a slow, heavy hitting tank. His Halberd has a secret weapon for new players: when you hold down the heavy attack button to charge it, you become completely immune to all damage. This is a free get out of jail card that can save you from deadly attacks while you learn their timing.
The Art of Not Dying: Combat 101
Combat in SWORN is fast and chaotic. To survive, you need to understand a few core principles.
Dodge First, Ask Questions Later
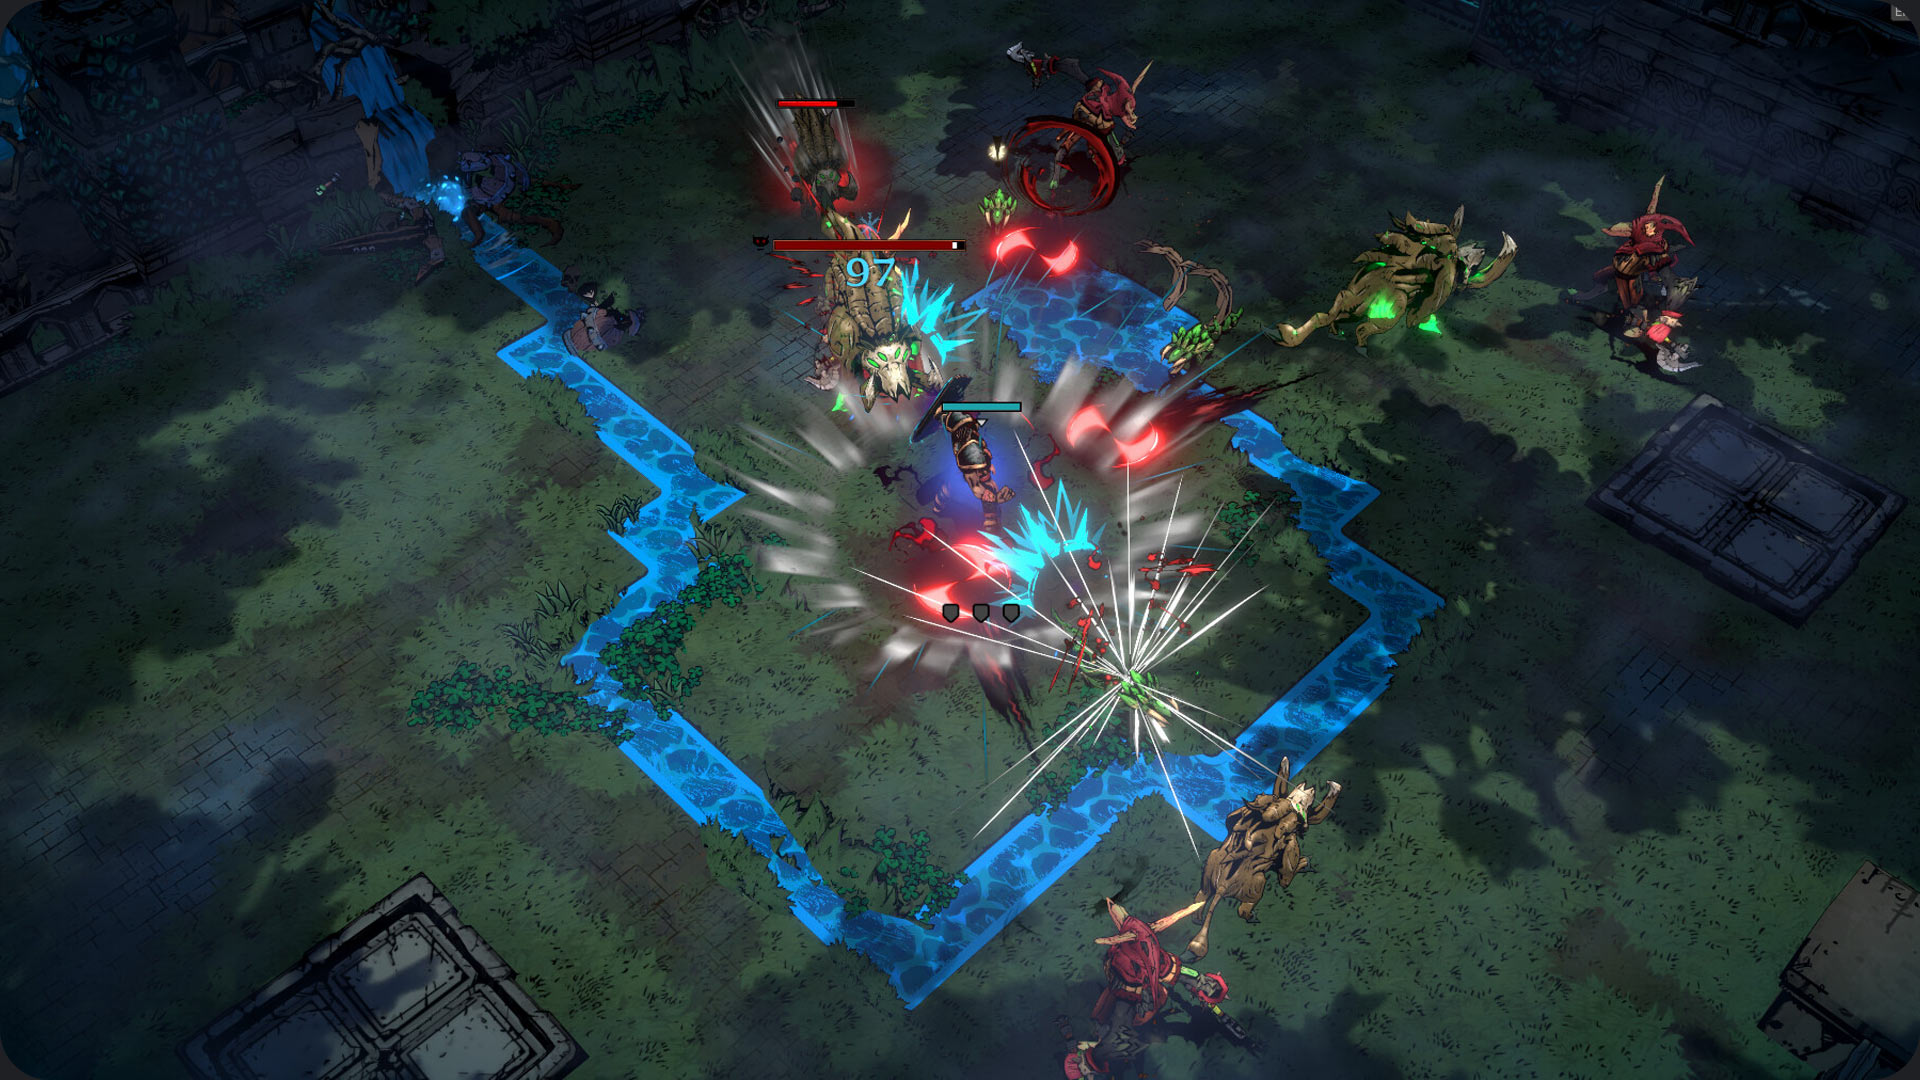
Your dodge (or dash) is your most important ability. For a split second during the dodge animation, you are completely invincible. You can dodge through enemy attacks and even through enemies themselves without taking damage. Master the timing of your dodge, and you’ll survive almost anything.
How to Make a “Build”: It’s All About Synergy
During your runs, you’ll be offered Blessings from different Fae Lords. These are temporary power ups. The key to becoming unstoppable isn’t just picking random Blessings; it’s about creating synergy.
Synergy is when your abilities work together to create an effect far more powerful than the sum of their parts. The easiest way to do this is to focus on getting Blessings from just one or two Fae Lords. This increases the chance of them working together effectively.
Your First Powerful Builds
Don’t get overwhelmed by the 200+ Blessings. Start with a simple, effective strategy. One of the best for beginners is a Frost Build.
- Fae Lord: Beira (the ice sorceress)
- How it Works: Look for any of Beira’s Blessings that apply Chill to enemies on hit. If you stack enough Chill on an enemy, they’ll freeze solid, rendering them completely helpless.
- Why it’s Great for Beginners: Freezing enemies gives you time to think and space to move. It’s an amazing crowd control tool that makes overwhelming fights much more manageable. You can’t get hit by an enemy that’s a block of ice.
Your Game Plan for the First 5 Runs
Don’t just run in blind. Follow this checklist to make your first hour as productive as possible.
- Runs 1-3: Your only goal is to farm Grail Water. Don’t worry about beating the boss or even clearing the first area. Pick doors that reward Grail Water above all else. As soon as you die, run to The Source and spend every last drop on the Life Tree.
- Runs 4-5: You should have a bit more health now. Use your Crystal Shards to unlock a new weapon for your favorite character. In this run, start paying attention to Blessings. Try to force a Frost build by picking Beira whenever she appears. See how it feels to focus on a single strategy.
Thanks for keeping up with Game.dazepuzzle